Cursor
The cursor may appear as a marker, a crosshair, an arrow and, if a point is entered, have a values field as well. The marker always specifies the last position. As soon as the cursor is at right angles to the last position, temporary reference lines appear and display the angle. This means you can check whether you are drawing at right angles.
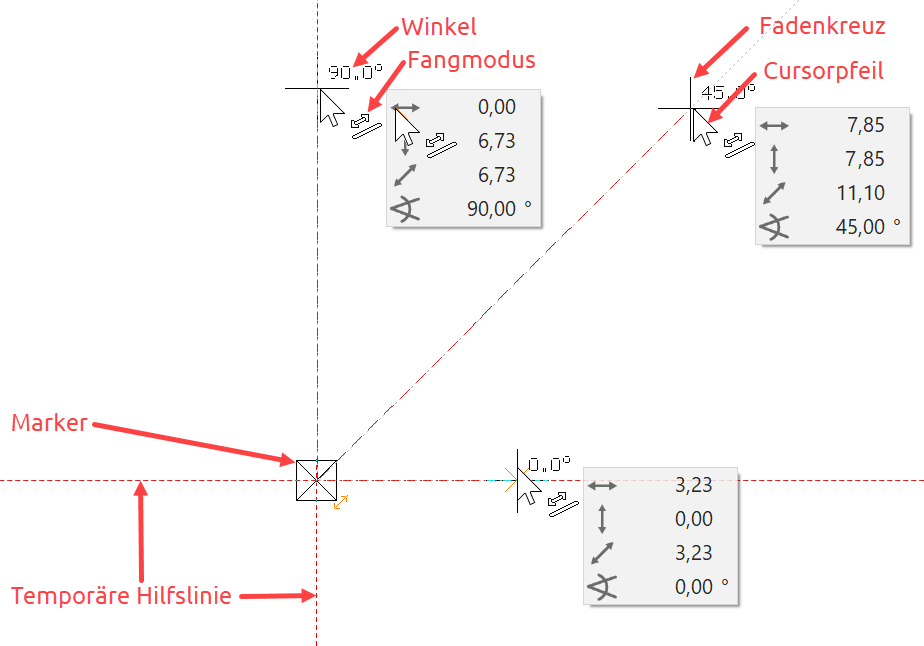
Values field
The values field is shown as soon as a point input is required. You can switch to the values field with the Tab key. The values shown are relative to the marker or to a temporary reference point. To enter absolute values (from the zero point), you must click on the symbol at the start of the line. A value can be fixed. The values field can be exited with the Enter key or by clicking on the tick.
| Relative | Absolute | Fixed value | Confirm |
|---|---|---|---|
 |
 |
 |
 |
The direct input of coordinates is still implemented in the same way as in earlier releases. Without switching to the values field with the Tab key, you can make entries such as "30", "60" or "100". The values are correctly entered into the values field.
Note
Entering "value" for a movement along the z-axis changes the values field to an x,y,z input.

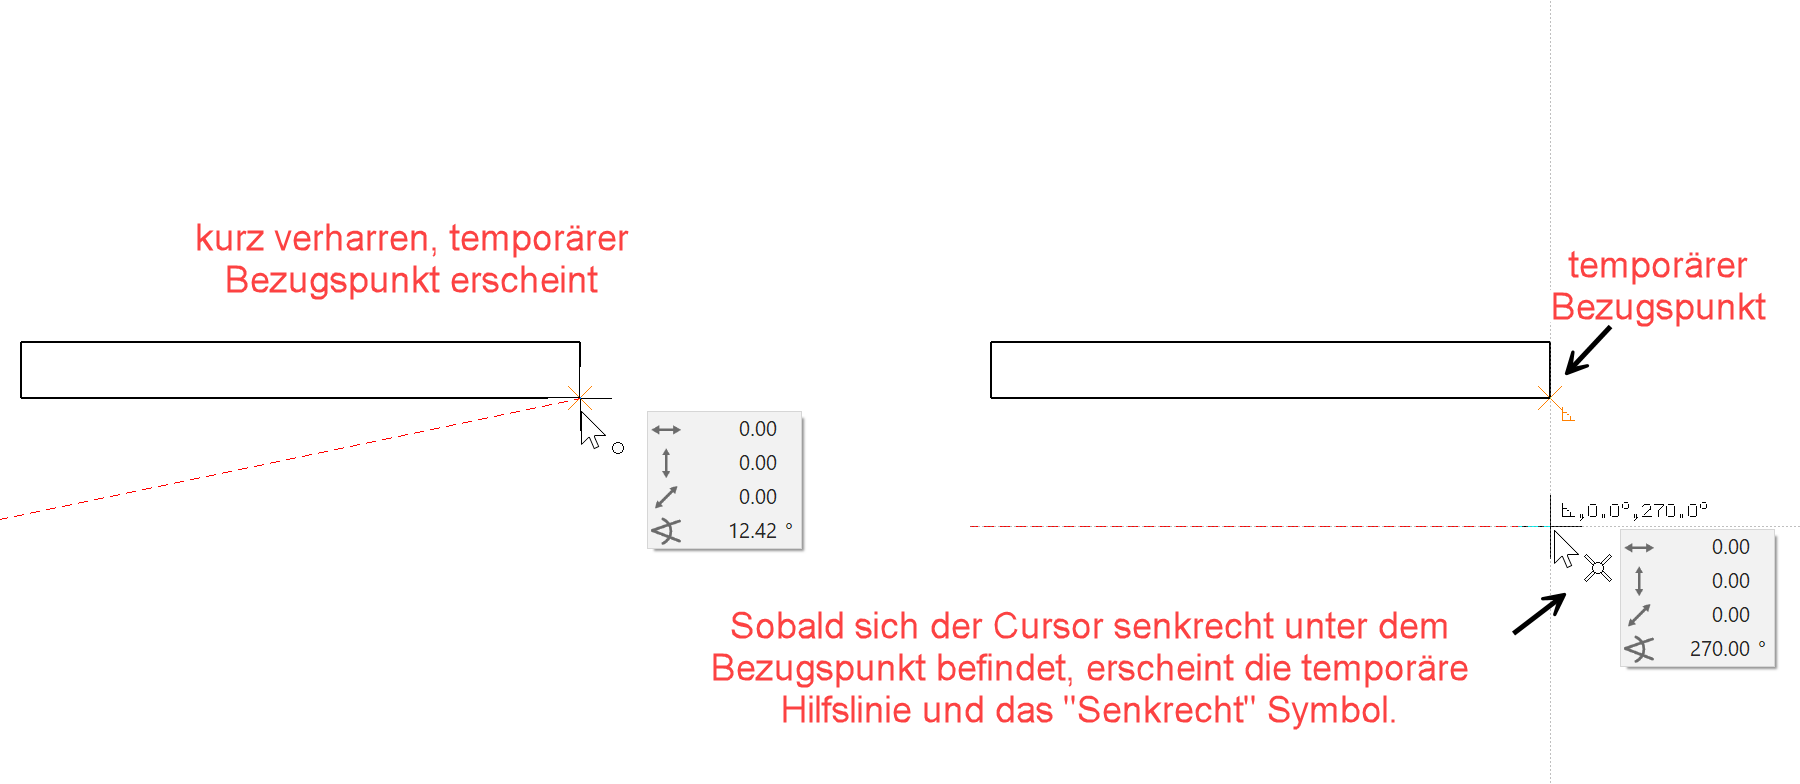
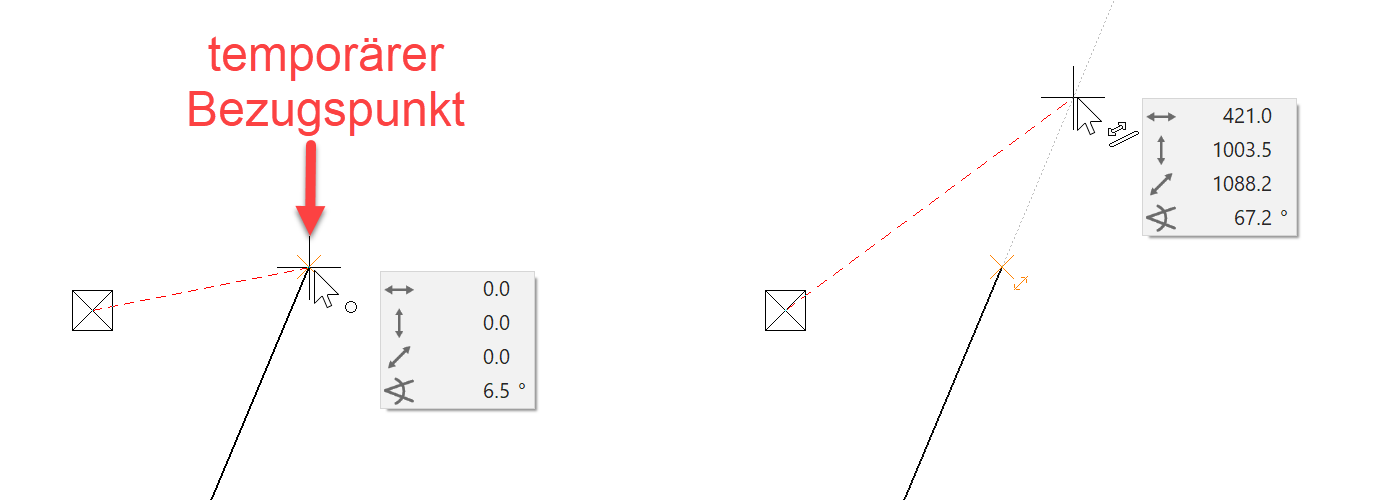
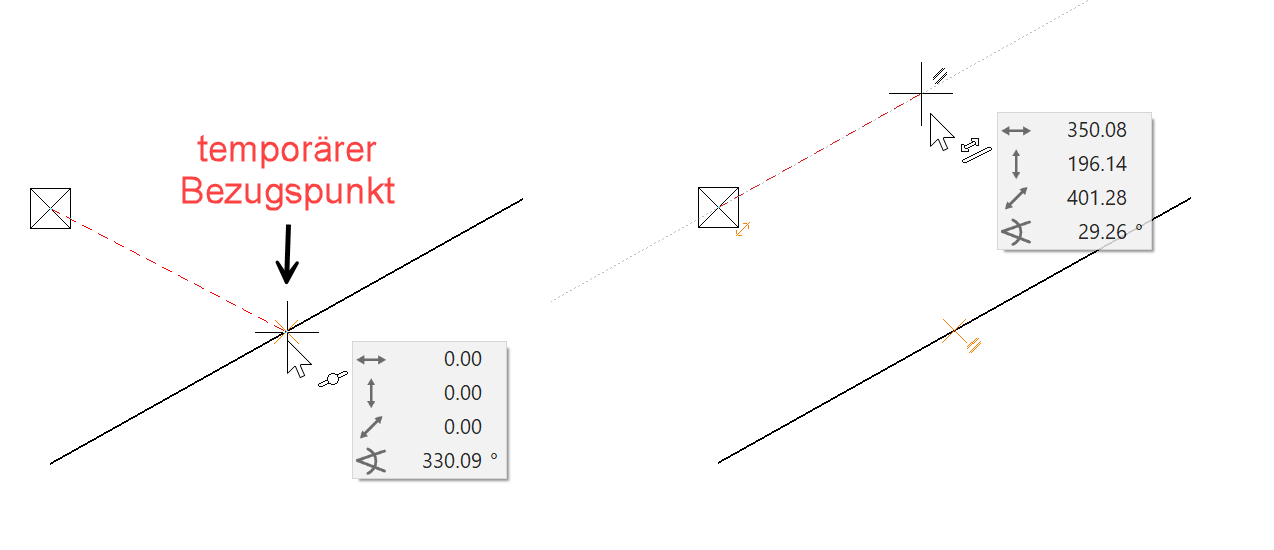
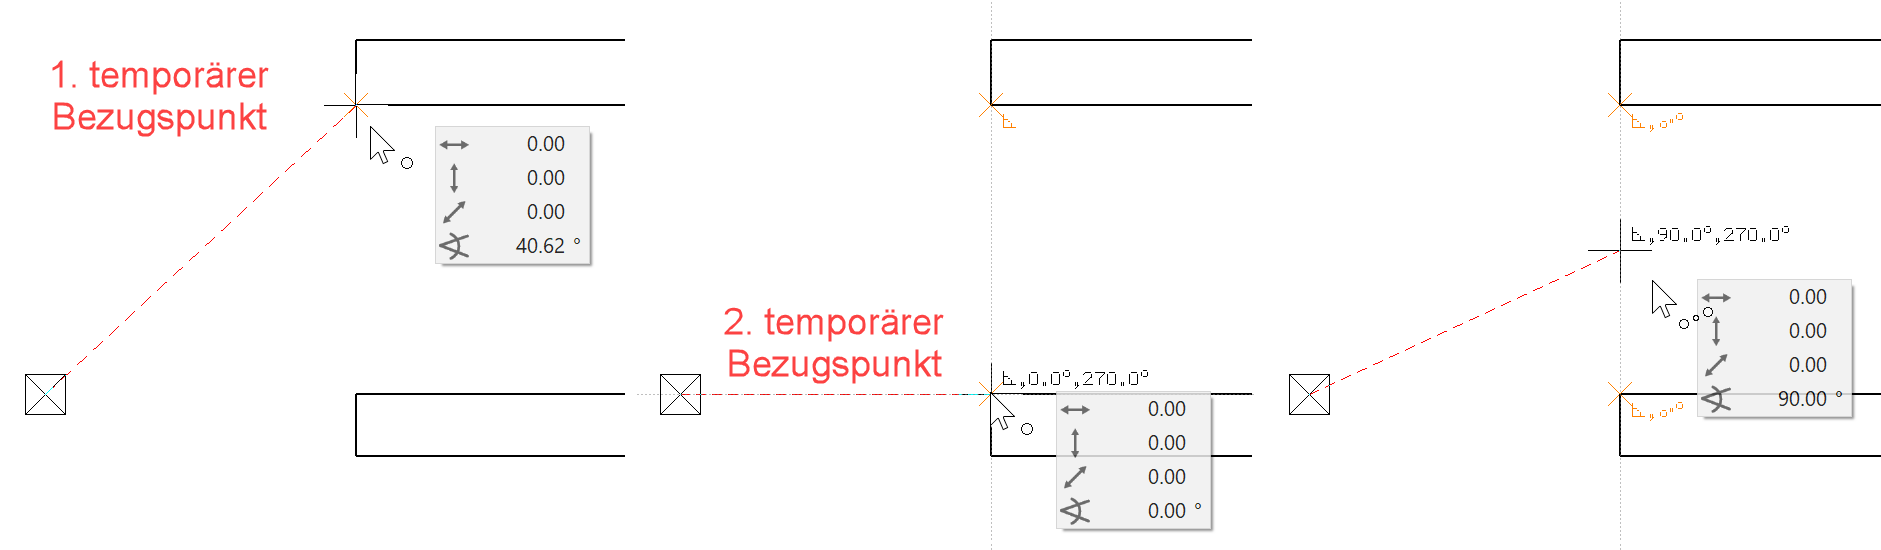
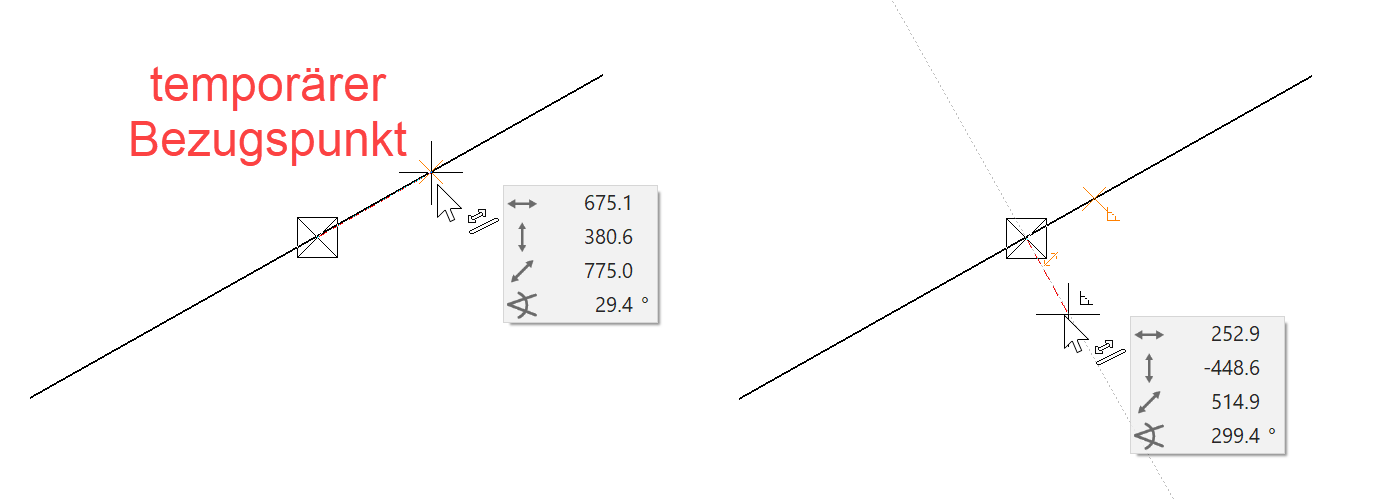
Temporary reference points and auxiliary-lines
When you are drawing, references often need to be made to the geometry that has already been created.
You create a reference point by hovering the cursor briefly over the desired point; the program displays the reference point as an orange cross.
Instead of hovering over the point, you can press the Shift key.
The temporary reference points are deleted again after every click. The points can be deleted manually the same way they were created.
| Drag the line perpendicularly beneath a wall corner: |
|---|
 |
| Drag the line into the extension of an existing line: |
 |
| A new line/auxiliary-line should lie parallel to an existing line/auxiliary-line: |
 |
| Draw a line in the middle of two points: |
 |
| Draw a line perpendicular to a line: |
 |
The snap time until the reference point appears can be set in the options.
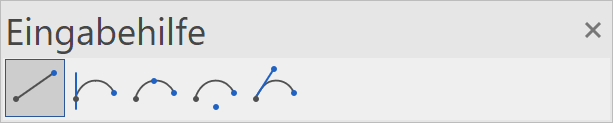
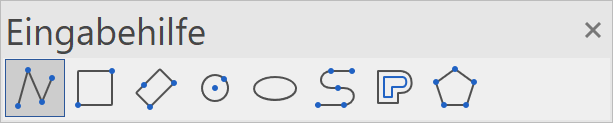
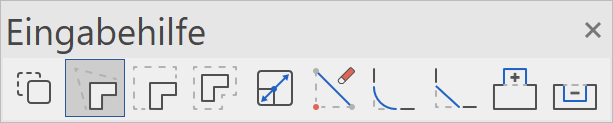
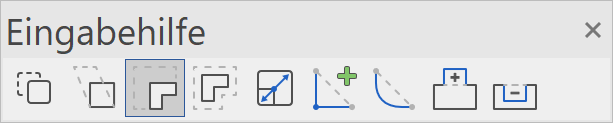
Input assistant
The input assistant consists of additional functions that appear either at the cursor or in the INPUT ASSISTANT toolbar. The input assistant at the cursor can be displayed using the Tab key. The toolbar always shows the available functions.

Which functions have an input assistant?
When you draw a polygon, the curve functions are also available.
When you draw a contour for an object (3D, architectural, mechanical) the drawing functions are available.
When you click on a handle or gripper (element, text, hatch, 3D, object), manipulation options appear. The functions change depending on the type.
| Handle | Gripper |
|---|---|
 |
 |
