Polygonal Chain
The polygonal chain is often used when a selection is manipulated (e.g. block, section, stretch, etc.), a parallel contour is created, a hatch contour is defined, or during contour specification when an area is measured.
Direct polygon input
For the stretch functions and the block and section manipulation functions, you are directly prompted for a polygon. A rectangle can be defined via the diagonal points of a polygon via individual points.
Example of a polygon via diagonal points:
 |
 |
 |
 |
Image1: Select elements and call up the STRETCH POINT OR LINE function.
Image2: Enter the existing point and its new position.
Image3: Set the start point of the polygon on the outer left and double-click the second point on the outer right.
Double-click = close polygon
Image4: Result
Example of a polygon via individual points:
|
|
 |
 |
Image1: Select elements and call up the STRETCH POINT OR LINE function.
Image2: Enter the existing point and its new position.
Image3: Draw a polygon that includes the two ends of the outer lines. The lines in the centre must not be stretched at the same time.
The polygon is closed automatically when you select the start point again.
Image4: Result
Polygon functions in property bar
The polygon functions appear directly in the property bar for the HATCH and MEASURE AREA functions.
Example of hatch property bar:

Polygon
![]()
This function allows you to specify the unclosed contour of recesses or surfaces.
If the contour search comes to a halt at an open position, the polygon is automatically started and further points can be entered.


Image1: Select the MEASURE AREA/START HATCH function. Click on the contour.
Image2: The contour is tracked up to the opening.
Image3: Set the first point.
Image4: Set the second polygon point.
Image5: Click on the end point. The polygon is automatically closed. The values can be read off from the info window for the MEASURE AREA function. When START HATCH is selected, the polygon is filled with the required hatch.
Tip
When the POLYGON function is selected, additional functions are made available in the input assistant].
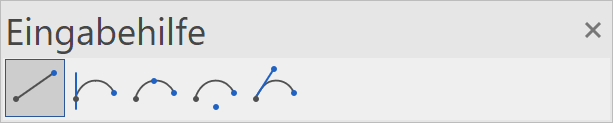
Tip
An open polygon can also be closed by double-clicking or pressing Enter .
Next contour
![]()
The NEXT CONTOUR function allows you to jump to the next contour so that the contour search automatically tracks along it.
Contour end
![]()
This function is used to close an open polygon chain. This function comes into effect for a parallel contour and for measuring a line.
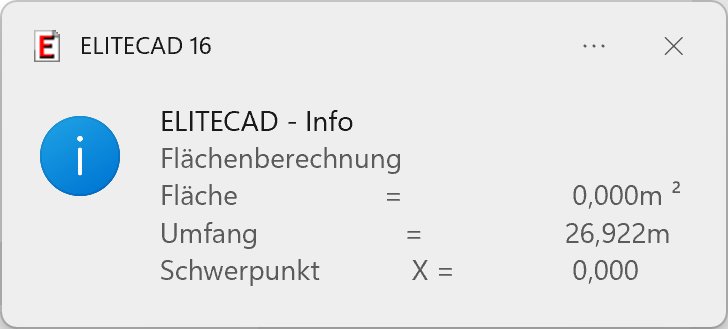
Example: Measure the length of a certain line, e.g. stair path
- Start the MEASURE AREA function.
- Click on the contour.
- CONTOUR END function
- The length (circumference) can be read in the info window.
 |
 |
 |
Tip
If an open profile is automatically tracked by the crosshair, it begins at the marked point and runs anticlockwise. If only one element of the contour is followed by the automatic tracking, you have positioned the crosshair at the wrong end. You should therefore try moving the crosshair to the other end of the contour.