Create bill of material
Output bill of material
|
|
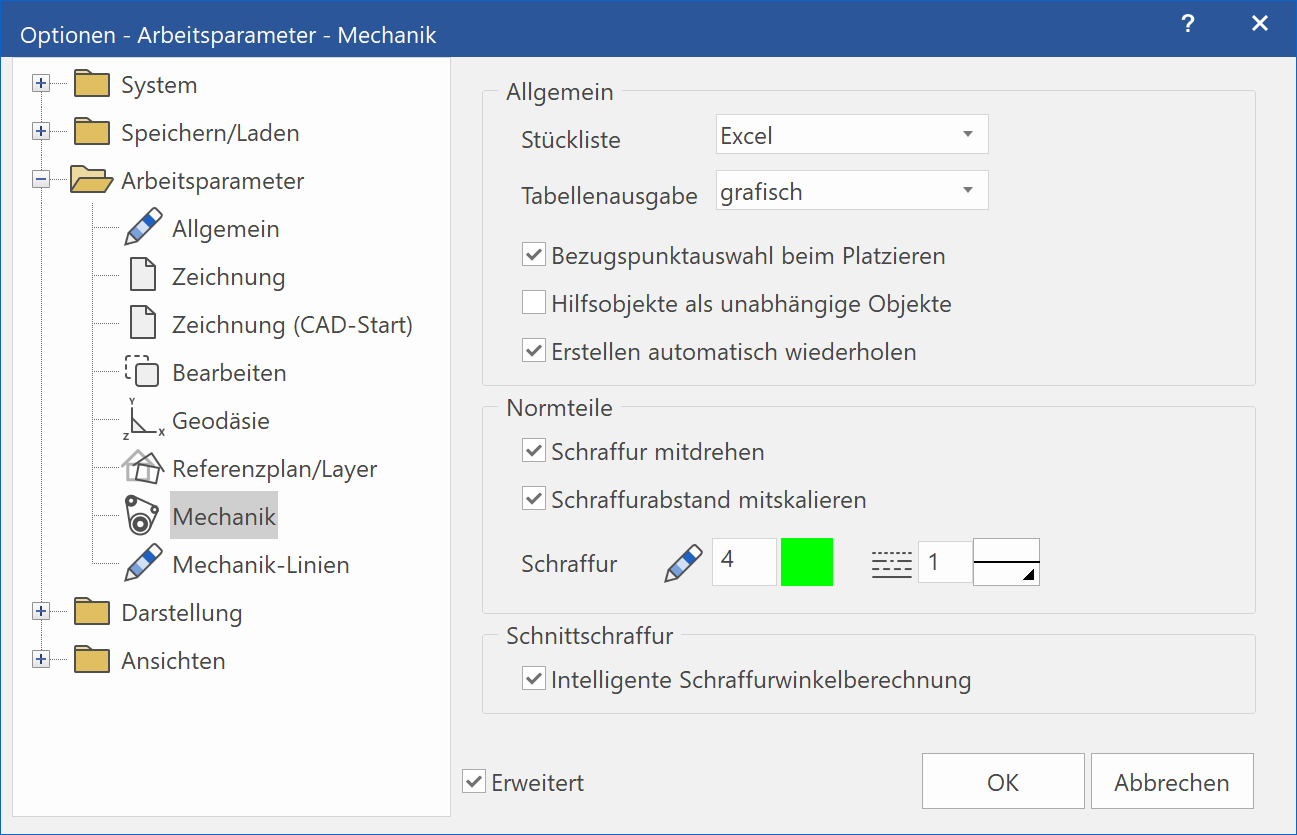
Settings menu > Options |
| Options > Work parameters > Mechanics > Bill of material |
With ELITECAD, you currently have four different options for creating a bill of material:
- In the ELITECAD Information window
- Graphically within ELITECAD
- As a text file
- As a Excel document
Information window
Bills of material in the ELITECAD information window are used to quickly check the entries and assign the attributes. ELITECAD only shows you the content of the bill of material for a short time and overwrites the content of the information window when new information is requested.
In the OPTIONS, select the corresponding entry for the bill of material output:
With LAY-OUT > BILL OF MATERIAL, the currently loaded drawing is analysed and all components are listed. The conditions of the associated attribute file apply to the attribute formatting.
The entries in the file <ELITECAD-installation path>\u\<version>\me\glob\dflt\mecha.bom apply to the design of the entire bill of material.
This file contains the conditions for the page layout (columns and rows, bill of material header, etc.).
Note
Changes in this list definition file should only be made by the system administrator. The meaning of each entry is taught in separate training programs.
Graphical
If, on special customer request, the bill of material should be displayed directly on the CAD drawing, you can insert this bill of material as an independent drawing object in your ELITECAD drawing.
In the options, select the corresponding entry for the bill of material output:

With LAY-OUT > BILL OF MATERIAL, the currently loaded drawing is analysed and all components are listed.
The bill of material can now be placed as an ELITECAD object with the cursor on the drawing using the snap functions. (Query: Where to place?). If the bill of material becomes too long, you can now specify a division point and reposition the second part of the list. Click with the cursor in the middle of the line, which should be the first line of the new bill of material segment.
With Esc , you can gradually undo all divisions and placements and redefine the process.
The bill of material evaluation is completed and the function ended with Enter .
Subsequent changes can be made at any time by opening the function LAY-OUT > BILL OF MATERIAL.
The entire bill of material can be repositioned with MOVE SELECTION or removed from the drawing with DELETE.
The conditions of the associated attribute file apply to the attribute formatting.
The entries in the ELITECAD drawing file apply to the design of the entire bill of material <ELITECAD-installation path>\u\<version>\me\glob\l\table\bom.def.
In this ELITECAD file, the design of the bill of material is determined by the drawn geometry, the settings of the elements (pen and line type) and the texts (text size, text reference point, etc.).
Note
Changes in this ELITECAD file should only be made by the system administrator. Further details are taught in in separate training programs.
Text file
In the options, select the corresponding entry for the bill of material output:
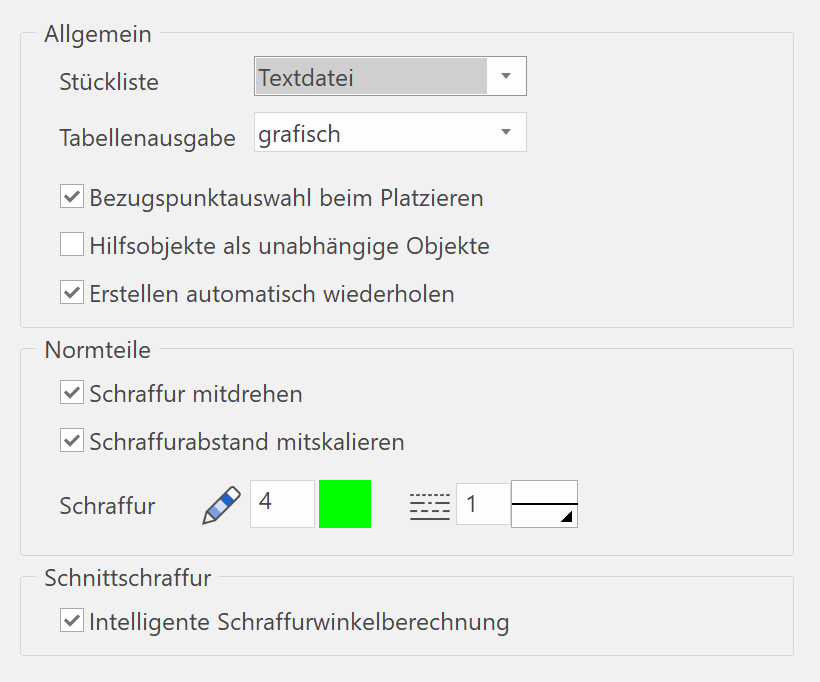
With LAY-OUT> BILL OF MATERIAL, you get to the Windows file selection. Enter the directory and file name for your bill of material file (extension .txt) here.
With SAVE, the currently loaded drawing is analysed and all components are listed. The bill of material is now displayed in the editor (i.e. Notepad) for checking.
The conditions of the associated attribute file apply to the attribute formatting.
The entries in the file <ELITECAD-installation path>\u\<version>\me\glob\dflt\mecha.bom apply to the design of the entire bill of material.
This file contains the conditions for the page layout (columns and rows, bill of material header, etc.).
Note
Changes in this list definition file should only be made by the system administrator. The meaning of the individual entries is taught in separate training programs.
Excel
In the options, select the corresponding entry for the bill of material output:
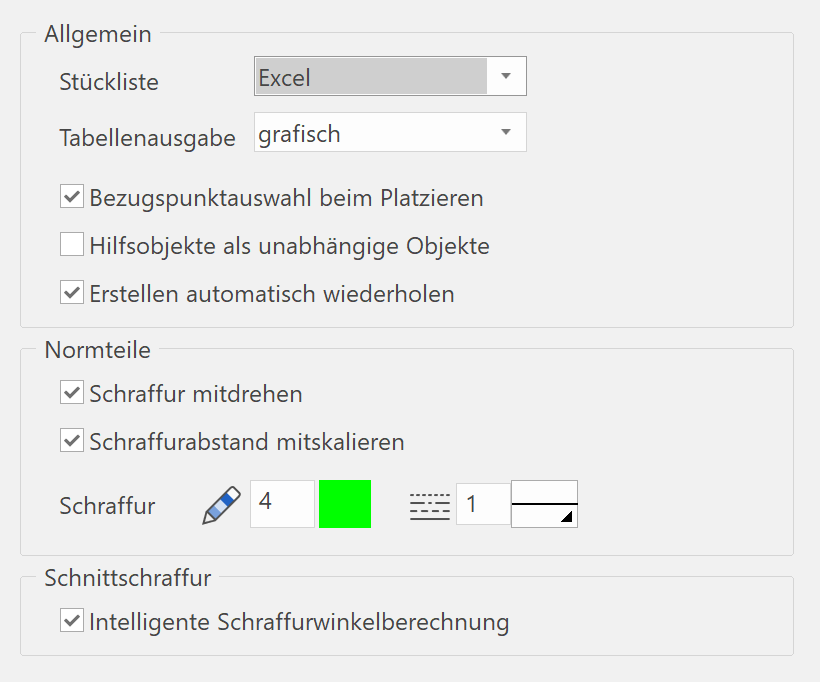
LAY-OUT> BILL OF MATERIAL opens the Windows file selection. The folder <ELITECAD-installation path>\u\<version>\me\listgen\en is opened by default. Here you can choose a template for the Excel bill of material. To do this, select the corresponding .bom file. In addition, there must be a file of the same name with the extension .xls in the same directory. After selecting the template, the ELITECAD drawing is analysed and an Excel document is generated. This will be saved in your temporary directory. However, you should save the created file under a meaningful name, otherwise it will be overwritten the next time a bill of material is created.
Excel template (.xls file)
The Excel template serves as a formatting template for your bill of material. Design this document according to your own requirements. However, there are a few notes and rules to be observed:
- All versions from Excel 2000 on are supported.
- Use VIEW > HEADER AND FOOTER to add images (starting from Excel version 2002 on) to the header or to display page numbers or totals in the footer. If you click the Page borders button in the page layout tap, you can define the areas for the header and footer and the table area.
- In the table view, first create the lines to be printed at the beginning of each page. You may also insert lines beforehand that are only to be printed at the beginning of the entire document.
- After you know which lines should appear on each page (e.g. component name and column headings), you must specify the repeat lines under FILE > PAGE SETUP > TABLE. A continuous area must be selected (e.g. $1: $7 = line 1 to 7).
- For the data area, i.e. for the individual bill of material entries, the cells must be formatted for exactly three components. For example, if a component takes up two lines, then a total of six lines must be prepared.
- It is important to define all the necessary formatting such as alignment, font colour, font and frame for all fields that are to be filled later. The fields themselves should remain empty in the template.
- Below the data area you can also create lines that are to be inserted at the end of the document (e.g. total number of pieces and total weight).
- The sample bill of material supplied can help you design your own template.
Bill of material (.bom file)
This template file is used to create a bill of material that can then be transferred to Excel. It essentially corresponds to the template files that are used, for example, for the text bills of material. The formatting information at the end of the file must look like this:
| Information for the beginning of the file: | |
|---|---|
| FORM TOL; | Beginning of the list (list generator) |
| #HEADER# | list header |
| #DATA#<Cell1>:<Cell2> | Data range from <Cell1> to <Cell2> e.g.: #DATA#A8:G13 |
| #DATAPERRECORD#<Number> | Number of columns per record e.g.: #DATAPERRECORD#11 |
| #<Cell>#<Variable> | Content for a specific cell e.g.: #D1#$DESCR______ |
| #<Cell>#<Variable> | This line can be used for all fields of the list header. |
| Information for the data sets (components): | |
|---|---|
| FORM; | Record (list generator) |
| #RECORD# | Start of data record |
| #<Cell>#<Variable> | Content for a specific cell relative to the beginning of the data area; Start with the first record, all others will be automatically calculated. |
| #<Cell>#<Variable> | This line can also be used for all fields in the data records. |
| Information for the end of the list: | |
|---|---|
| FORM EOL; | End of list (List generator) |
| #TAIL# | End of list |
| #<Cell>#<Variable> | Works like the list head; Calculated sums must be given here. |
| Special information for cell variables: |
|---|
| #STRINGNUMBER#<Cell>#<Variable> |
| #STRINGNUMBER#B1#$p$s_____ |
This keyword indicates that all spaces will be deleted and that the field will be formatted as text in any case. It should be specified in the position / sub-position. This prevents e.g. "1 .1" or "10,1" from appearing in Excel, but rather correctly "1.1" and "10.1".
#STRING#<cell>#<variable> This forces a variable to definitely be transferred as text to Excel.
Please also use our sample files for your bill of material templates as an aid for your own design.
Modify bill of material
Adding and changing entries in the bill of material is easily carried out with ELITECAD.
Update the information on the individual components in the ELITECAD drawing according to the descriptions under the Positioning and Attributes chapters.
Then select LAY-OUT > BILL OF MATERIAL and you will receive the current bill of material according to the settings in the options.
After creating a file, decide whether you want to overwrite your old bill of material or create a new file.