Classification
ELITECAD Mechanics offers multiple tools to structure objects in a drawing. The classification structure (with model/group/class/level), the layer structure and the hierarchical assembly groups. The classification structure is the preferred method to structure plans in ELITECAD Mechanics. The Classification manager is described with examples from ELITECAD Mechanics.
Layers are the preferred method to structure plans in ELITECAD Architecture. The Layer manager is described with examples from ELITECAD Architecture.
Classification manager
|
|
Window toolbar, layer toolbar |
| Window menu > Classification |
Classification manager opens with a single click on the CLASSIFICATION function.
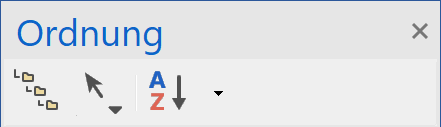
Classification manager header functions

Hierarchical view / list view
![]() /
/ ![]()
This function switches between the list view and the hierarchical view.
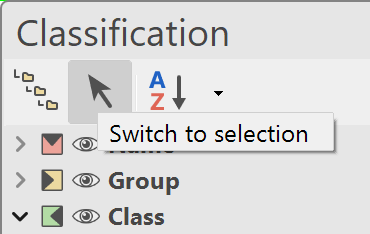
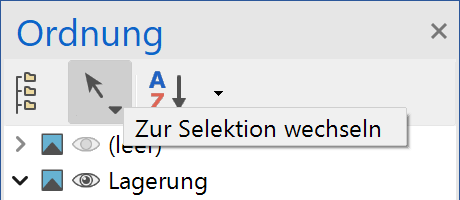
Selection mode
![]()
This function activates and deactivates the selection mode.
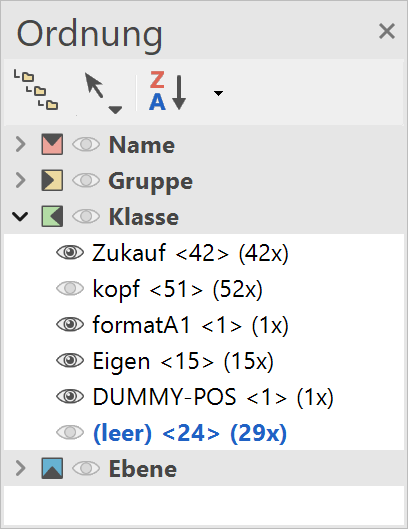
Sorting
![]()
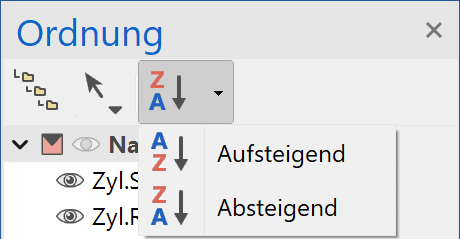
Using the sort function, the lists can be displayed in ascending or descending order. In the list view, the categories model, group, class, and level have a fixed position and will not be resorted.

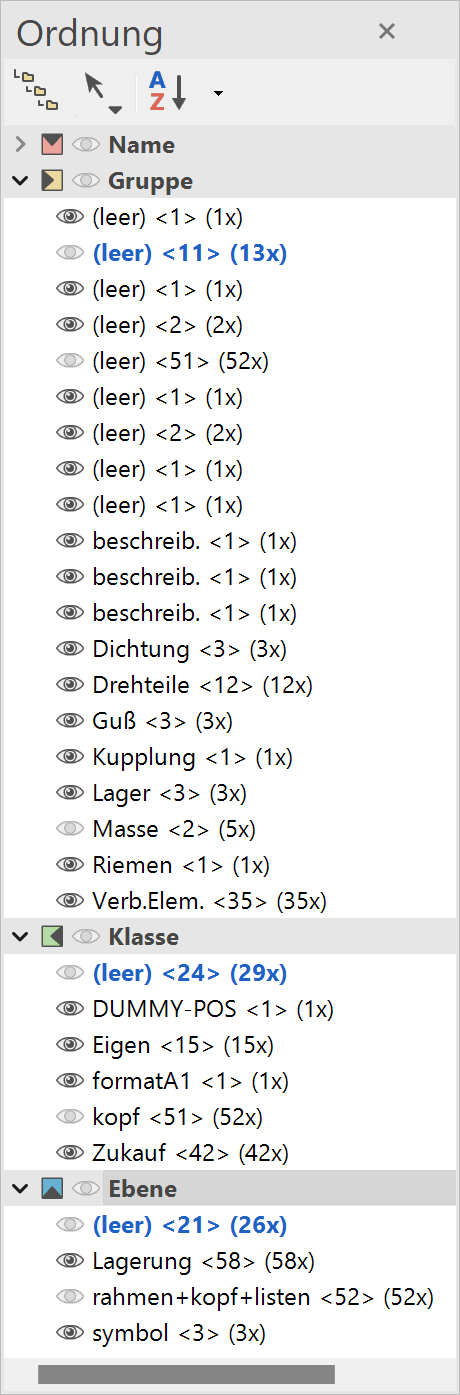
List view – visibility

| Meaning of the symbols | |
|---|---|
| The adjacent name has been chosen in the manager | |
| All models with this name are completely visible | |
| All models with this name are completely invisible | |
| Some models with this name are visible | |
 |
One of 58 models with this name is visible |
 |
The symbol at the category indicates the overall state |
By clicking on the eye icon, the models associated with the adjacent classification name are set to visible and simultaneously displayed in the manager as active (filter symbol).
The visibility of models in other categories results from logical relationships, indicating how many models are visible with the given name. If all models with the given name are visible, an open eye is displayed, if not all models are visible, the entry gets a greyed-out eye and if no models are visible, a closed eye is displayed. The two numbers at the end of each entry also indicate how many models are visible with the given name and how many exist in total.
It should also be noted that at least one name of a classification must be active, which manifests itself in the fact that the last active name of the current classification cannot be switched invisible.
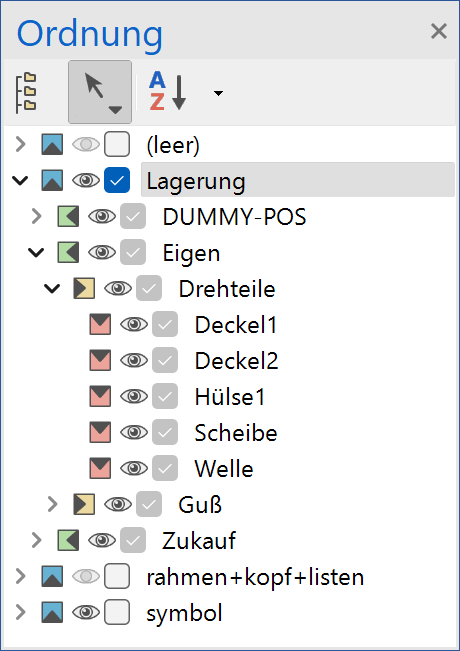
List view with selection mode
By clicking on the symbol shown, the selection view can be switched on or off.
| Meaning of the symbols | |
|---|---|
 |
|
| The adjacent name has been chosen in the manager | |
| No model with this name is selected | |
 |
All models with this name are selected |
 |
Some models with this name are selected |
 |
51 out of 58 models with this name are selected and 58 are visible |
 |
51 out of 58 models with this name are selected and 58 are visible |
Similar to the visibility view, individual names can also be selected in selection mode by clicking on the checkboxes. The rest of the control is analogous to the visibility mode.
List view – multi-selection
A selection is unique within a category. If, in addition, a selection is made in a different category, those objects that fulfil one of the selected criteria are set to visible or active (not all).
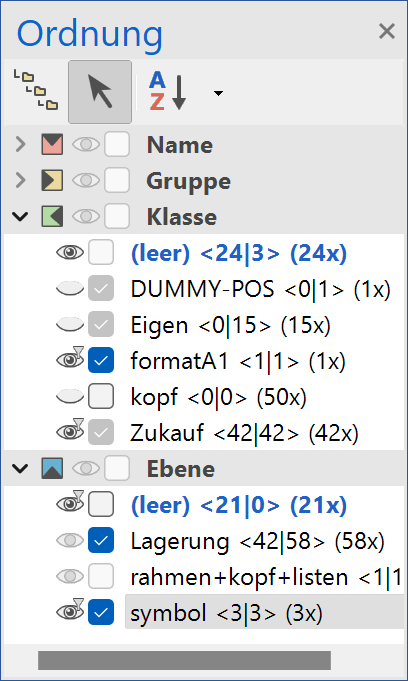
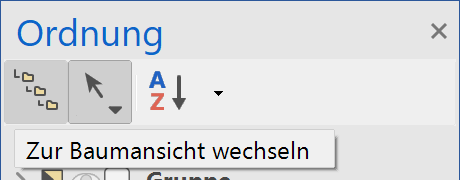
Tree view - visibility
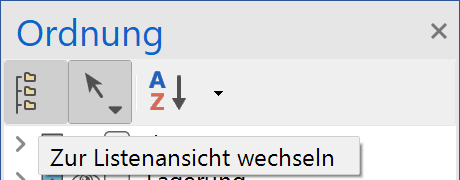
By clicking on the symbol shown, you can switch to the tree view.
By clicking on the symbol shown, you can switch to the list view.
Meaning of the symbols
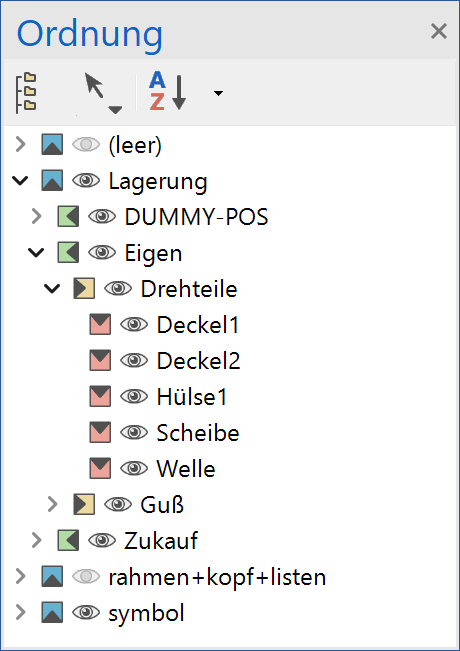
The icons in the tree view are the same as in the list view.
A check mark for an entry means that this entry has been activated by the user and that the selected hierarchy is visible. All states of the subordinate models result from logical contexts. If, for example, the class in-house is active, all the entries below will be displayed as visible. Conversely, all entries would be invisible if an entry above them has been deactivated.
The further down in the hierarchy levels, the more specific the selection for the visibility is, whereby it is possible to specialize down to the model name.
The hierarchical arrangement of the classifications in the manager enables a multitude of logical operations and makes working with the models easier.
Tree view with selection mode
By clicking on the symbol shown, the selection view can be switched on or off.
Meaning of the symbols

Similar to the visibility mode, individual names can also be selected in selection mode by clicking on the checkboxes. The selection of the hierarchically subordinate classifications or models results from logical relationships. If a hierarchically higher entry is activated (marked with a check mark), all subordinate entries are also selected.
The further down in the hierarchy levels, the more specific the selection for the selection is, whereby it is possible to specialize down to the model name.
Tip
If a model is not highlighted in the graphics window after being selected in the manager, it may be due to the fact, that this model was previously hidden in the visibility mode.
Tree view - behaviour
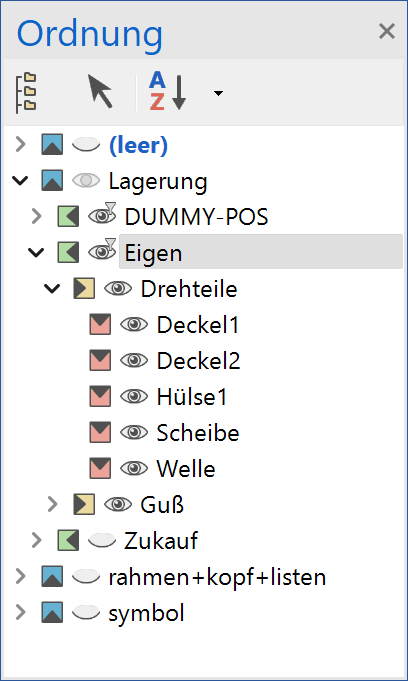
For the operation of the classification manager, there are certain restrictions, which are due to logical relationships and which must be taken into account.
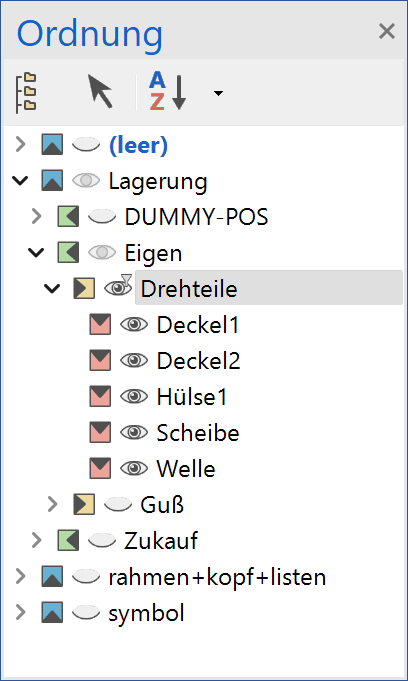
E.g., at least one entry must be active per branch.
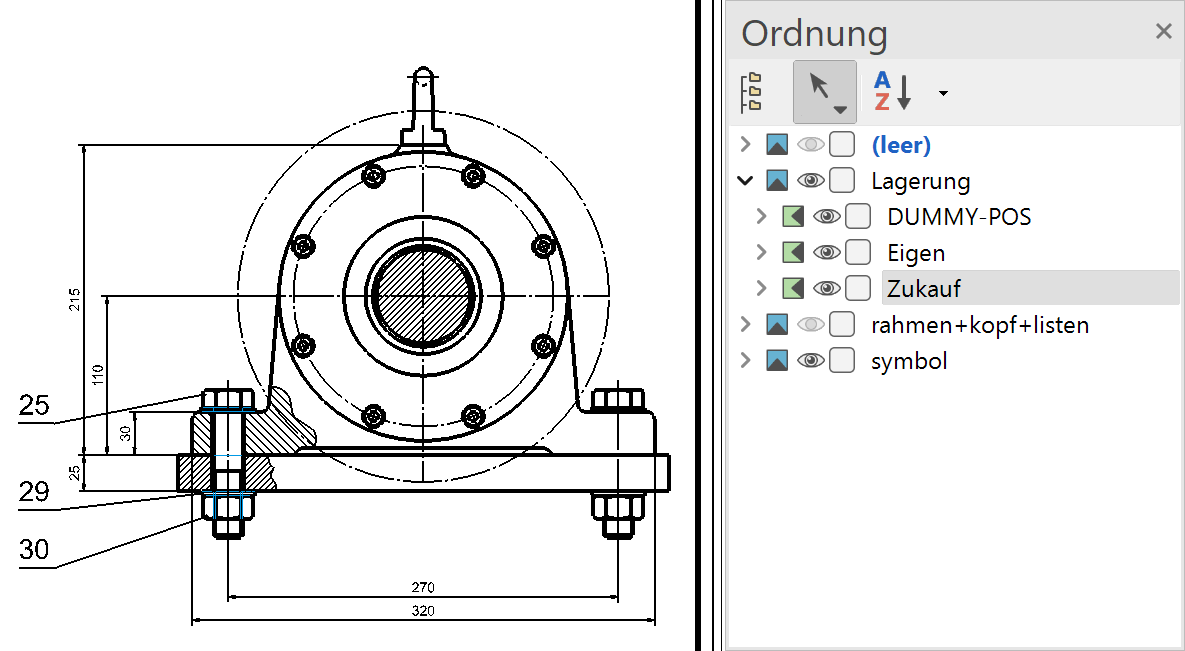
In the example above, the class in-house (and thus all models with this class name) could not be deactivated by clicking, since the level bearing is already active and therefore all subordinate entries have also been automatically selected. The tick at the class in-house in-house. If you clicked on the level bearing in this case, the specialization would be omitted and all subordinate entries from the level bearing would be selected - both in-house and DUMMY-POS.
The same behaviour applies to the visibility mode, whereby an exception applies to the selection mode, that at the hierarchy level of the levels, the last active entry can also be deactivated (with a simple click), whereby nothing would be selected.
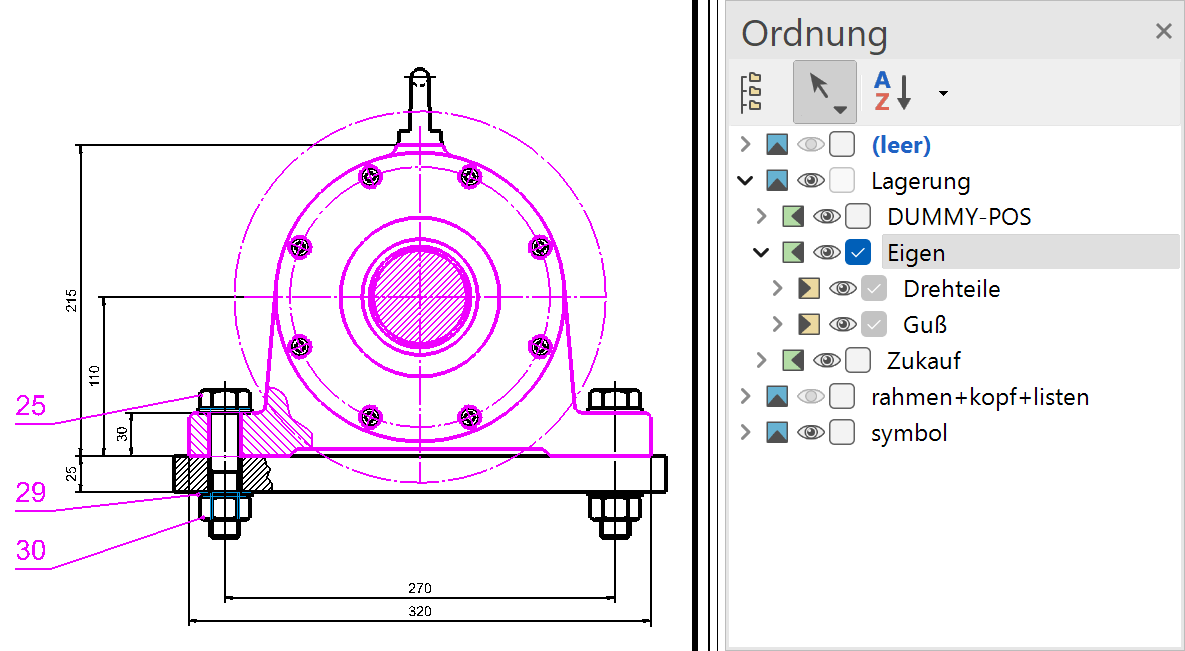
The following example shows the specialization when setting the visibility in the classification manager.
In the first graphic the classes DUMMY-POS and in-house are activated.
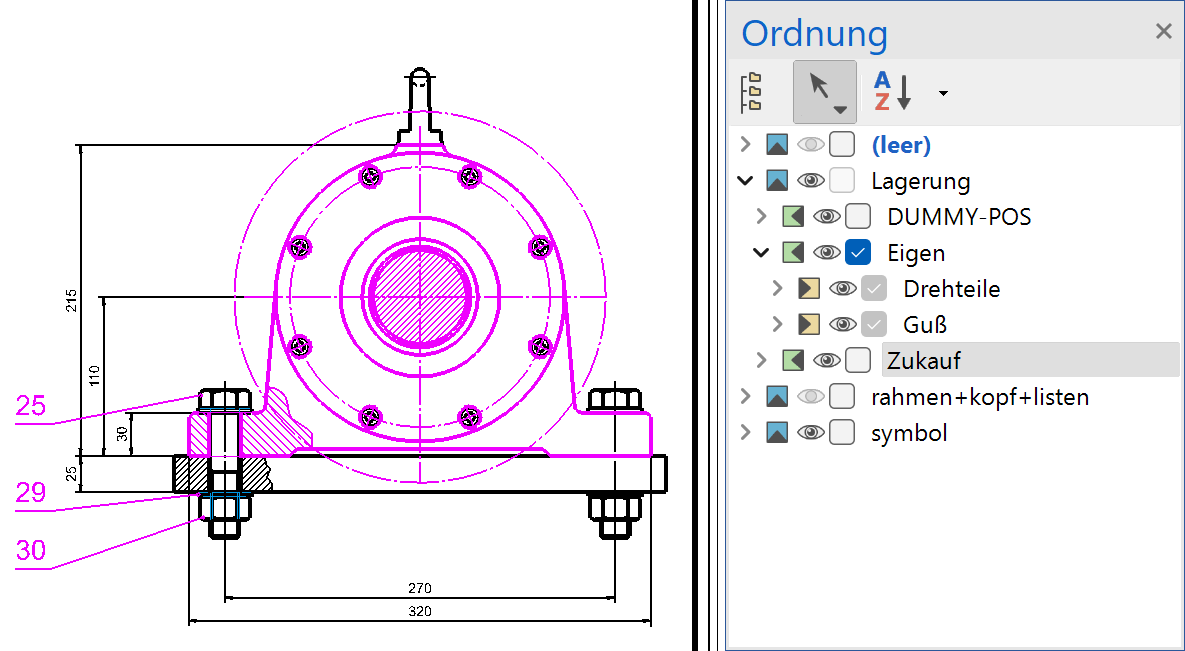
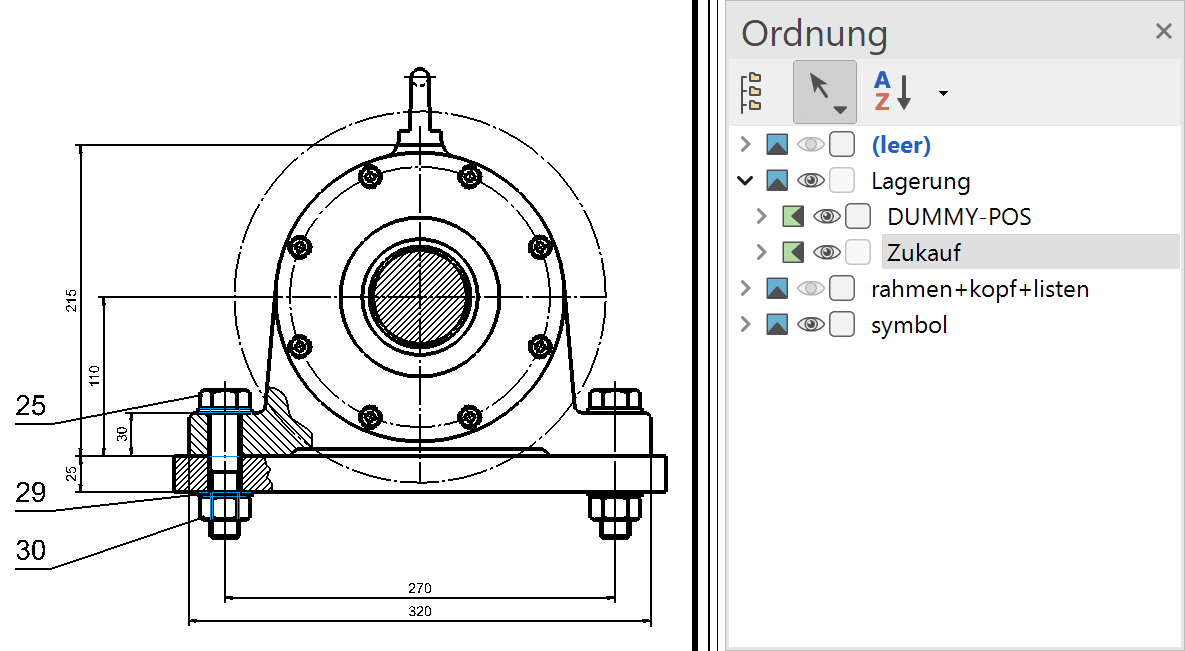
If the user specializes in the selection of the visibility (as shown in the second graphic) by the group turned parts (by clicking on the eye symbol) the class DUMMY-POS automatically falls out of the selection of visibility, because it was further specialized by clicking on the desired entries. Thus, all models with the classifications bearing/in-house/turned parts are now visible, which is represented by an open eye in the manager. If now another specialization would take place at the level of the model names, only these selected models would be visible.
The same behaviour of the automatic activation or deactivation of neighbouring and subentries also largely applies to the selection mode.
Tip
If you only want to switch e.g. special models names to visible or to select, you can start directly with the specialization at the desired classification level. Hierarchically higher classifications are automatically activated by the manager.
Classification manager context menu
Depending on the position of the mouse pointer (over a classification name or group), different functions may be active or possible.

Show / Hide
Depending on whether all models with the selected classification are visible or invisible, the function HIDE or SHOW appears. All models with the selected classification are set to visible or invisible.
Invert visibility
The visibility of all models with the selected classification is inverted.
Select / Deselect
Depending on whether all models with the selected classification are selected or not selected, the function SELECT or DESELECT appears. All models with the selected classification are added to or removed from a selection. This selection can be used for further manipulations.
Invert selection
The current selection is cancelled. All models that do not belong to the current selection are defined as a new selection. The new selection can be used for further manipulations.
Rename
This can be used to change the name of the classification of the model.

This affects all models with the same classification name.
Tip
If the desired entry is already selected in the manager, just click on the entry again to automatically start the renaming.
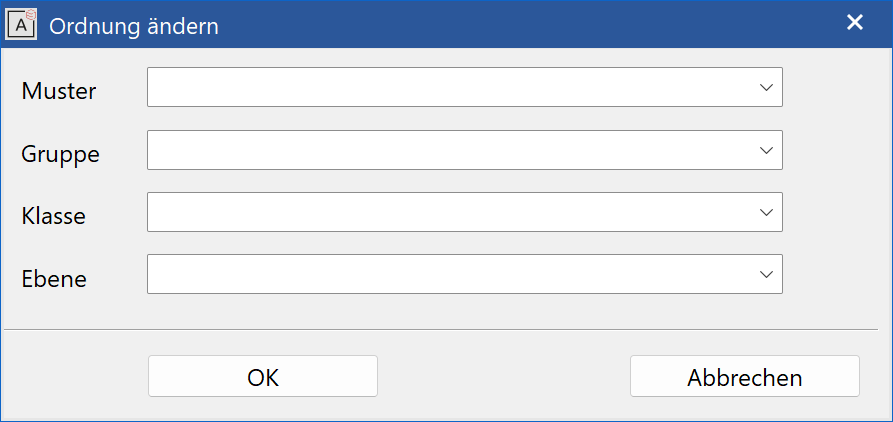
Modify classification
Opens a dialog to change the classification of a selection. If no models have been selected when utilising the function, a query appears to request that you indicate a selection.
Select
This function is used to define the visibility of one classification (model/group/class/level) by selecting objects in the graphics window. The function is only available if the mouse cursor is placed over a specific classification in the manager.
After activating the function, everything is shown and the currently visible selection of the chosen category is highlighted. In order to define the visibility single names of the classification can be selected or deselected by clicking on the objects. Pressing the Enter key completes the selection and the selected names of the category are set to visible.
Assigning classifications by drag and drop
Drag and Drop provides the ability to change classifications quickly and intuitively without using the CHANGE CLASSIFICATION dialog. In this case, the classifications are changed by simply dragging classification names from the manager to the desired models in the graphics window. Two variants are available. There is the possibility of pre-selection of the models to be changed or the dynamic selection during the drag and drop process.
Drag and Drop with pre-selection
First, select the model to be changed (via manager or by selecting in the graphics window via mouse)
Select the new classification in the manager and drag the entry into the graphics window with the left mouse button pressed.
Release left mouse button when over the selection.
The group name in-house will be replaced with the group name purchase for all models of the selection.
During the process, current information is displayed in the status bar, e.g. Copy all selected classifications. After the button has been released: All selected classifications were copied.
If the drag and drop is started from the tree view, all hierarchically superior classification names (beginning with the entry from where the drag-and-drop was started) are also automatically transferred. If only the current classification name (selected in the manager) is to be transferred, the Ctrl key must also be held down during the drag and drop process.
If the drag and drop is started from the list view, then only the name of the classification selected in the manager is transferred.
Drag & Drop without pre-selection
In this case, no preselection of the models to be changed is required, since this is done automatically during the drag and drop process and displayed to the user.
Select new classification in the manager and drag the entry into the graphics window with the left mouse button pressed.
During drag and drop, the model is highlighted at the current mouse position.

Releasing the left mouse button changes the classifications.
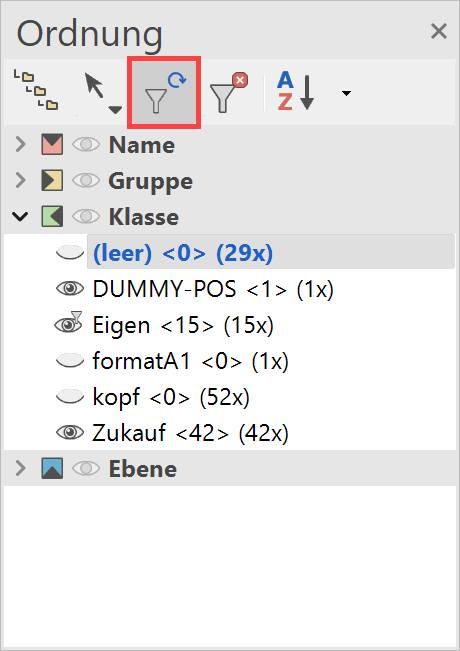
Modify creation filter of a view
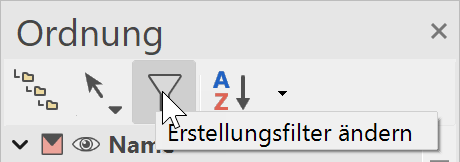
With the filter symbol, ![]() the creation filter of a view can be changed quickly and easily afterwards. To do this, switch to the desired, already created view with the filter icon displayed in the toolbar of the manager. After pressing the button, the view's filters can be adjusted by setting the individual classifications in the manager as visible or invisible. The process is completed by pressing the confirmation button (green flashing) in the manager toolbar, which updates and displays the view.
the creation filter of a view can be changed quickly and easily afterwards. To do this, switch to the desired, already created view with the filter icon displayed in the toolbar of the manager. After pressing the button, the view's filters can be adjusted by setting the individual classifications in the manager as visible or invisible. The process is completed by pressing the confirmation button (green flashing) in the manager toolbar, which updates and displays the view.
New classification
|
|
Structure toolbar |
This function is used to set the model, group, class, and layer name, provided, that the "group / class / level selection" check box is ticked in OPTIONS.
After activating the function, the names for model, group, class and level can be entered in the dialog window displayed. All already defined values can be selected via the combo box.
New group
|
|
Structure toolbar |
This function sets a new group and starts a new model. New group means that, although the group name remains the same, an intrinsic coupling is set for the following new models. This means that this group can be manipulated independently of other groups with the same name.
Note
This function sets a new group and starts a new model. New group means that, although the group name remains the same, an intrinsic coupling is set for the following new models. This means that this group can be manipulated independently of other groups with the same name.
Select classification
|
|
Structure toolbar |
This function is used to set the model, group, class, and layer name, provided, that the "group / class / level selection" check box is ticked in OPTIONS.
After activating the function, the names for model, group, class and level can be entered. The values must be entered in the correct order and separated by "," in the input line. Thereafter, a new model is automatically started.
Tip
If some values are equal to the current classification, only the changed names are to be specified. The current classification is displayed at the bottom of the screen. To delete an existing classification name, a blank must be entered.
To preserve an existing classification name, place a comma. (For example, if the group should be preserved, the input looks like this: model,class,level).
Modify classification
|
|
Structure toolbar |
| Modify menu > classification |
This function is used to set the model, group, class, and layer name subsequently, provided, that the "group / class / level selection" check box is ticked in OPTIONS.
After activating the function, the names for model, group, class and level can be entered in the dialog window displayed. All already defined values can be selected in the combo box.
Tip
To delete an existing classification name, a blank must be entered.
If no selection is made, this function refers to the current model.
This function can also be called by double-clicking on the classification in the status bar.
If a model is selected, this function is also available in the context menu.