Plots
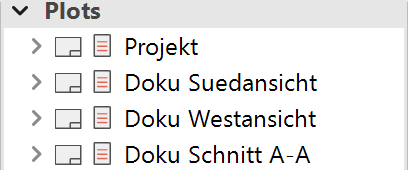
The plot generates an empty page upon which the plan layout is set up. Everything that needs to be drawn or loaded in addition (plan frame, title block, legend, labels) belongs to this plot. The previously defined views (plans, sections, views, details) can be placed as required. The views are only inserted as a reference. These sub views can be edited directly in the plot. Modifications in the original are added to the plot immediately. Simply put; a plot is a set of different views.
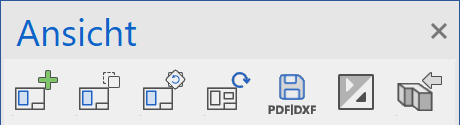
Header functions for the views
| Function | Description |
|---|---|
| Insert view | |
| Move view | |
| Rotate view | |
| Refresh view | |
| export as PDF/DWG/DXF | |
| Expand/Close all view groups |
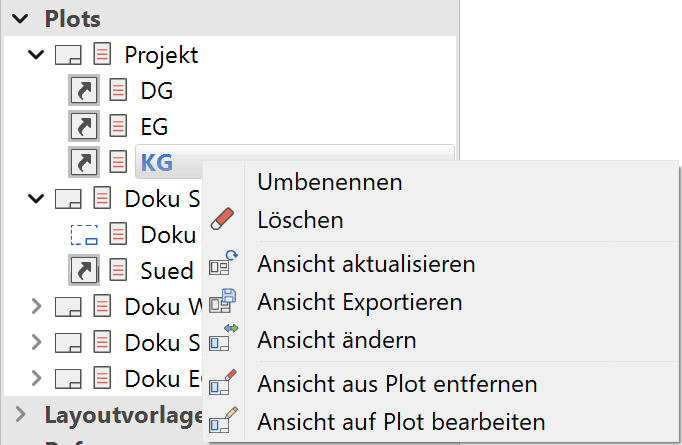
Context menu of a plot view
If you right-click on a created view, the following options are available:
Show view in a new window
![]() Details in OUTPUT > VIEWS > FUNCTIONS IN VIEWS.
Details in OUTPUT > VIEWS > FUNCTIONS IN VIEWS.
Float view window
![]() Details in OUTPUT > VIEWS > FUNCTIONS IN VIEWS.
Details in OUTPUT > VIEWS > FUNCTIONS IN VIEWS.
Expand/reduce
The sub views are displayed or hidden. Double-clicking on the plot name has the same result.
Sort
The sub views are arranged in ascending or descending order.
Rename
Details in OUTPUT > VIEWS > FUNCTIONS IN VIEWS.
Delete
![]() Details in OUTPUT > VIEWS > FUNCTIONS IN VIEWS.
Details in OUTPUT > VIEWS > FUNCTIONS IN VIEWS.
Create copy
Details in OUTPUT > VIEWS > FUNCTIONS IN VIEWS.
Separate view (only available in ELITECAD Mechanics)
![]() Details in OUTPUT > VIEWS > FUNCTIONS IN VIEWS.
Details in OUTPUT > VIEWS > FUNCTIONS IN VIEWS.
Refresh view
![]() This function refreshes all sub views on the plot.
This function refreshes all sub views on the plot.
Export view
![]() Details in OUTPUT > VIEWS > FUNCTIONS IN VIEWS.
Details in OUTPUT > VIEWS > FUNCTIONS IN VIEWS.
Save PDF file
![]() Details in OUTPUT > VIEWS > EXPORT VIEWS AS PDF/DWG/DXF.
Details in OUTPUT > VIEWS > EXPORT VIEWS AS PDF/DWG/DXF.
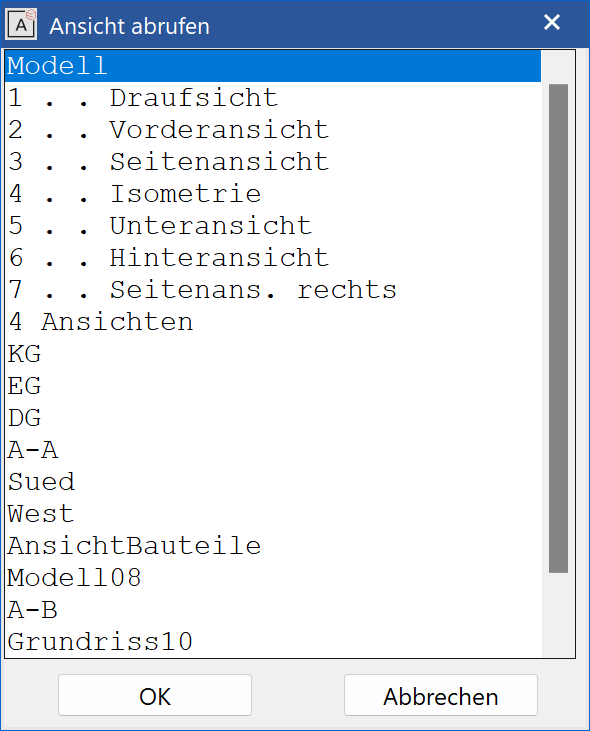
Insert view into plot
This function opens a selection dialog window in which all views are listed. The required view can be marked, confirmed with  and positioned in the plot.
In the selection menu to insert new views into a plot view there are entries for predefined views, the design model view, the entry "4 views" and the manually defined views. In ELITECAD Architecture, all manually defined views are listed. In ELITECAD Mechanics, only those views are listed that are not assigned to a plot view or that are assigned to the active plot view. If they are assigned to a plot view, then the name of the corresponding plot view is given in brackets. Hereby it is possible to create sub views with identical names in different plot views. (e.g. different section views with the name A-A can exist in different plot views).
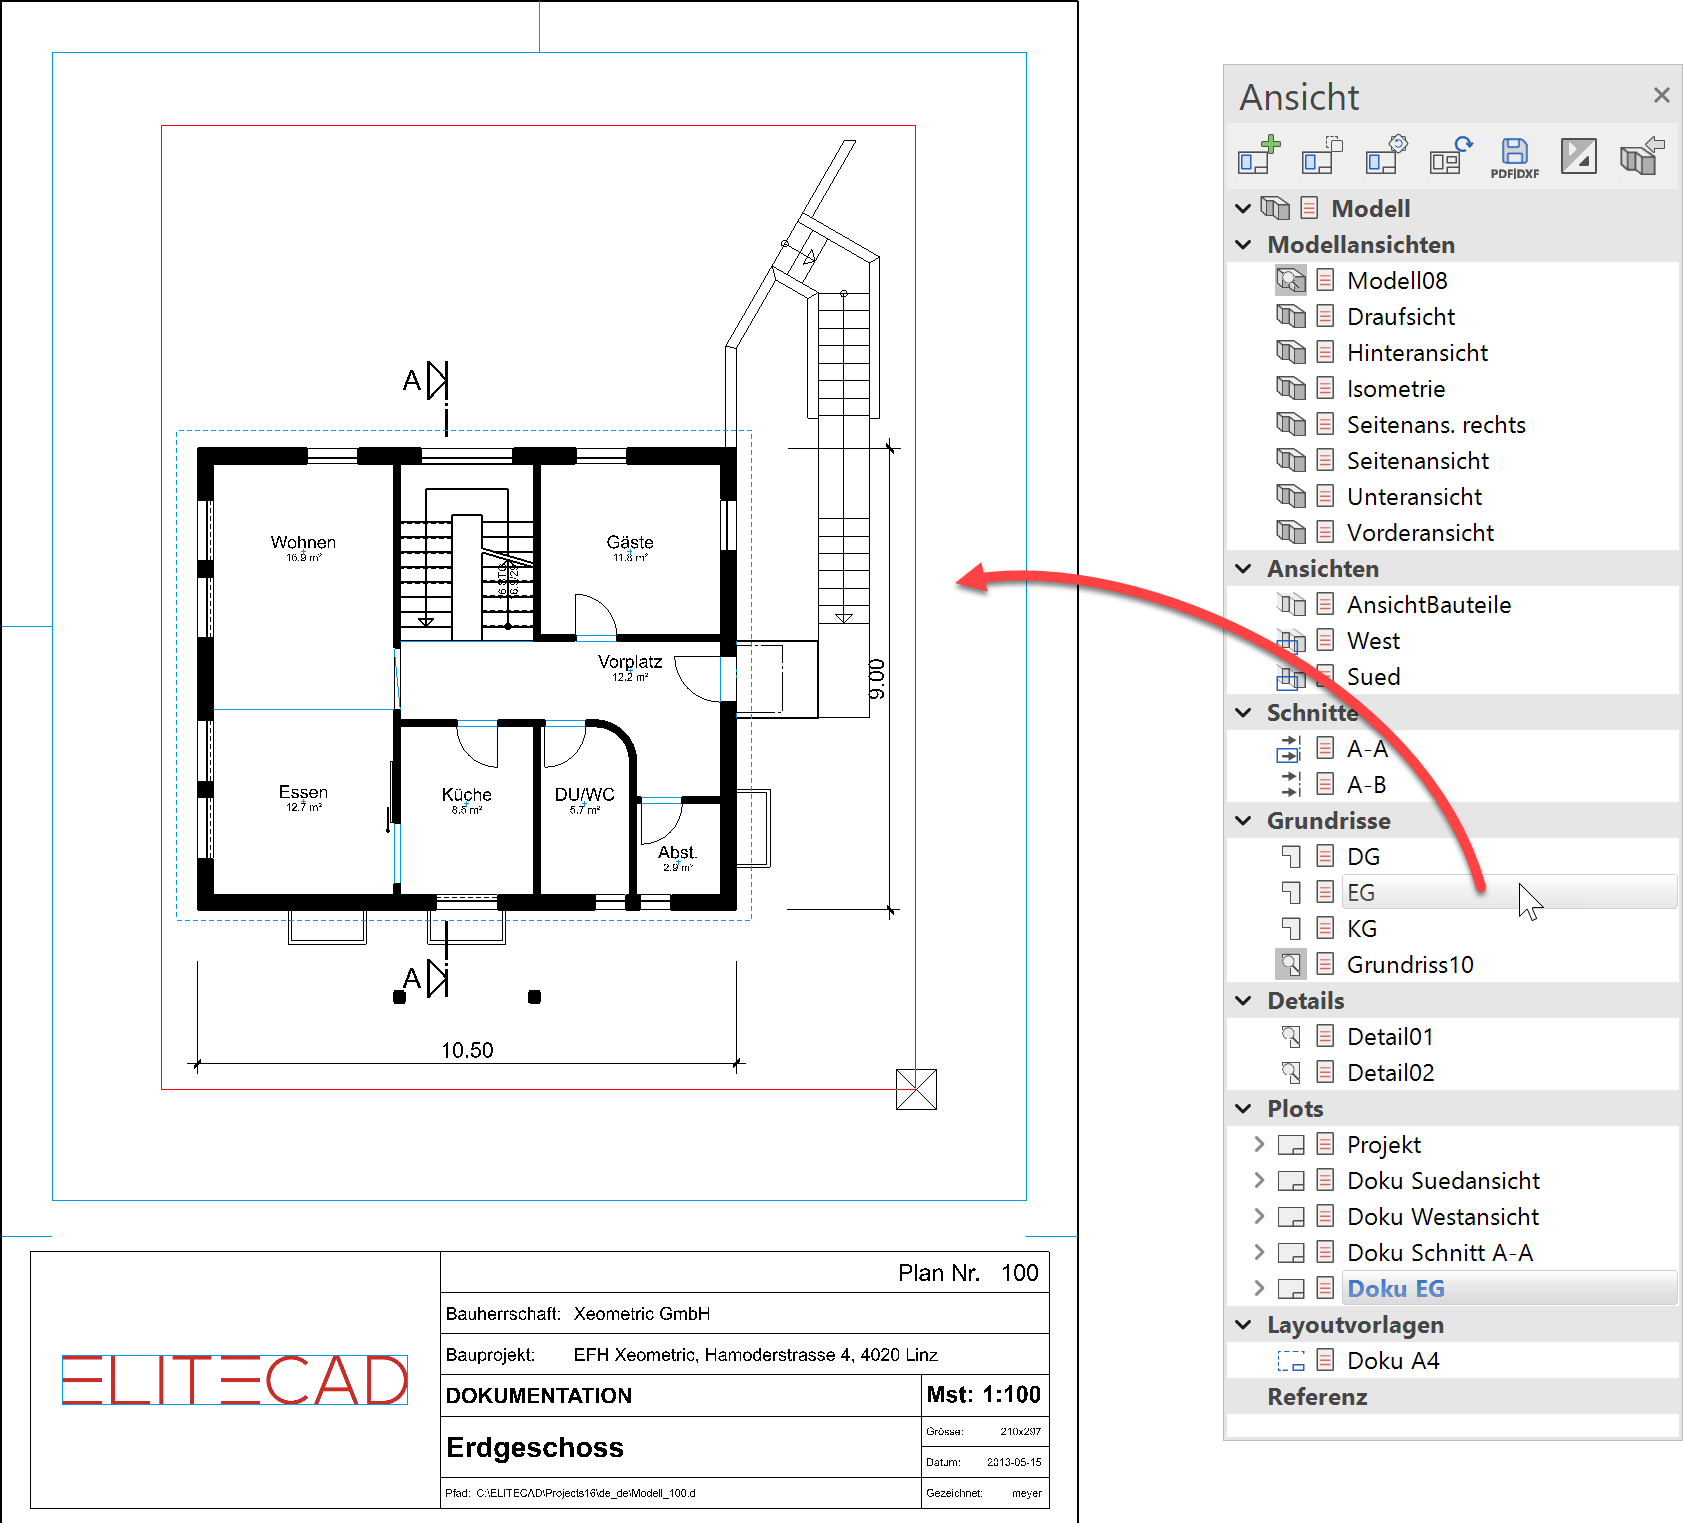
Tip
The view can also be inserted into the plot using drag and drop.
Activate the plot in which the view is to be positioned. Drag the NAME of the view into the plot with the left mouse button. As soon as you are in the work area, you can release the mouse button and position the view in the correct place.
Insert 4 views into plot
With this choice, four standard views (front view, top view, side view and isometric view) are inserted into a plot view. These are adjusted horizontally and vertically in the plot view and created according to the settings under SETTINGS > OPTIONS > VIEWS > GENERAL. Sections and further defined views can be inserted later. In ELITECAD Mechanics, these four views keep their relative position when moving one of the connected views.
Add a view relative to another view
In ELITECAD Mechanics, there is a further option to insert a view. If a view is already selected by its frame when starting the function INSERT VIEW INTO PLOT, the selection window is not displayed. Instead, new views are inserted relative to the selected view by collapsing them. The position of the new view is associated with the origin view. When moving the origin view, the new view is shifted as well. In order to stop this behaviour, click the frame of the view and select CANCEL POSITION LINK from the context menu.
Move view
![]()
The inserted views can be moved with this function.
In order to move multiple sub views simultaneously, the placeholders (white/red bordering) that are to be moved are selected by holding down the Shift key and then clicking on the function MOVE SELECTION.
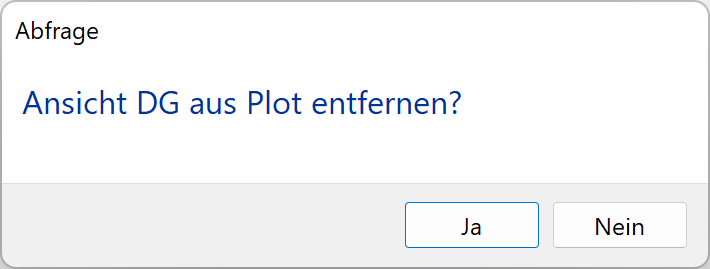
Delete view
![]()
Deletes a selected sub view.
The view to be deleted is queried. It must be selected by the placeholder (white/red bordering). This function must be confirmed.
Multiple sub views can be deleted from the plot simultaneously. To do this, the required sub views must be selected by their placeholder (white/red bordering) with the Shift key held down and deleted with the Del key.
This deletes the sub views from the plot. Deleting each view must be confirmed.
Rotate view
![]()
The function ROTATE VIEW allows users to modify the orientation of the view. Sections can therefore be placed in the direction of projection for the floor plan, for instance.
Edit view
![]()
The function EDIT VIEW can be used to switch temporarily to the selected sub view in order to make any modifications required there. The corresponding plot must be clicked in views manager in order to switch back to the plot view.
Modify view
![]()
The detail parameters of the sub view can be changed later on with the function MODIFY VIEW.
Edit layout template
When selecting this function, the view is switched to the layout template and then it can be modified.
Delete layout template
The layout template will be removed (only) from the active plot view. The original layout template remains.
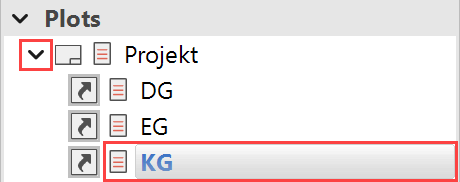
Sub views
If the structure is extended for a plot, all sub views appear that were inserted in the plot. If one of these sub views is clicked on, it can be edited within the plot. Placeholders (white/red bordering) are temporarily displayed in bold and red to differentiate them visually. The view is deselected and the placeholder displayed as normal when the name of the plot is clicked on.
Texts, dimensioning, etc. can therefore also be aligned to each other within the plot compilation.
Tip
The sub view can also be selected by double-clicking a placeholder. The view can be deselected by clicking outside the placeholder.
Alternatively, the placeholder can also be selected or deselected from the context menu. Select the placeholder and right-click on the user interface.


A range of commands can be carried out directly by right-clicking on a sub view.
Create new plot
|
|
Views manager > New plot |
| Insert menu > Plot |
A plot is understood as a set of different views.
Tip
Views and details with different scales can be combined into a plot.
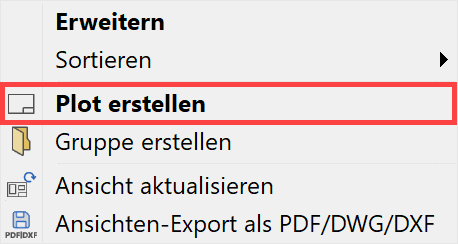
A new plot can be generated using the corresponding header function or from the context menu of the details if a model view is selected.
The desired settings have to be entered in the settings dialog window of the view. By clicking ok, the settings are saved and the view is created. The function MODIFY VIEW allows you to change the settings of the view after creation.
In ELITECAD Mechanics the current filter is saved as the generation filter for the assigned plot view (details in Filter for plot views).
Settings of a plot view
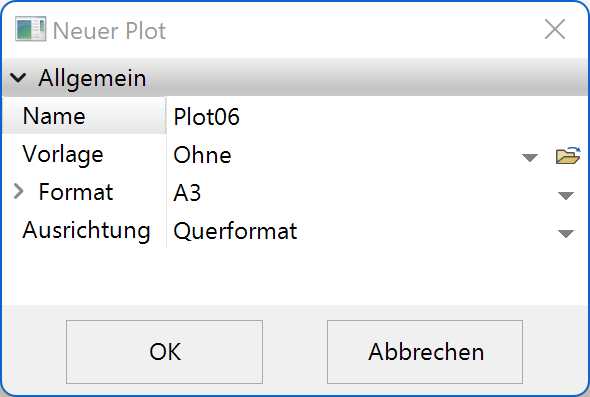
General parameters
Name
Details in OUTPUT > VIEWS > GENERAL VIEW PARAMETERS.
Template
Previously defined layout templates can be selected here.
Layout templates can be created and managed in the views manager. Use layout templates to define plan descriptions only once and to add them in multiple plot views. The combo box only lists templates that are already loaded.
The LOAD button allows adding already saved templates. Here *.d files can be loaded, which have been saved as layout templates.
Tip
In order to add a layout template to an existing plot view or to replace an existing layout template, the template can be moved using drag and drop from the views manager directly onto the plot view.
Format
Details in OUTPUT > VIEWS > GENERAL VIEW PARAMETERS.
Orientation
Details in OUTPUT > VIEWS > GENERAL VIEW PARAMETERS.