Render parameters
Parameters

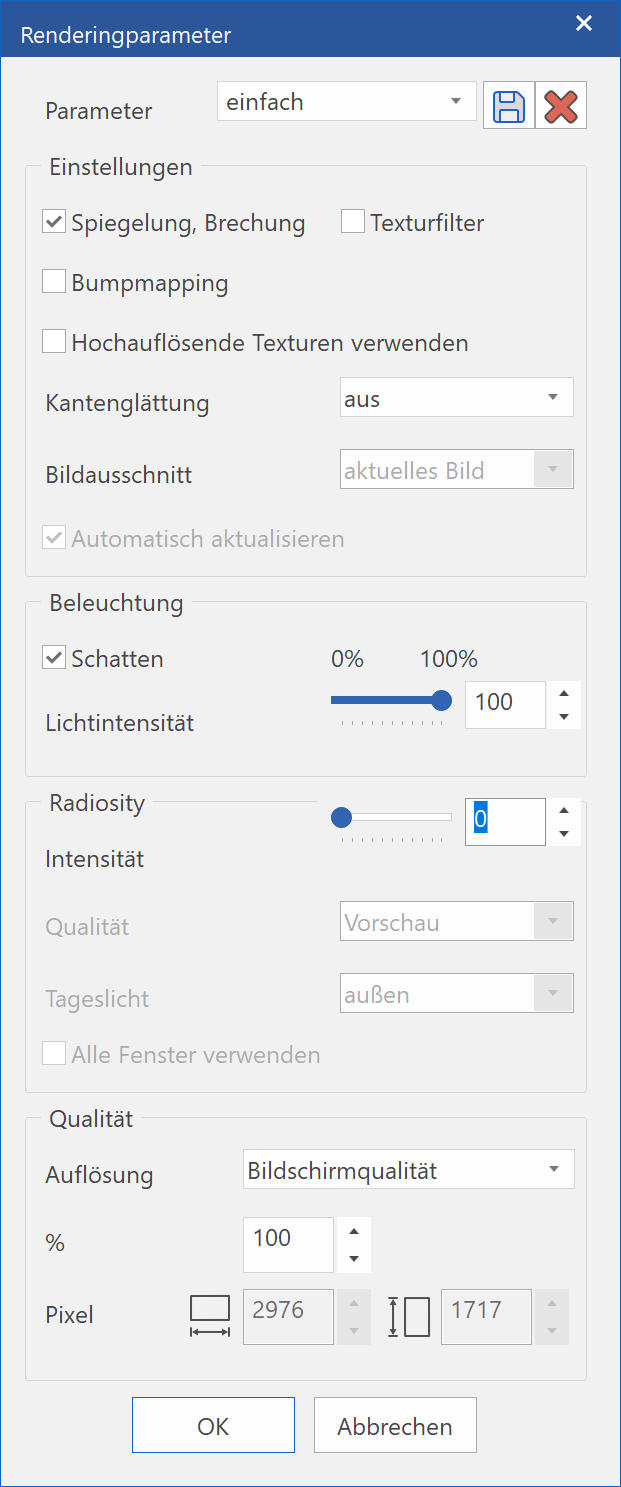
Here you can call up, save or delete settings.
Settings
Mirroring, Refraction
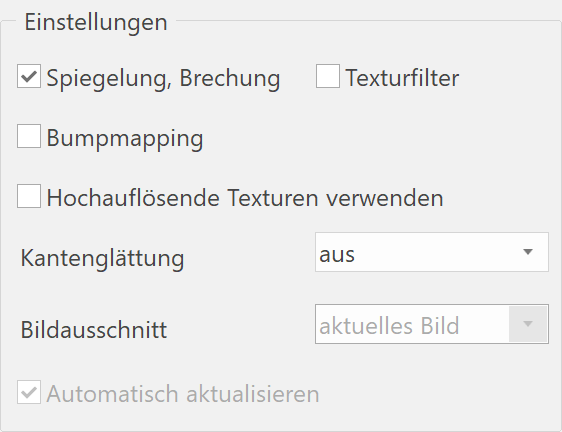
This setting determines whether mirroring and refraction are rendered as configured in each material during the render model's render process.
Bump mapping
This setting determines whether bump mapping is rendered as configured in each material during the render model's render process.
Use high resolution textures
Texture images with large amounts of data can be displayed in the render with reduced quality in order to save memory and lower rendering time.
This option controls whether or not high-resolution textures are to be used.
Texture filter
This setting determines whether texture filters are rendered as configured in each material during the render model's render process.
Edge smoothing (anti-aliasing)
As the image is rendered pixel by pixel and is independent of the resolution, it is often possible for slanted edges to appear staircase-like. If you select edge smoothing, each pixel is virtually subdivided into smaller points, improving image quality.
Note that these options increase the memory requirements and the rendering time. Therefore, only use it when necessary.
| Without edge smoothing | with edge smoothing |
|---|---|
 |
 |
Image section
The IMAGE SECTION option has differing availability in the various views:
Active image:
With this setting, only the active image section is ever rendered.
Format:
With this setting, the configured format is rendered.
Total scene:
When doing so, the total scene is always calculated.
Refresh automatically
This check box is only available in the design model views.
If the option is not set, the rendered build is "frozen" and must be manually refreshed in case of any changes. If it is set, the design model view is re-rendered when you switch to it.
Tip
If you add design model views to the plot, they should not be automatically refreshed any more, if possible. Instead, the image should be re-rendered every time you switch to the plot view.
Lighting
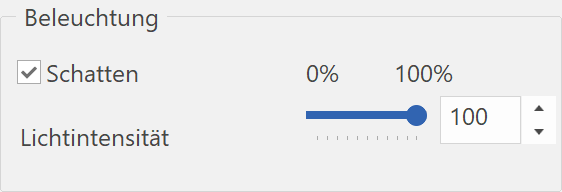
This setting determines whether shadows are displayed during the render model's render process. Using the LIGHT INTENSITY option, you can change the brightness of all light sources globally.
Radiosity
Daylight rendering is a process for rendering the energy distribution of atmospheric light in the scene. If the light strikes planes, they reflect it and diffuse it back into the room. In this process, the light energy is progressively reduced with distance.
This energy diffusion enables a basic illumination level as would be found on a cloudy day, which you can combine with other light sources.
Intensity
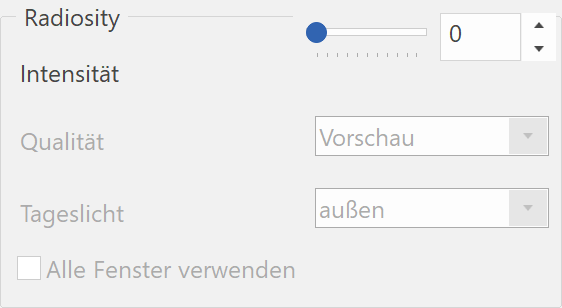
If the slider is set to "0", the other options are blocked and the rendering is not run. If a value is entered, the radiosity rendering is started the next time rendering is started. After rendering has been completed, the intensity of the result can be adjusted retroactively without the need to run the rendering again. If you reset the slider to "0", the radiosity result is deleted.
Quality
You can distinguish between "preview", "simple", "good" and "optimal", each requiring progressively more rendering time. While working, it is recommended to only use the "preview" depiction and only use the optimal rendering for the final image.
| Preview | Simple | Good/optimal |
|---|---|---|
 |
 |
 |
Daylight
You can choose between OUTSIDE and INSIDE. The OUTSIDE option simulates light from the entire sky, while the INSIDE option simulates the light entering through the window.
Accordingly, only use INSIDE daylight for interior perspectives.
Use all windows
This check box is only available if daylight is set to INSIDE.
If the option is not selected, the radiosity lighting only uses the windows that are visible from the position of the camera. If the option is selected, all included windows are used for rendering, which may potentially lead to prolonged rendering time.
Radiosity Update
Once the radiosity has been rendered, it is not automatically refreshed when the geometry is modified. The daylight rendering process must be manually restarted. In the render depiction (design model view only), right-click in the graphic window and then on "Radiosity Update".

Quality
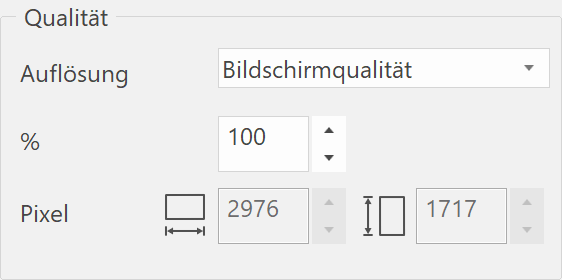
You can control the quality of the rendered image in this area.
Resolution
There are three options available for selection:
Display quality:
ELITECAD's current work area is used no matter which format is selected. The screen's resolution also has an effect. That is why the quality is expressed as a percentage and not in DPI.
Print quality:
The quality is dependent upon the format and the selected image section. Based on the calculated pixels, the quality in DPI (dots per inch) can be specified.
Free:
You can enter the pixel values manually.
Tip
Do not set the quality unnecessarily high while working. Only do so before rendering the final image.