Camera
Camera Dialog
|
|
*Modify toolbar |
| View menu > Camera |
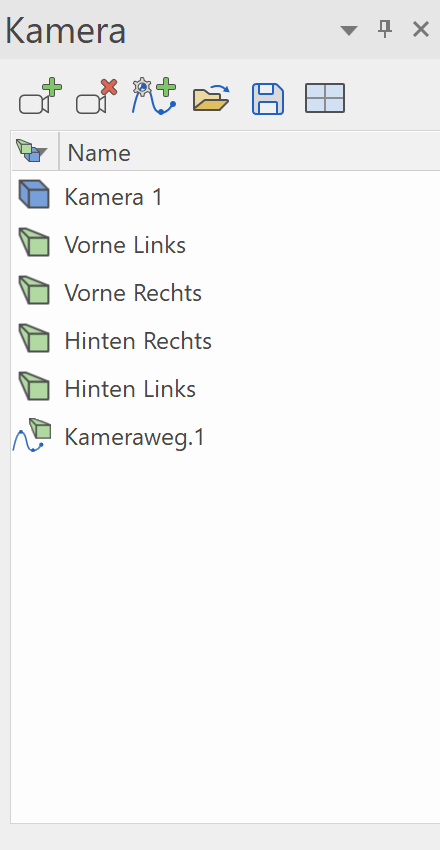

The camera parameter window manages a list of named camera positions. By selecting one entry in the list, a previously saved camera is activated again. The active camera is always visible.
Stand point, view point and opening angle can only be edited in 4-view mode.
Manage cameras
Save camera
![]()
The save function saves the active camera as a new entry in the list of cameras. By clicking on the name, the camera can be renamed.
Tip
Camera positions can also be created with the SNAPSHOT function. This is very practical in the walking mode.
Delete camera
![]()
The camera selected in the list is deleted.
Create camera path
New · 17 R1 · Improvements
![]()
The dialog for creating a camera path is opened.
For full details how to create a camera path, see the camera path chapter.
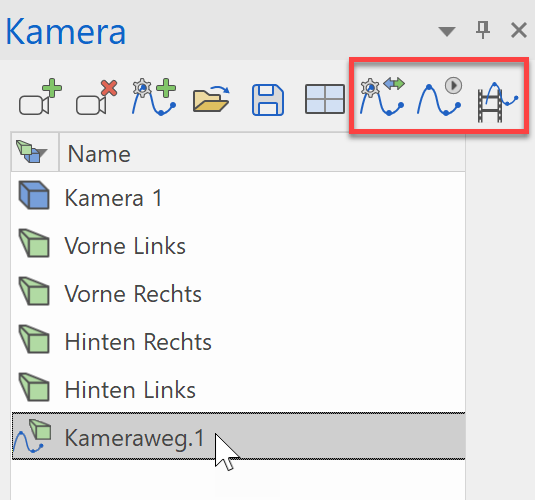
Further options are available when clicking on a camera path:
![]() - Modify camera path
- Modify camera path
![]() - Play camera path
- Play camera path
![]() - Create video
- Create video
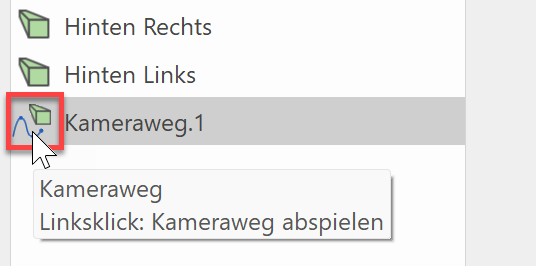
Tip
The icon in front of the camera path can also be used to play the camera path.
Camera export and import
![]()
![]()
All camera positions are saved into a file or loaded from that file.
Perspective / parallel projection
![]()
![]()
If you click on this symbol, you can switch between perspective and parallel projection.
Camera parameter
Camera position

Here, the coordinates for the "Stand point" and "View point" are entered. The values are either defined using interactive configuration, or by entering them in the entry fields manually.
The opening angle can be modified using this slider. The value is defined using interactive configuration, or by entering it in the entry field manually.
Extend / shorten view point
![]()
![]()
These two functions move either the view point closer to or farther away from the stand point. The offset is 10% of the distance between the distance between the stand point and the view point.
Modify camera
4-view window
![]()
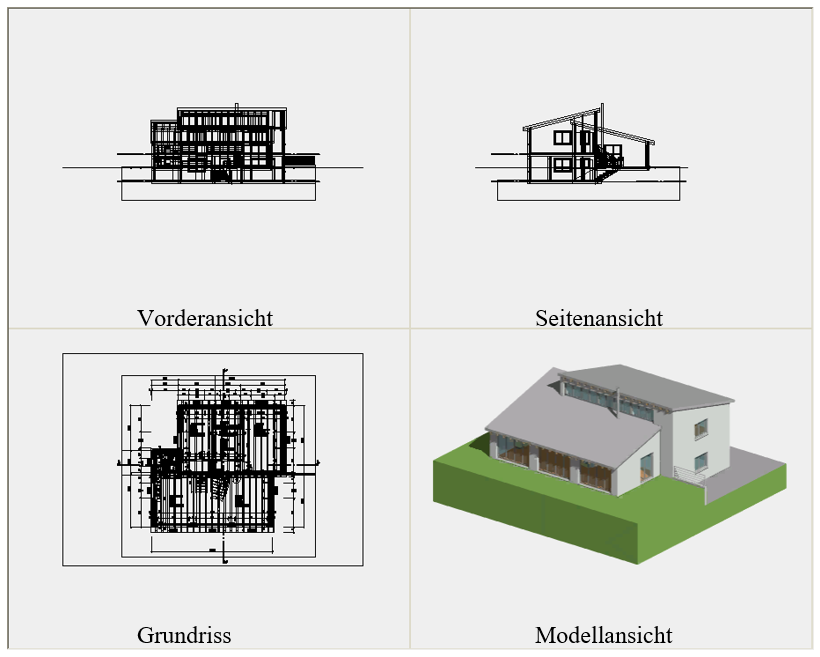
The camera is set up in the 4-view window. After terminating the 4-view mode the modification can be accepted or discarded.
If the camera dialog window is open, only the camera symbol can be clicked. Objects cannot be selected or manipulated.
The depiction of the design model view can be controlled separately. If you right-click in this area, a menu opens where you can select how the design model view should be displayed. This is also true for the other views, as they are interconnected.
Tip
The depiction of the standard view should be in the wire model, if possible, as this speeds up image assembly.
Using camera in the 4-view window
There are various handles available, which you can use to manipulate the camera interactively while holding down the left mouse button.
| Modify position of camera | Move camera |
|---|---|
 |
 |
| Modify direction of camera | Modify opening angle of camera |
 |
 |
Save camera
|
|
Camera toolbar |
| Menu View > Camera > Save camera |
With showing the camera save dialog, a snapshot is saved with preconfigured quality settings and is added to the list of cameras. That allows returning to interesting positions later.
Load next camera
|
|
Camera toolbar or Navigation |
| Menu View > Camera > Load next camera |
This function switches to the next camera in the camera list.
Load previous camera
|
|
Camera toolbar or Navigation |
| Menu View > Camera > Load previous camera |
This function switches to the previous camera in the camera list.
Camera to standard view
|
|
Navigator toolbar |
This function sets the viewing direction to the according standard view.
Load next standard view
|
|
Navigator toolbar |
This function switches to the viewing direction of the next standard view.
Load previous standard view
|
|
Navigator toolbar |
This function switches to the viewing direction of the previous standard view.
View position
|
|
Image properties |
This function is used to view the 3D-object from any point in any direction. You can finely tune the direction of view via the subsequent Camera dialog window. The design model depiction is automatically set to be in perspective.
After you activate the function, you will be prompted for:
- The digitisation of the view position by entering a value or capture mode
- The height of the view position (Z-value in relation to the active work plane)
- The digitisation of the focal point by entering a value or capture mode
- The height of view point (Z-value in relation to the active work plane)
Now the 3D-image is rendered according to the configured parameters and displayed in the 4-view window.
Camera pivot point
|
|
View toolbar |
| Image properties |
This function is used to realign the camera pivot point.
Normally, the camera pivot point is the centre of the screen. If you want to rotate objects that are far from the zero point, it is better to reset the centre point for the rotation to enable precise navigation. You can do this by clicking the object in question (which selects the centre point of the surrounding rectangle) or via point entry.
Tip
The pivot centre point is reset every time the image section is modified.