Roof
Workshop
- Select the top floor. Double-clickk

- Create auxiliary lines to construct the roof overhang.
Vertical 30 cm; Horizontal 70 cm


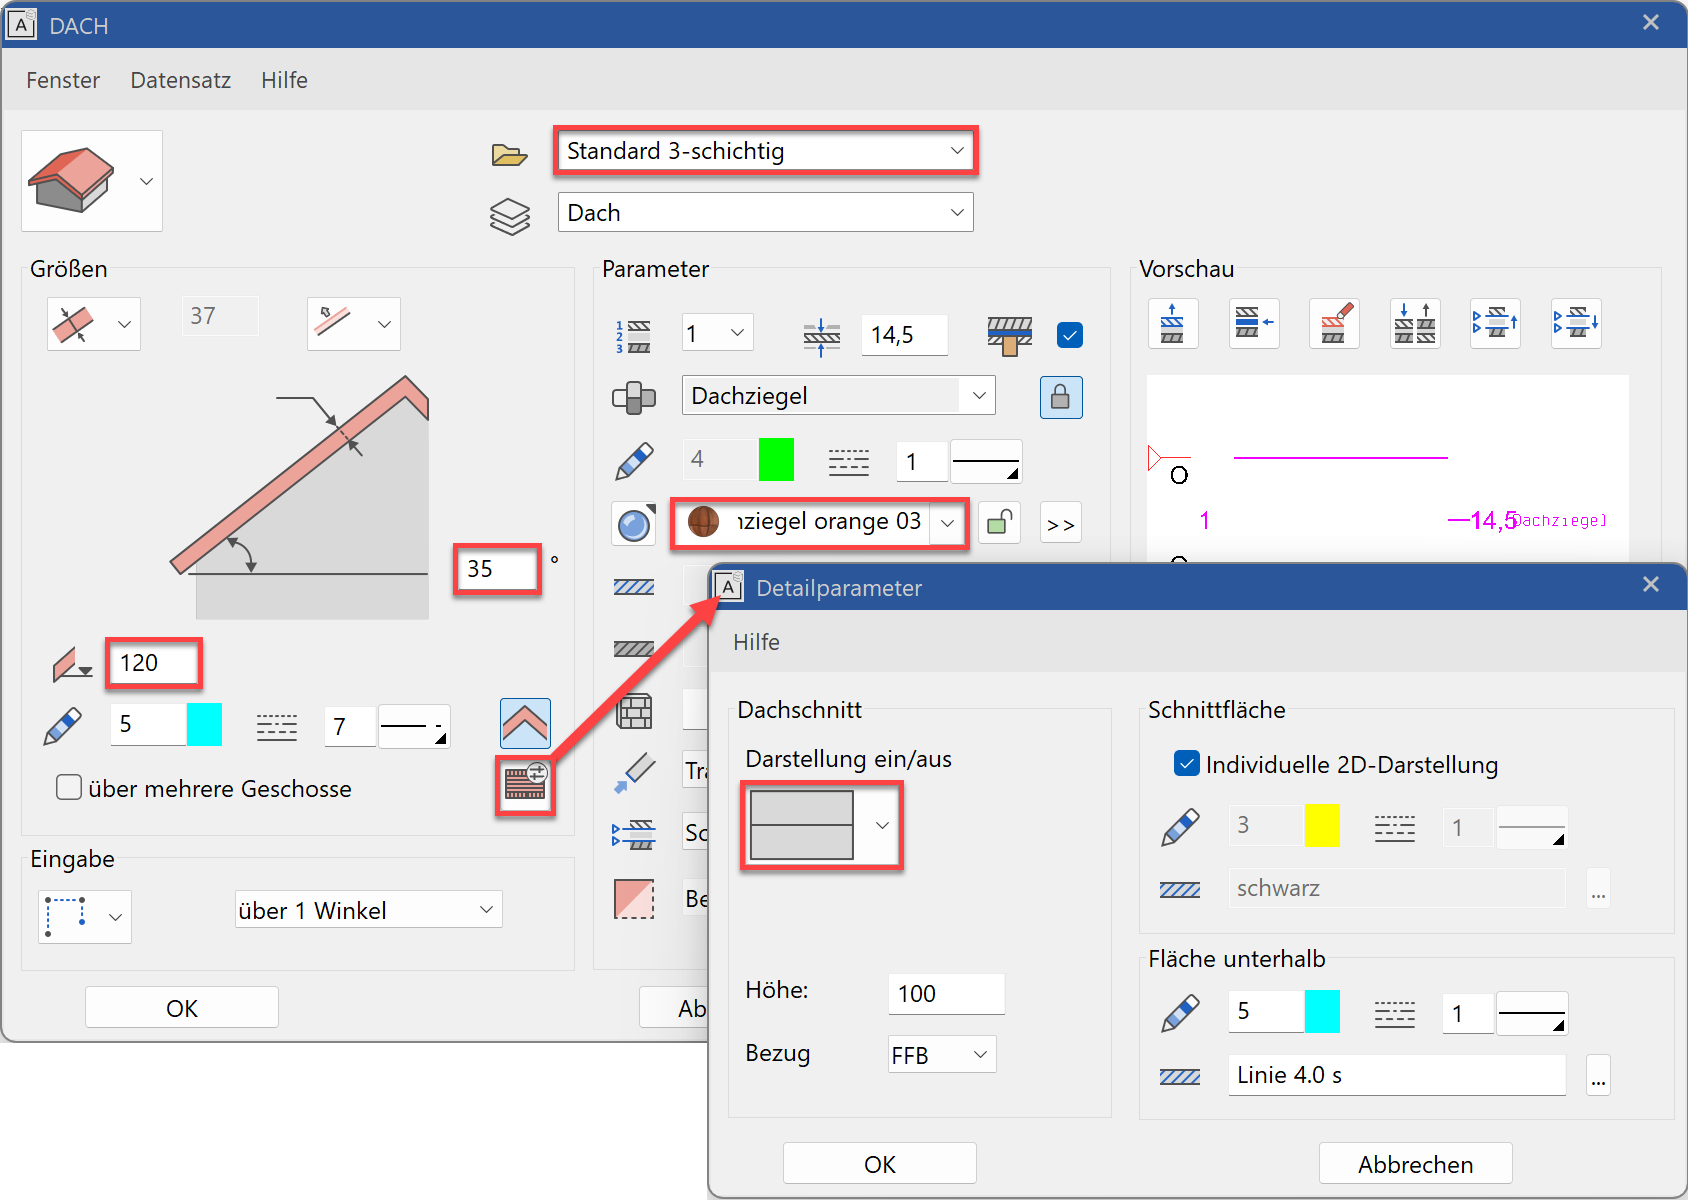
- Select the function CREATE ROOF and open the roof parameters from the property bar.

- Set the parameter in accordance with the template.
- The drawing functions appear in the Input Assistant. Switch to the drawing function RECTANGLE and draw the rectangle.

- Next, set the ridge points.
Move the cursor to the centre of the vertical edge until the snap symbol switches to Middle of element. Set the first ridge point. For the second ridge point, move the cursor horizontally into the structure and click.


- The last entry is the point to which the height must be transferred. In this example, it is at the bottom left on the inside of the jamb wall.

- Cancel the function with Esc and delete the auxiliary lines using the function DELETE ALL AUXILIARY LINES.

- Save a work copy Ctrl+W.
