Materialise
Set visualisation materials for objects
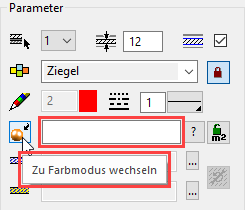
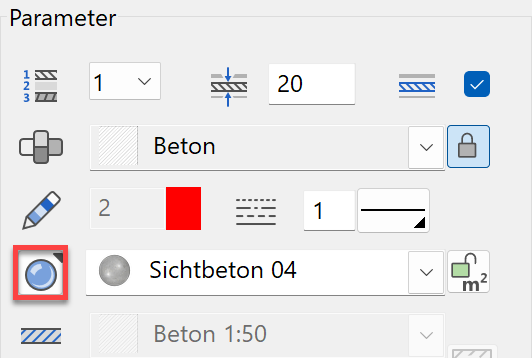
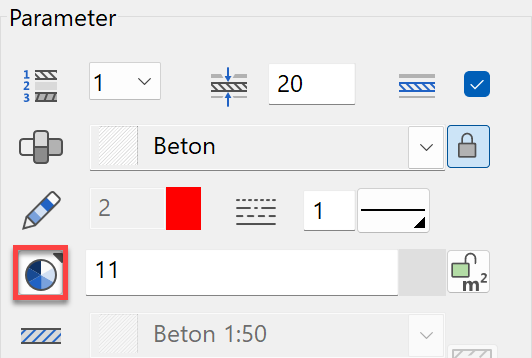
A function for materials allocation is offered in the respective parameter screens.
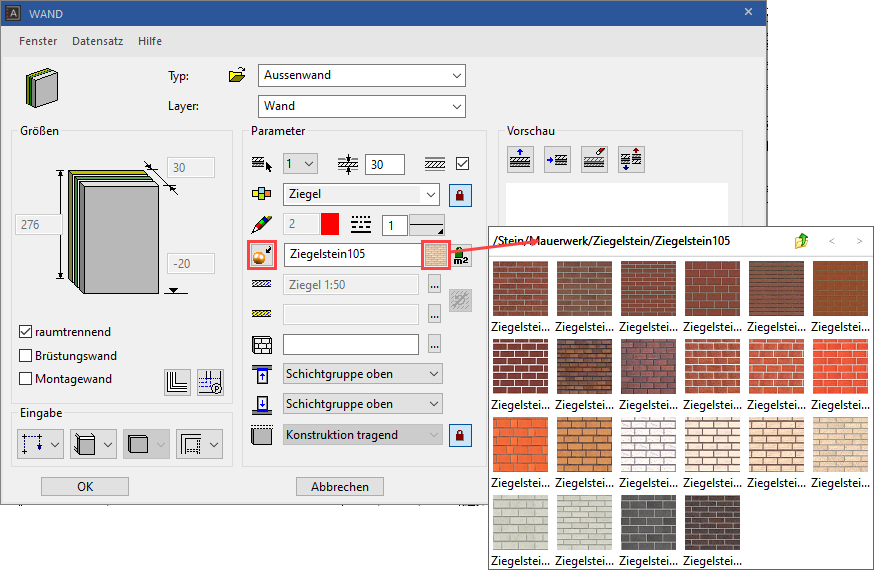
Users can toggle between visualisation material mode and colour mode.
| Visualisation material mode | Colour mode |
|---|---|
 |
 |
Allocating visualisation materials using "drag & drop"
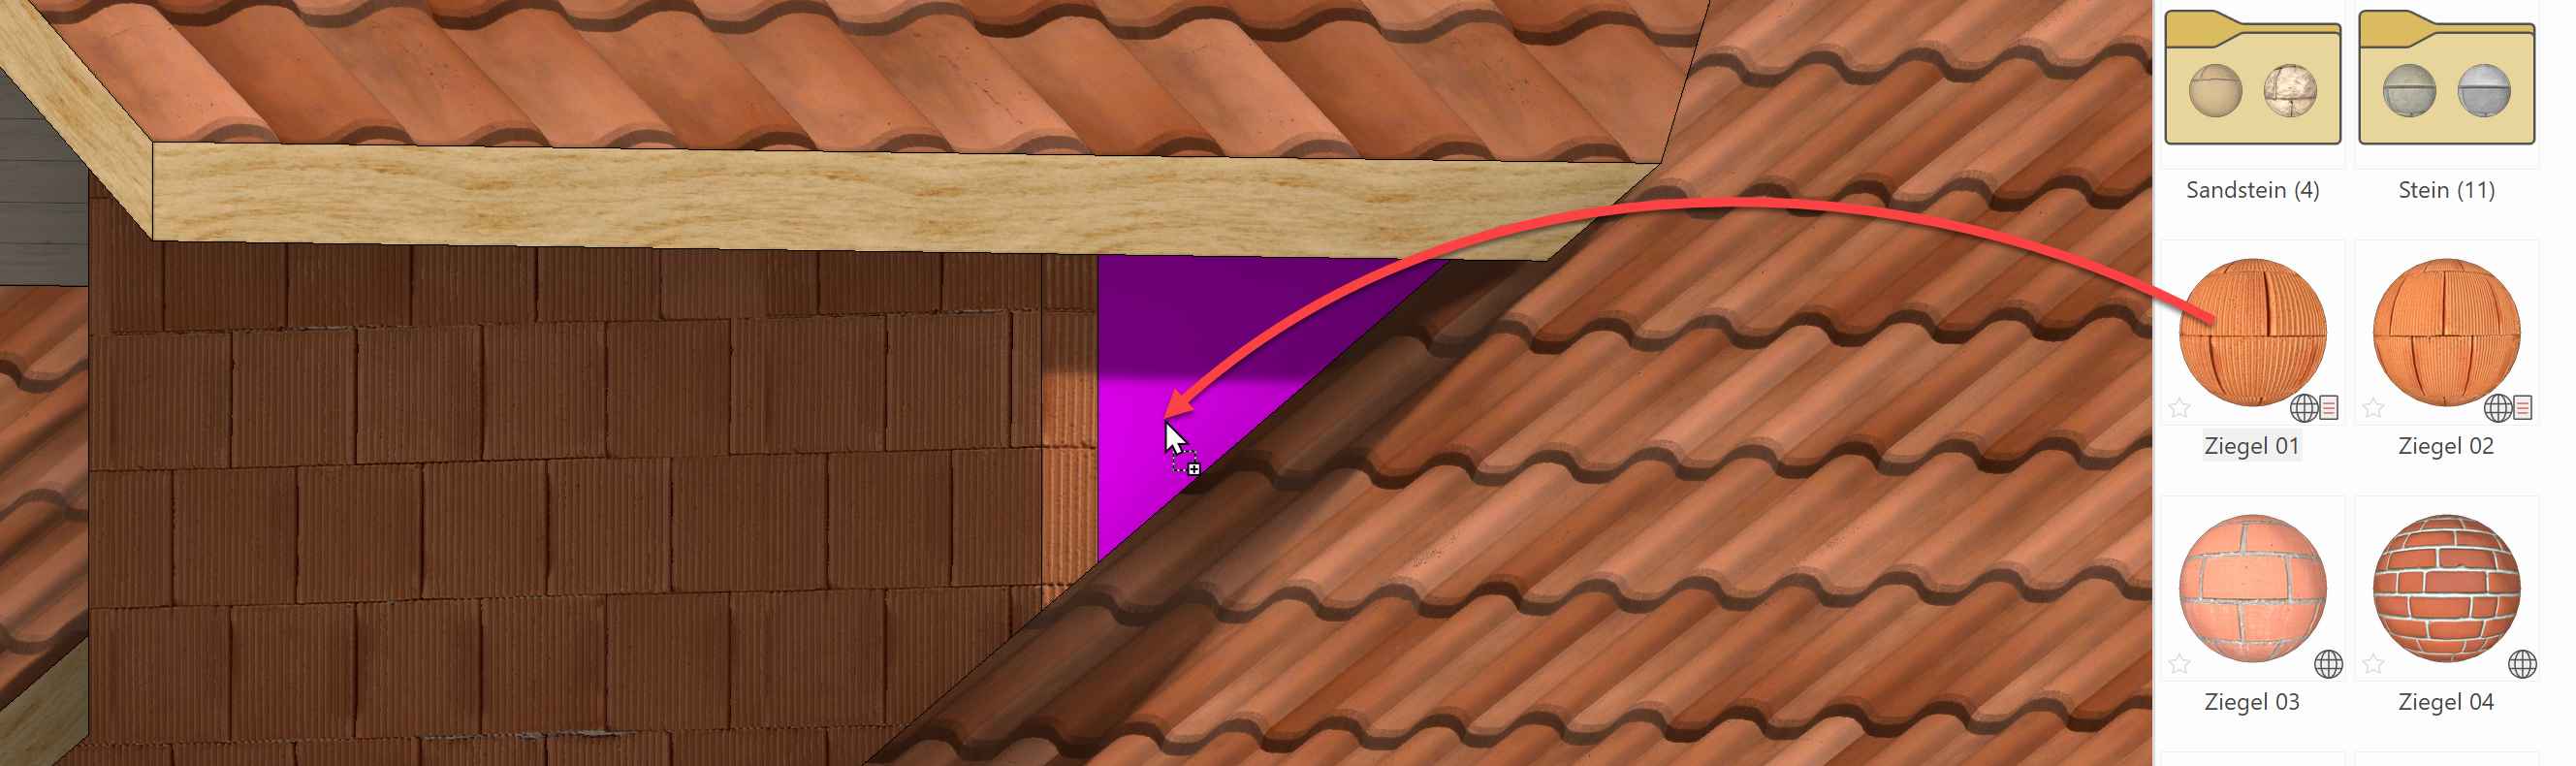
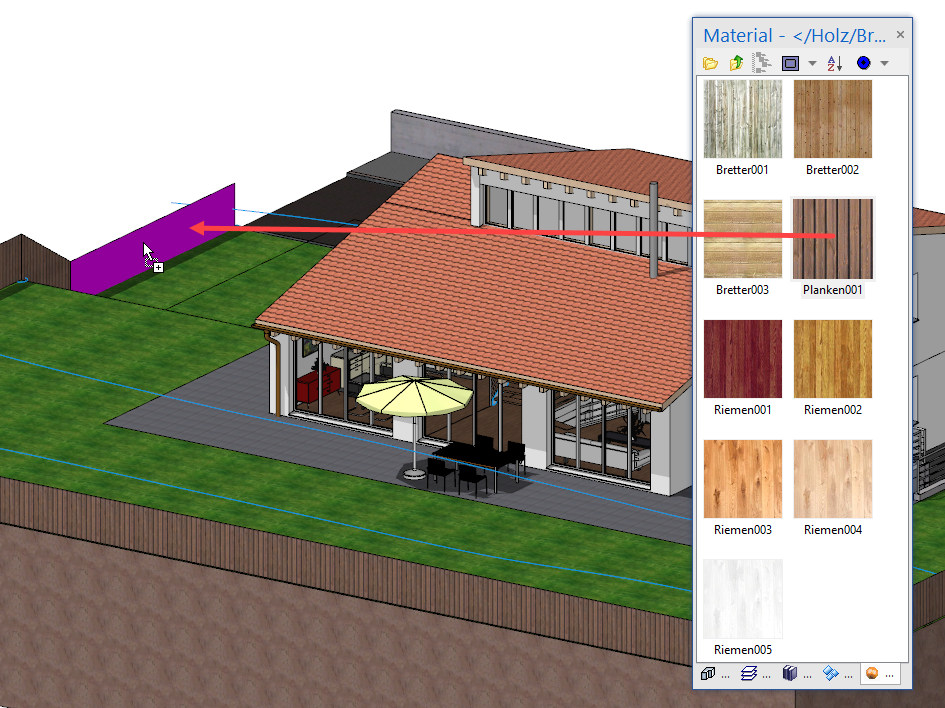
The other option for allocating visualisation materials (VisMat) is using "drag & drop". The visualisation material can be dragged and dropped from the Visualisation materials manager onto the component in question.
Tip
If you want to allocate the same visualisation material to multiple surfaces or objects, etc., there is a multiple allocation function. Drag the visualisation material onto a surface as normal. However, instead of releasing it, press the Shift key on the keyboard or the "+" sign. Click and hold down the left mouse button and move it to a different surface before releasing the button. This can be repeated any number of times.
Workshop
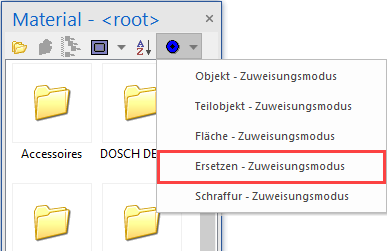
- Open the Visualisation materials manager. Menu Window > Visualisation materials… or use the key combination Ctrl+7.
- Switch the allocation mode to "Replace".
- In the Visualisation materials manager, double-click to open the folder "Boards".
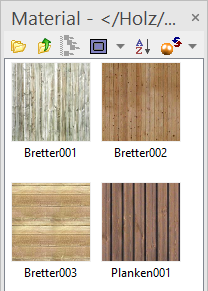
- Drag & drop the visualisation material "Beech Planks 01" onto the fence.
- In the Visualisation materials manager, switch to the folder above.
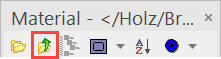
- Double-click on the folder "Wood", drag & drop the visualisation material "Beech 04" onto the verge.
- In the Visualisation materials manager, switch to the main folders.
- Double-click on the folder "Grass animated", drag the visualisation material "Lawn 03" and drop it onto the lawn.

- In the Visualisation materials manager, switch to the folder above.
- Double-click on the folder "Terrain", drag the visualisation material "Earth 02" and drop it onto the ground.

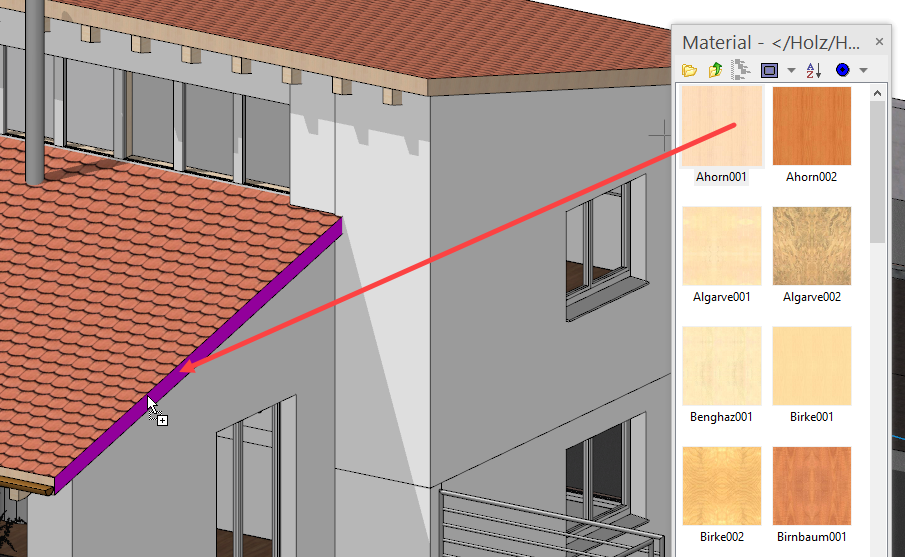
- In the Visualisation materials manager, switch to the folder above.
- Double-click in the folder "Stone", and drag & drop the visualisation material "Paving Stone 09" onto the seat.
- Now add the remaining visualisation materials.
- Garage door: Wood/Planks/Panels Ash 04
- Street: Terrain/Asphalt/Asphalt 04
- Porch and sidewalk: Terrain/Asphalt/Asphalt 03
- Kerb: Terrain/Asphalt/Asphalt 01
- Retaining wall for street: Concrete/Orthbeton/Orthbeton 01
- Retaining wall house: Concrete/Exposed concrete/Exposed concrete 04
- Exterior staircase: Stone/Concrete/Exposed concrete/Exposed concrete 01
- Roof: Rooftiles/Rooftile anthrazit 01
- Masonry: Plaster/Plaster white 01
- Gutters: Metal/Copper 02
- Banister: Metal/Metals/Chrome smooth 01
- Window glass: Glass/Glass 01

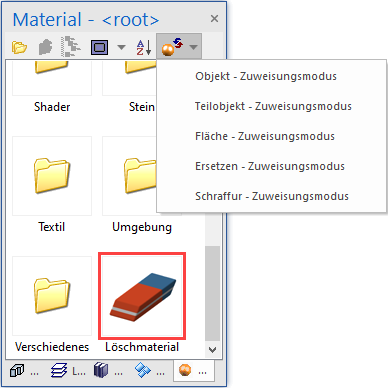
Tip
Visualisation materials that were accidentally allocated can be deleted by clicking "VisMat for delete". Depending on the "allocation mode", the visualisation material is deleted on the relevant planes.
It is also possible to delete the name of the visualisation material and switch back to colour mode.