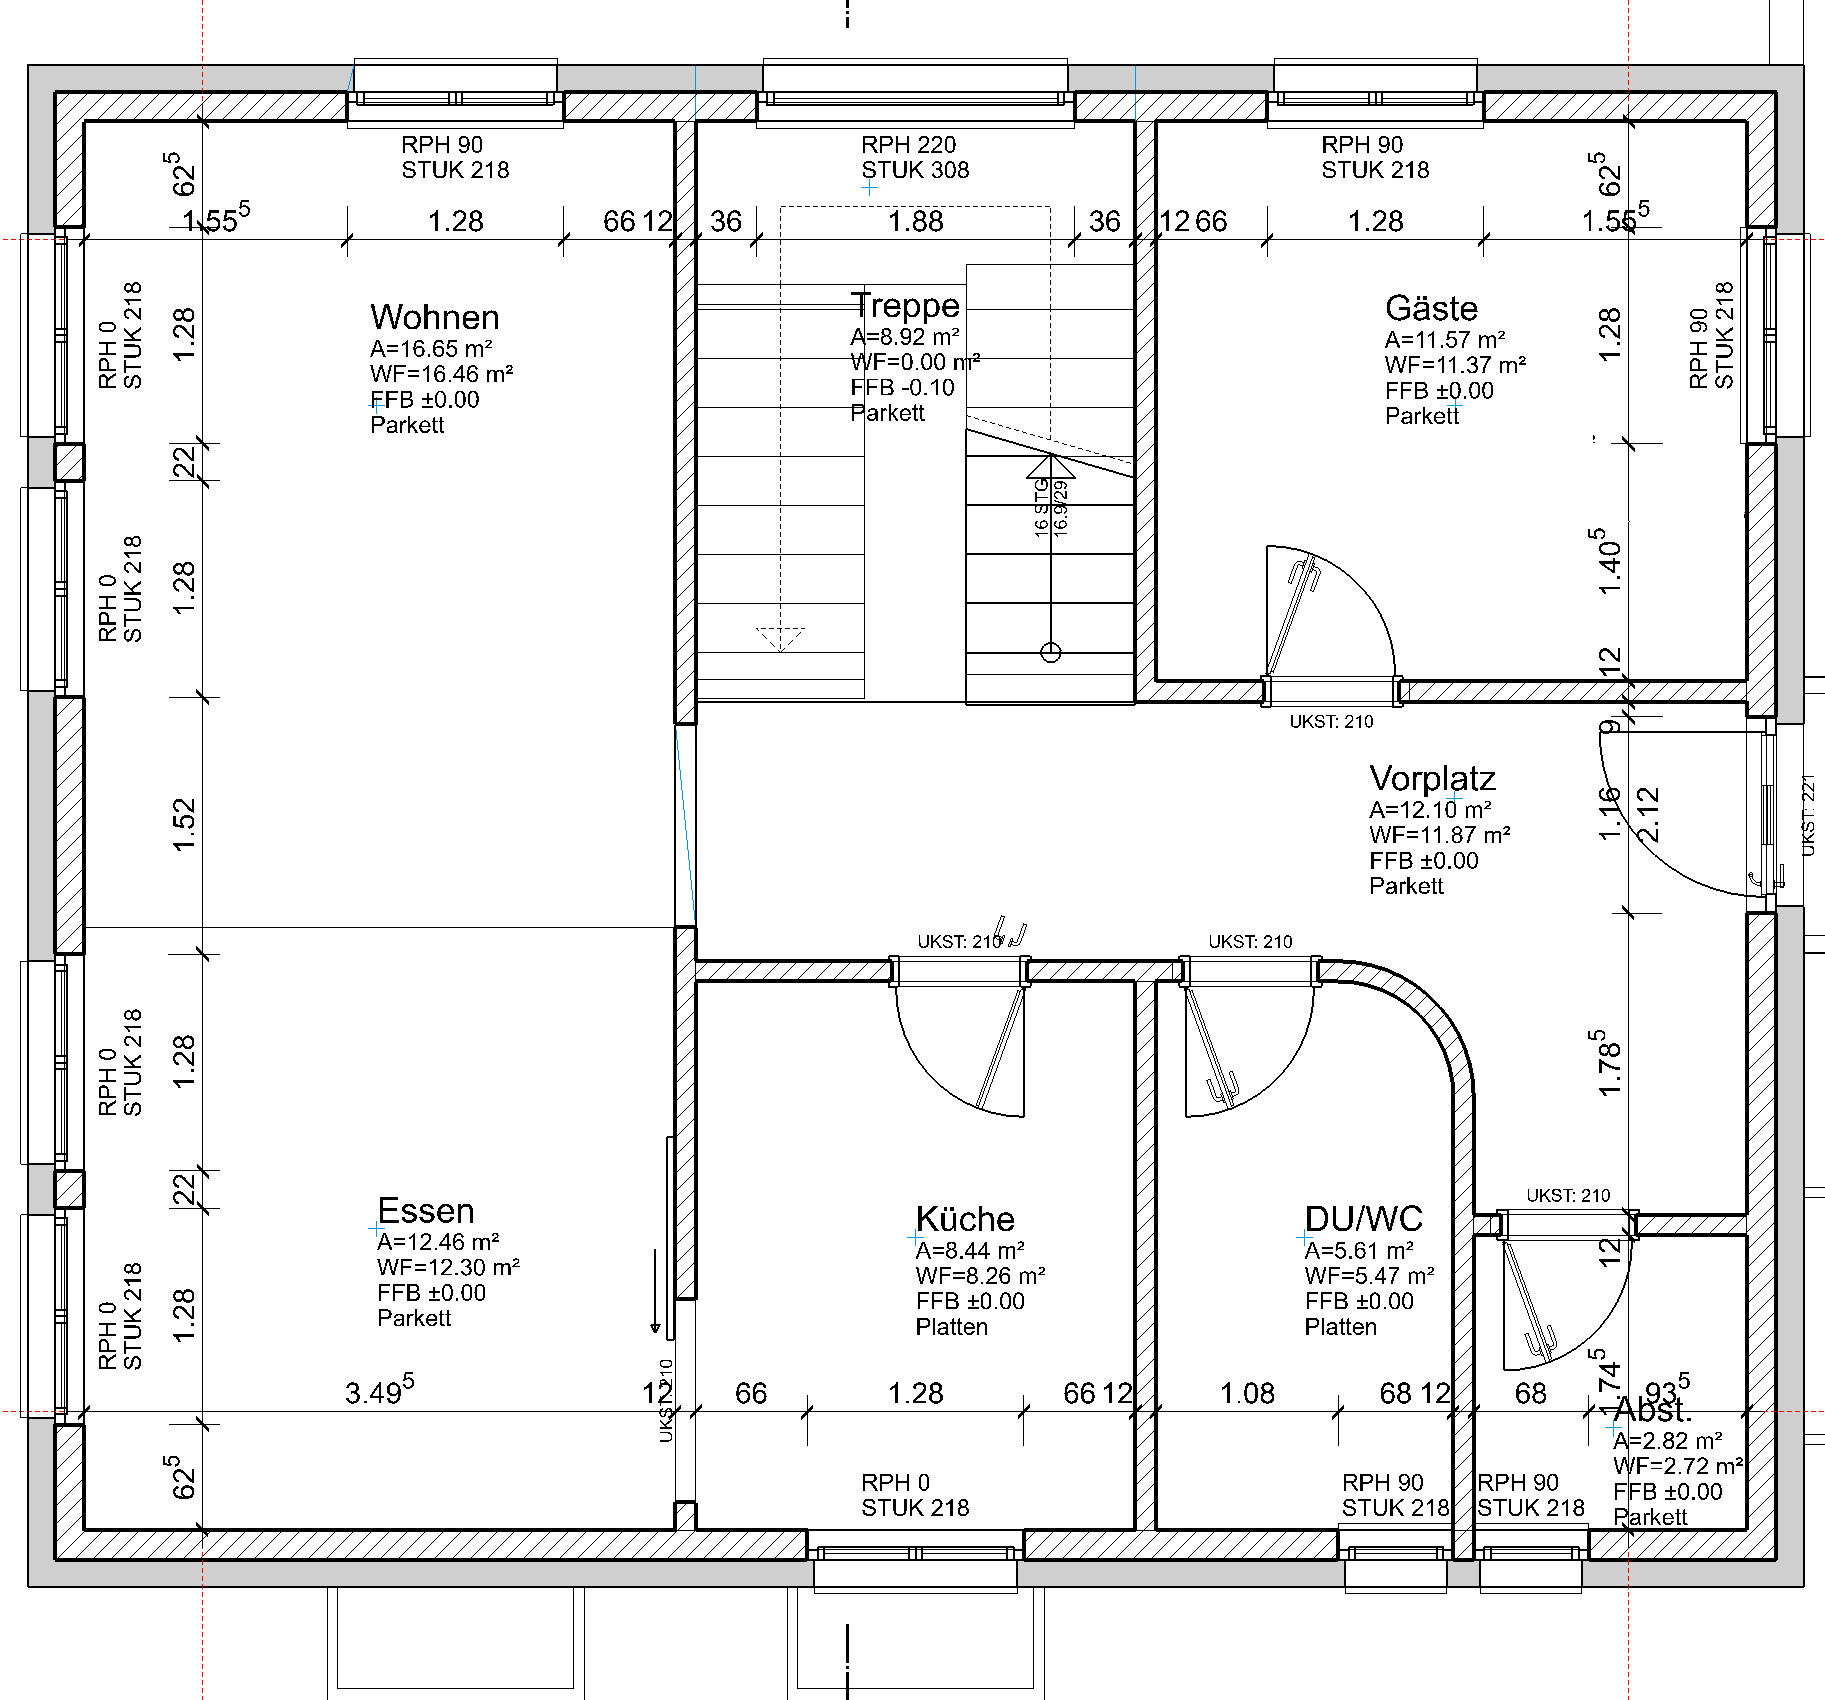
Internal dimensions
Workshop
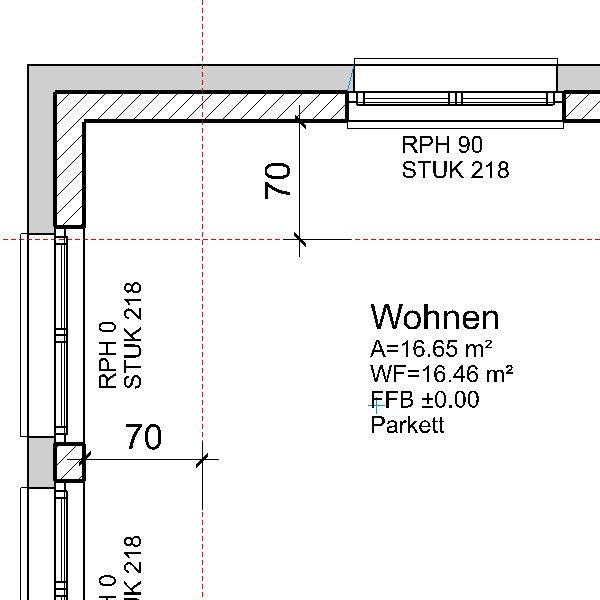
- Prepare the positions of the internal dimensions with auxiliary lines.

Create auxiliary lines with a distance of 70 cm to the outer wall.
- Start the function CHAIN DIMENSION
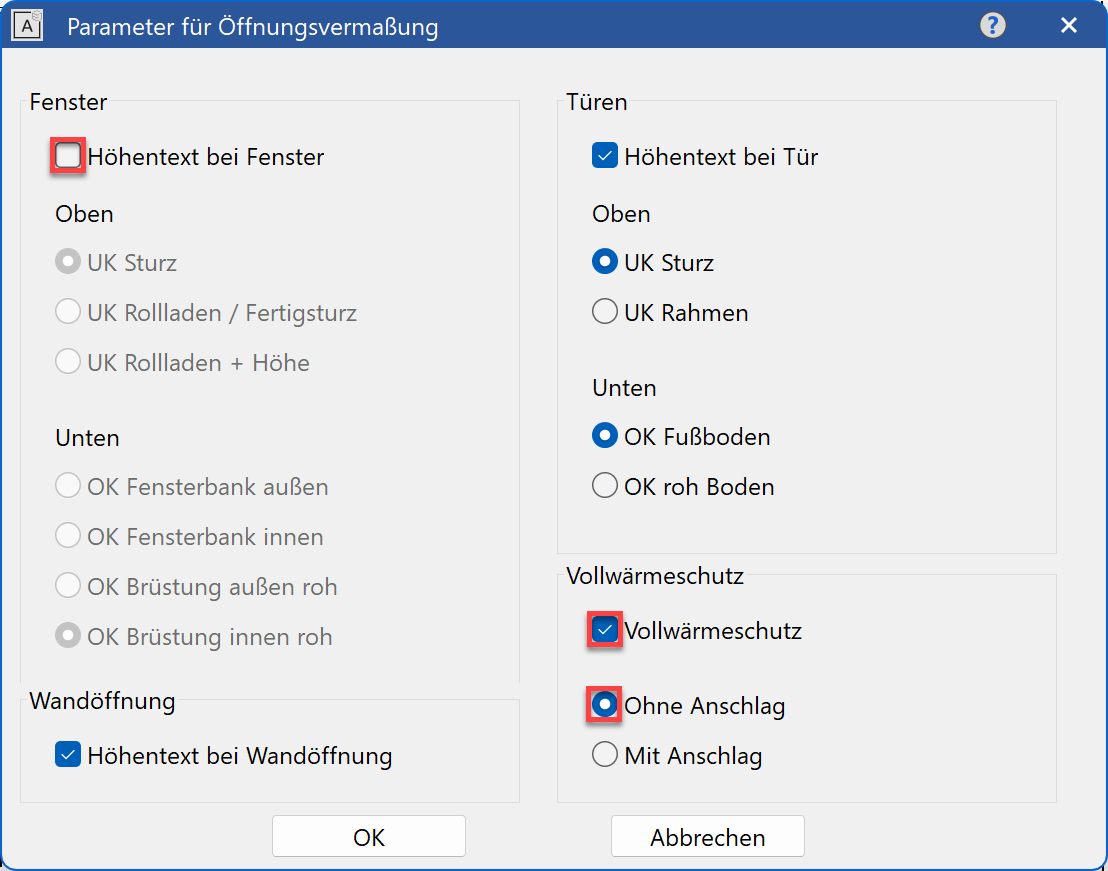
 and switch to the PARAMETER GROUP 3. In the additional functions, open the PARAMETER FOR OPENING DIMENSIONING and deactivate the option for the option for "Height text at window".

Explanation
In the "Parameters for Opening Dimension", different options can be selected as to which heights need to be measured for the opening dimension for the window and door opening. If changes were made in this dialog, the dimension and the additional function must be accessed again.
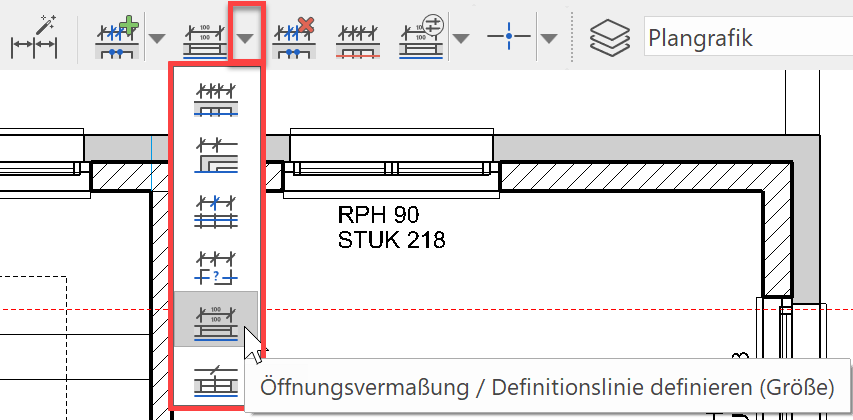
- Under additional functions, select the OPENING DIMENSION.
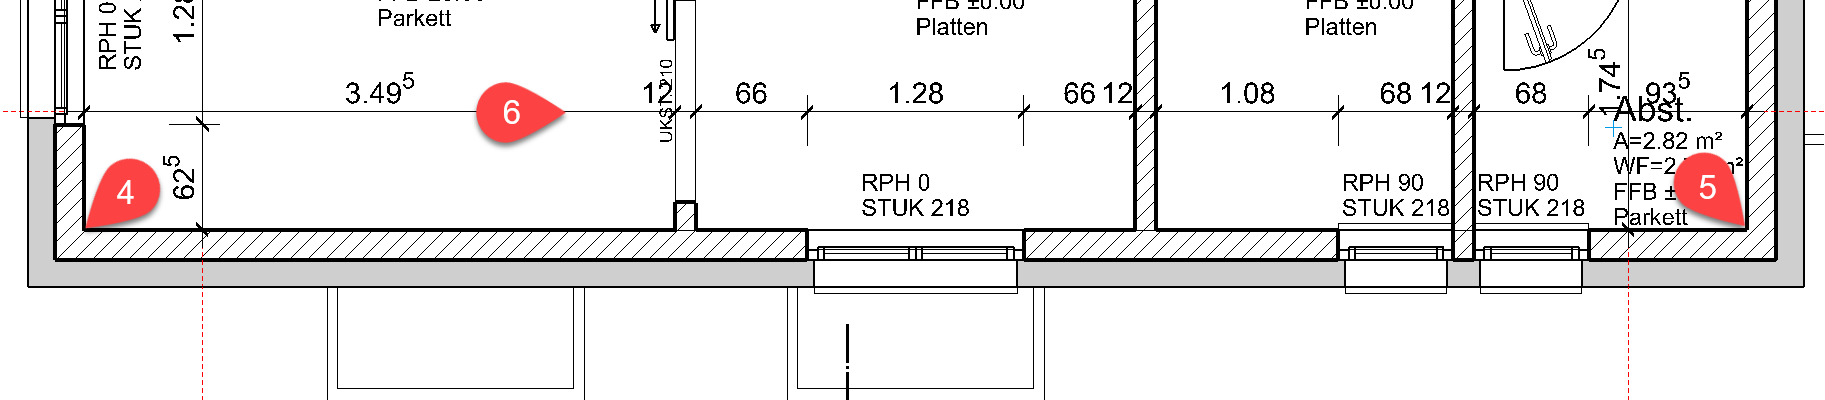
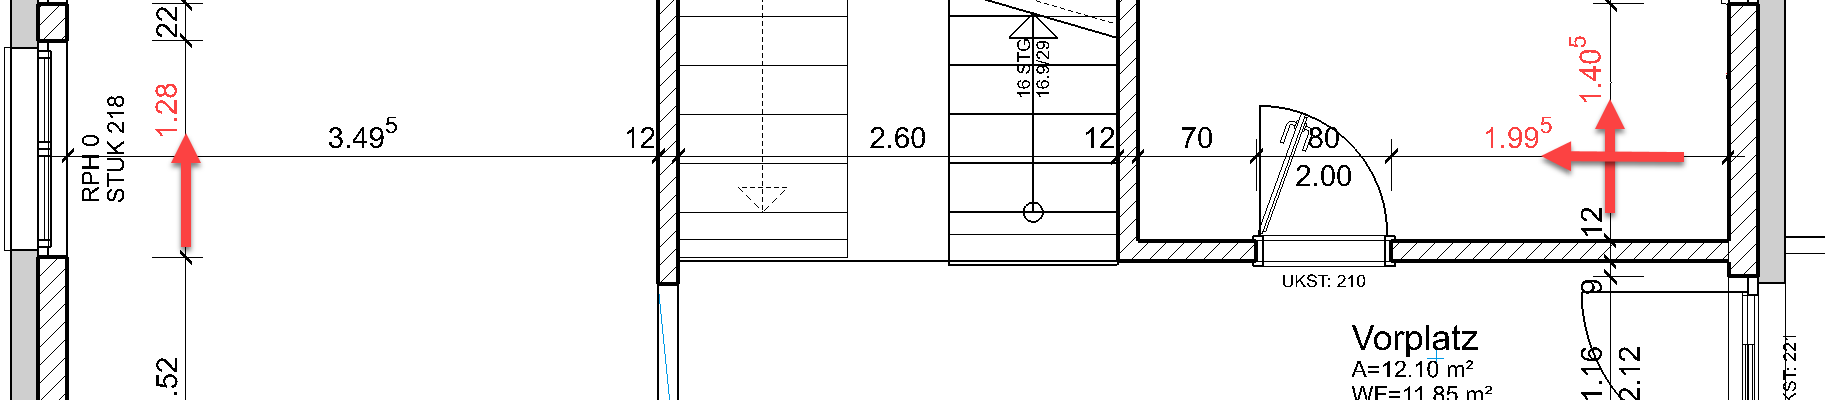
- Specify the points P1 and P2 for the reference line and specify the position of the chain dimension P3.

- Start a new dimension chain and select the opening dimension.

- Specify the points P4 and P5 for the reference line and specify the position of the chain dimension P6.
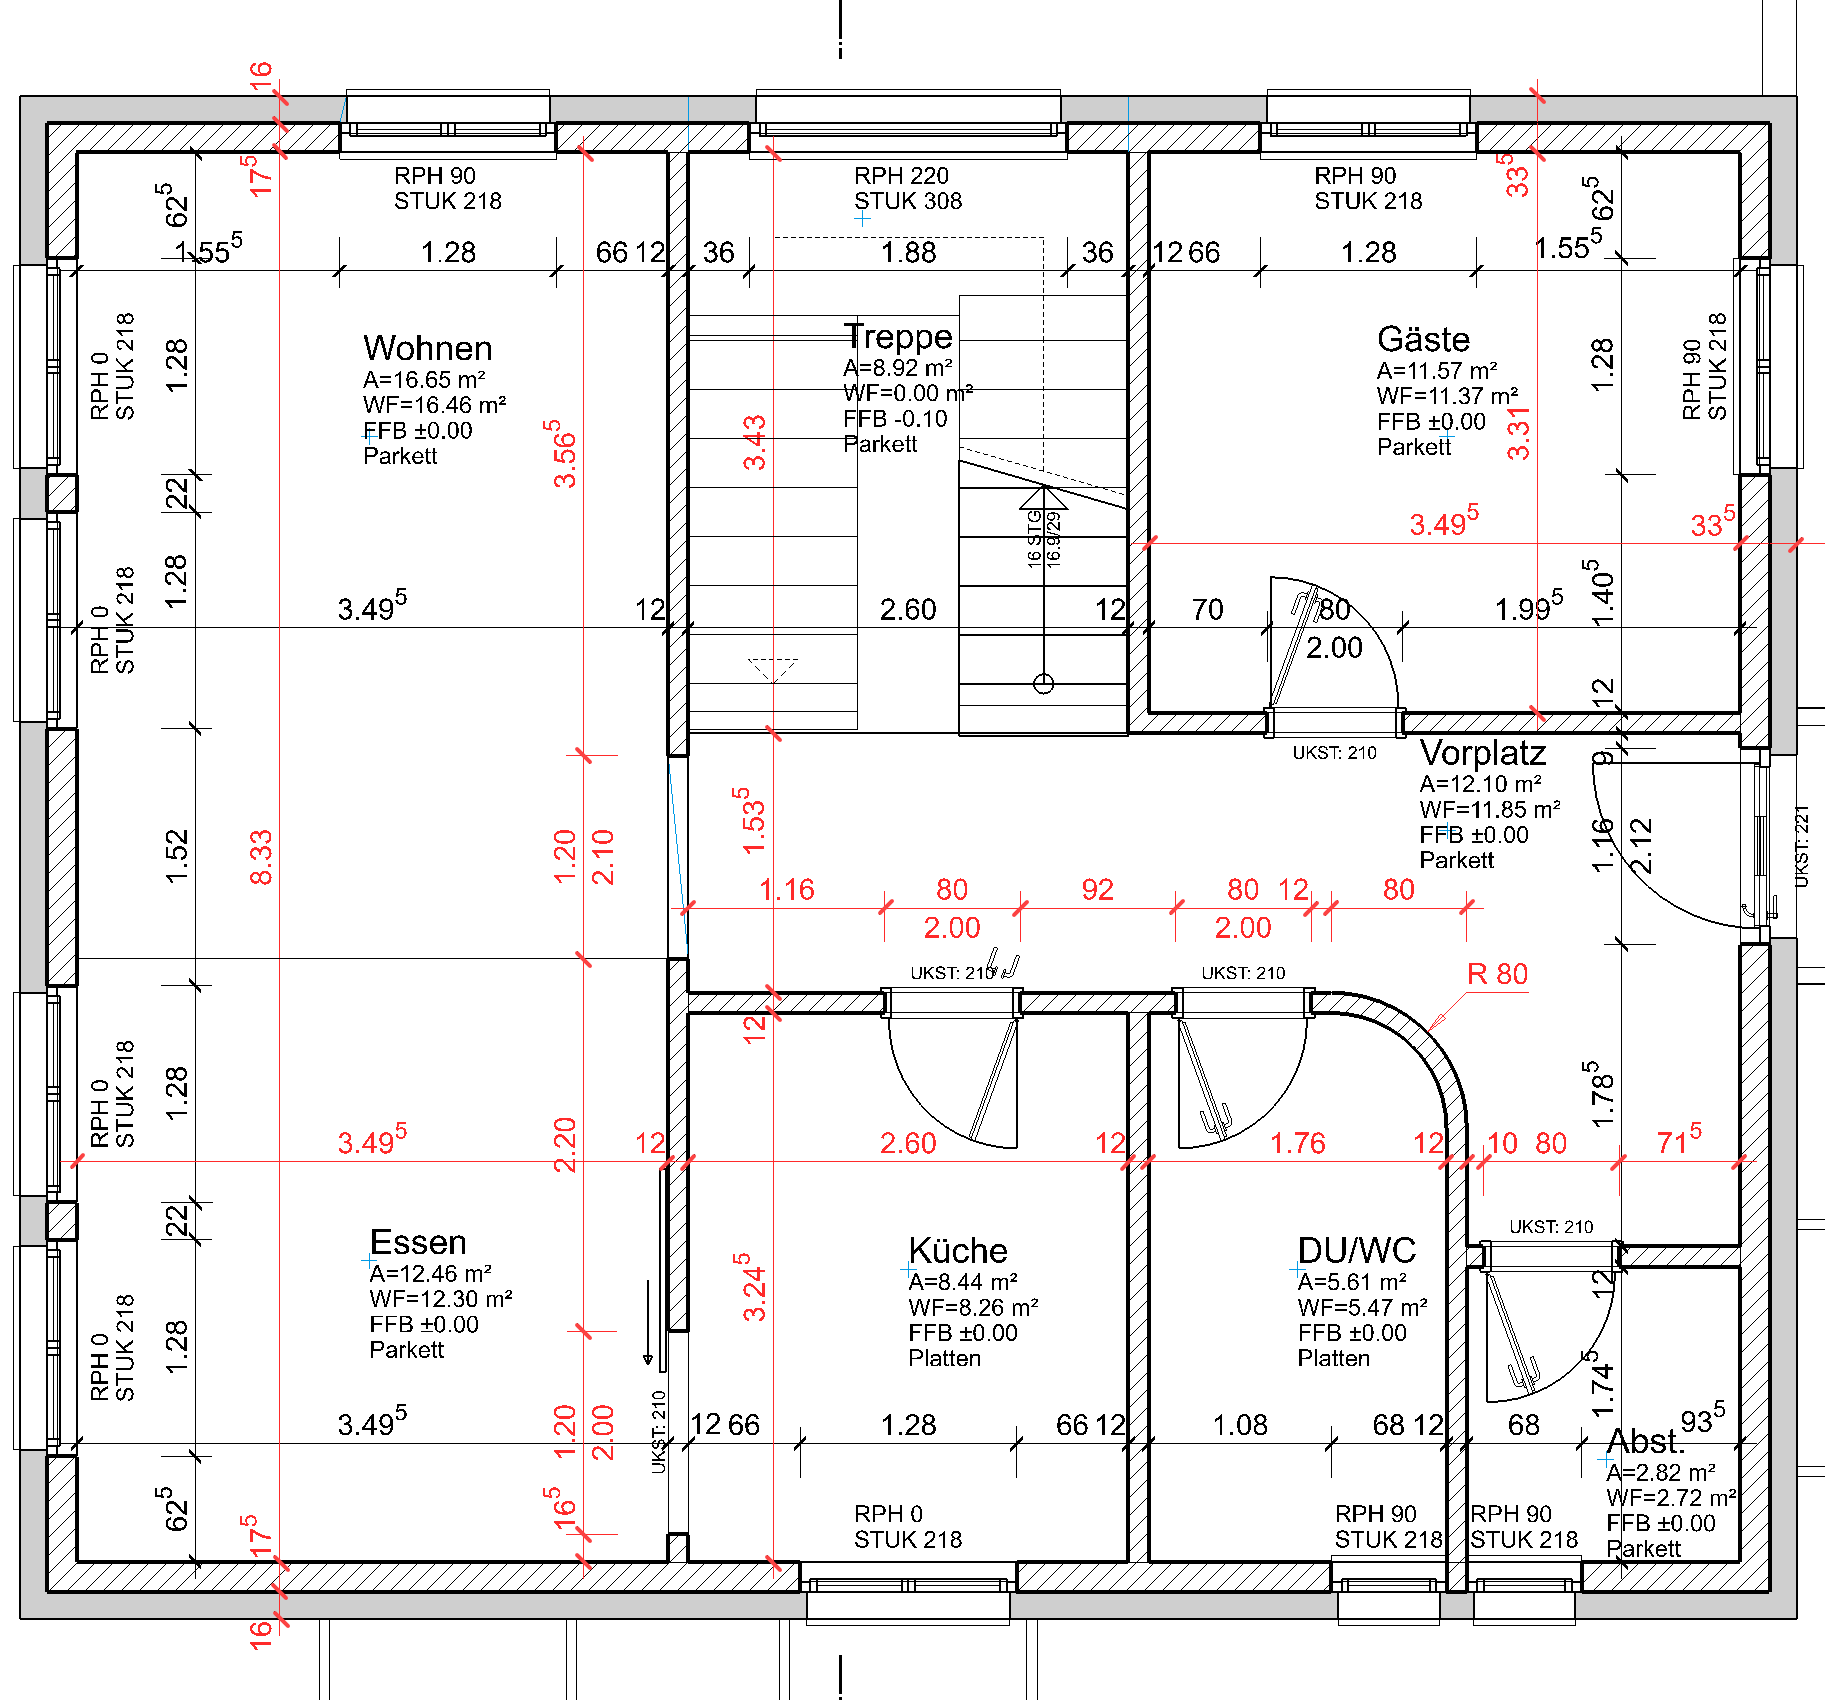
- Now add the remaining dimensions.
Tip
Dimension texts can be moved. If the dimension text is selected, the dimension texts can be moved by their central handle.

- The opening dimension can also be combined with the normal point entry.
Start a new dimension chain and select the OPENING DIMENSION.
- Specify the points P7 and P8 for the reference line of the opening dimension and locate the dimension chain P9.
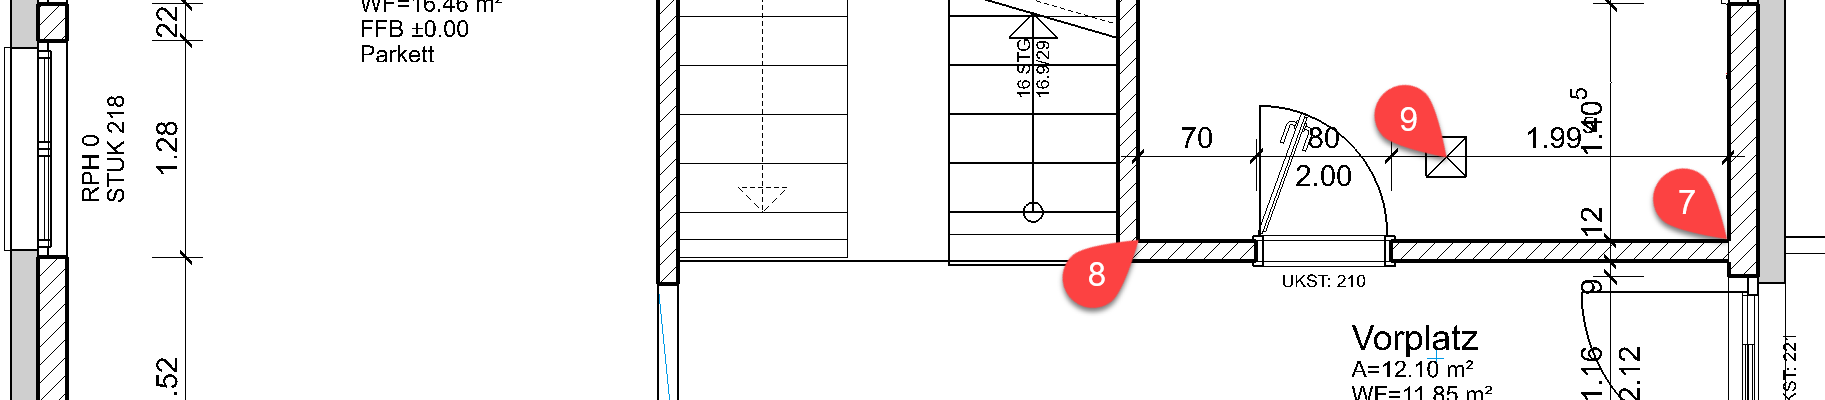
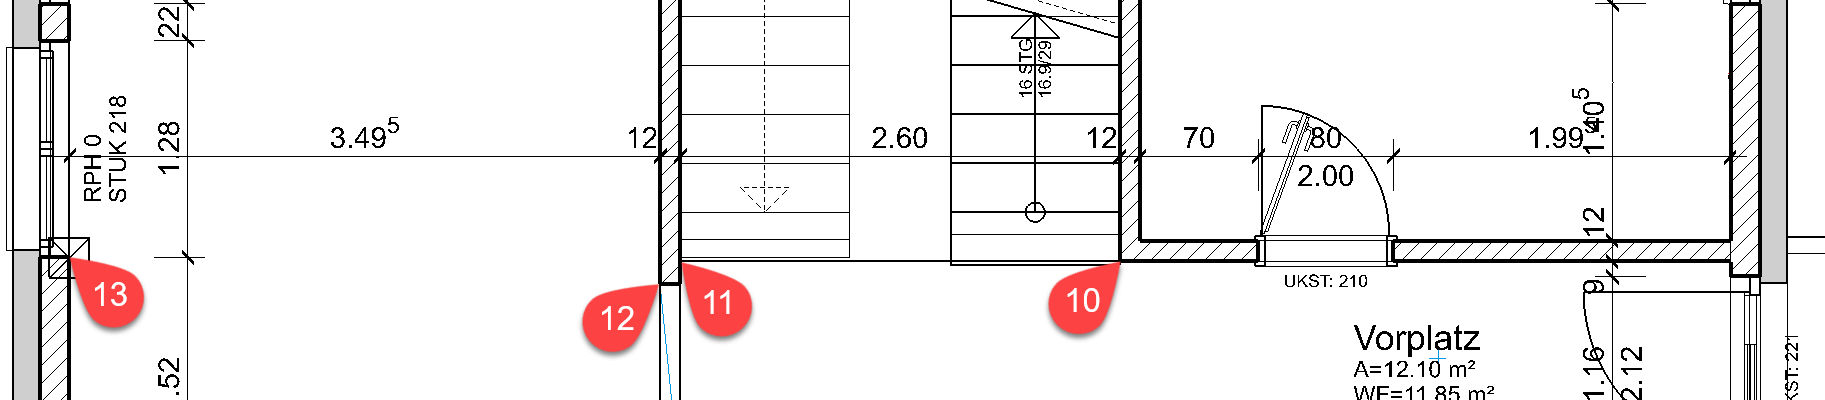
- In the property bar, now switch to the define dimension point and specify the other points P10-P13.
- Cancel the function with Esc.
- Shift the dimension texts that overlap each other.
- Now try to continue to add to the floor plan with the dimension options.
Tip
If an incorrect dimension point was set, you can simply click in the property bar on DELETE DIMENSION POINT and the point can be deleted with a left-click on it.

To continue with dimensioning, select the function DEFINE DIMENSION POINT and continue dimensioning.
Tip
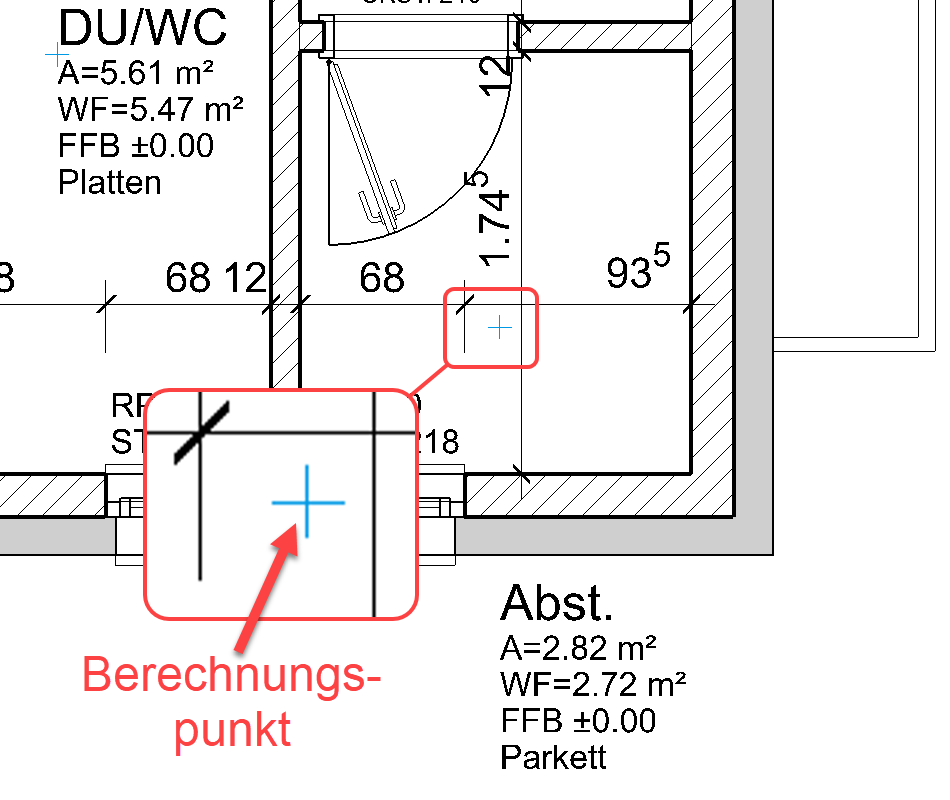
Room labels can simply be moved. Select the room label and move it by the handles to the new position which may lay outside of the room. The room reference point (blue cross) must remain within with room contour.