Create dormer
Workshop
Create a dormer above the balcony.

- Select the function CREATE DORMER.

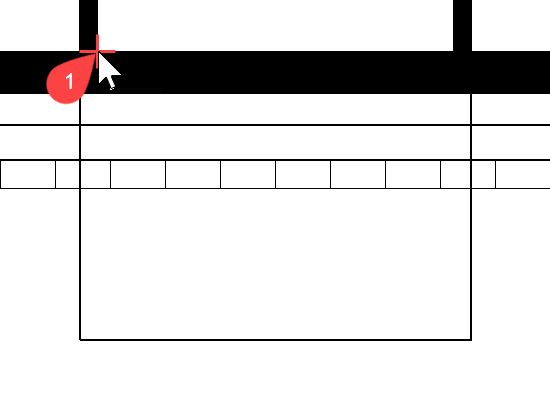
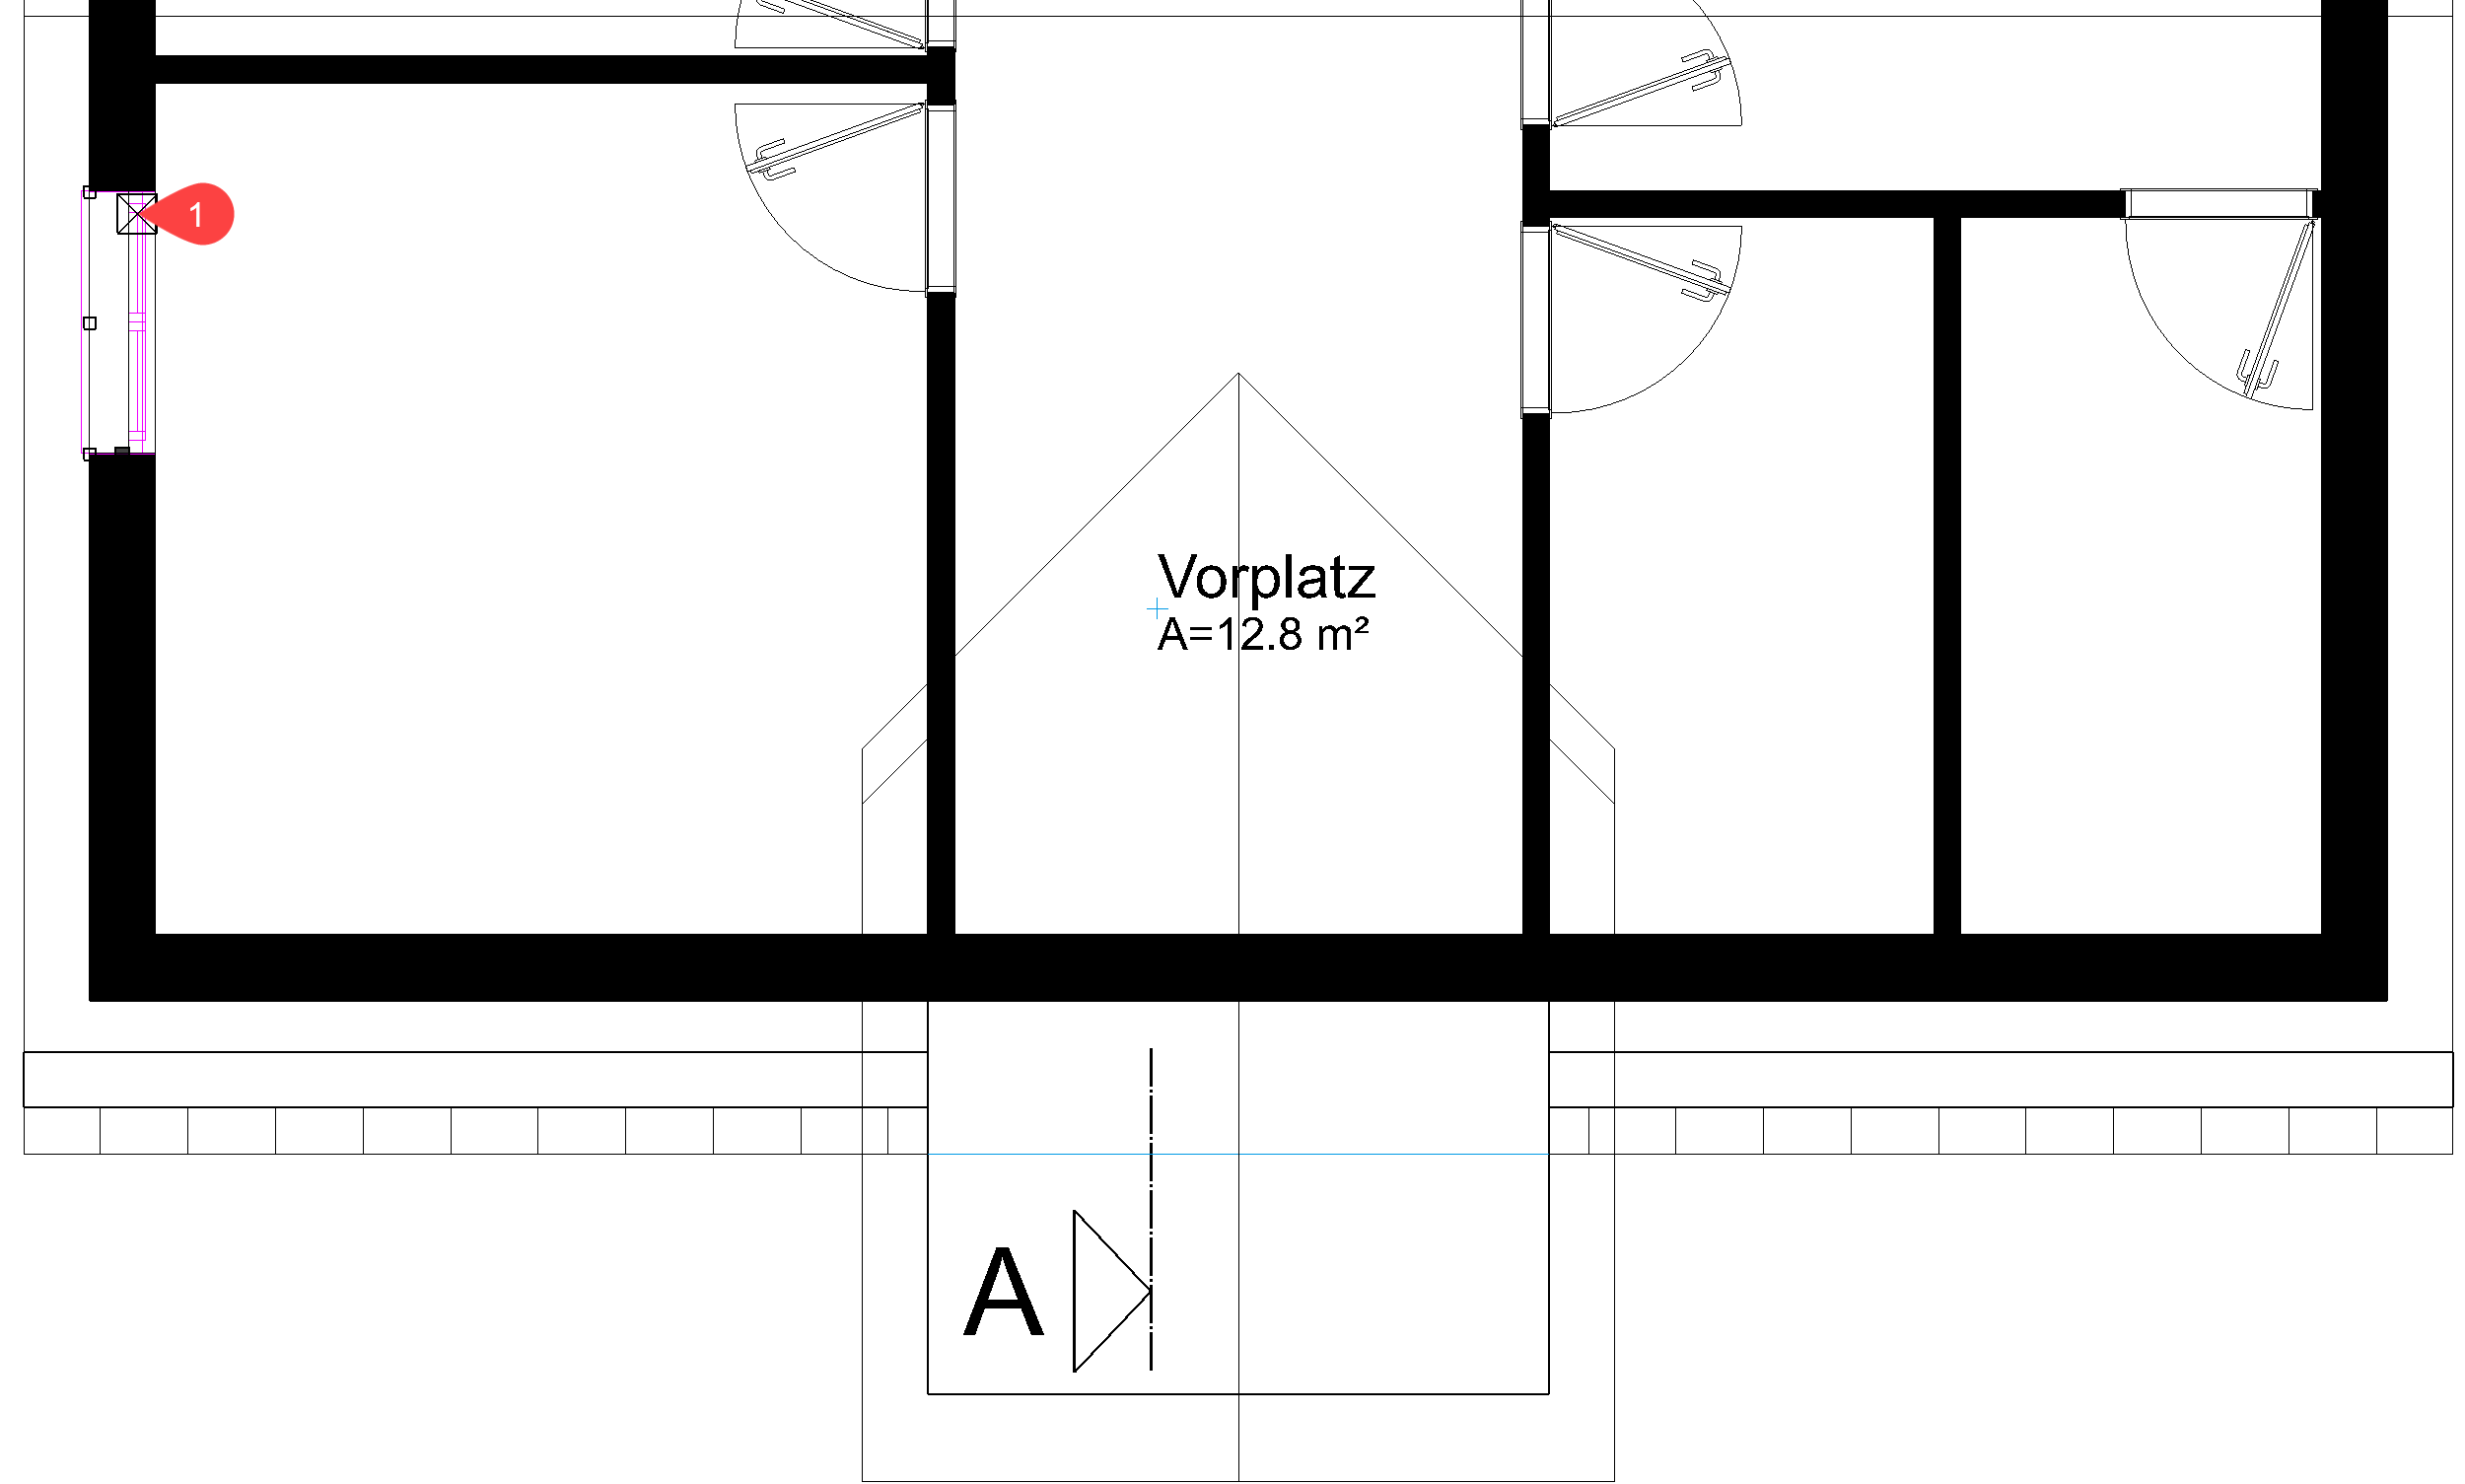
- Start with the dedendum height of the dormer. This height can be taken directly from the plan. Click in the dedendum screen on the function CLICK DEDENDUM and then in the floor plan on point P1. The height is entered directly in the field (the height can differ from the value in the figure). Lock this value.
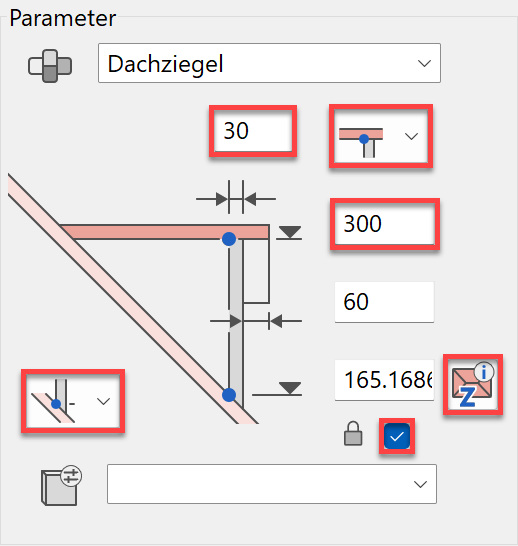
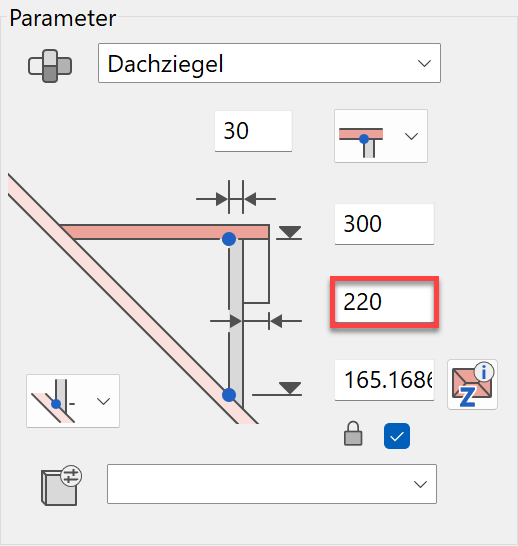
Enter the height of the ridge of the dormer (300) and the wall thickness (30).
- For the dormer width, you can obtain a value directly from the plan. Ensure that the setting of the width is set to "outside".
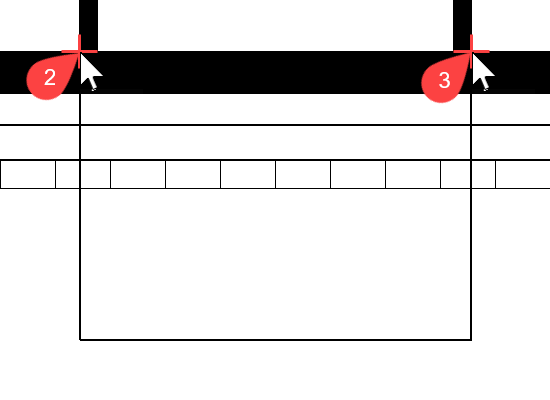
Click on the dimension function and then on the points P2 and P3.
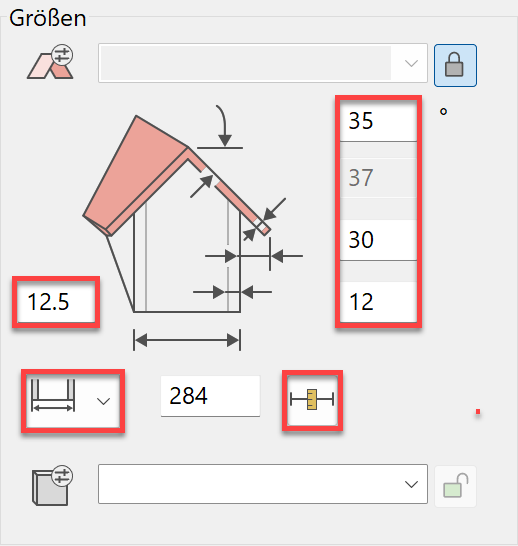
Enter values for the remaining dimensions into this dialog. - If you do not know a value, you can also work with the normal dimension functions. In this case the roof overhang of the dormer to the outer edge of the house must be measured.
Right-click > select the function MEASURE

Click on the dimension values dialog MEASURE VERTICAL and click on the points P4 and P5. The result is entered in the dialog. Add 40 cm to this value for the roof projection over the balcony slab.
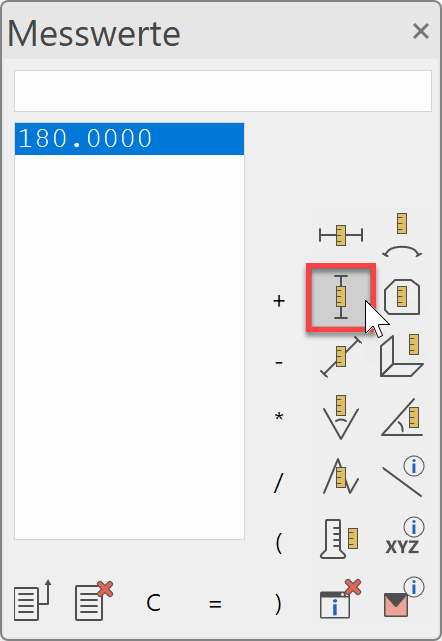
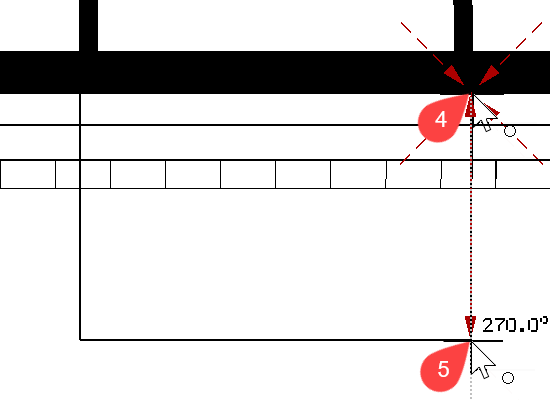
Enter 220 into the field.
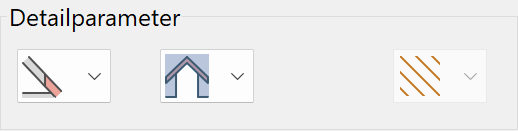
- Ensure that the detail parameters are set correctly.
- The values of the dialog are now set correctly. Click
 .
.
- The first prompt asks for the roof suface onto which the dormer is to be placed. Select the roof surface on point P6.
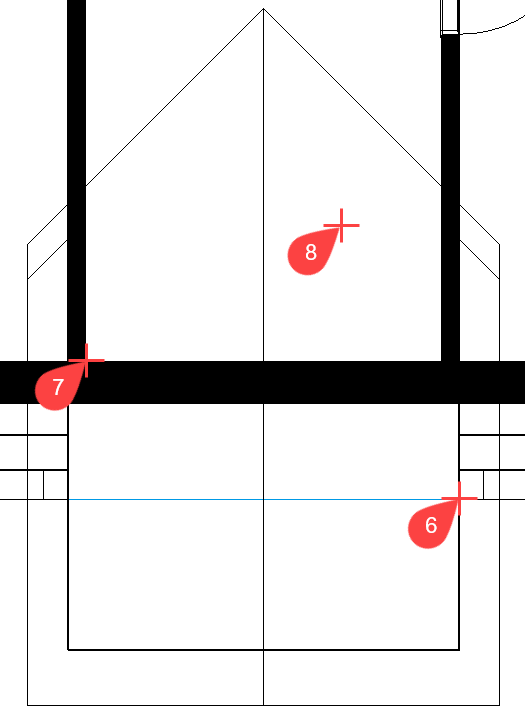
- Select a placement point. This can be the middle of the dormer or one of the two inner corners (such as P7). It is easiest to set this dormer over a corner. Click on the point P7.
- The end position of the dormer will now be determined.
Move your cursor to the right > P8.Tip
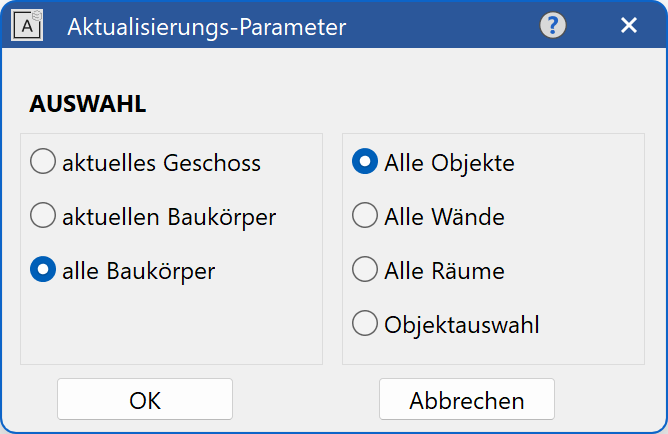
If the wall does not intersect immediately with the roof, the wall must be updated.
Menu MODIFY > REFRESH AR-OBJECTS

- Cancel the function with Esc.
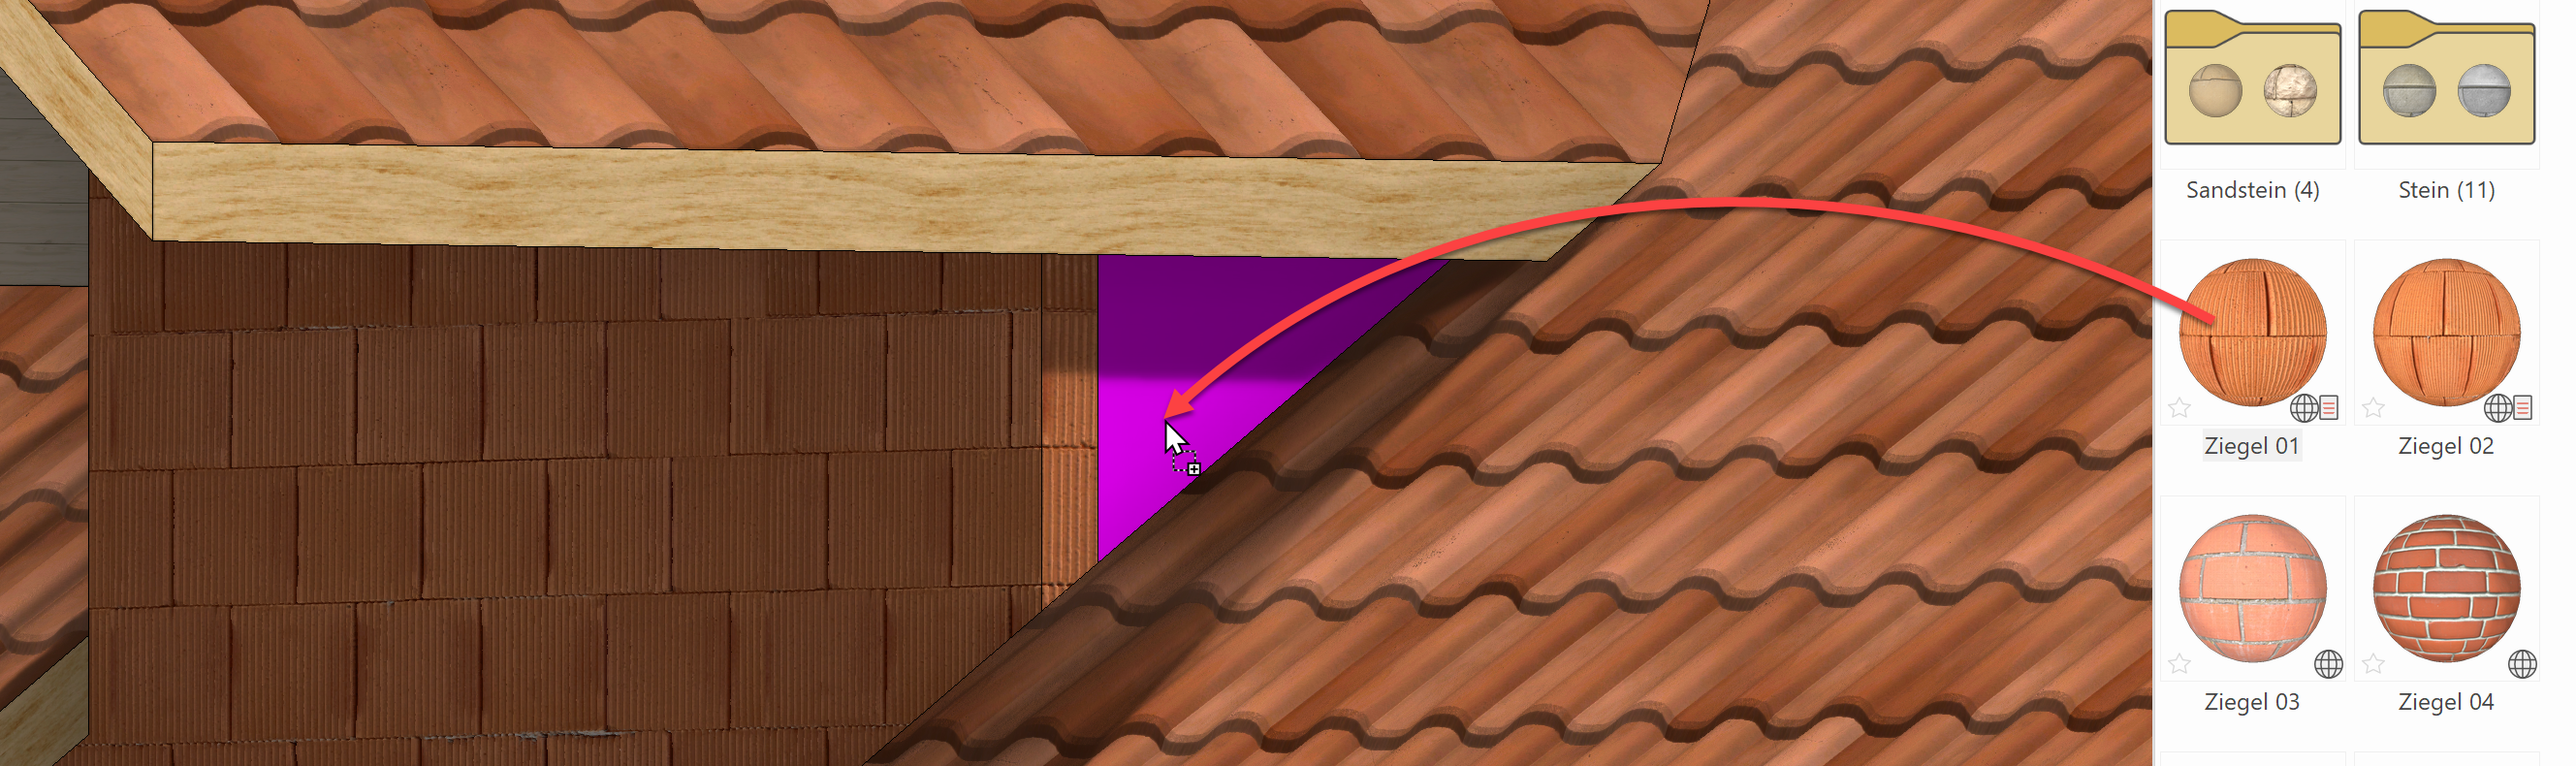
Applying visualisation materials
The side walls of the dormer still have no visualisation material.
Workshop
- Open the Visualisation materials manager. If the Visualisation materials manager is not loaded, it can be loaded in the menu WINDOW > VISUALISATION MATERIAL….

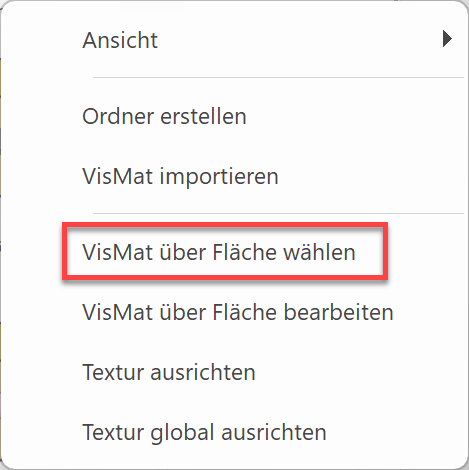
- Right-click anywhere in the Visualisation materials manager and select the function "Select VisMat by surface".
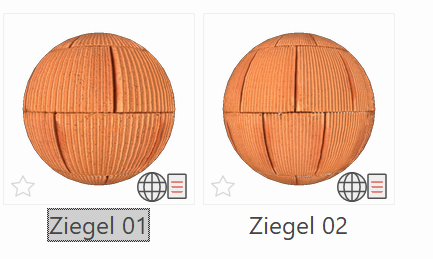
- Now left-click on the outer wall. The visualisation material is displayed in the Visualisation materials manager.
- Now use drag & drop to drag this visualisation material to one of the side walls and drop it there.
- Use the centre mouse button to turn the model in such a way that the other dormer side wall is visible and apply the visualisation material to this as well.
Copying / rotating
An element/object can be moved or manipulated using its handles. There are also individual manipulation functions (move, copy, rotate, mirror, scale). These functions have extended functionalities and can be combined with each other or a random reference point for the manipulation can be selected. For example, when you copy a window with handles, only the left or right side can be "packed", whereas with the manipulation function COPY SELECTION the wall corner can serve as a reference point. This means that the window can be copied to different corners at the same distance each time.

Function COPY SELECTION
First decide on a selection (one or more elements/objects), then start the function. As soon as the reference point of the selection to be copied is defined, the property bar opens.

The functions can be combined in any way required.
For example, you can turn, scale and copy the selection.
Example
Multiple copy:
Move which point? P1 

![]()
![]()
Scale factor? 1.25
![]()
How often? 4
Position where to? P2
Workshop
You will now copy an existing window in the top floor, rotate it by 90° and set it into the new wall ahead of the balcony.
- Switch to the wire model and back to the start position. So far, you should only have constructed the top floor.


- Select a window. > P1
- Start the function COPY SELECTION.

- As a reference point for positioning the copied window, select the centre on the inside of the window. > P2

The window is now "attached" to the cursor.
- Set the rotation angle in the property bar to 90° and rotate it anti-clockwise.


- Set the window into the centre of the dormer. > P3
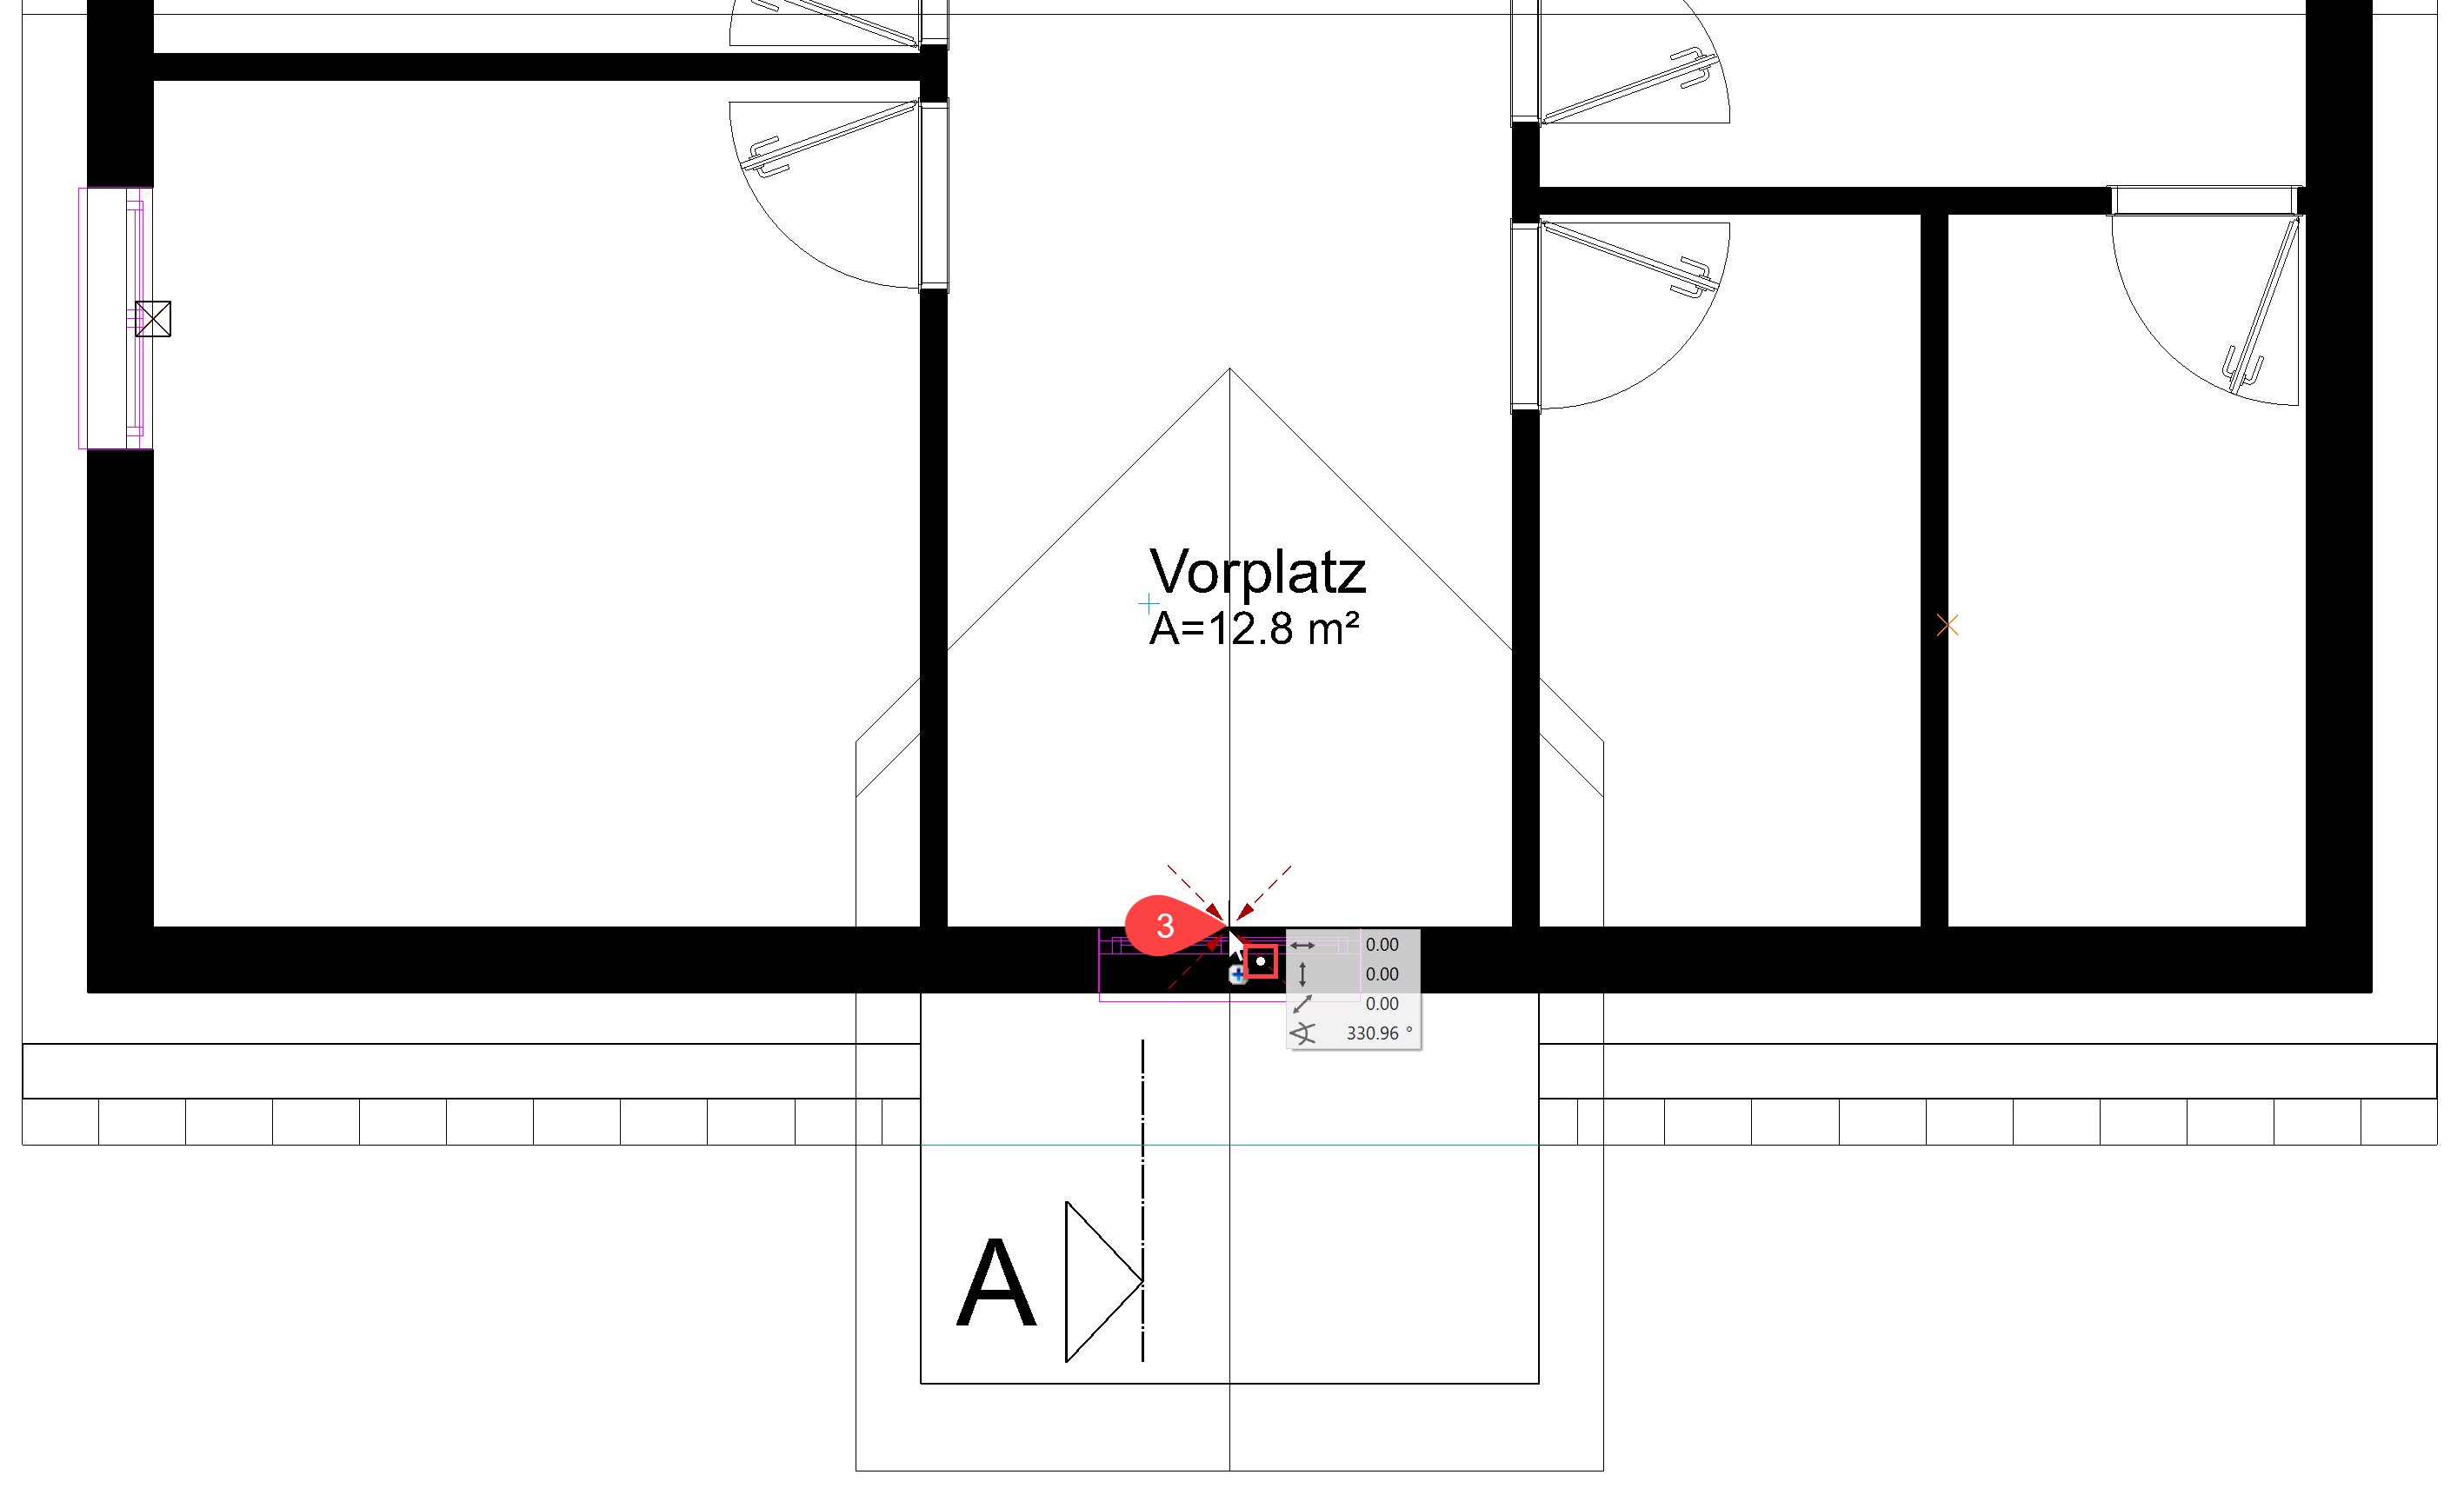
- Cancel the function with Esc.
Column
The CREATE COLUMN function is to be found under components, like the function CREATE WALL.
![]()
Property bar
The most important data can be set in the property bar for the column.

Height reference
As with walls, the height reference also applies for columns.
The definition "to underside of roof" causes the column in the roof storey to intersect with the roof surfaces.
![]()
![]()
![]()
![]()
![]()
![]()
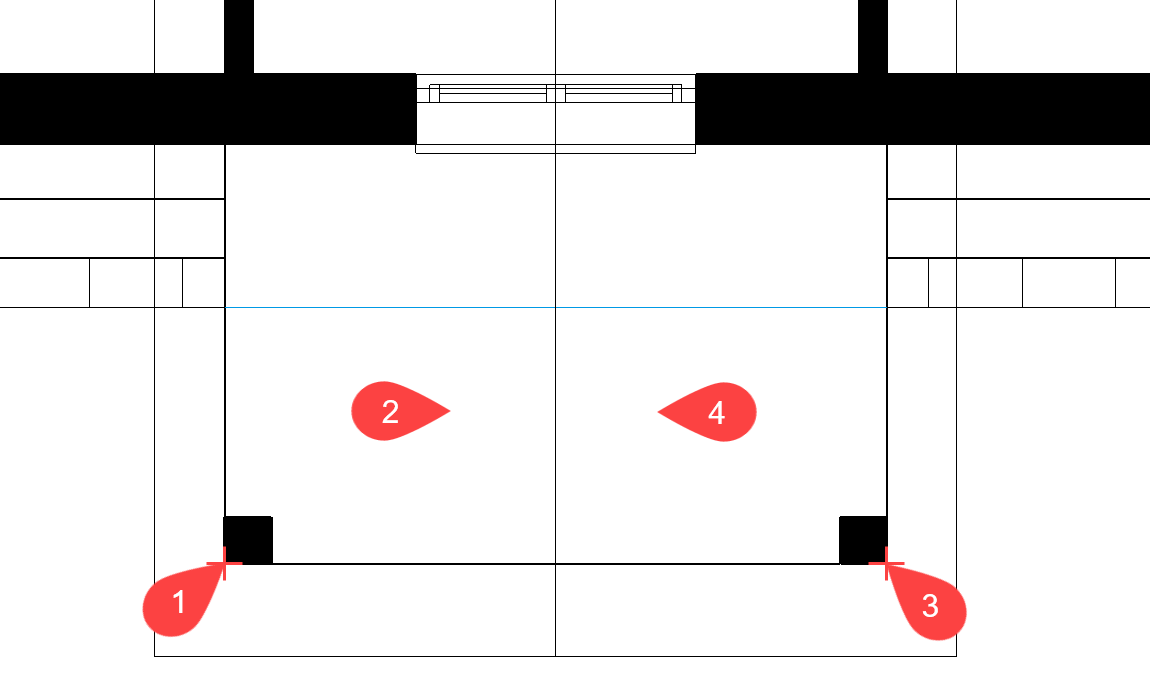
Workshop
On the balcony, columns must be created that reach up to below the dormer roof.
- Select the function CREATE COLUMN.

The property bar of the column appears.
- Select the parameter type "square" and add the remaining values.
For a correct evaluation, the property "exterior column" must be activated in the column parameters.
- For the position of the column, specify point P1 and for the direction of the column, point P2.
- For the position of the second column, specify point P3 and for the direction of the column, point P4.
- The function CREATE COLUMN is still active. Instead of cancelling the function, a new function can be selected directly.
Set the ground floor active.
- The columns must be copied to the ground floor. Use the function COPY TO CURRENT STOREY.

- Click on both columns in the top floor. The copy is displayed immediately in the current storey (ground floor).

- Cancel the function with Esc.
Banister
The BANISTER function can be used for a free-standing banister or for a banister on a staircase.
Workshop
Create a banister for the balcony. To do so you must first draw a line, from which the banister will then be created.
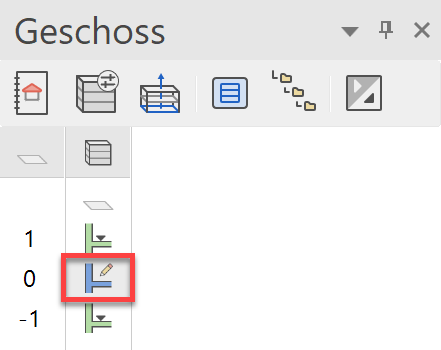
- Top floor = current storey
- Draw auxiliary lines; one through the middle of the columns and two between them each with a distance of 5 cm from the column.
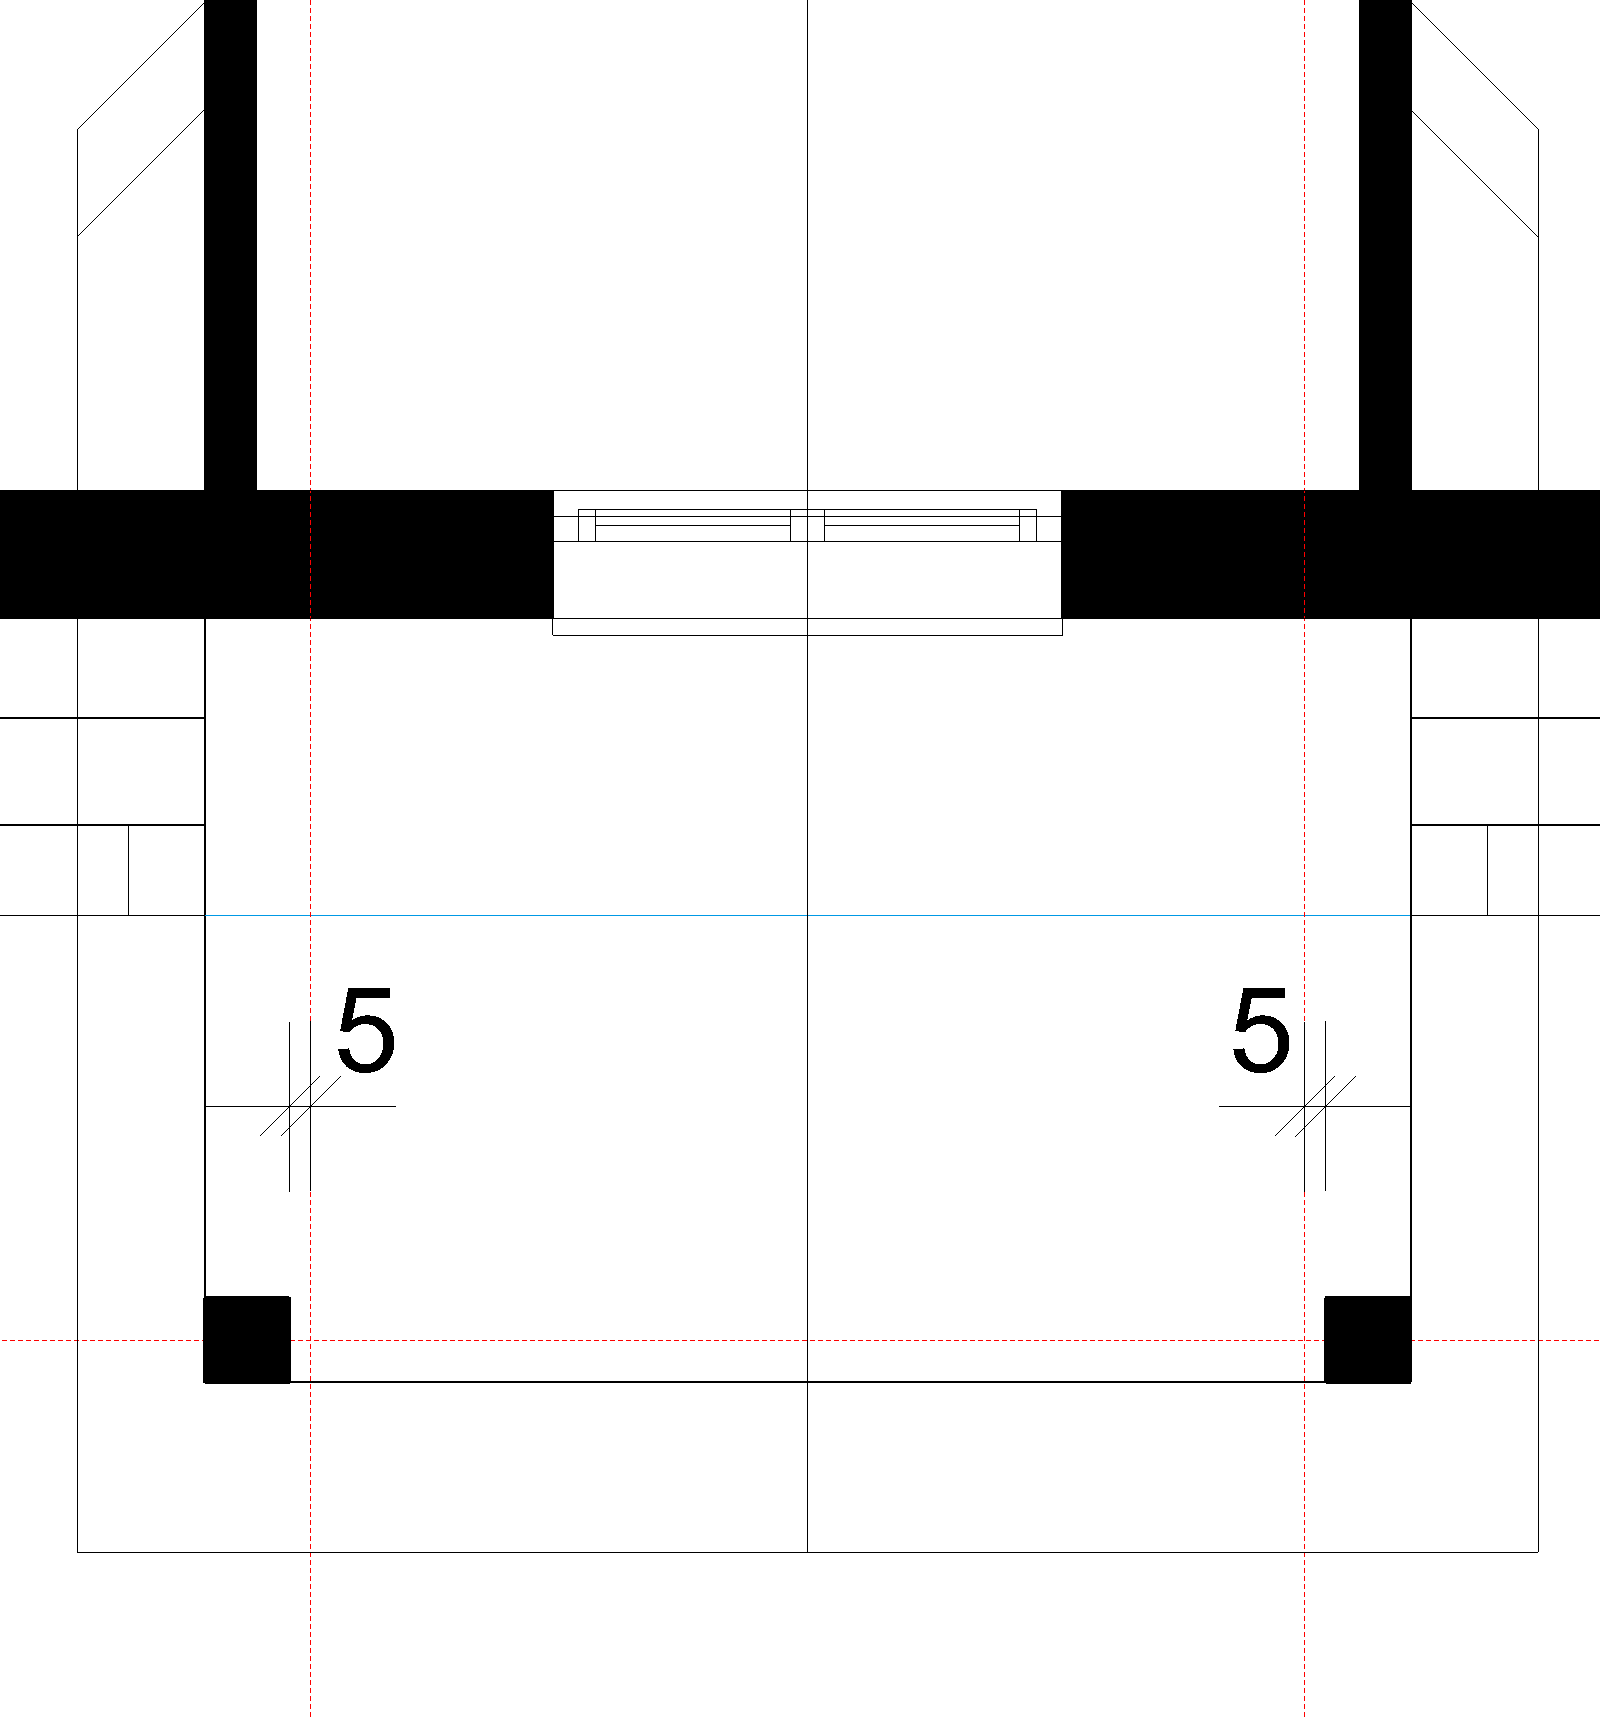
- Select the BANISTER function, then the option "Draw contour manually" from the property bar.


- Draw the contour from the start point P1 to the end point P2 and confirm the end point by clicking again on P2.
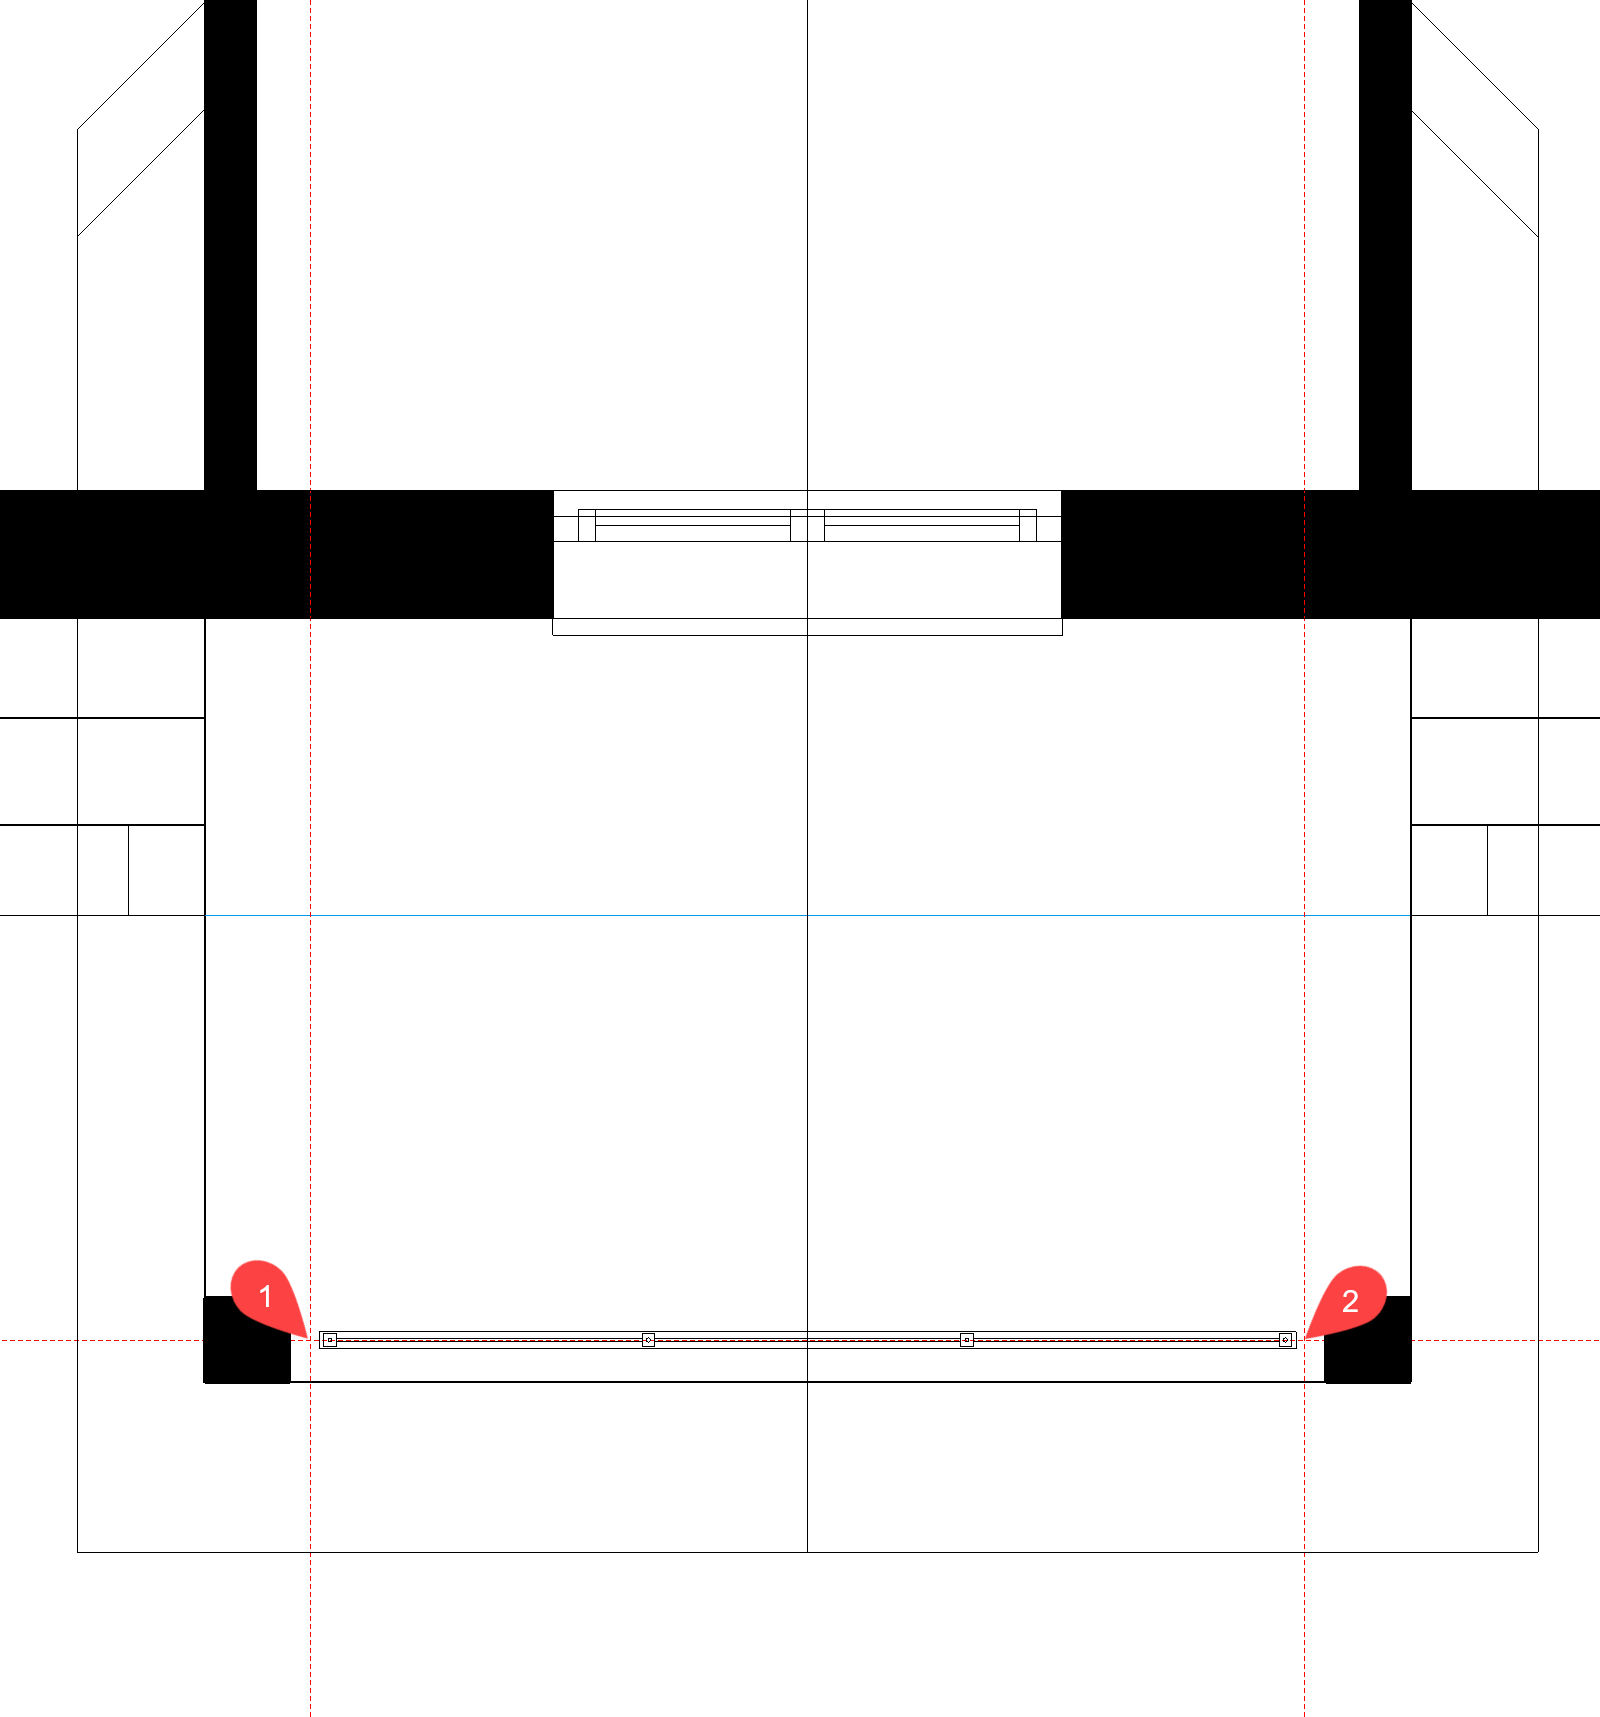
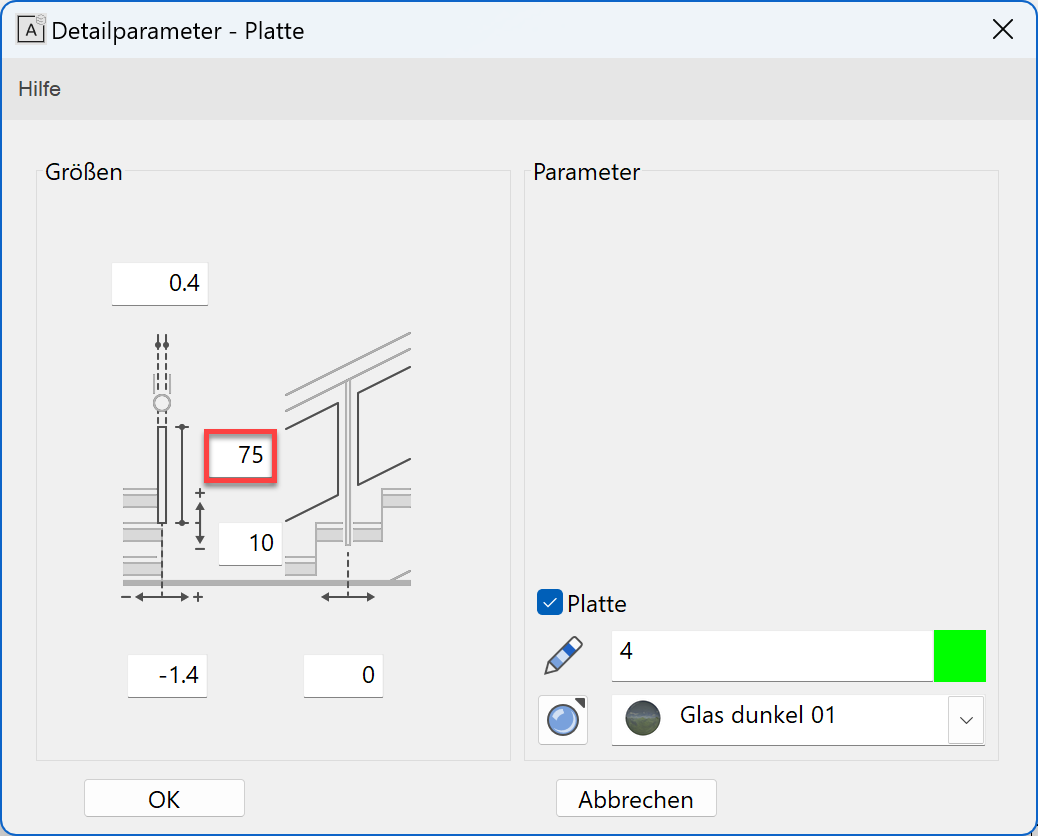
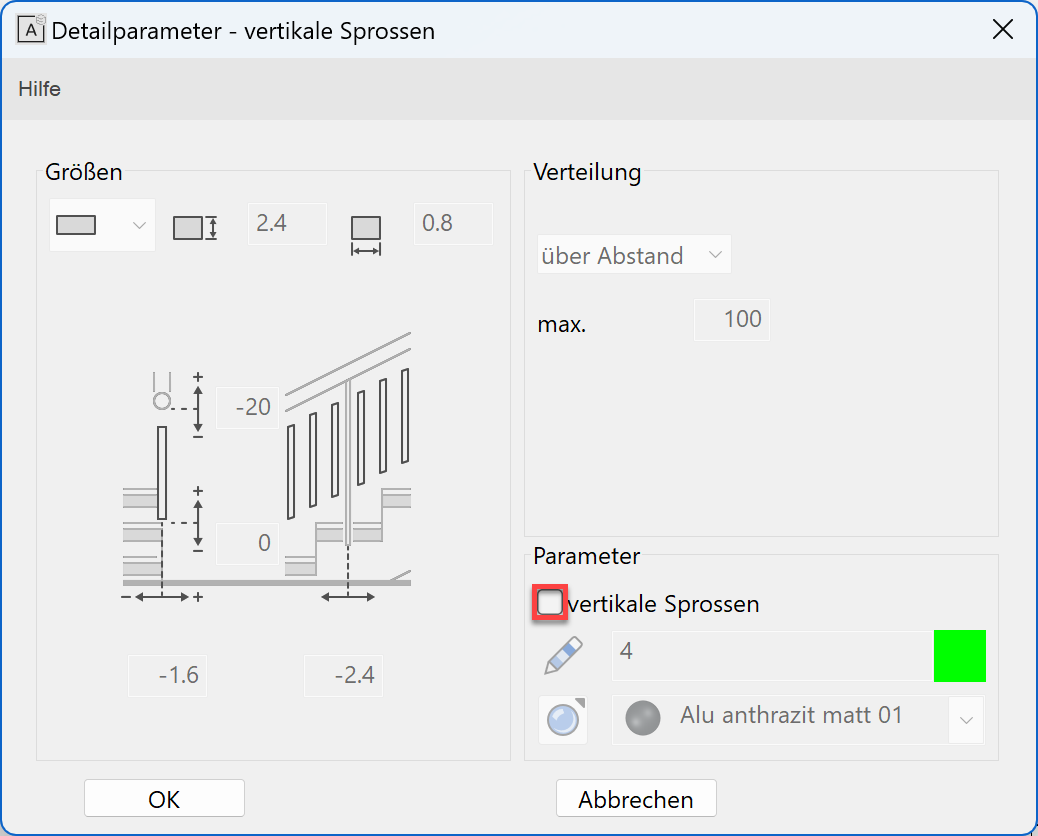
- Set the individual tabs as shown below and accept the settings by clicking .
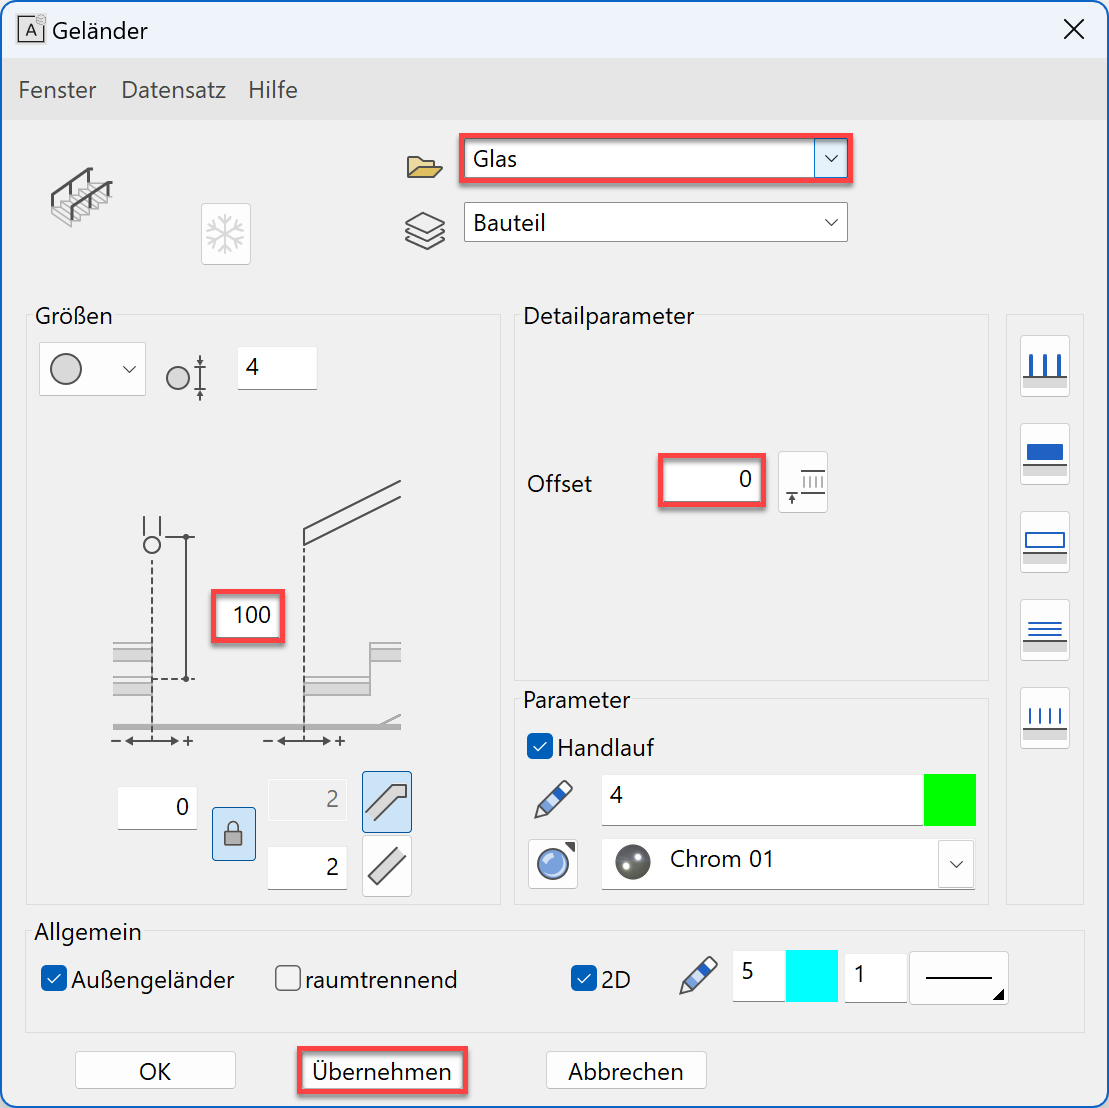

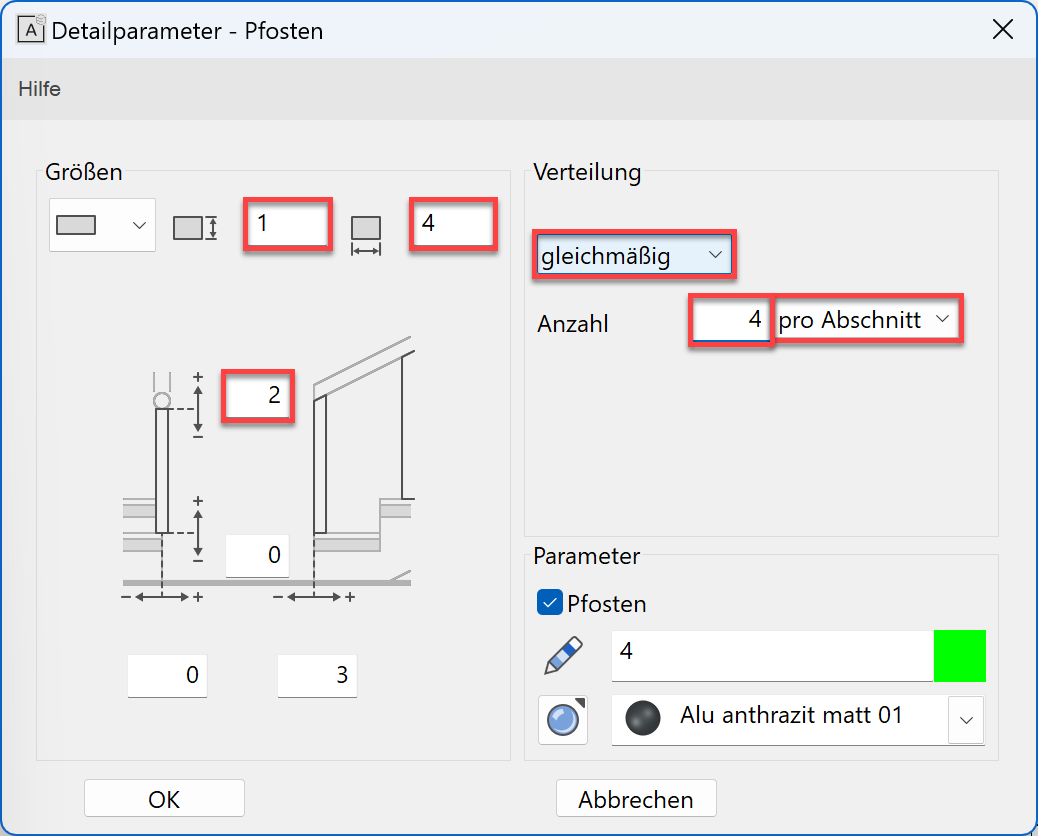


- The two side banisters can now be created. Lower the number of newels from 4 to 3.
Since both banisters are identical, you can create one and then copy it.
