Surrounding area
Surrounding area (horizontal over value)
!!! abstract "Workshop"
Start with the horizontal surrounding areas in the basement.
- Activate the basement and select show alone from the context menu.
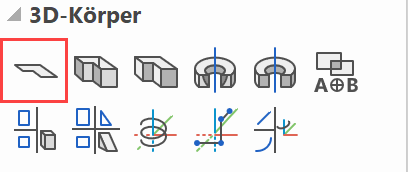
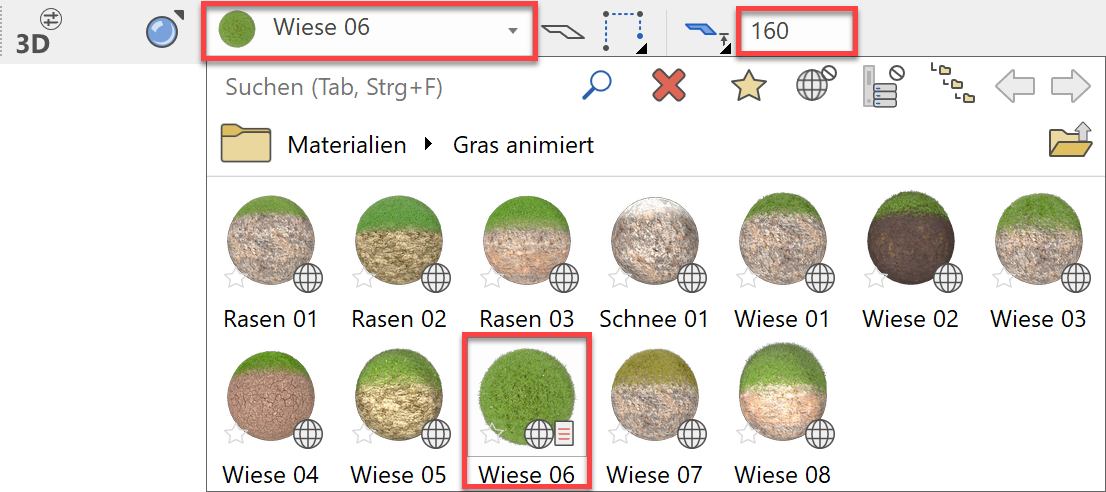
- Start the function DEFINE SURFACE and add the values in the property bar. The height for the surface is 160 cm, measured starting from the current work plane.
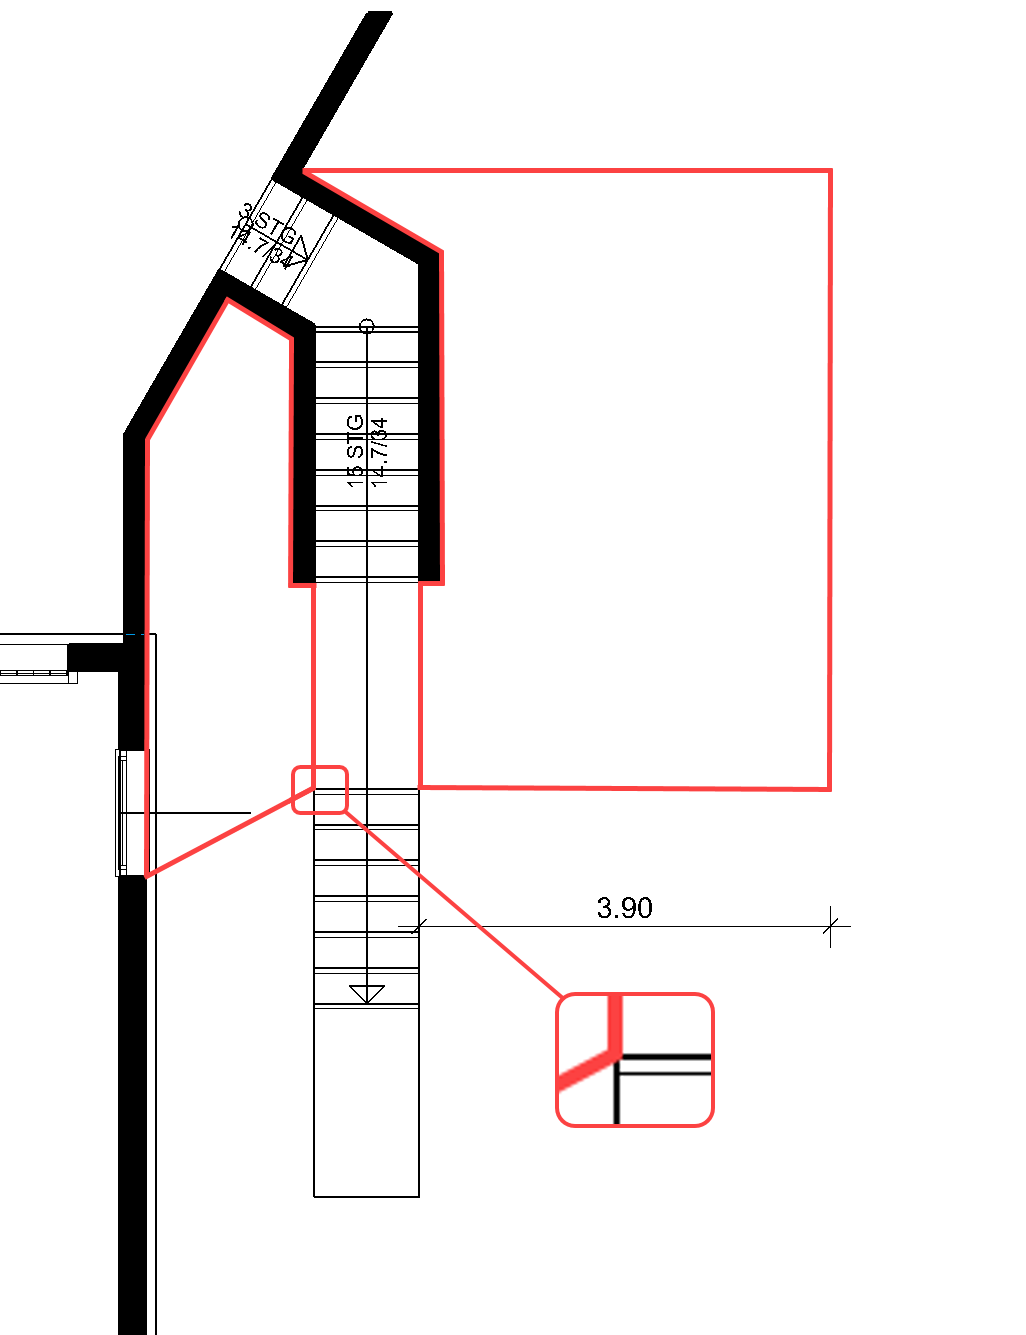
- Draw the two outlines of the horizontal planes.
Surrounding area (inclined by 3 points)
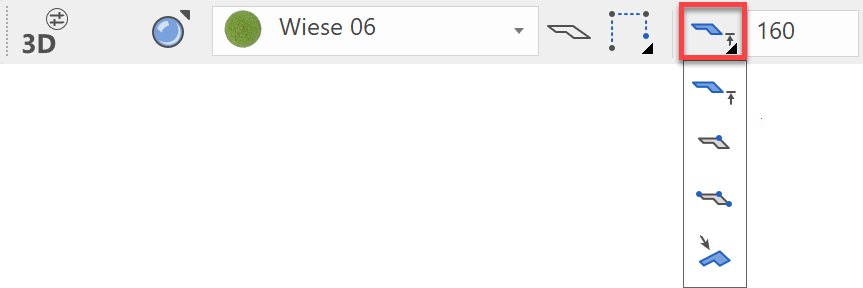
In addition to height information, the type of entry can be made using one point, using 3 points for inclined planes, or using an existing plane. You can select the options in the property bar.
!!! abstract "Workshop"
- Start the function DEFINE SURFACE and change the type Base plane defined by - 3 points in the property bar.


- Draw the outline of the surface.
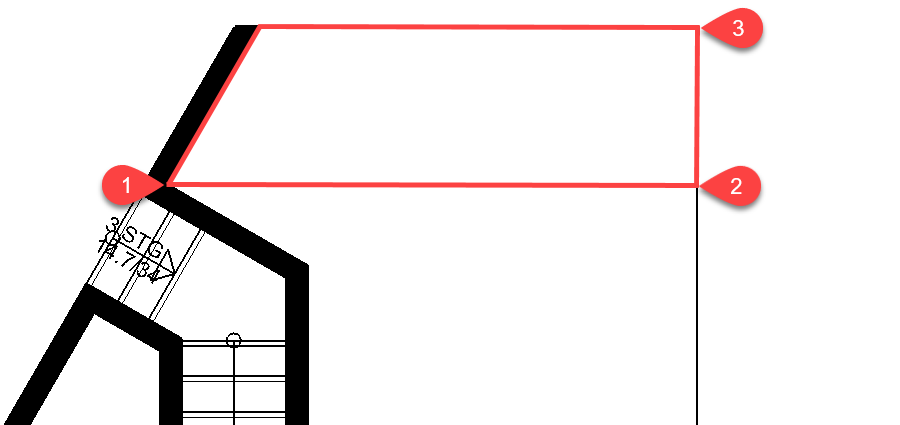
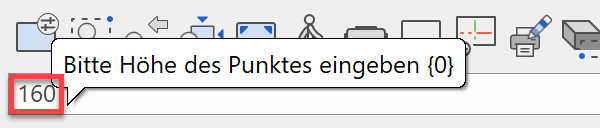
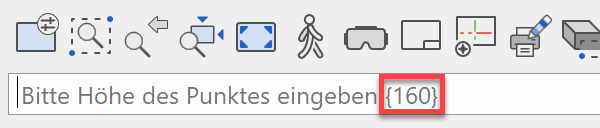
- You must now specify a height for 3 points of the surface plane. Click on the corner at P1, in the input line enter the height 160 and confirm the value.
Click on the second point P2 and enter the height 160. For the third point P3, enter the height 0.

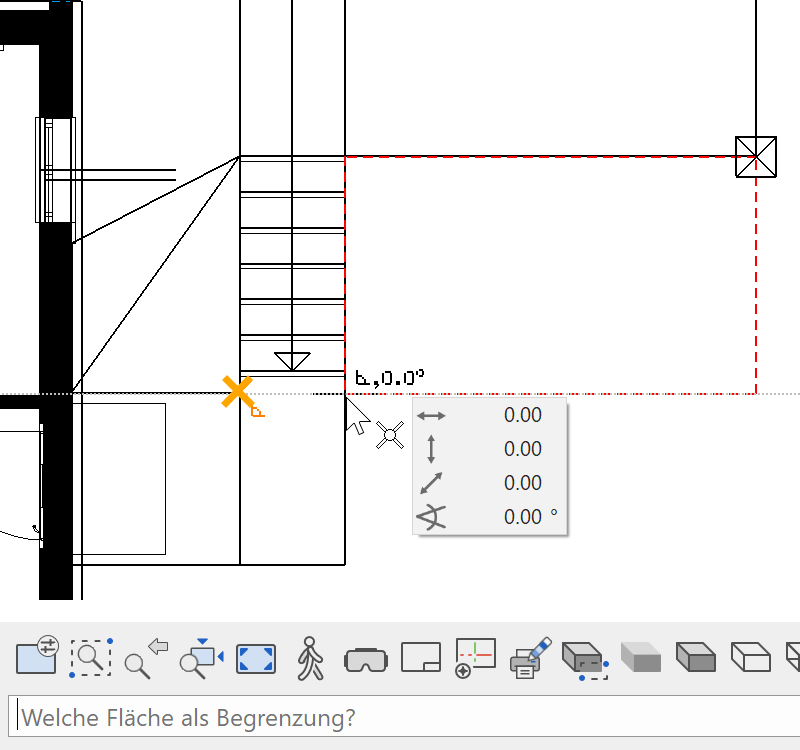
Surrounding area (definition points in 3D)
The definition points of the surface can be selected directly in the model. This makes it easy to continue working on the surrounding areas in a seamless way.
Workshop
- Switch the ground floor to visible but not active.
- The Surface function is still active.
- Draw the outline of the surface.

- Switch to the solid design model Ctrl+D and show the edges Ctrl+K. Rotate the model continuously so that you can always hit the point to be selected in the optimum way.
Point 1: Lower corner

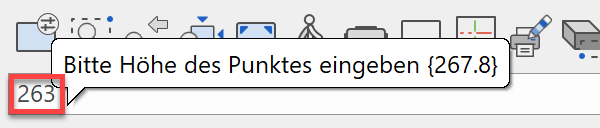
The "transferred" height is written in the input line. In this case, this height is exactly the needed value. Confirm the value without writing anything into the input line.Point 2: Corner of the forecourt for the staircase

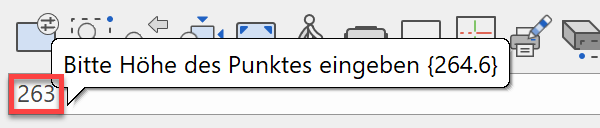
The surrounding area must not reach to exactly the same height as the forecourt. Use the "transferred" value of 264.6 as information and enter the value 263.Point 3: Corner of the forecourt at the entrance doors

The forecourt has an angle, the surrounding area must not take on this angle. Enter the same value as for point 2 > 263.

Surrounding area (incline same as existing surface)
Workshop
- The surface function is still active; in the property bar change the type Base plane defined by - Surface.

- Draw the outline of the surface. From the input assistant, select the drawing function RECTANGLE.

- You now need to specify a reference surface. To do so, switch to the solid and click on the triangular surface just created.
- Cancel the function with Esc.
- Select the two surrounding areas in order to add the missing area.
Multiple selection: hold down the Shift key


- Select the function SHOW.

The less data is present on the screen, the more accurately and easily the points can be captured. - Start the function DEFINE SURFACE and, in the property bar, change the type Base plane defined by - 3 points.
- Draw the outline of the plane and select the 3 corners of the existing planes. End the function when finished.


- Select the function SHOW to display the rest.

Assign layer
List of layers

The active layer is displayed in this field. The object created at this moment is assigned to this layer.
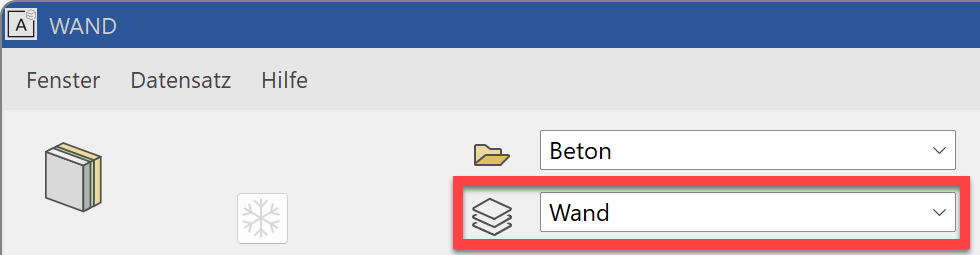
In the component dialogs, the layer is stored directly in the parameter record. If you access the parameter record wall xyz, the wall will be automatically assigned to the correct layer.
Example of wall:
Layer manager
Layer manager is opened via the function LAYER or from the menu by selecting WINDOW > LAYER.
![]()
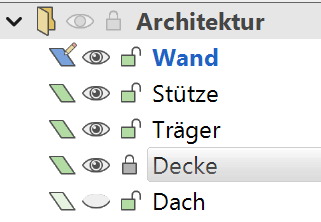
| Layer main group | |
| Layer without data | |
| Layer with data | |
| Active layer | |
| Layer ist sichtbar | |
| Layer ist unsichtbar |
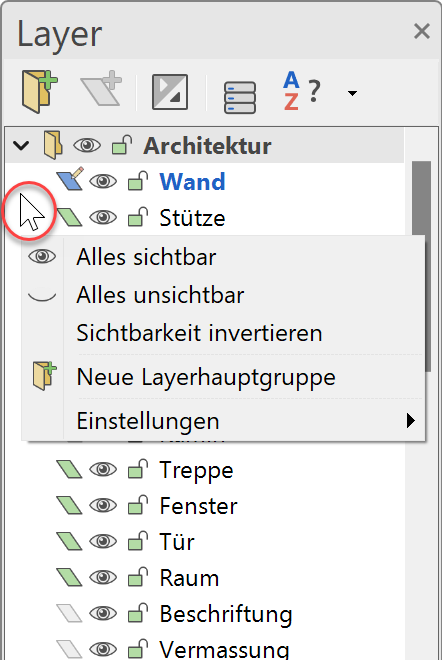
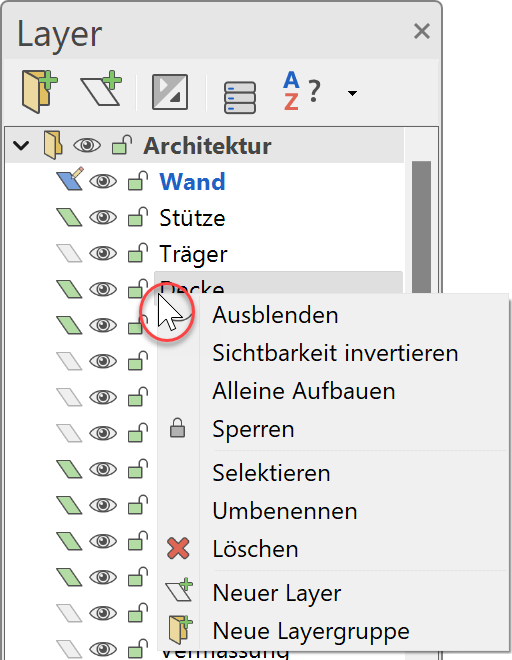
Right-click to perform various manipulations. There is a difference between clicking on a layer name or in the background.
Modify layer
There are two options for changing a layer.
Selection / layer list:
Select one or more objects, then select the desired layer from the layer list.
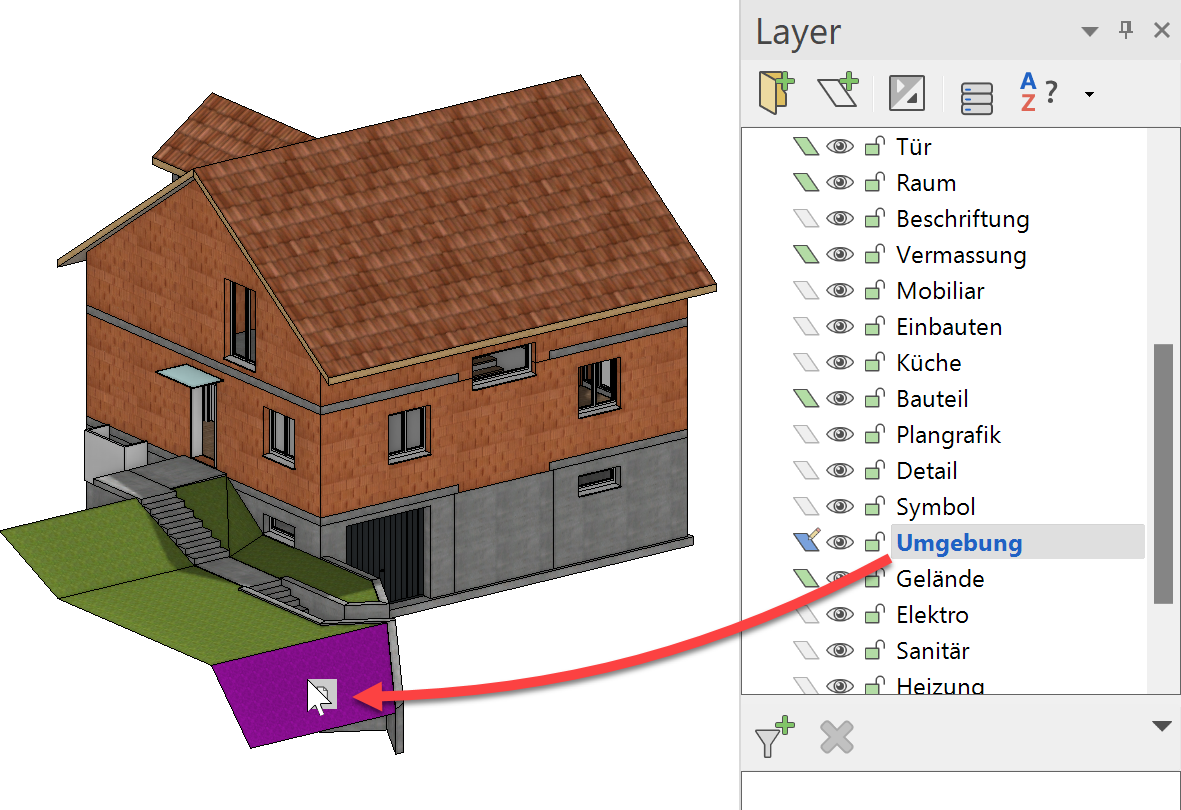
Layer manager / drag & drop:
Drag the desired layer name from the layer manager and drop it on the desired object.
Workshop
- Assign the created surrounding surfaces to the "Surroundings" layer.
Method 1:
Using multiple selection Shift to select the surrounding areas (as far as the front sloping area) and in the list of layers select the "Surroundings" layer.

Method 2:
Drag the "Surroundings" layer from the layer manager to the remaining surface not yet assigned and release the mouse button.
- Check that the assignments have worked.
Open the context menu for the layer "Surroundings" and select the function SHOW ALONE.
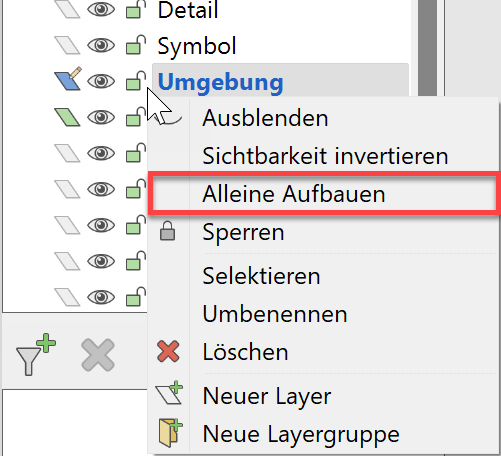
If you made the assignments correctly, only the surroundings areas should show on the screen.

- To show all objects again, select the SHOW function.

Surrounding area 
Workshop
- Activate the basement, select show alone from the context menu and activate the "Surroundings" layer.

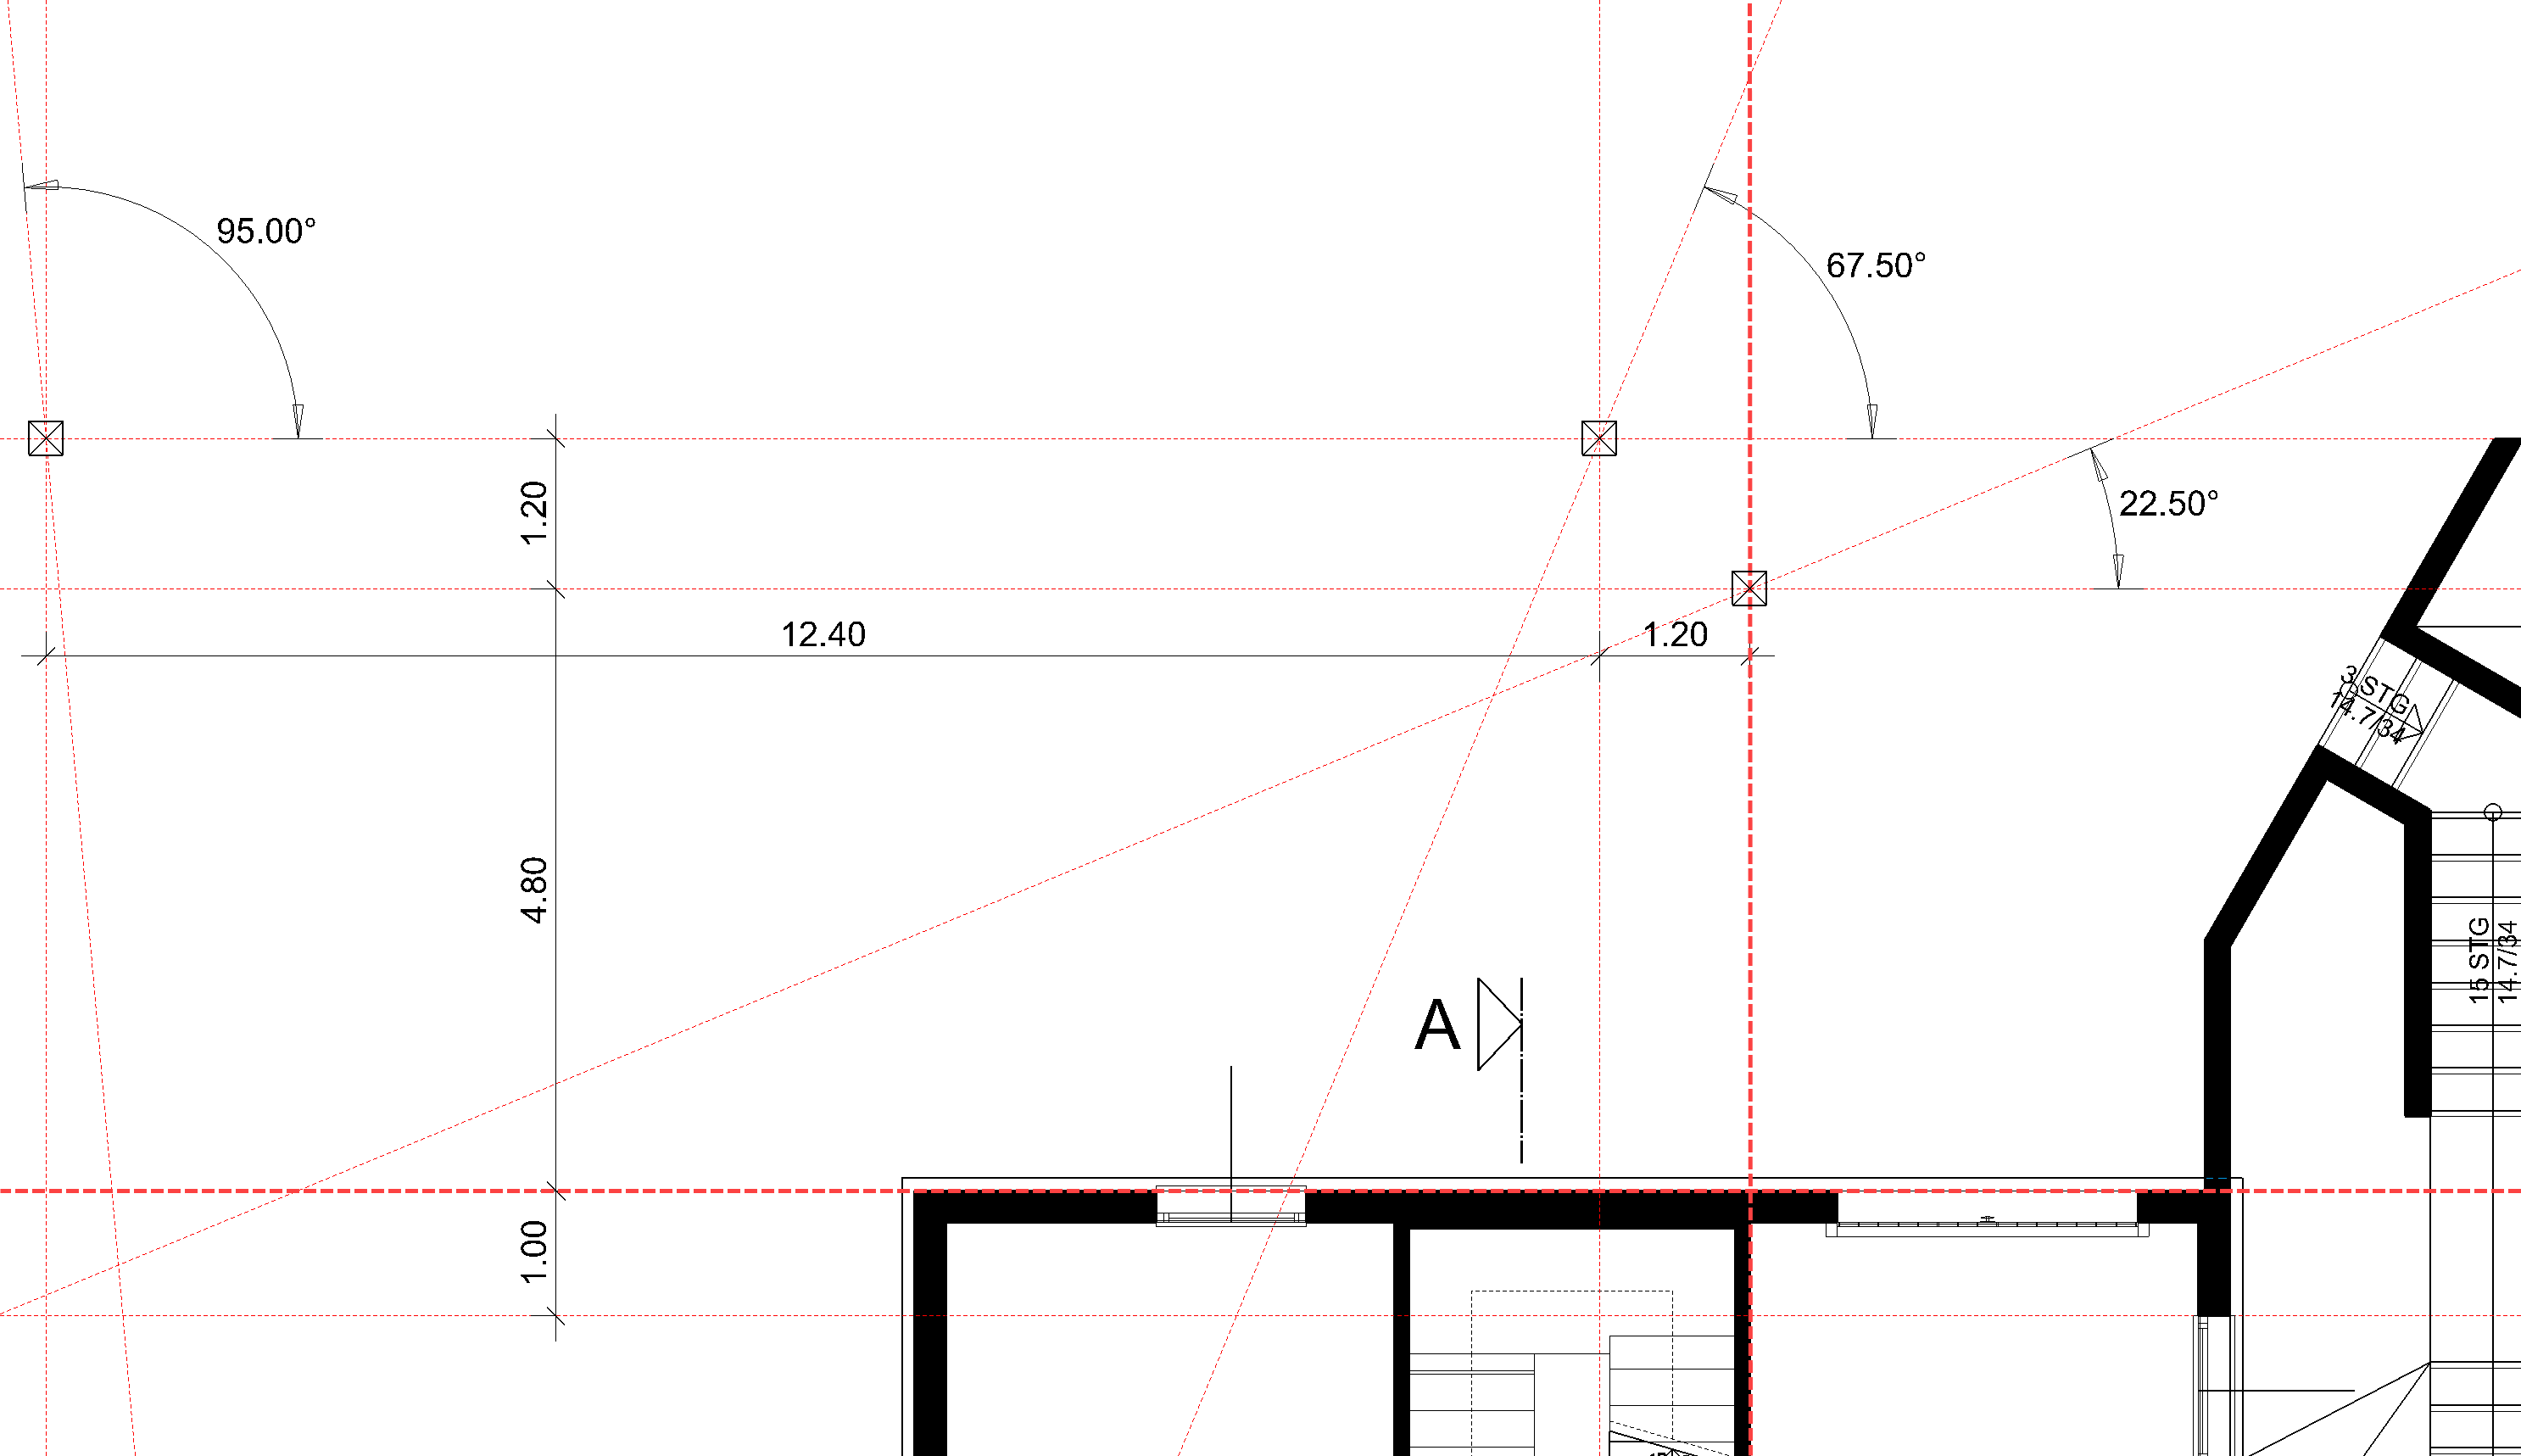
- Draw an auxiliary line construction to create the rest of the surrounding areas of the basement. To ensure that the slab with its projection does not get in the way, it is immediately hidden.

- Start with the two horizontal surfaces.
Plane 1: Height 0 Visualisation material Meadow 06
Plane 2: Height 160 Visualisation material Asphalt 01

- Generate the inclined surfaces in accordance with the predefined heights.


- Remove the auxiliary lines.

- The remaining planes must be assigned to the ground floor. Specify the ground floor as active.
- The height of the last surface is 3 (is calculated starting from the current ground floor work plane). Draw the outline and assign a surface.
