Define plot
In the plot view, all defined views, floor plans and sections can be merged into one plot. The individual views, floor plans and sections are linked with the originals. If you change the original, the copy in the plot view also changes.
Workshop
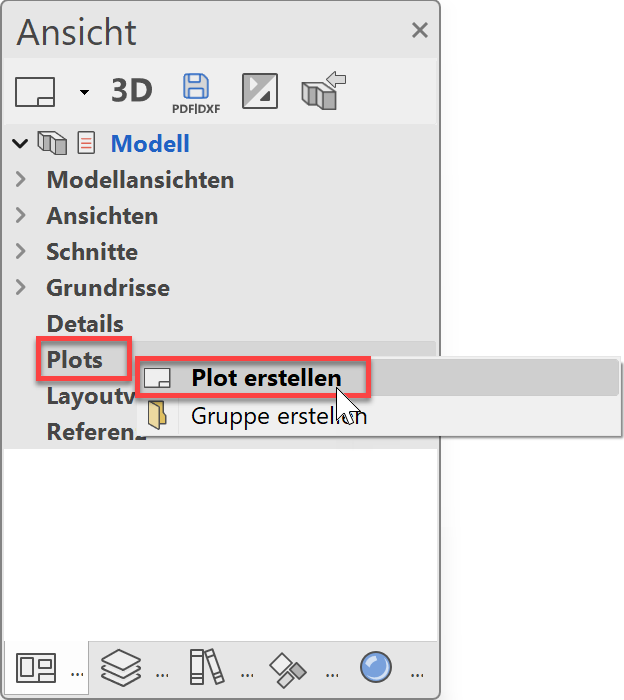
- In Views manager, generate a new plot by right-clicking on the title Plots.
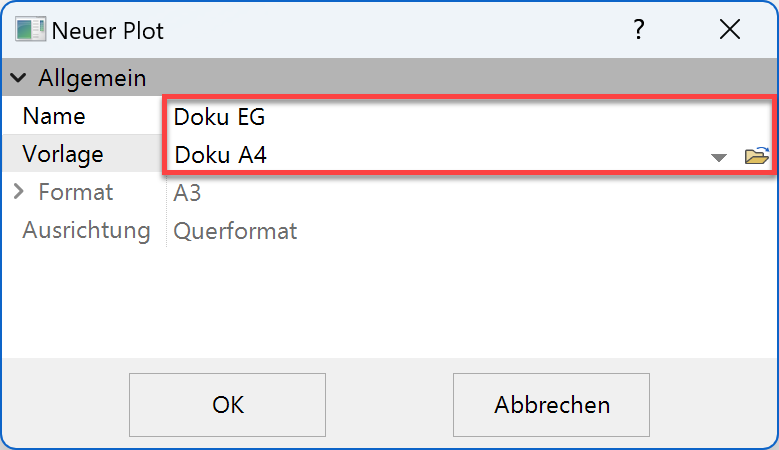
- Enter a name for the plot and select the layout template just created, Docu GF as a basis.
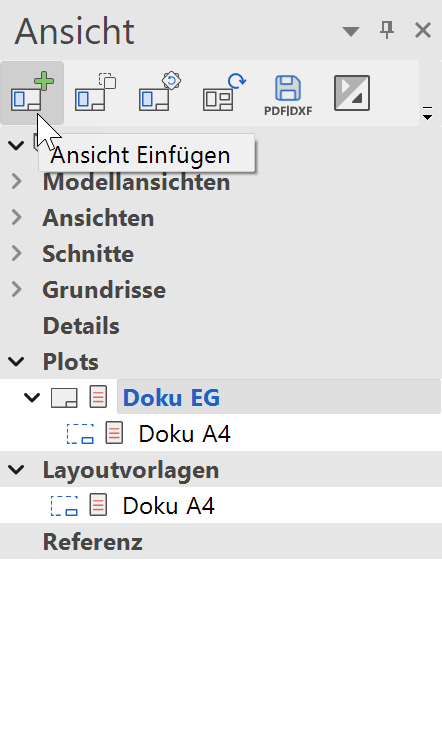
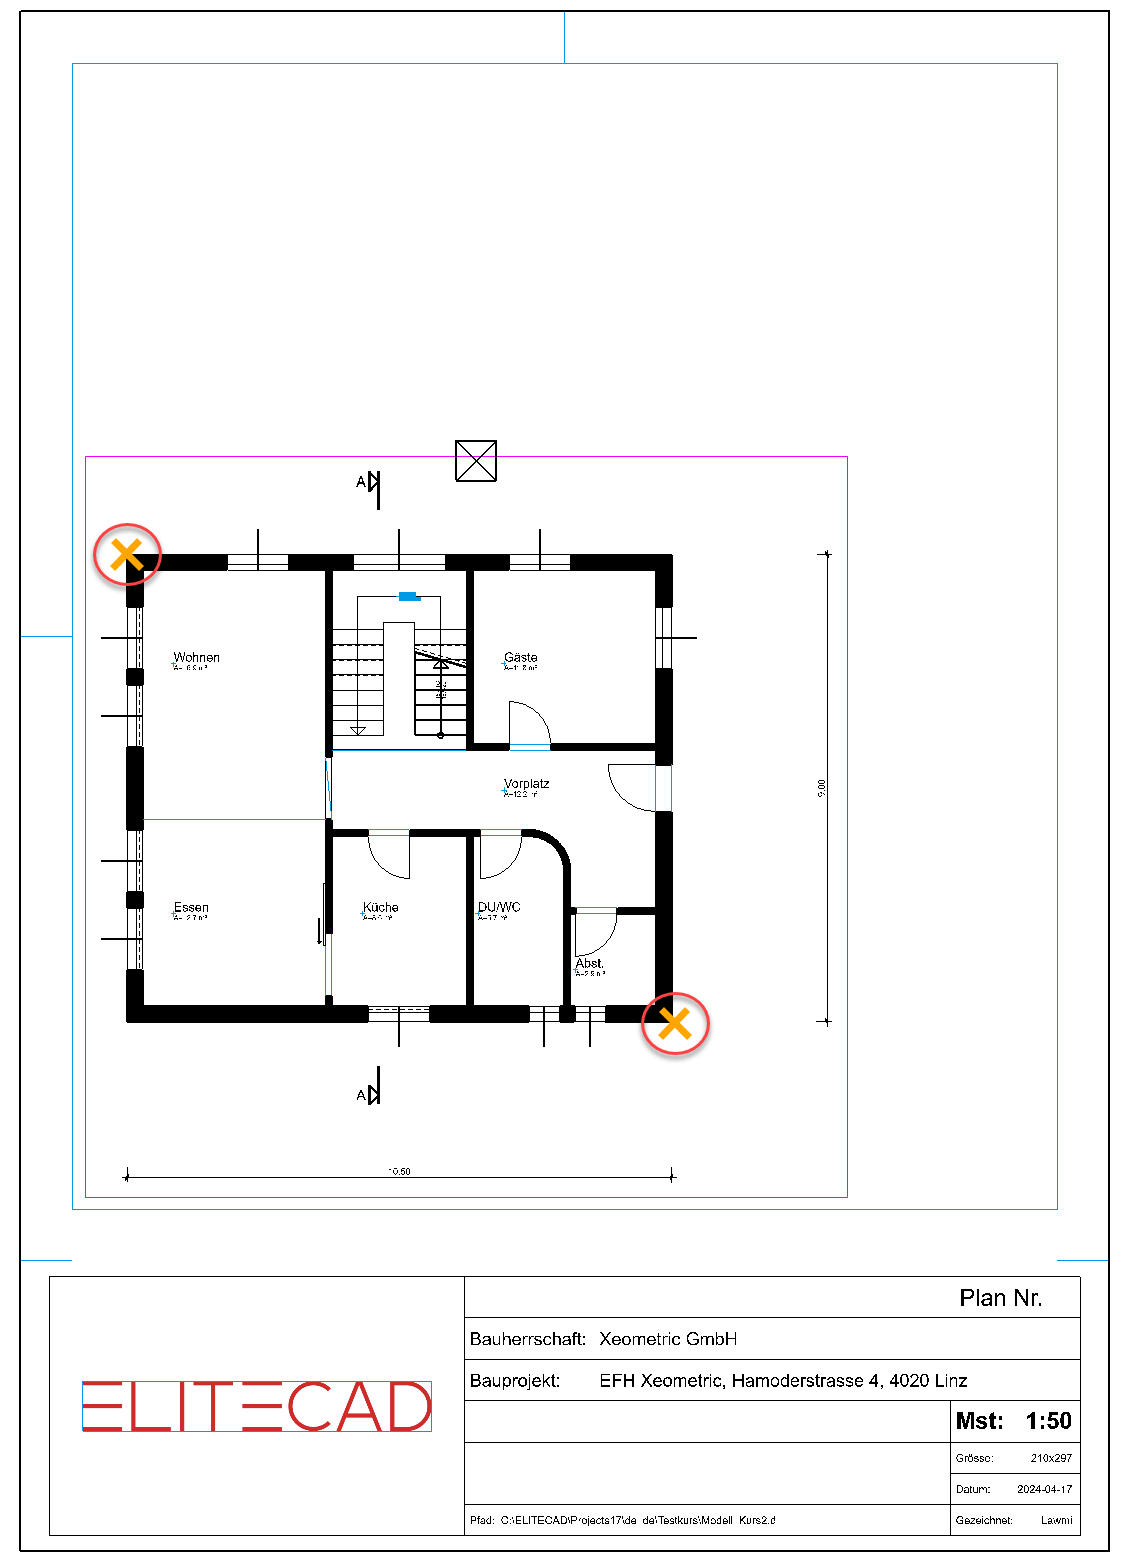
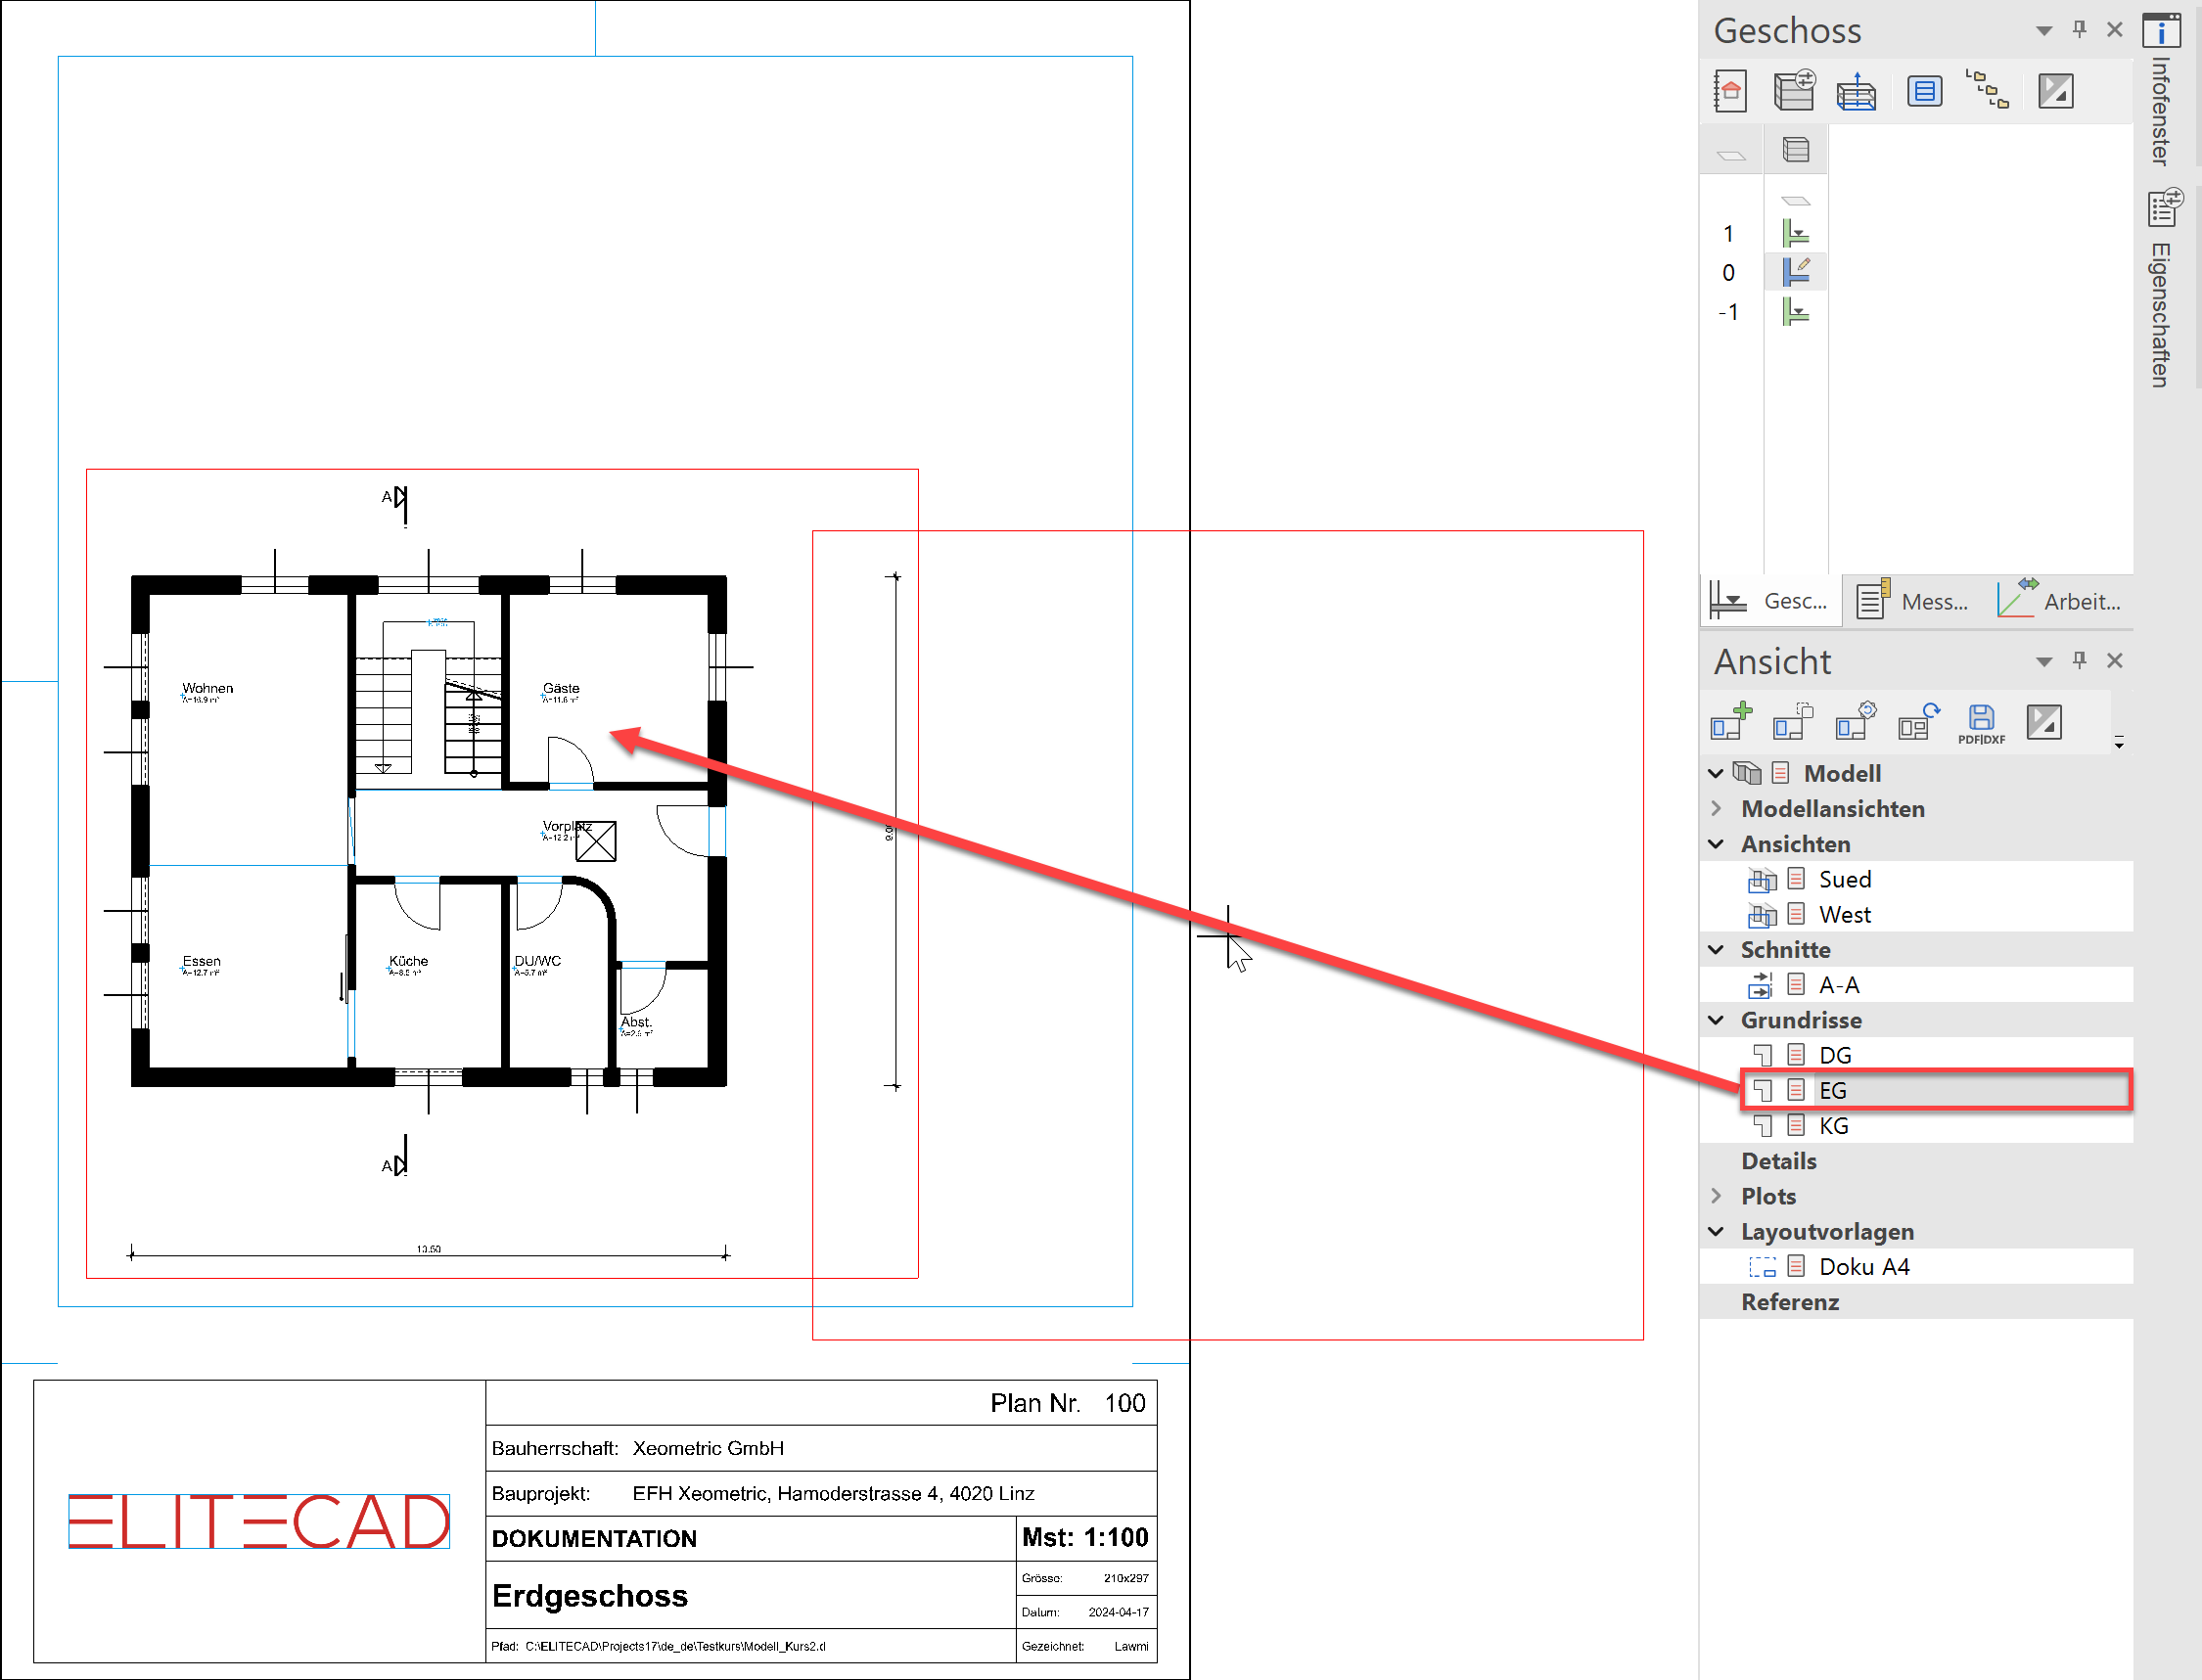
- The new plot view appears with the layout template on screen. In the header line of Views manager, select the function INSERT VIEW and select the GF from the list.
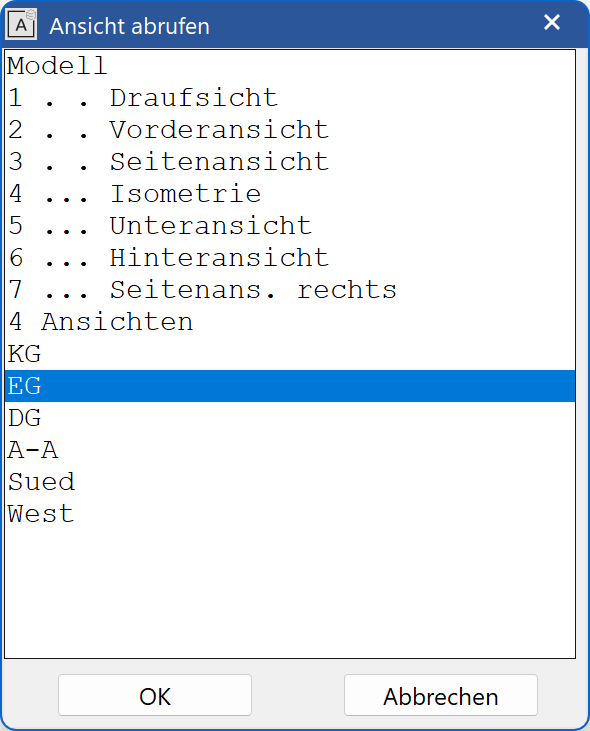
- Insert the ground floor into the plot.
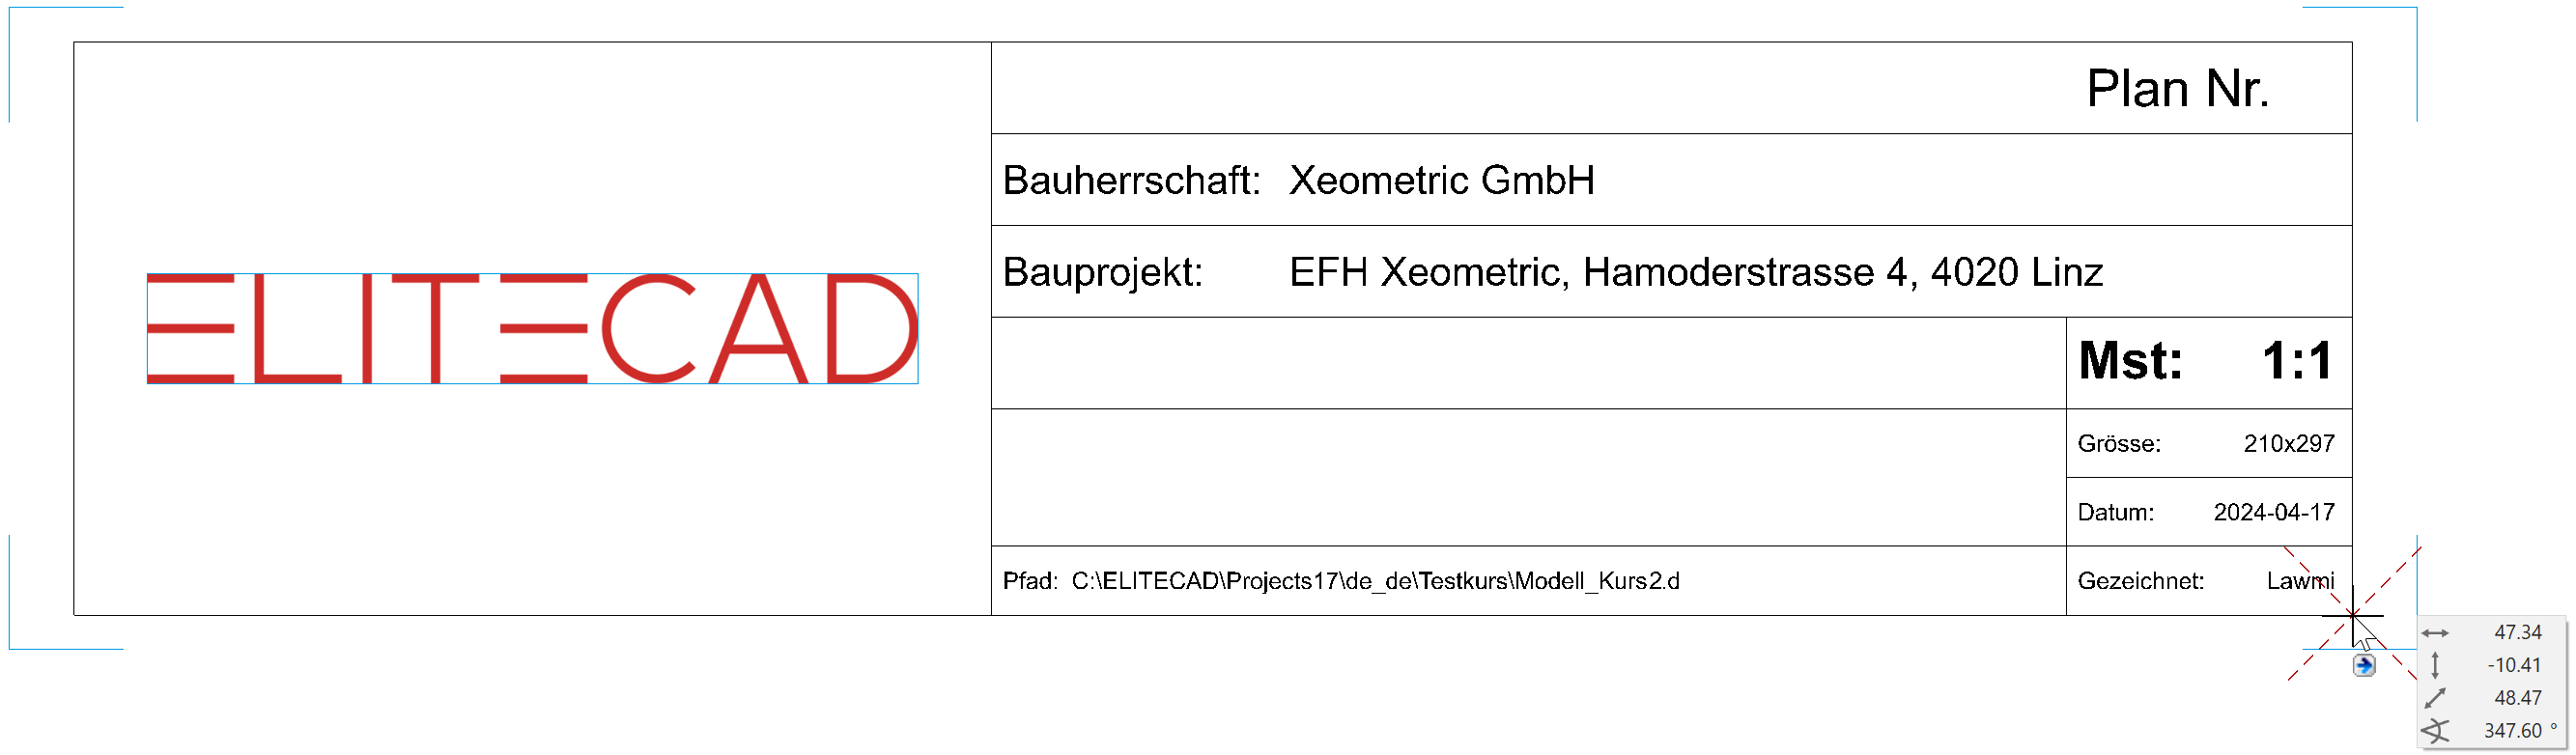
- Using the function MOVE VIEW, move the plan from the header line of Views manager into the centre.
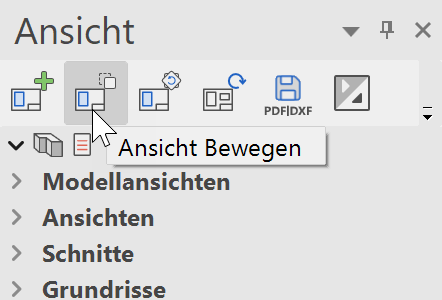
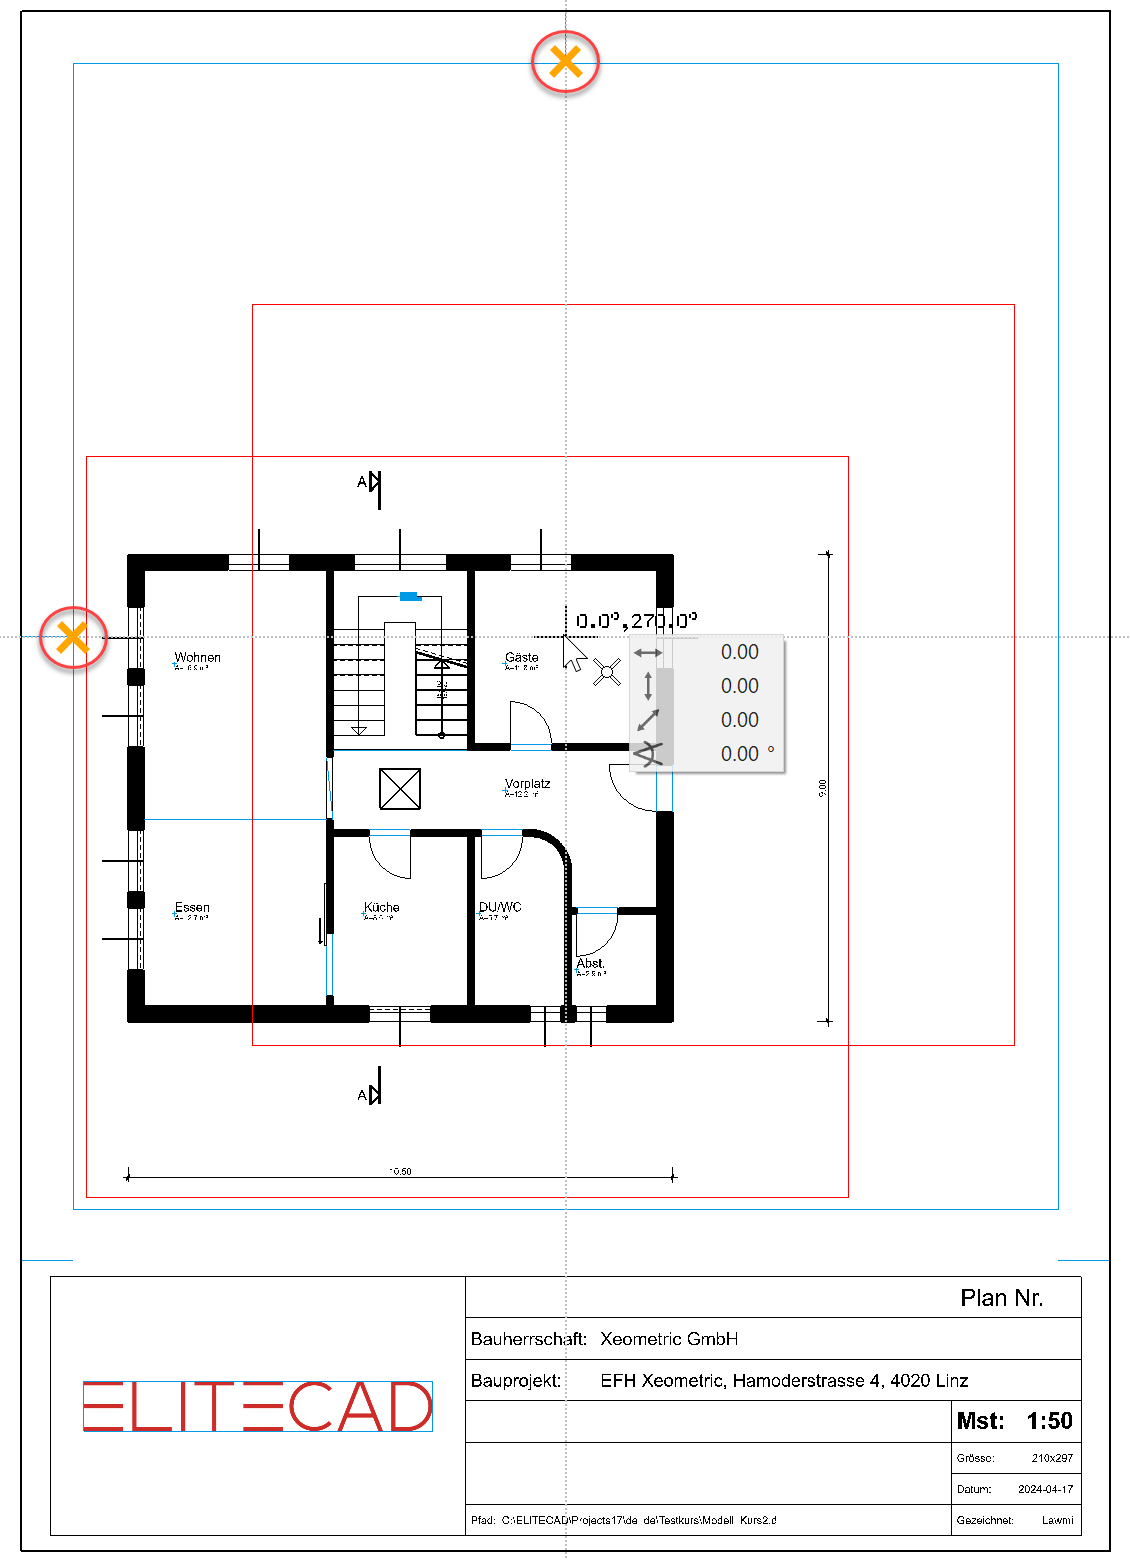
Start the function MOVE VIEW. Determine the centre of the plan using the snap mode MIDDLE OF 2 POINTS.
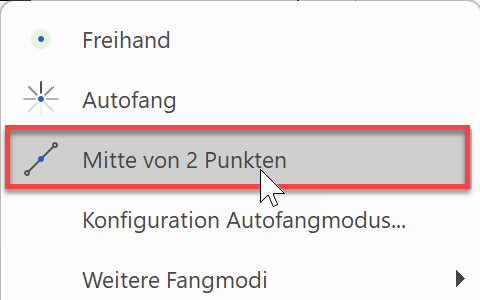
The centre in the plot can be determined with two temporary reference points from the secondary drawing with auxiliary lines of the layout template.
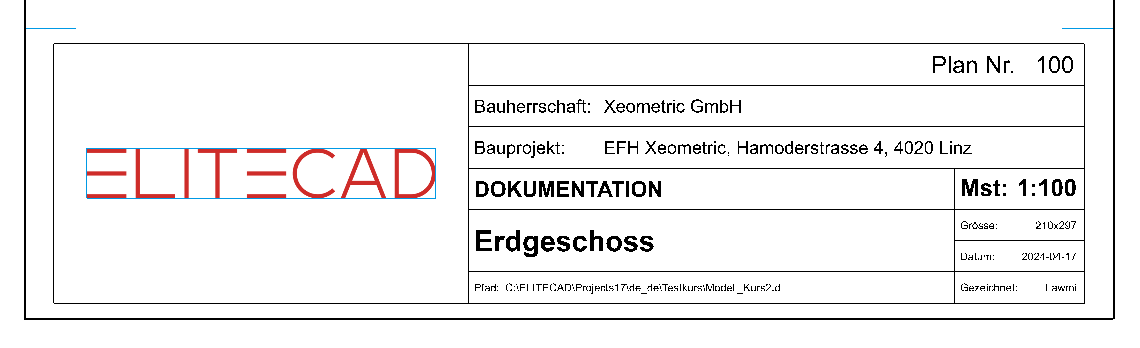
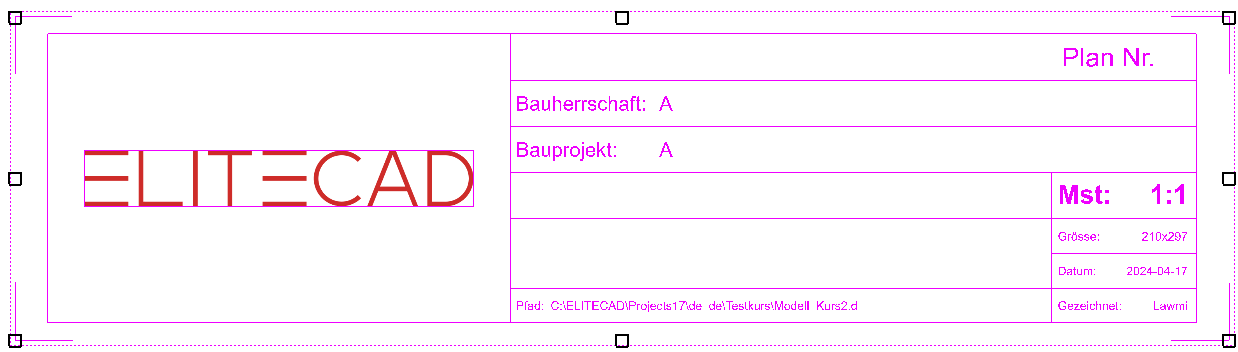
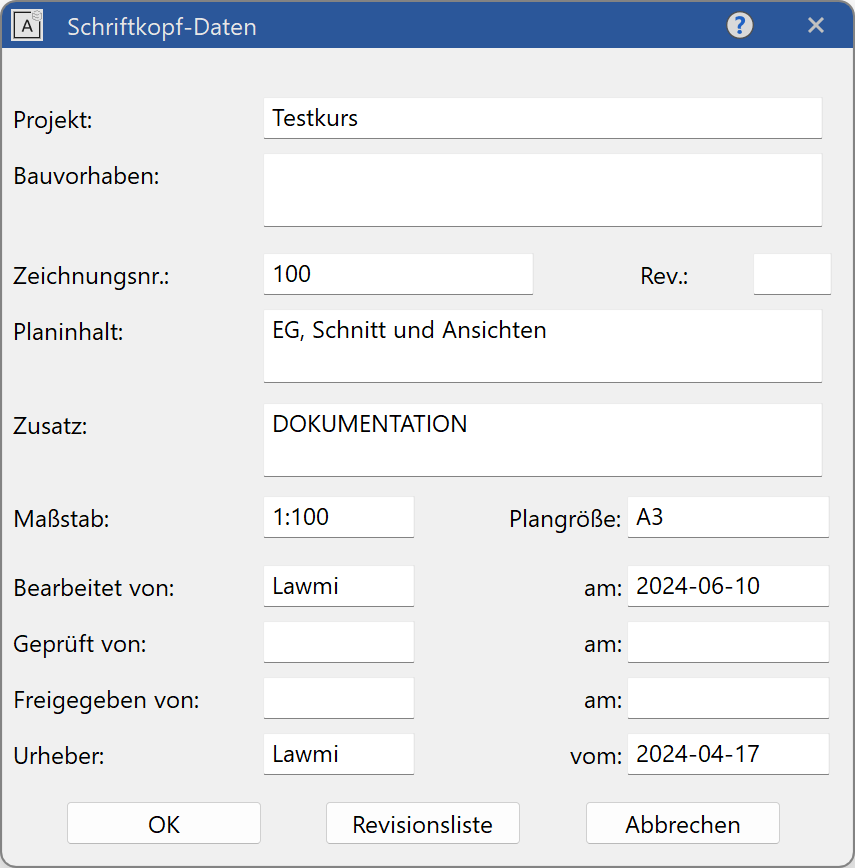
- Add the missing labels to the title block.
Menu LAY-OUT > COMPLETE TITLE BLOCK….

- Generate the rest of the documentation yourself.
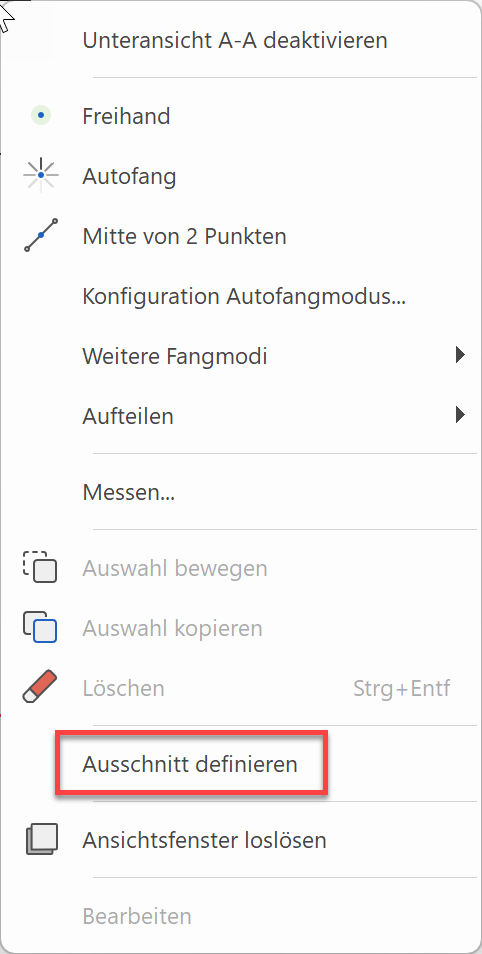
In the views, the tree protrudes out of the page format. A cut-out can be defined in a view.
To be able to change a view in the plot, you must double-click on the frame. Right-click to access the function DEFINE CUT OUT.
Create a new frame.
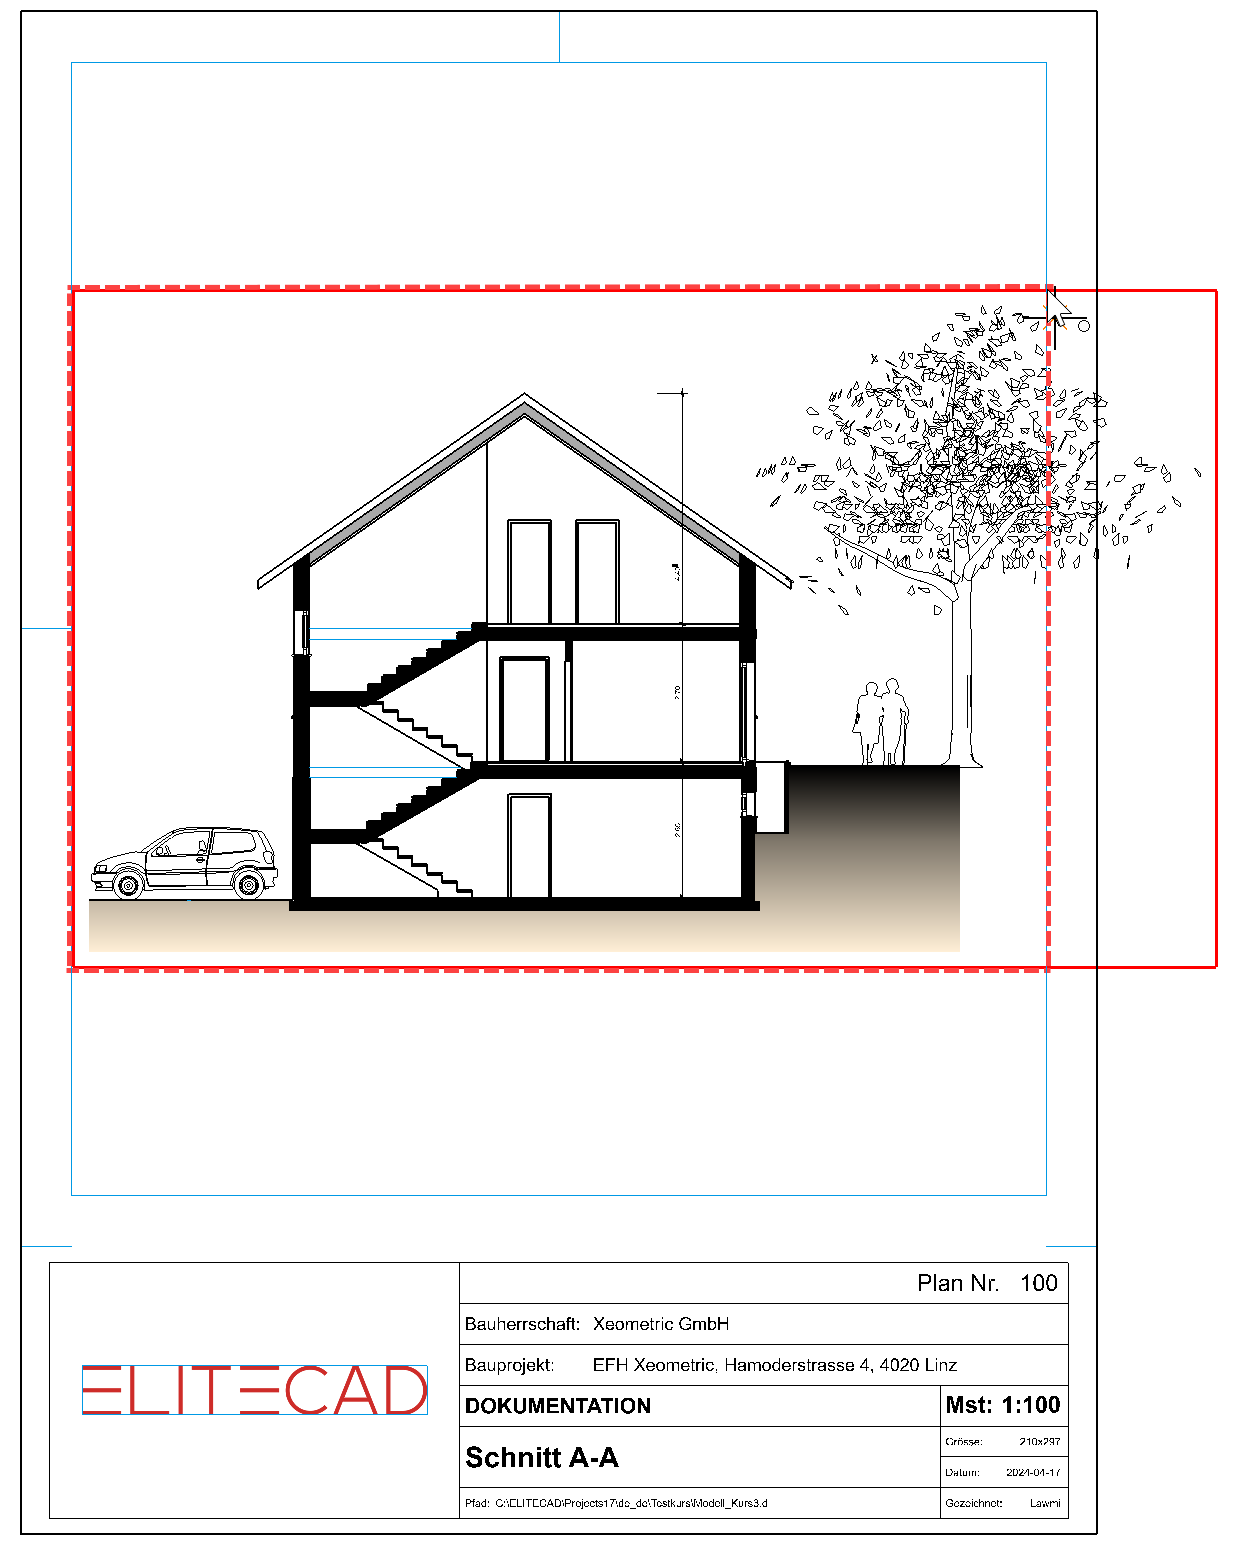
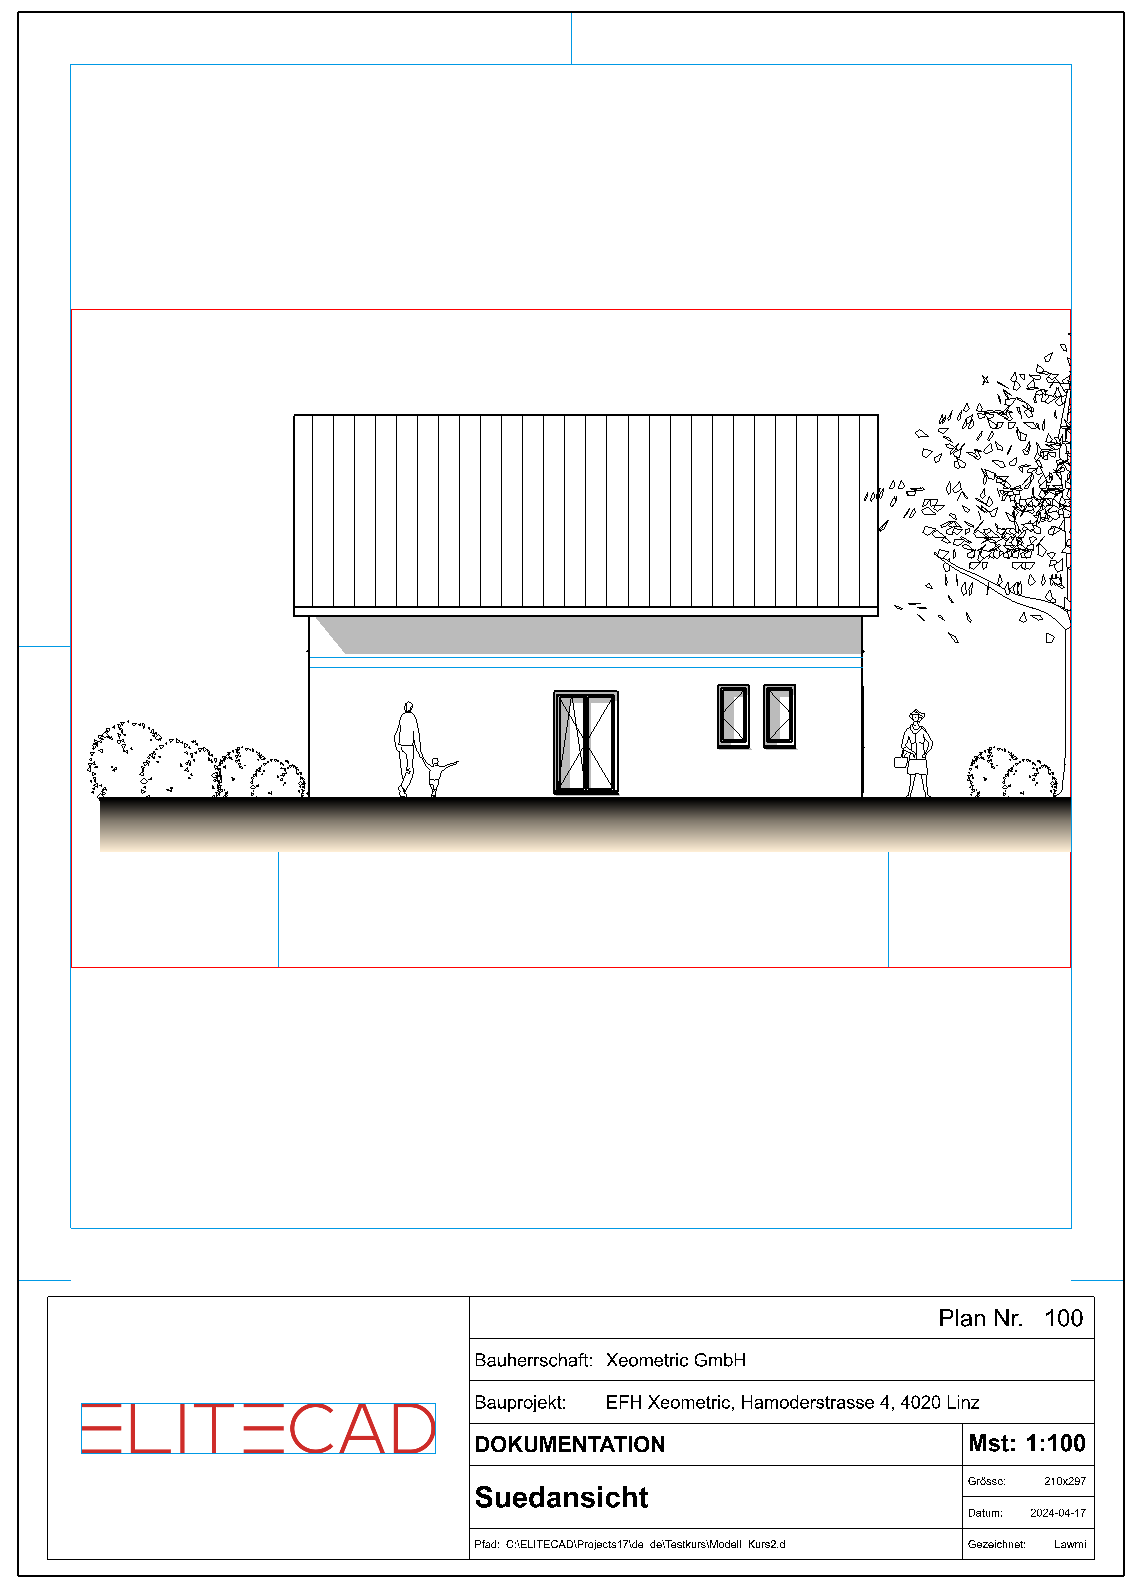
Repeat this with the west and south views as well.Tip
The view can also be inserted into the plot using drag & drop.
Activate the plot into which the views are to be positioned. Drag the Name of the view into the plot with the left mouse button. As soon as you are in the work area, you can release the mouse button and position the view in the correct place.
Plot with multiply views
Workshop
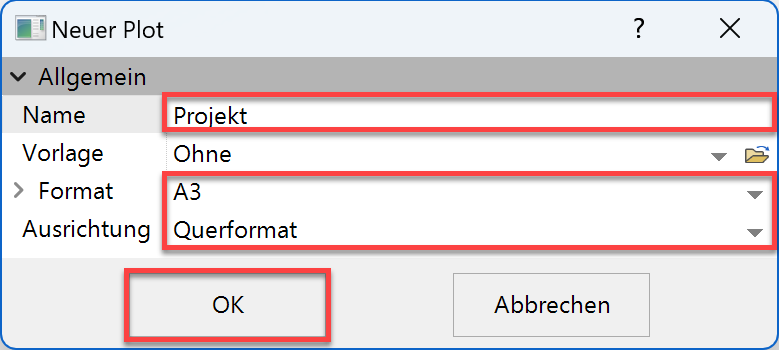
- In Views manager, generate a new plot by right-clicking on the title Plots.
- Enter the name Building permit and select an A3 landscape format.
- Add a frame to the plot.
Menu LAY-OUT > FORMAT FRAME
Confirm the A3 format by entering a 3 in the input line.

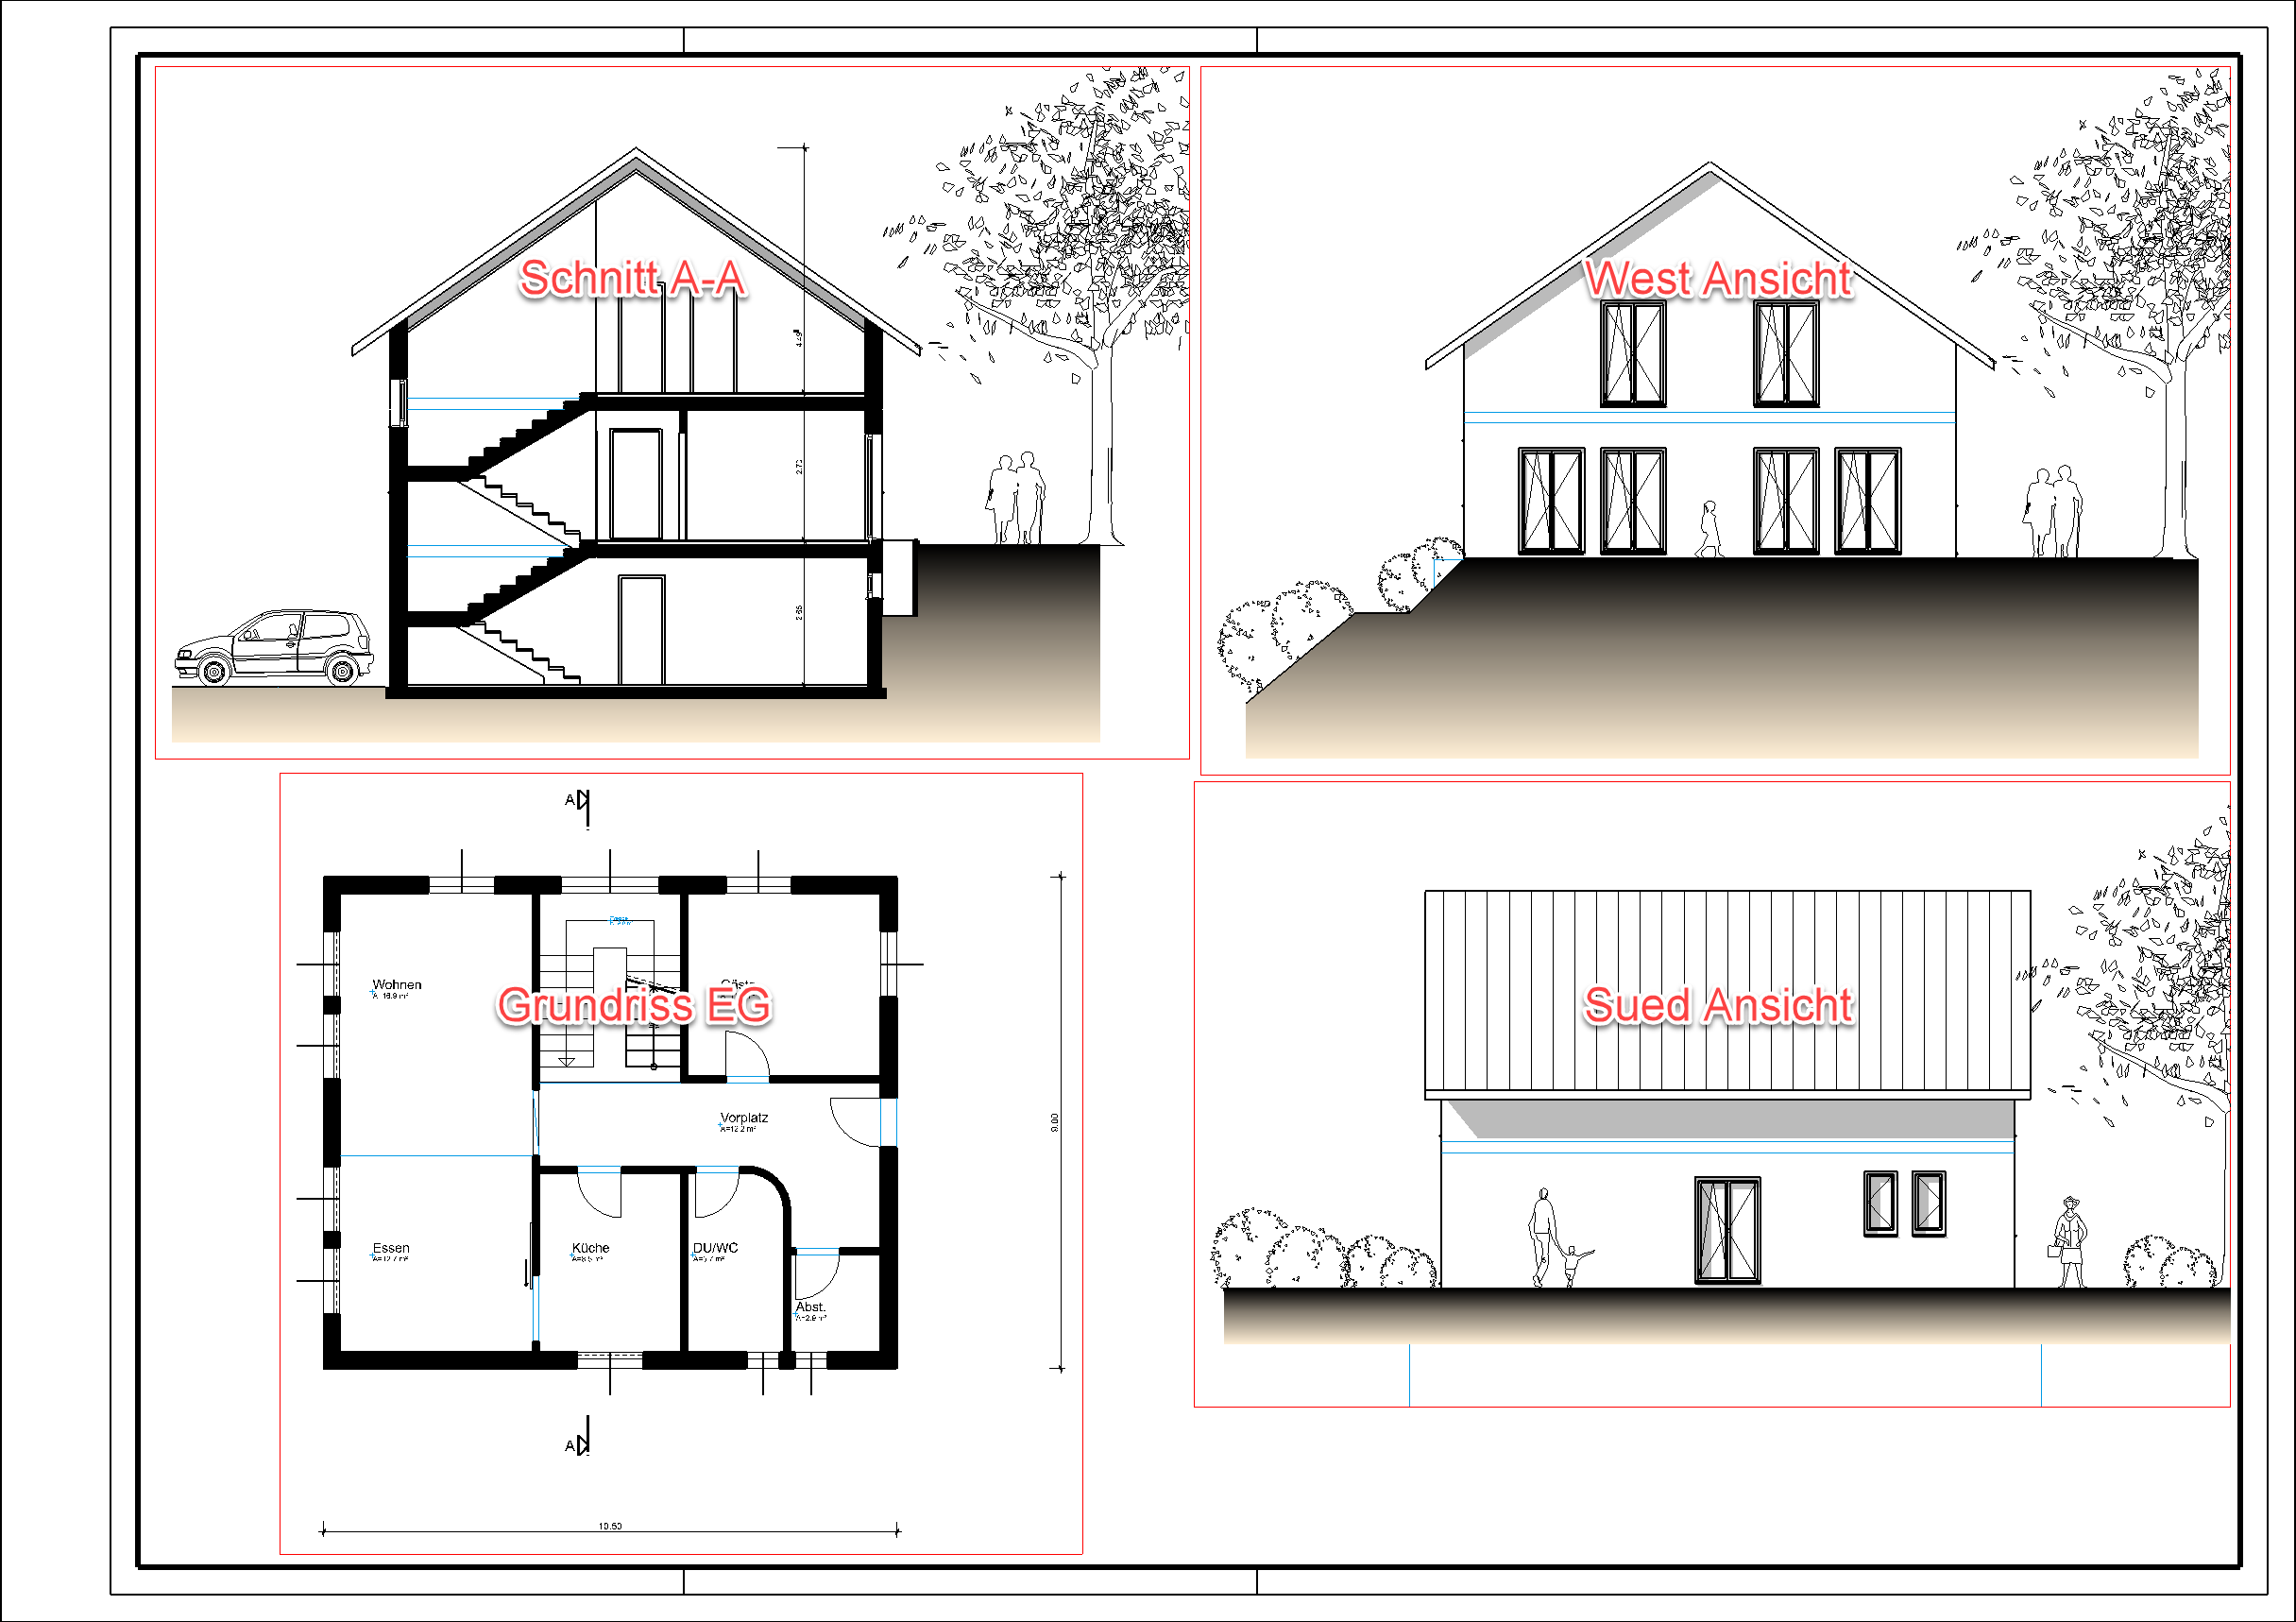
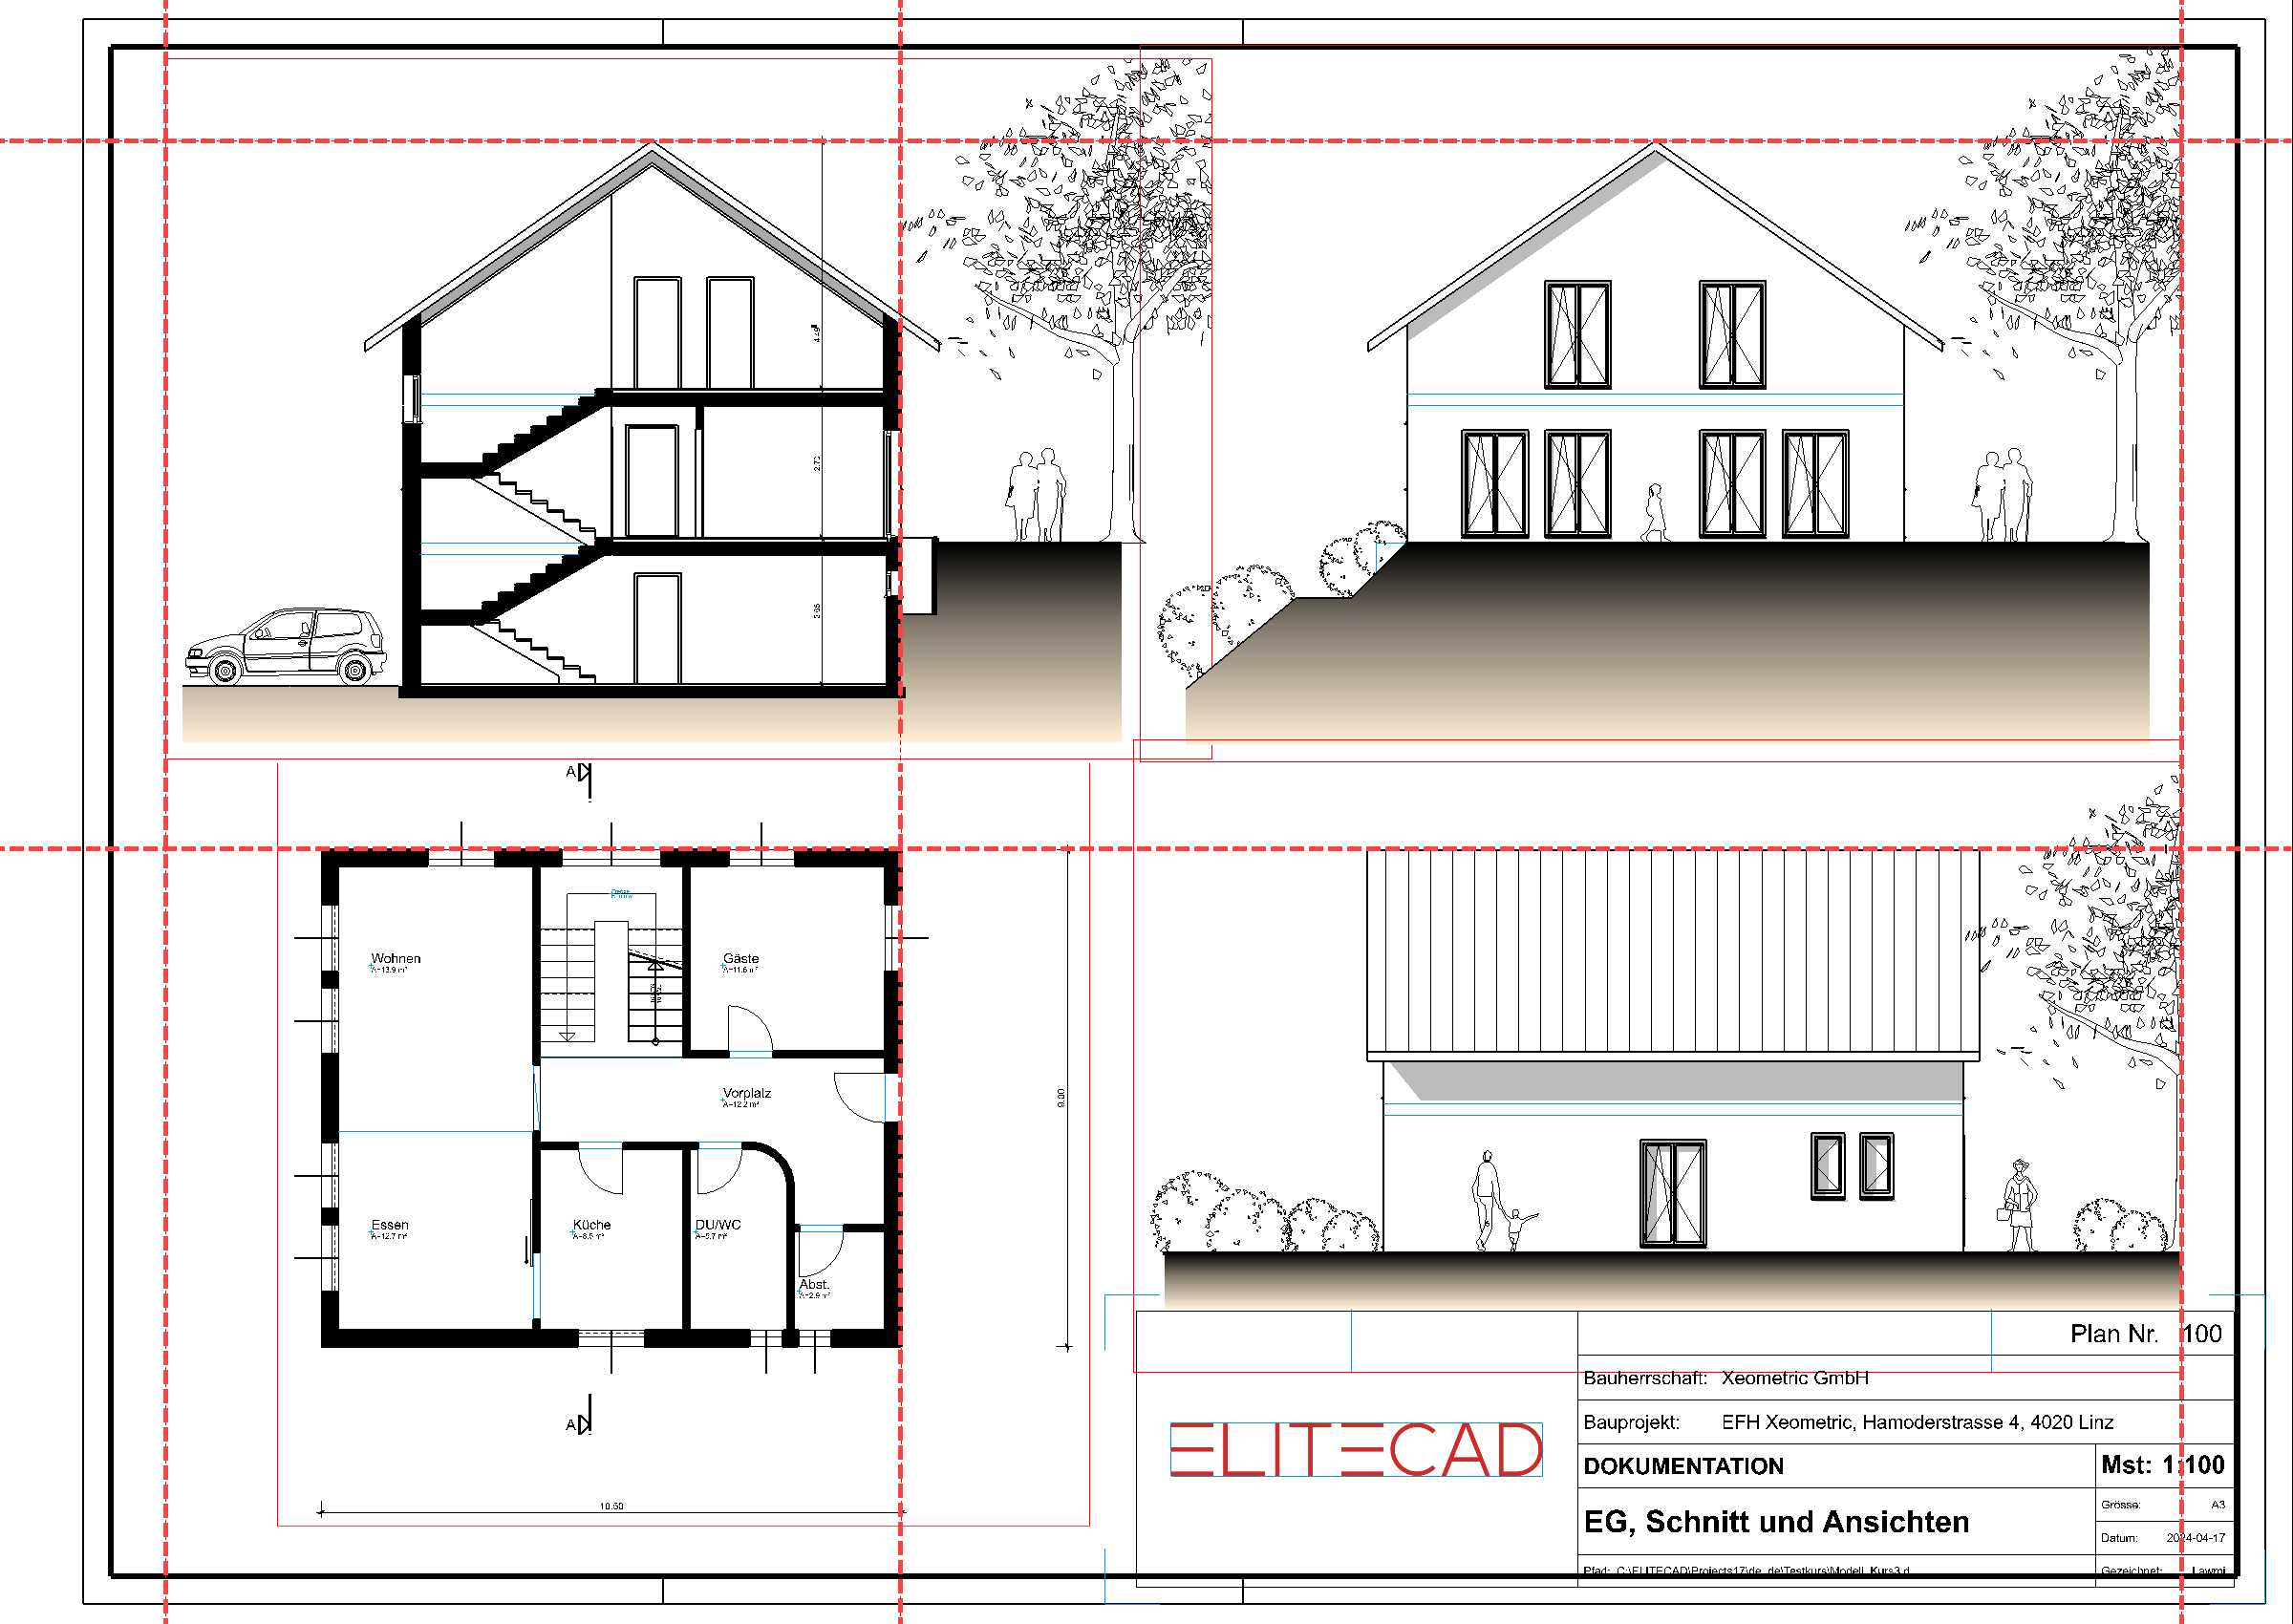
- Fill the plot with the plans: GF, section A-A, West view and South view.
- The title block could be included in the plot via the menu LAY-OUT > PLACE TITLE BLOCK…. However, since you already added a title block in the layout template, with information on the client and construction project, it is quicker to copy it.
Switch to the layout template Docu A4.
Since the title block is combined in one group, you can select it with a single click.
- Select the COPY function and place the reference point at the bottom right.

The title block is now in the clipboard.
Explanation
If a selection is copied from the current view, the function Copy selection must be used.

If a selection needs to be copied to a different view or a different file, it must be copied from the clipboard. The COPY function adds a selection to the clipboard.

The PASTE function pastes the selection from the clipboard.

- Switch back to the plot Building permit.
- Insert the title block into the lower right corner using the function ABSOLUTE PASTE from the EDIT menu.
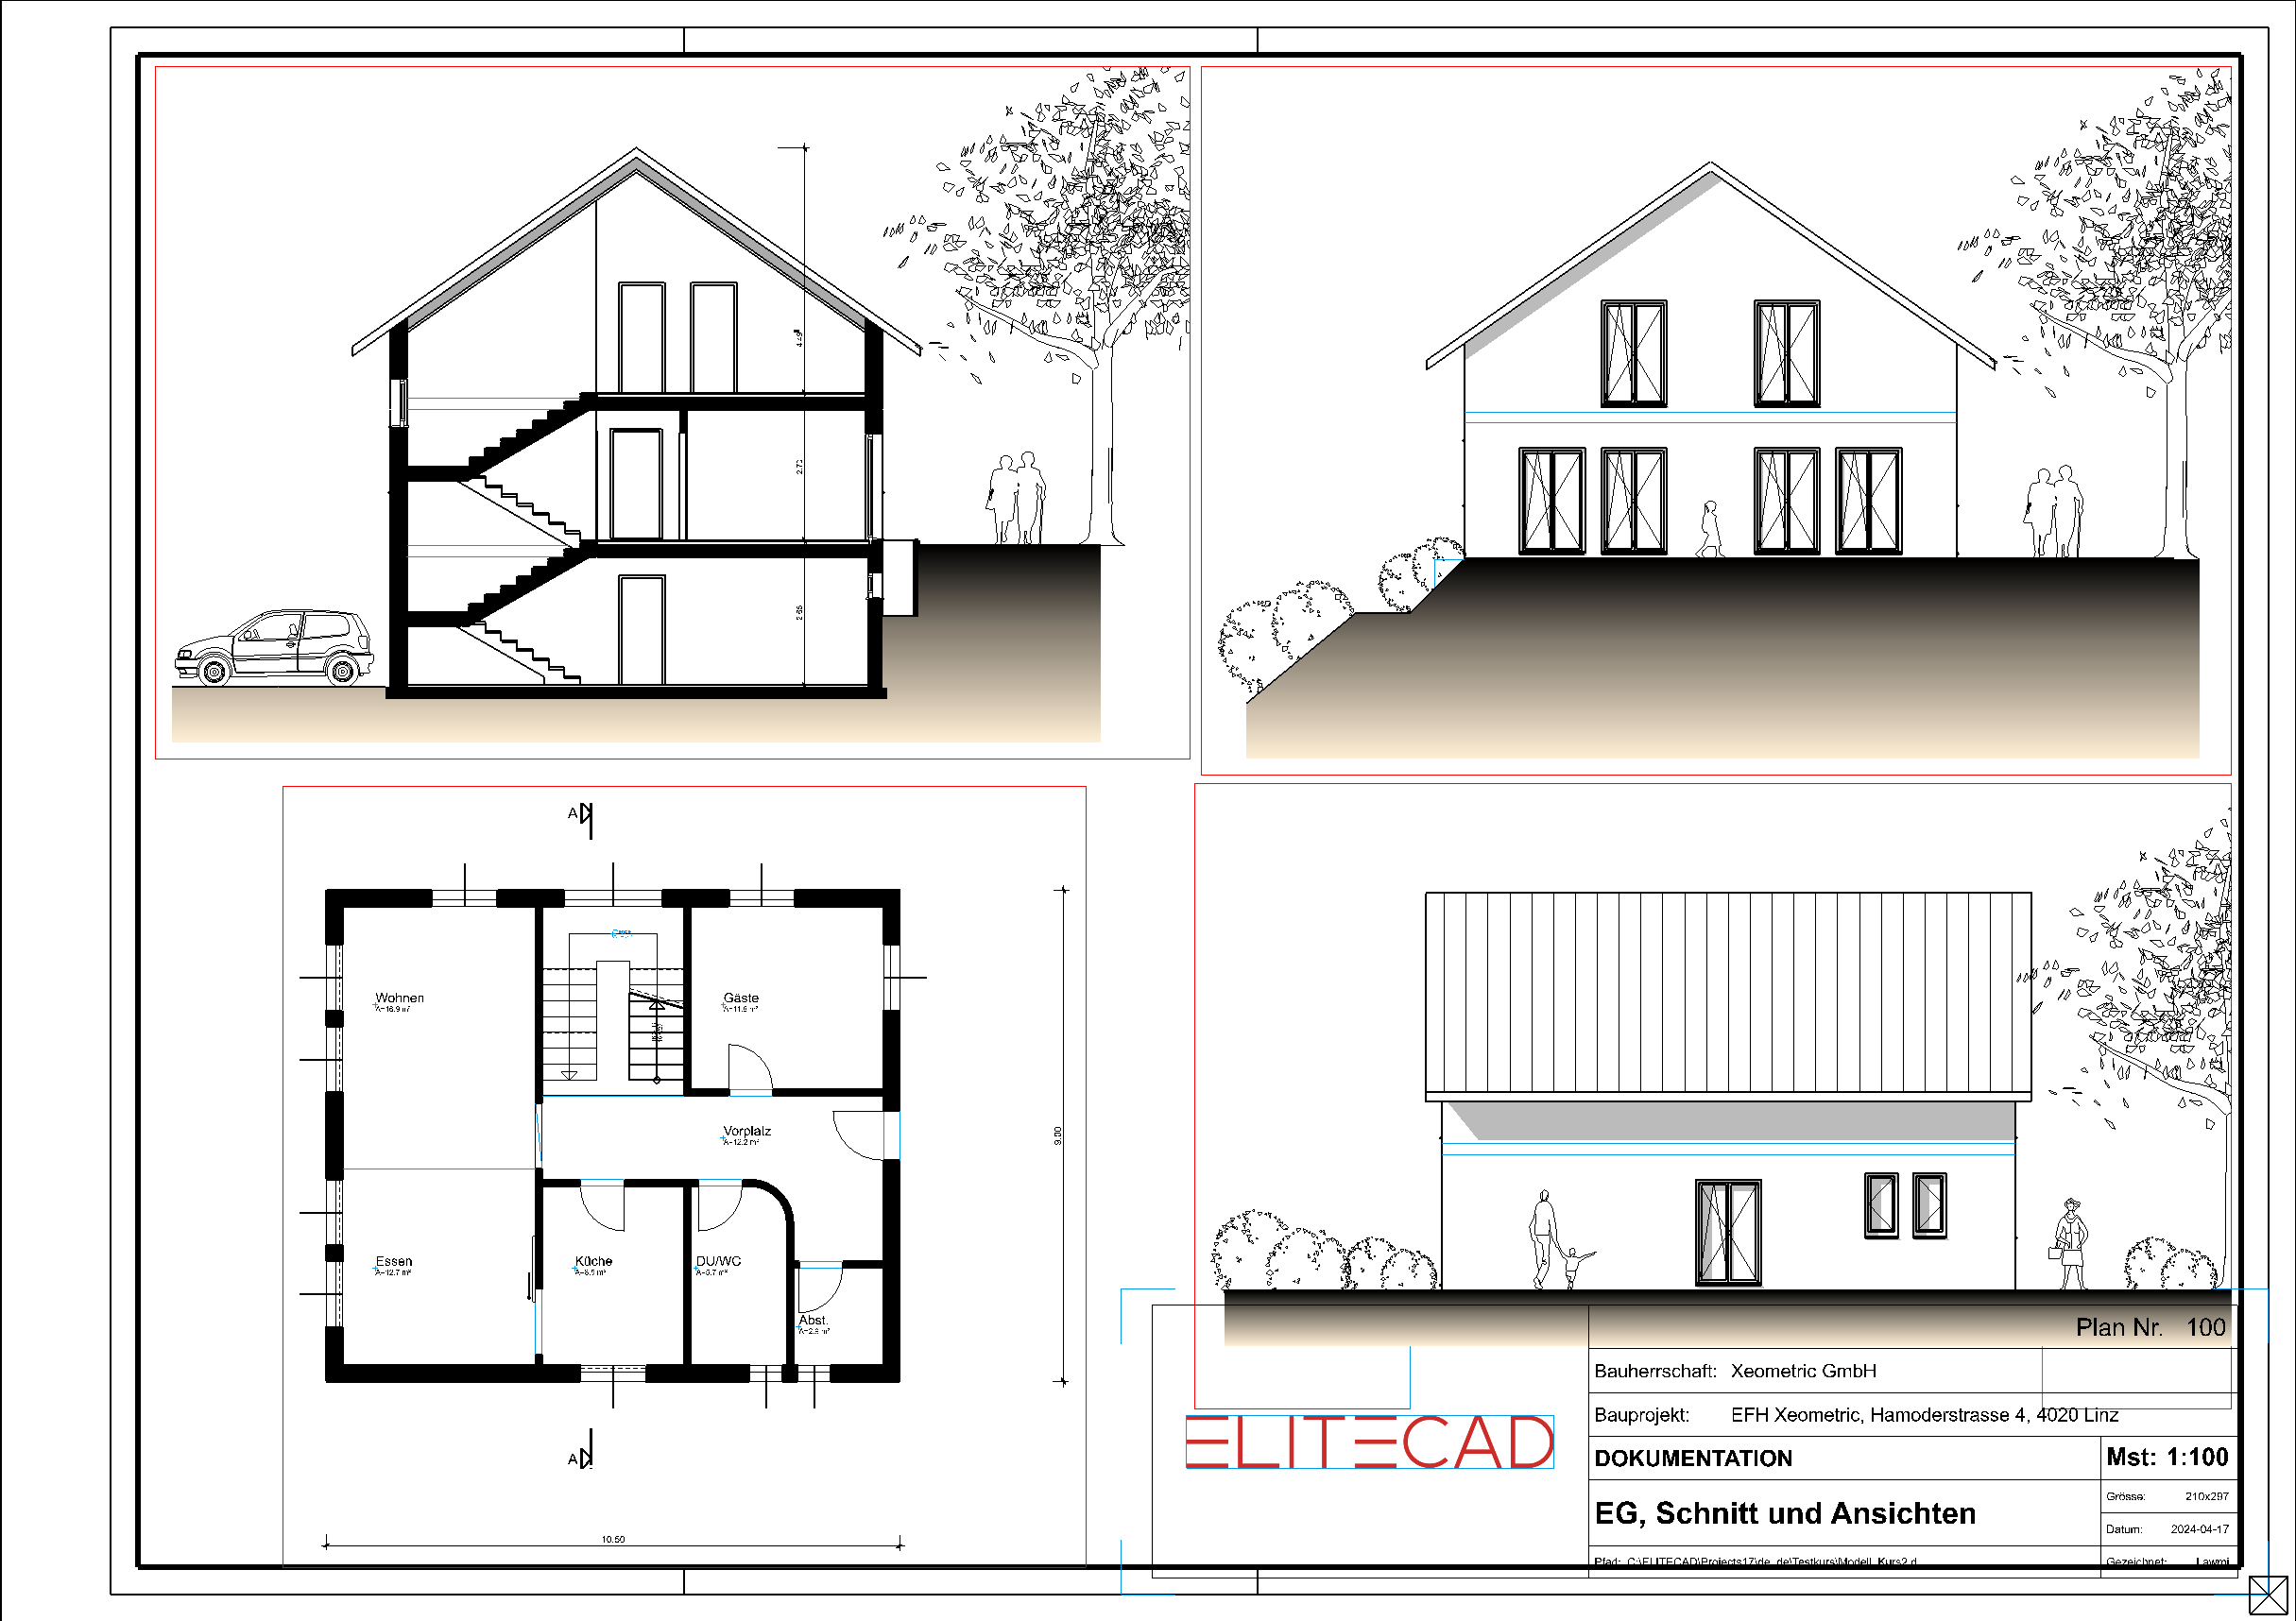
- In the menu, select LAY-OUT > COMPLETE TITLE BLOCK… and add the missing information to the title block.
- From the header line of Views manager, use the function MOVE VIEW to align the views.

You can create auxiliary lines or work with the temporary reference points.


- Remove auxiliary lines where applicable.