Layout template
A layout contains plan-graphical elements that are the same for every plot. This can be a plan edge, title block or a legend.
Workshop
- In the Views manager, right-click on the title Layout templates to generate a new layout template.
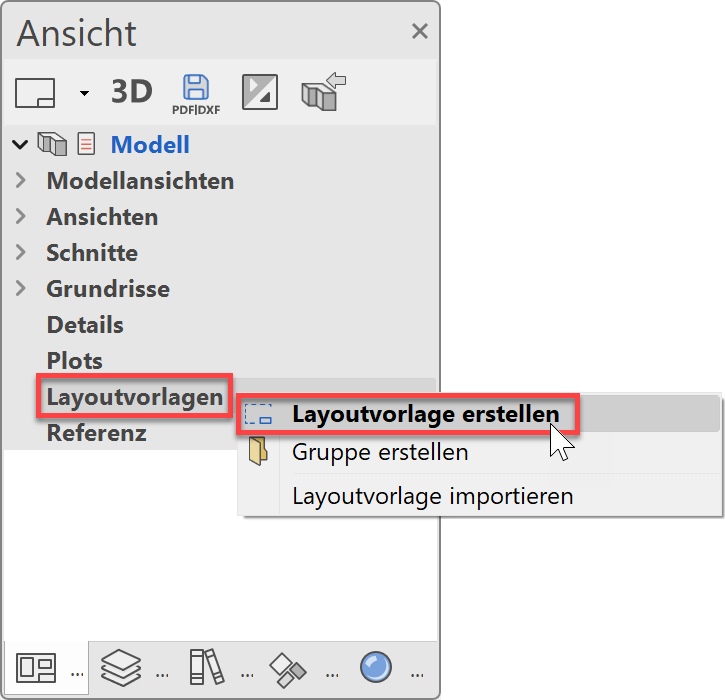
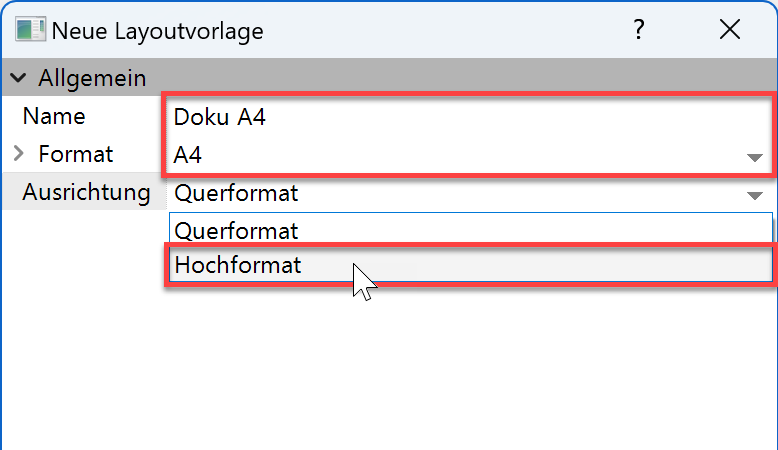
- Give the layout template the name Doku A4and switch the orientation to portrait. The stored user format A4 portrait is loaded. The Format changes to User. Close the screen with
 .
.


- Create a plan frame using the function RECT. BY DIMENSIONS AND REFERENCE PT.

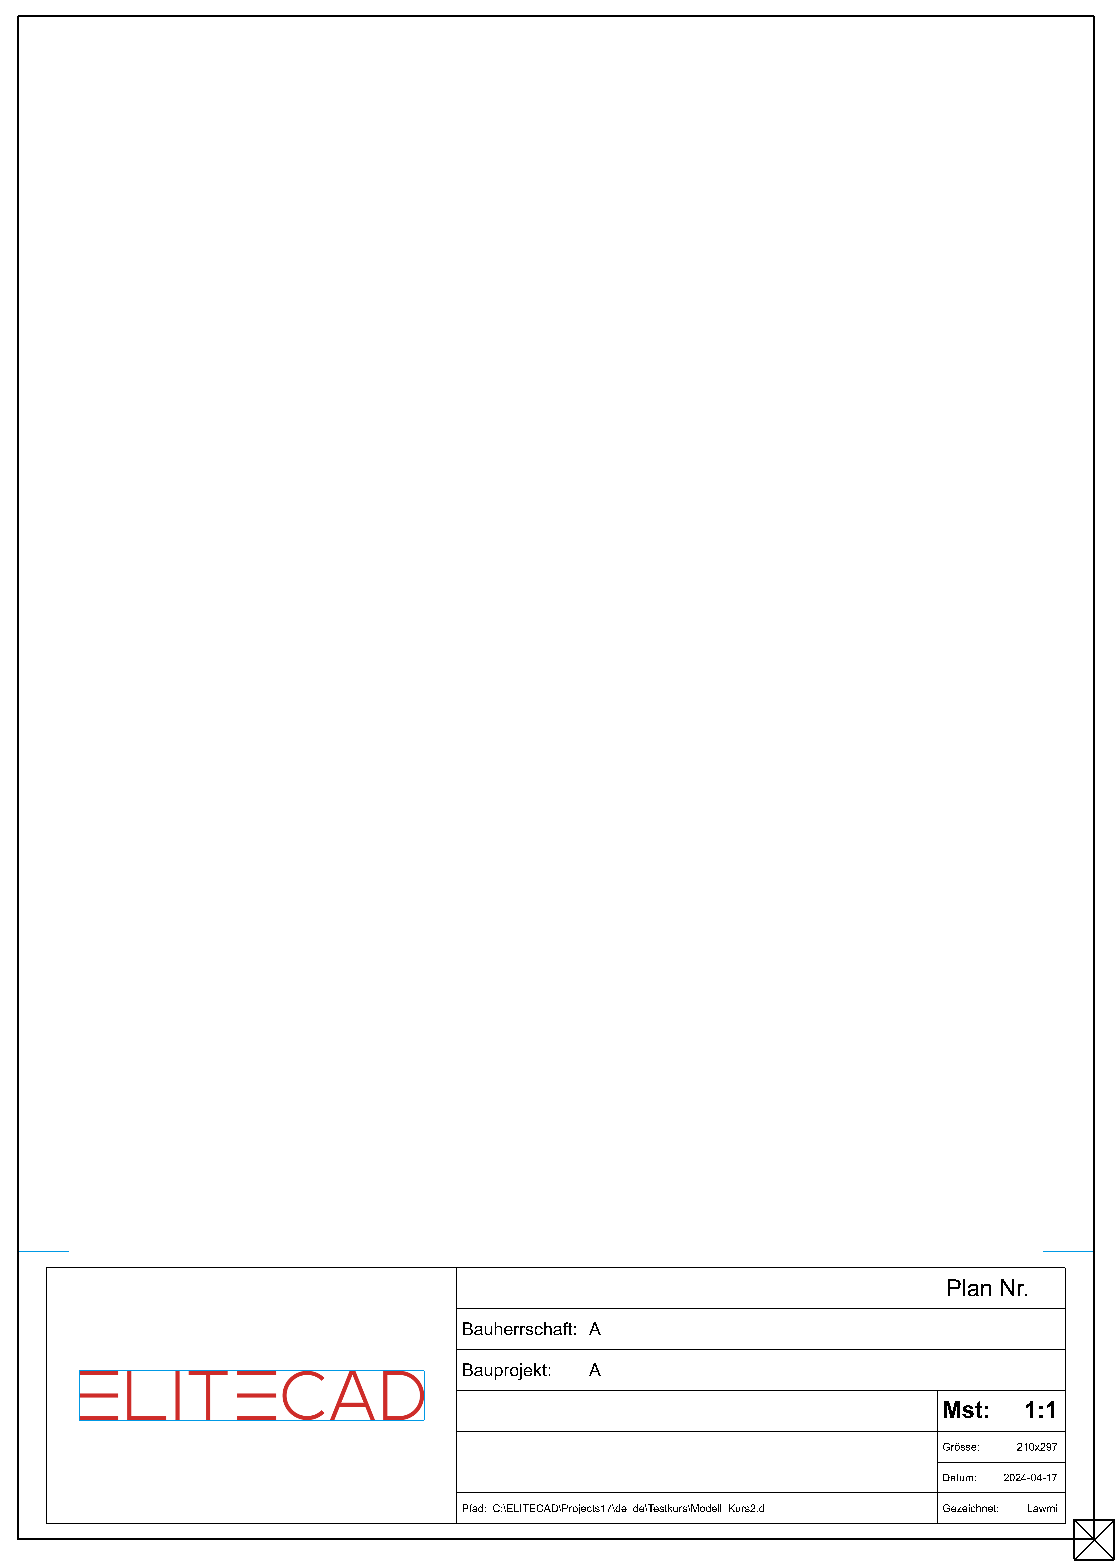
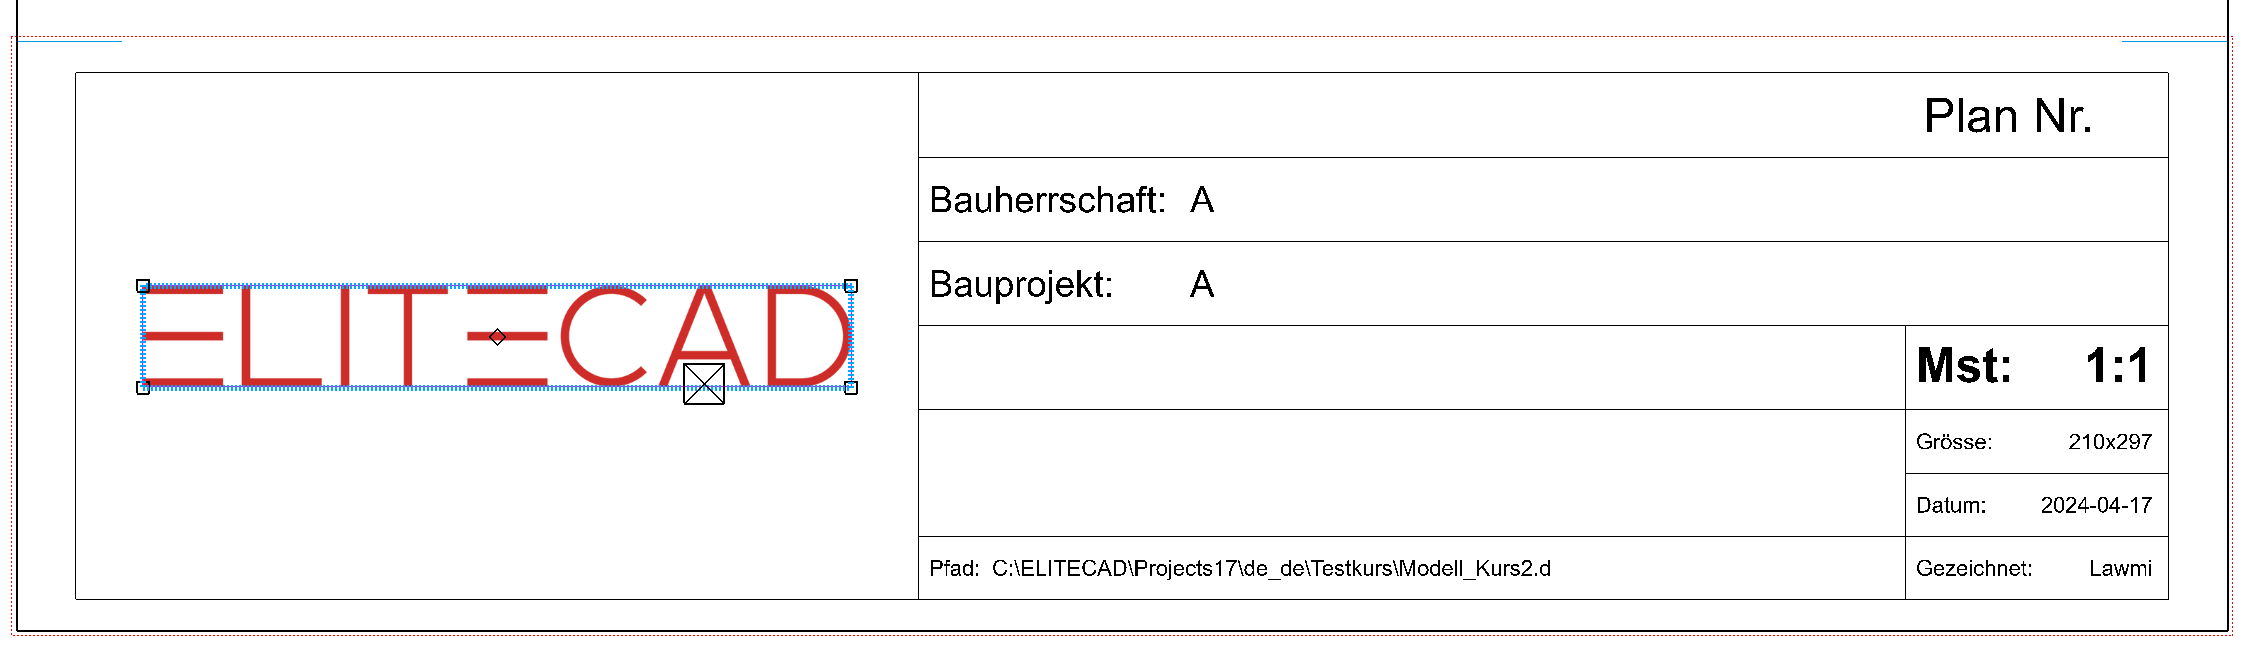
- Select the menu LAY-OUT > PLACE TITLE BLOCK…. Open the title block titel_block_3.d from the en directory, place it in the bottom right corner and then cancel the function.
- Click on the title block. The entire title block is located within a dotted selection with corner handles. This is the sign that you have selected a group.
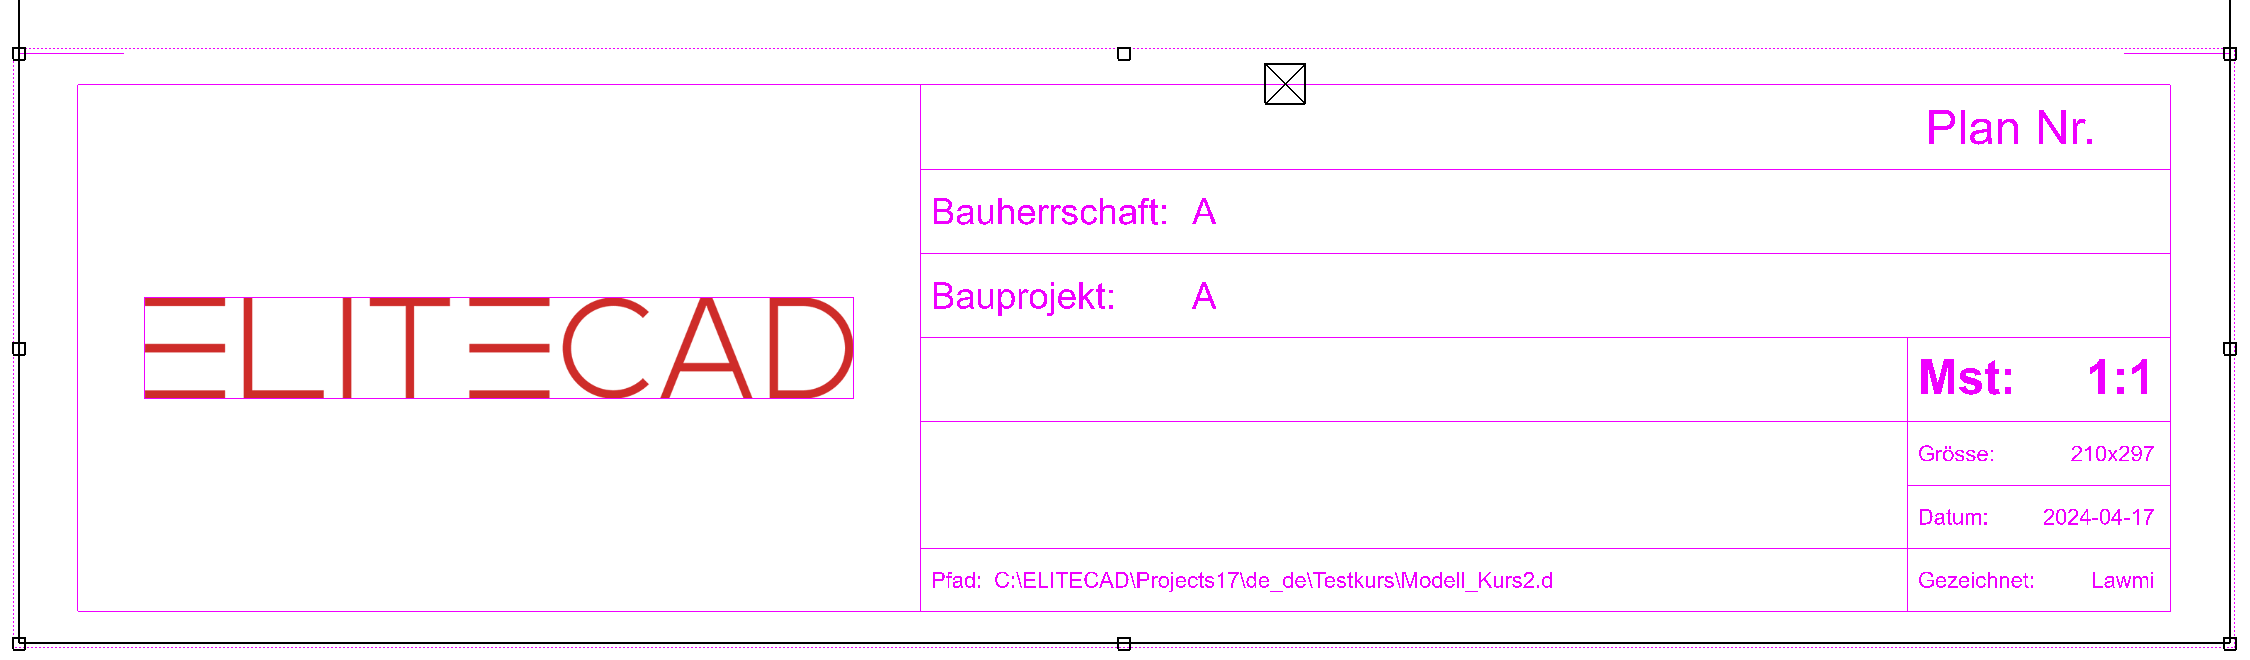
- Double-click to process elements within a group. Double-click to select the title block. You are now in the edit mode for the group and can edit its elements. The frame is marked with a dotted red line and the corner handles disappear. Click outside the group to exit the edit mode for the group.
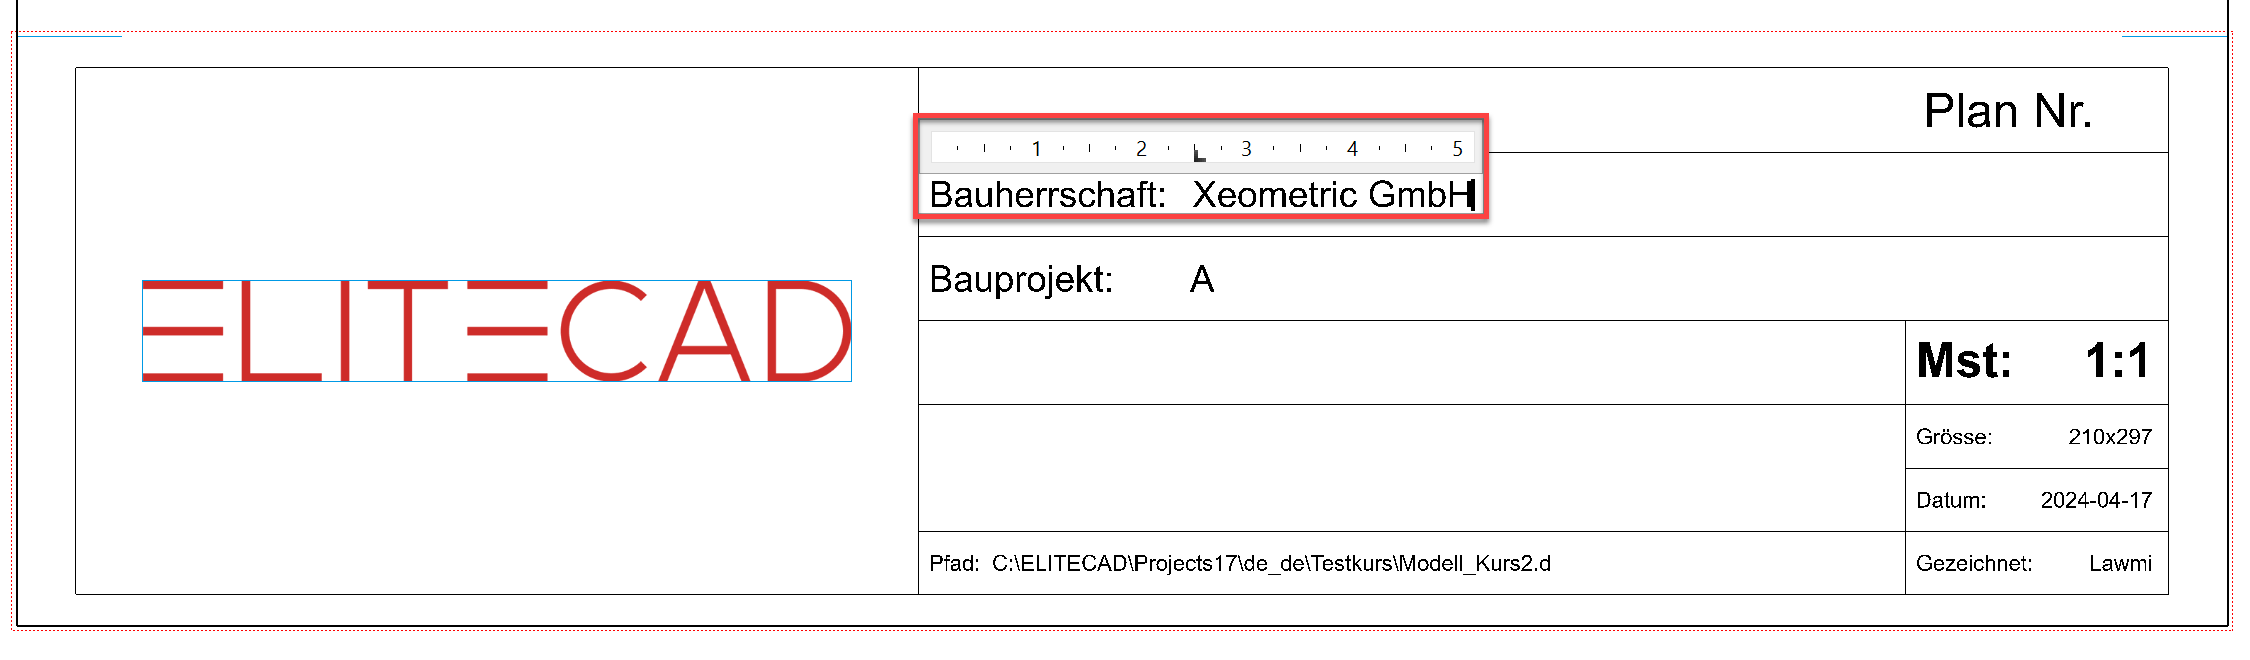
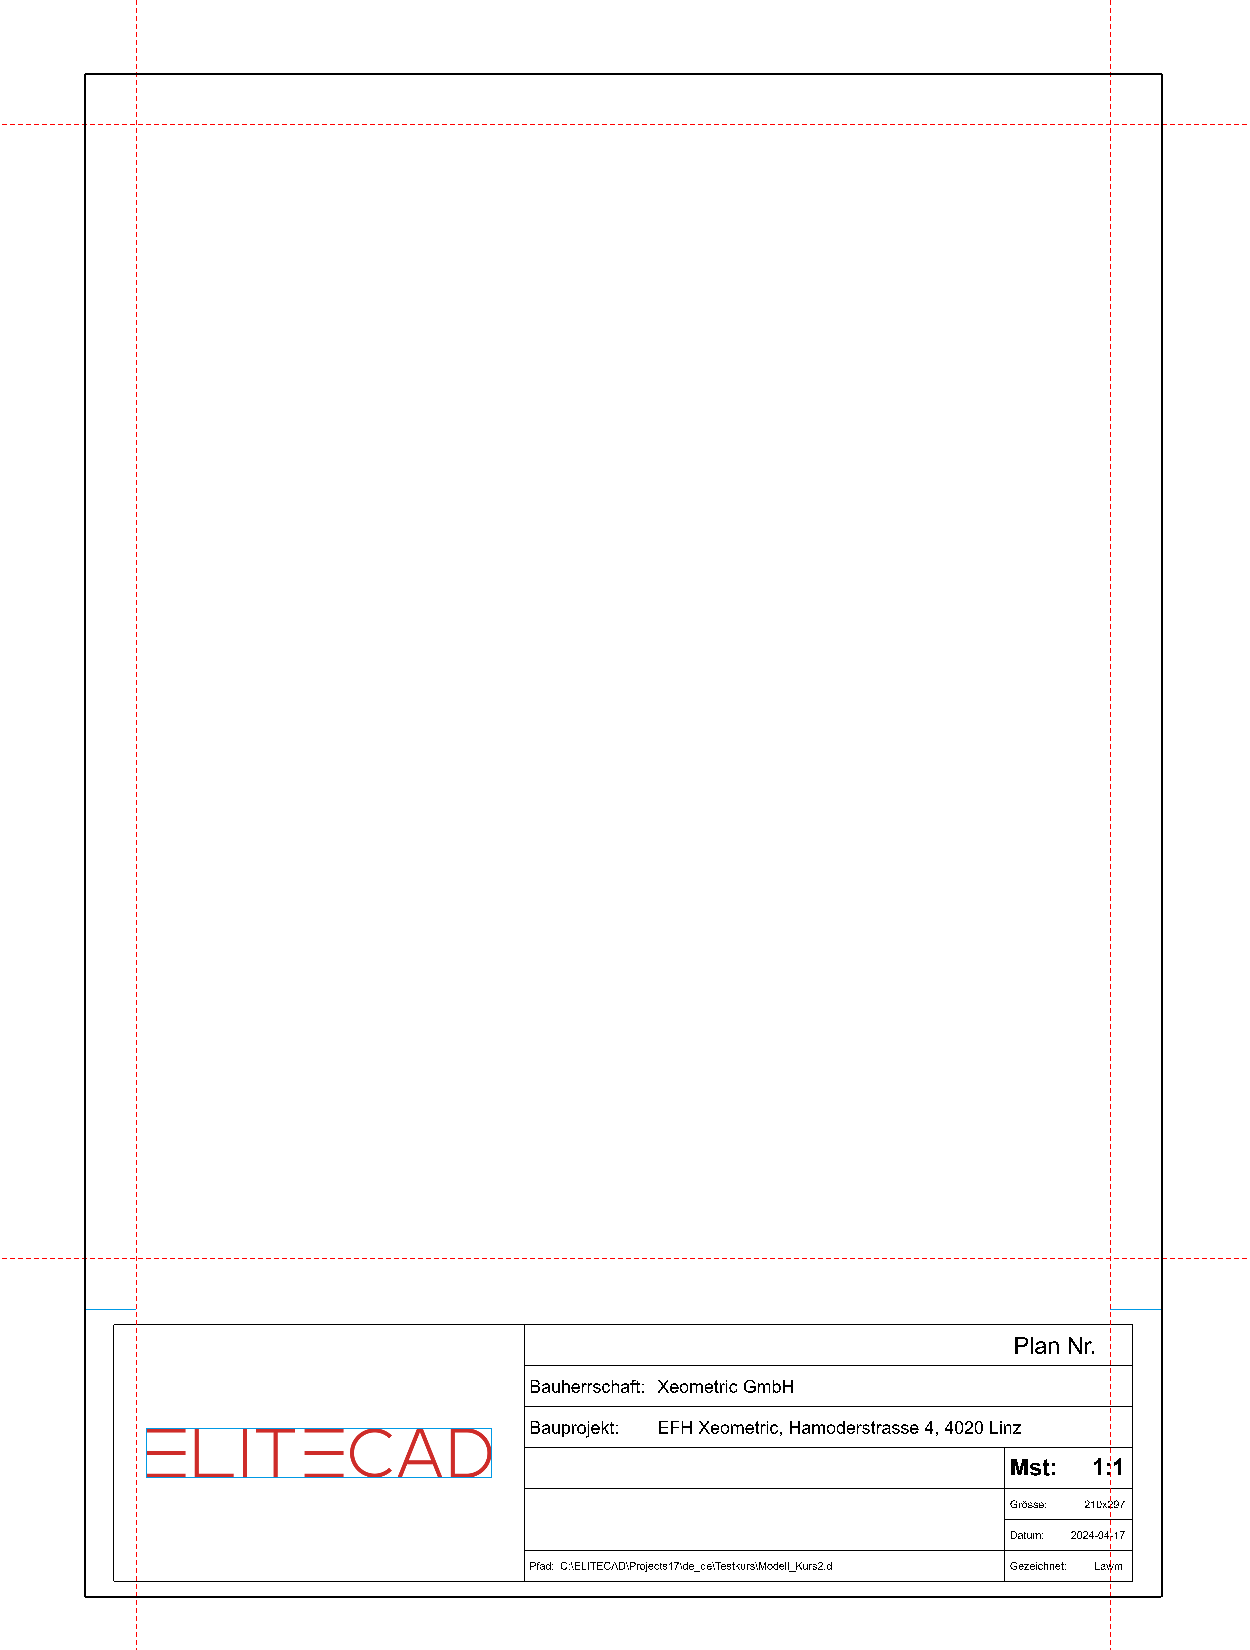
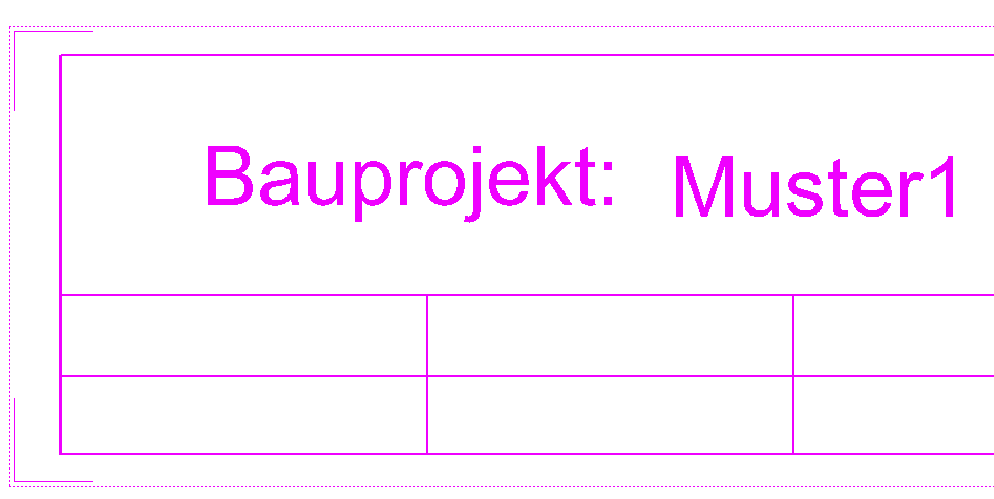
- Add the text Owner: A to Owner: XEOMETRIC GmbH. To access text editing mode, double-click on the text.
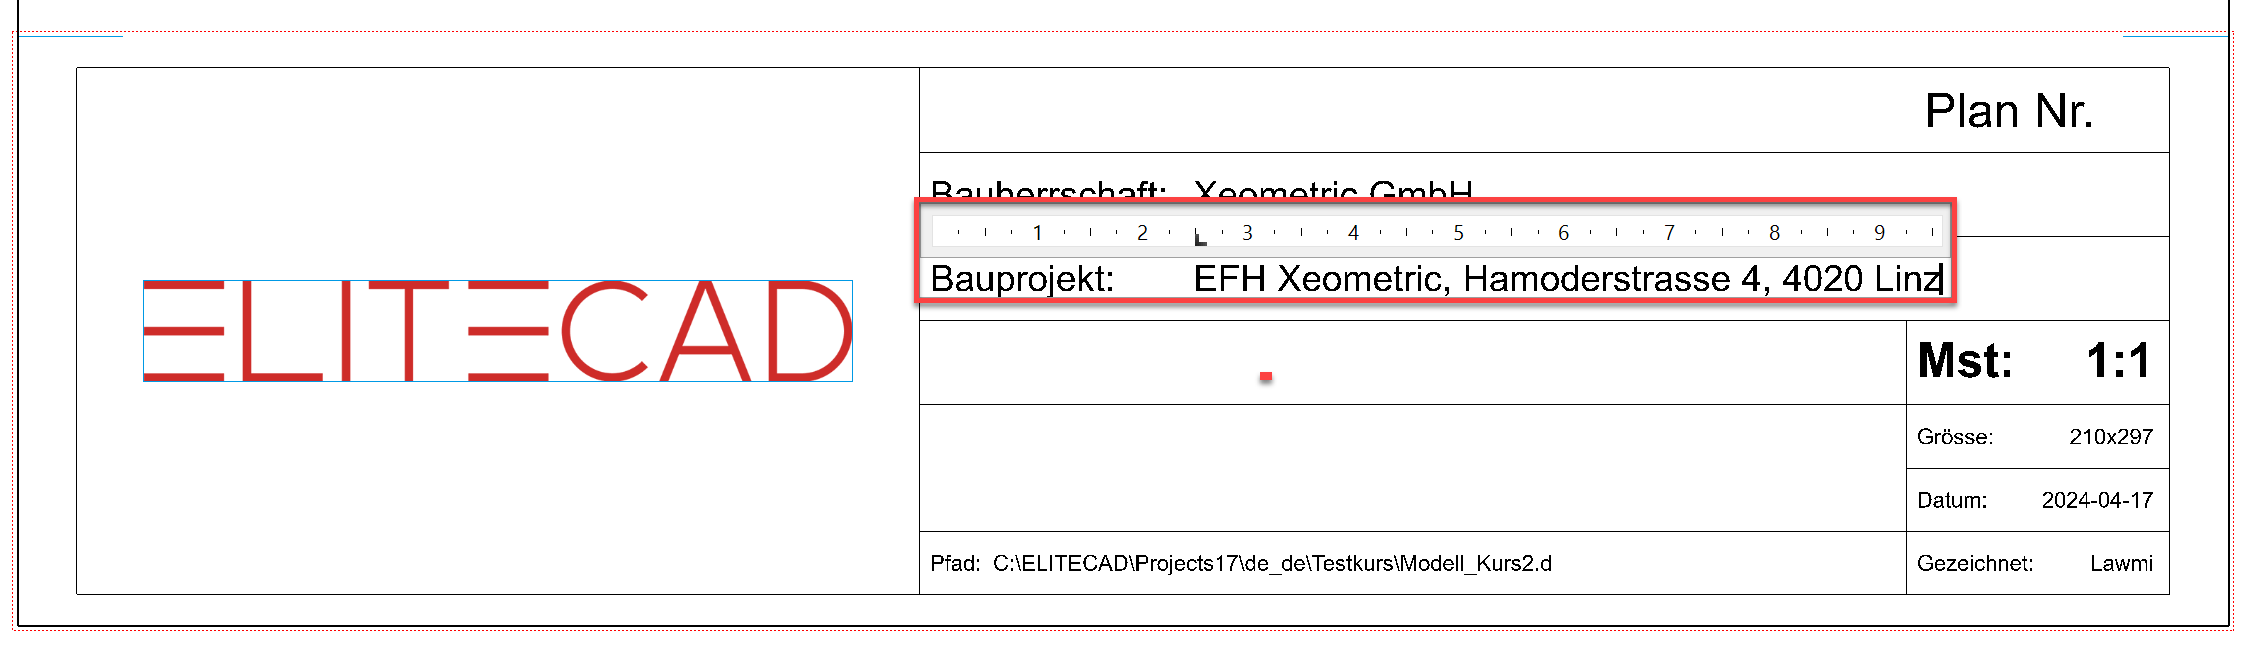
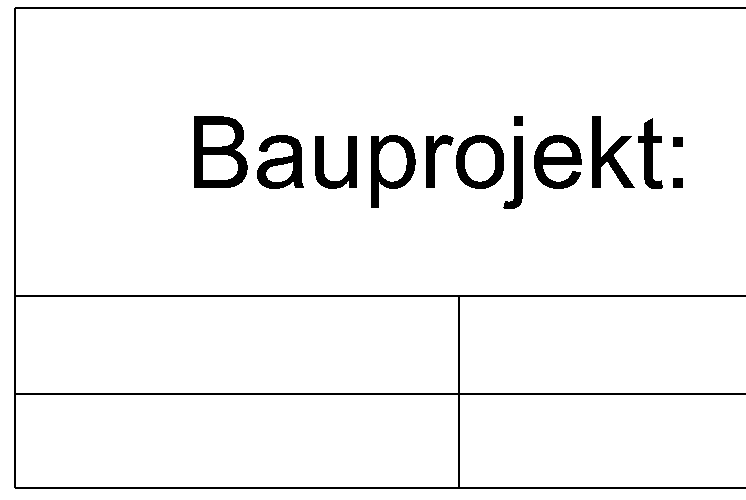
- Also add to the "Project" field by double-clicking on the text Project: A and adding the following information: Project: House Xeometric, Hamoderstrasse 4, 4020 Linz.
- Cancel text entry with Esc.
- Click outside the frame with the dotted red line to end editing of the group.

- Create a secondary drawing with auxiliary lines with the pen 0 so that the individual plans can afterwards be set accurately into the plot view.
Parallel auxiliary line with 1 cm gap


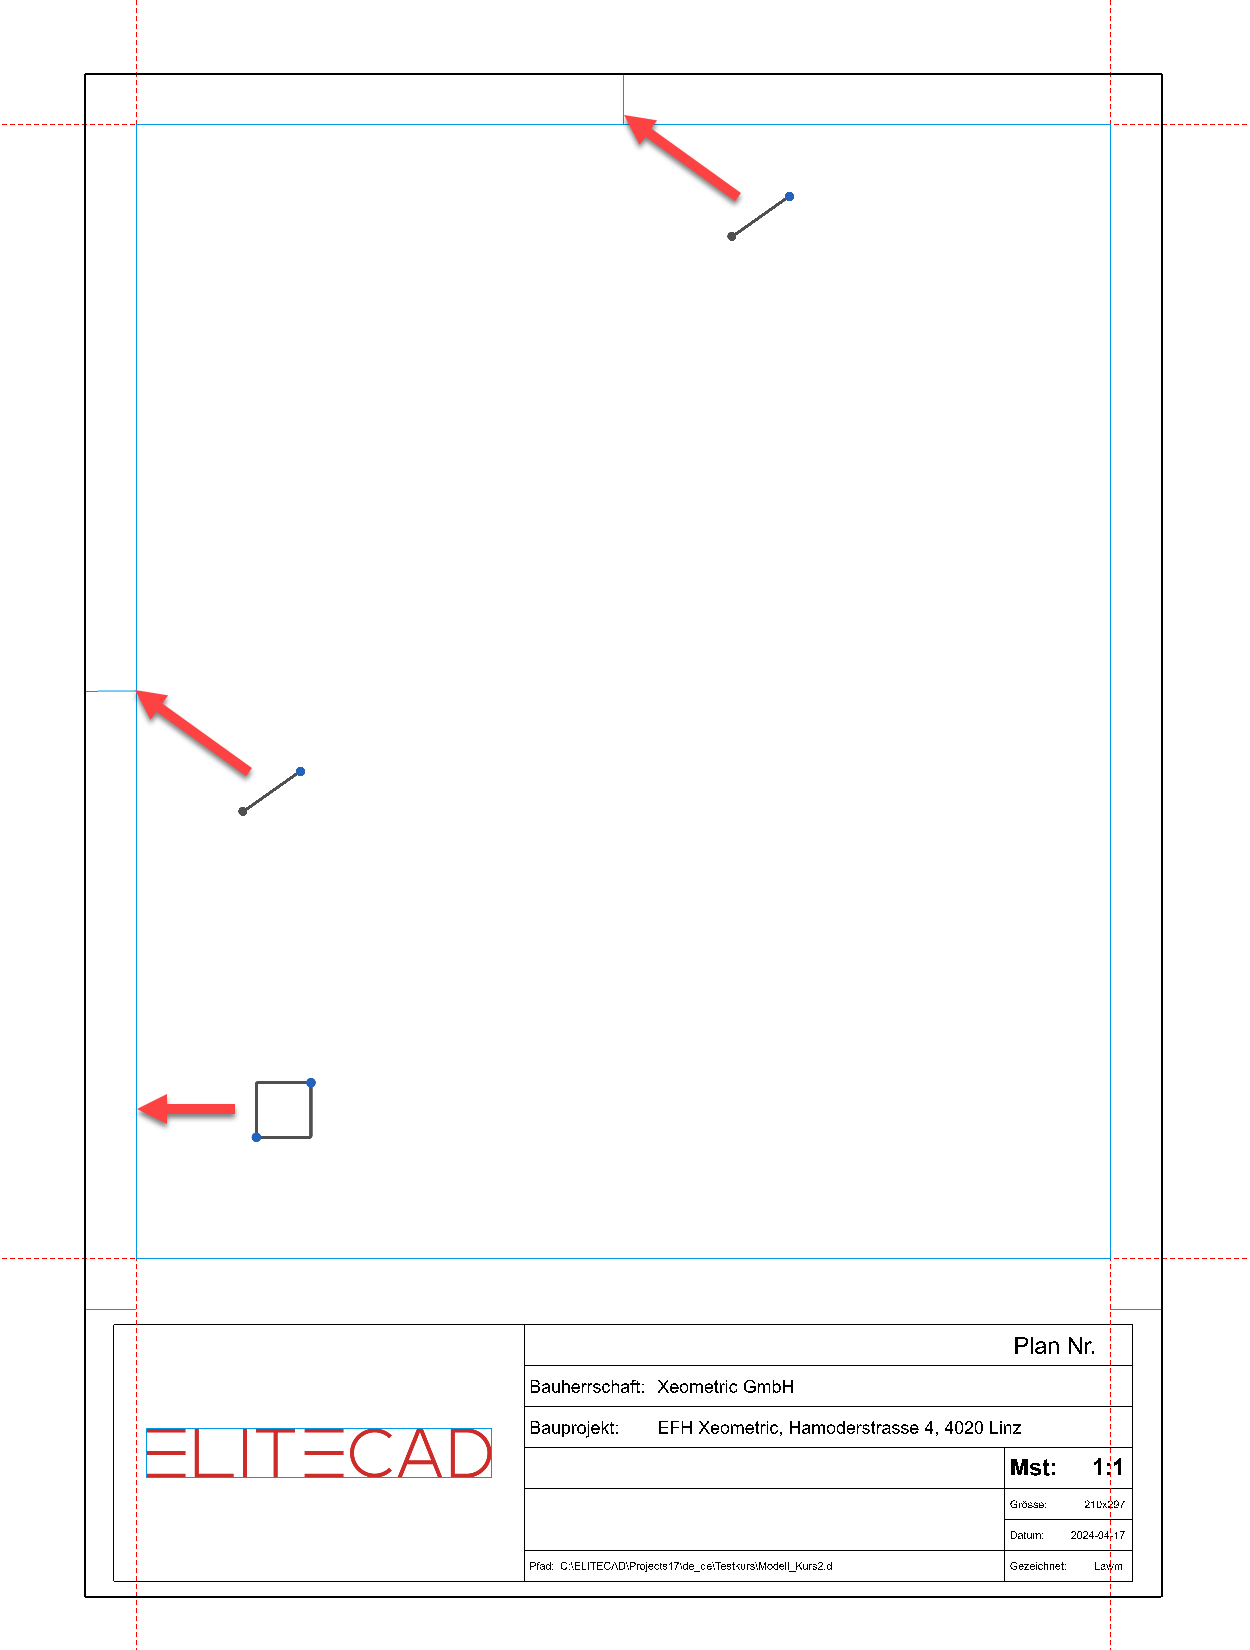
- Delete the auxiliary lines.

Own title block (Optional workshop)
Workshop
Open a new drawing.
- Select the function FILE NEW and change the scale to 1:1.

- Draw the frames for the different fields, ensuring that all elements are in the "plan graphic" layer.


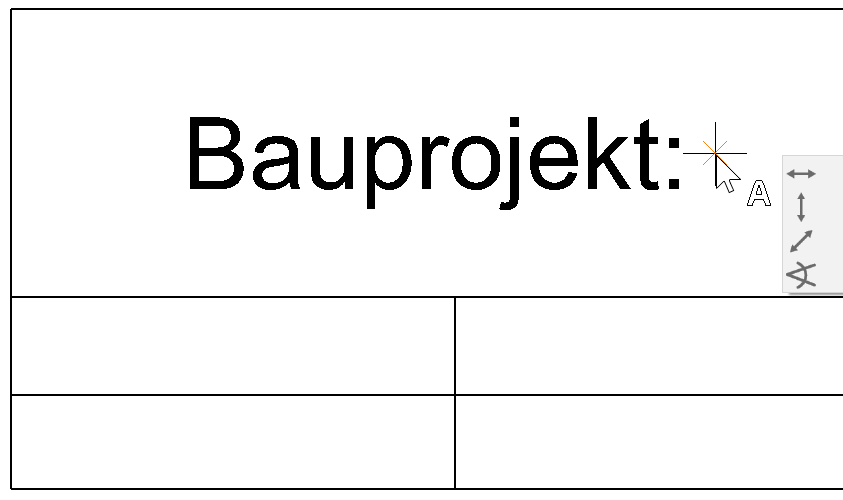
- Add texts. To enable a text to be created vertically in the centre of a field, the text reference point must be set to Centre left.


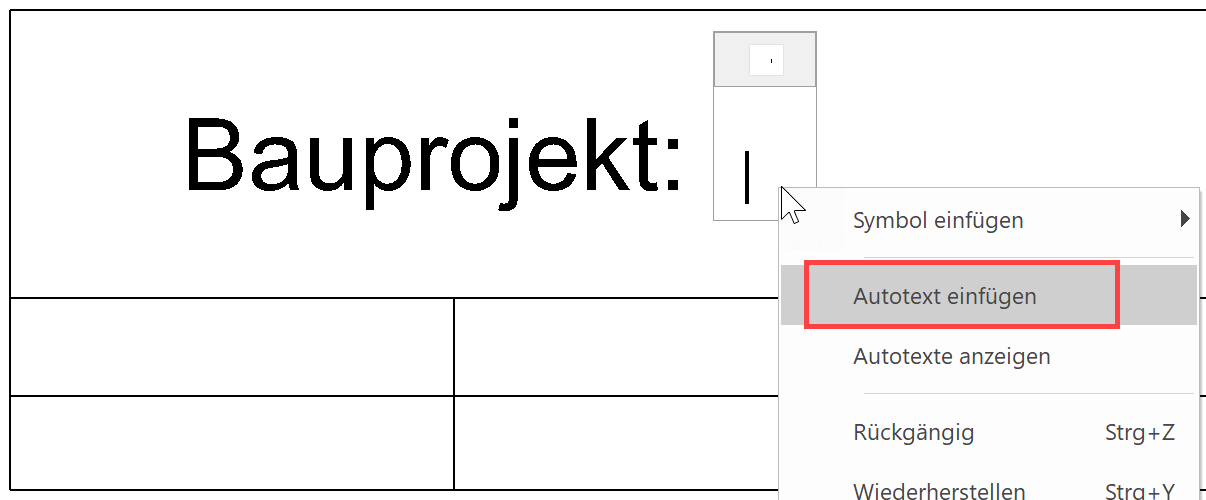
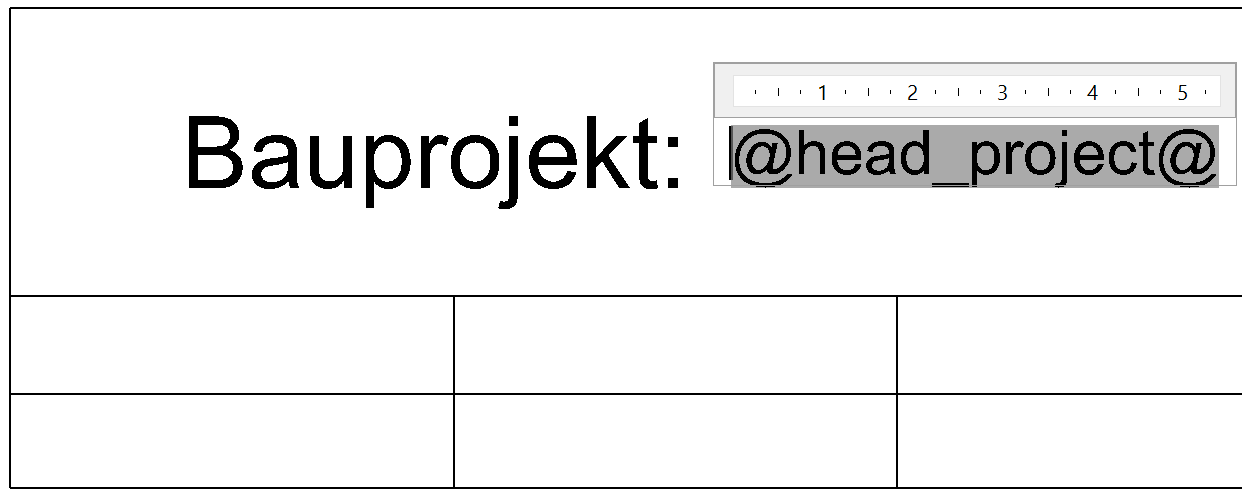
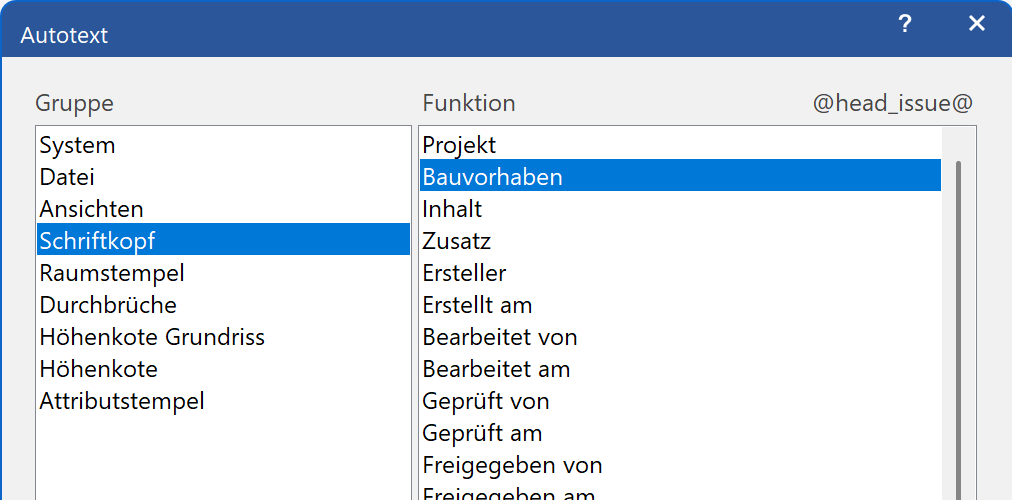
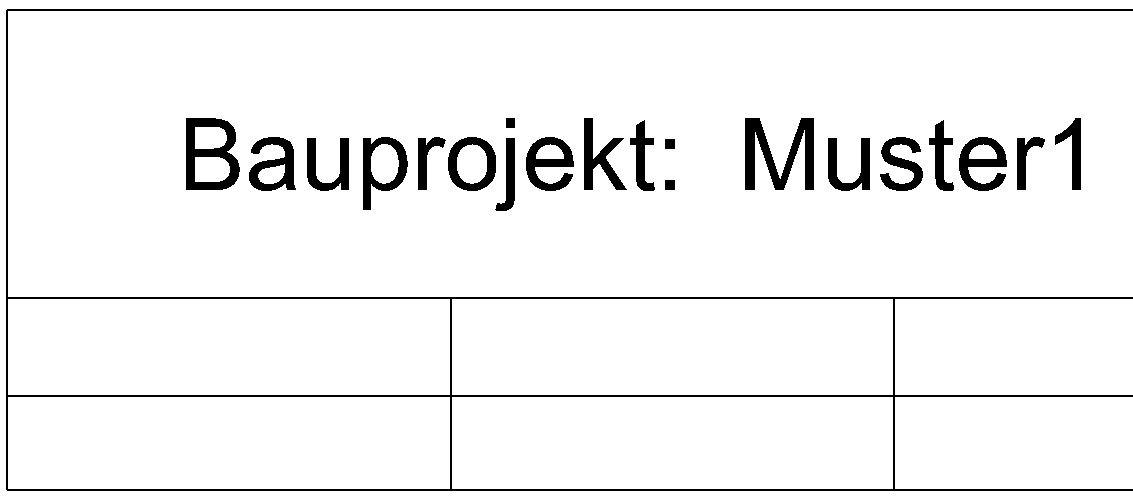
- Auto texts can be added to the title block with a right-click. There is auto text that is filled out automatically by the program (project, MST, file name, etc.) and auto text that is determined via the dialog Complete title block… (plan content, building project, etc.).
- As a test, the title block can be filled out:
Menu LAY-OUT > COMPLETE TITLE BLOCK….

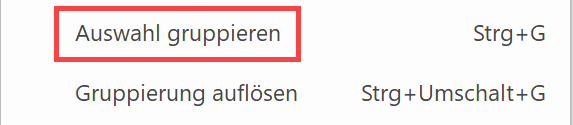
- To enable the title block to be selected with a single click, it must be grouped together. Select the title block and from the context menu select GROUP SELECTION.
- Move the title block in such a way that the corner of the title block is located in the middle of the page; later on, the title block will use this point as a reference point when you locate it using your cursor.
- Save the title block to your library.
Menu FILE > SAVE AS