Print and save
Print
Now you need only transfer the plan to paper.
Workshop
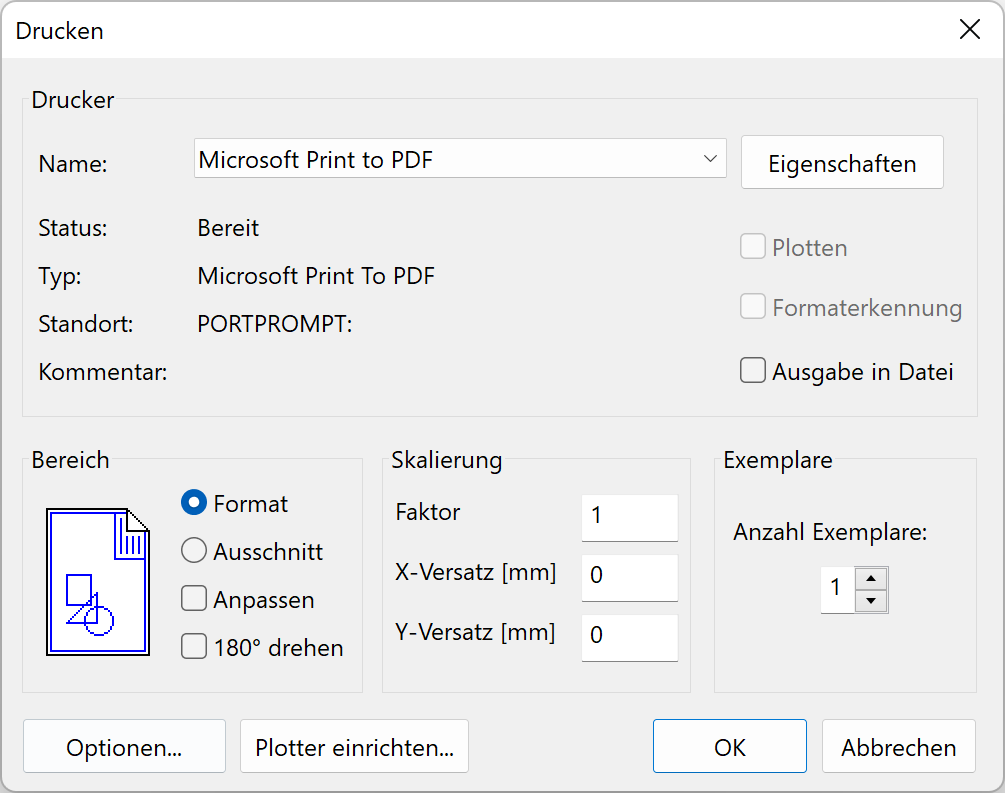
- Click on the PRINT symbol.

- Select your printer from the list and open the printer properties.
The installed Windows printer will be detected and loaded with the standard settings.
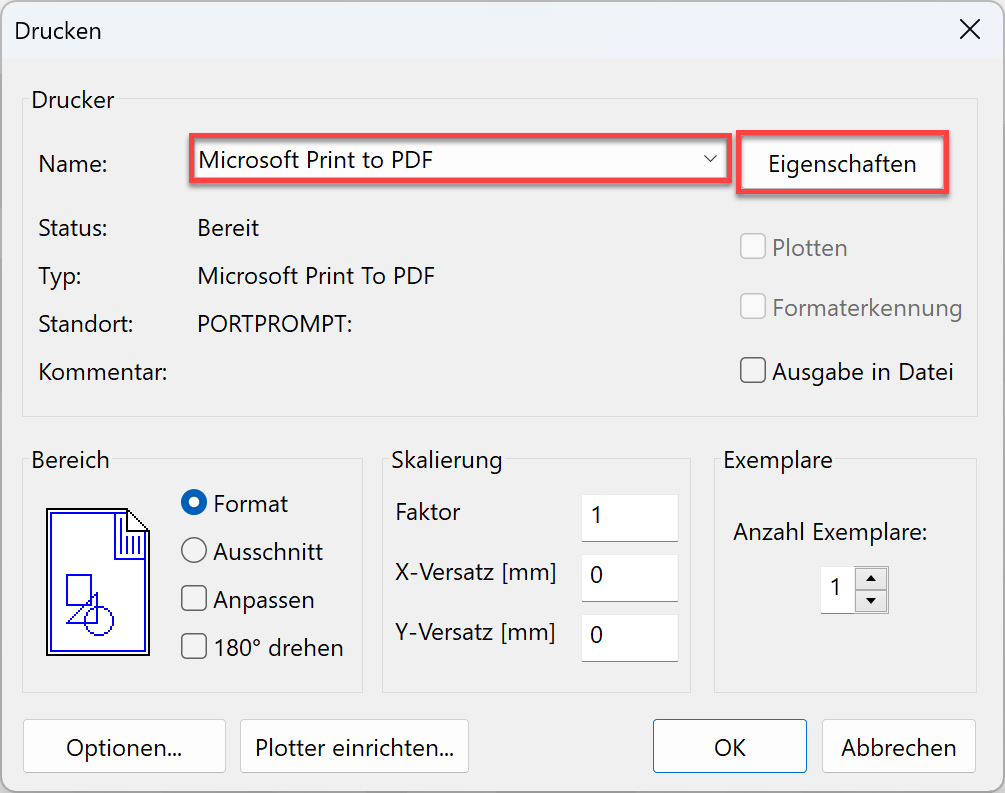
- The appearance of the properties will differ depending on the printer.
Select an A3 landscape format. - Confirm both screens with
 .
.
The plan is printed out on the printer or generated as a PDF.
Explanation
Plot:
The Plot option uses the printer language hpgl2 and is mainly used for CAD large-format printers (plotters). This option is not active until the selected printer is configured with the function SET PLOTTER. Plans with pixel images can only be printed, not plotted.
Format detection:
This check box is only available in connection with plotting. If the check box is ticked, the current drawing format is used.
Options:
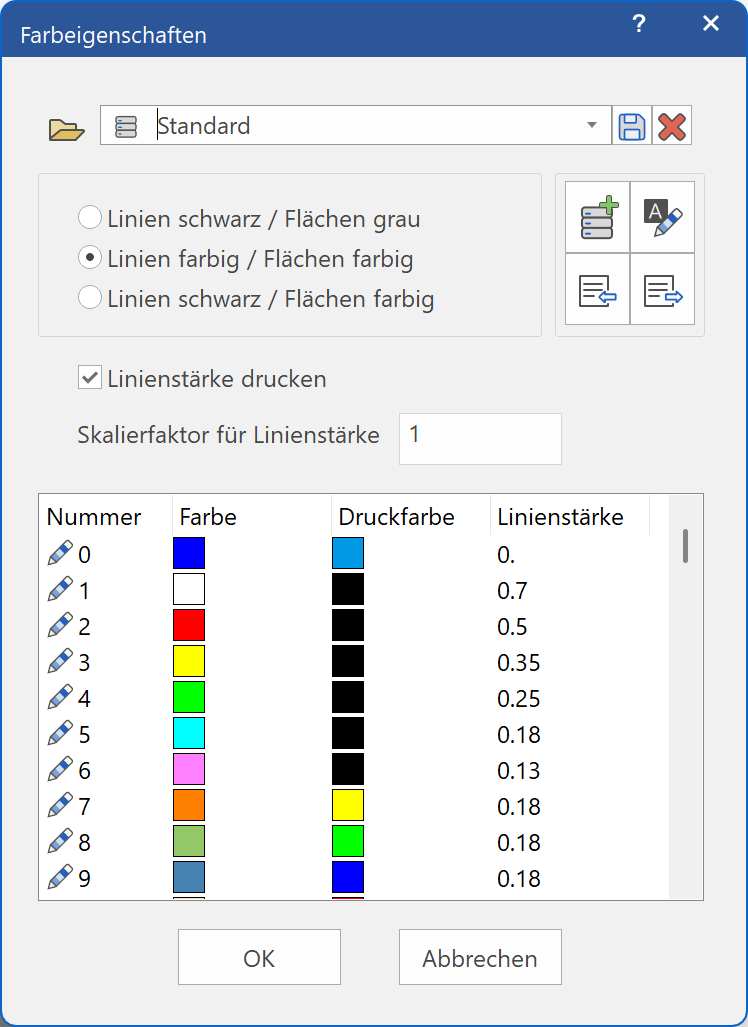
The same screen can also be accessed via the menu SETTINGS > COLOUR PROPERTIES. The print colour and line width of the individual pens can be modified.
Plan graphic:
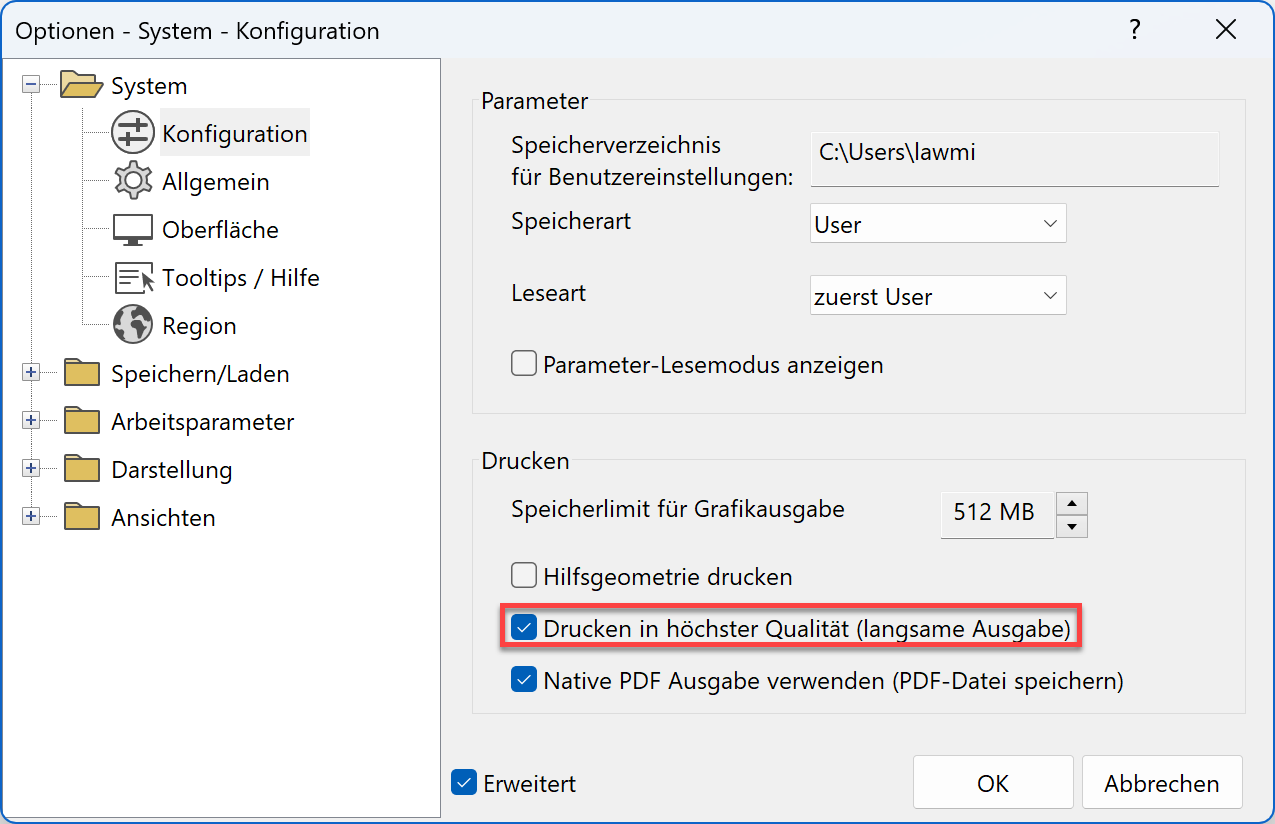
If a large number of pixel images, colour gradient hatches or transparent hatches were used in the plan or such images and hatches were large, in the menu SETTINGS > OPTIONS the option Print in highest quality must be activated.
Save
Workshop
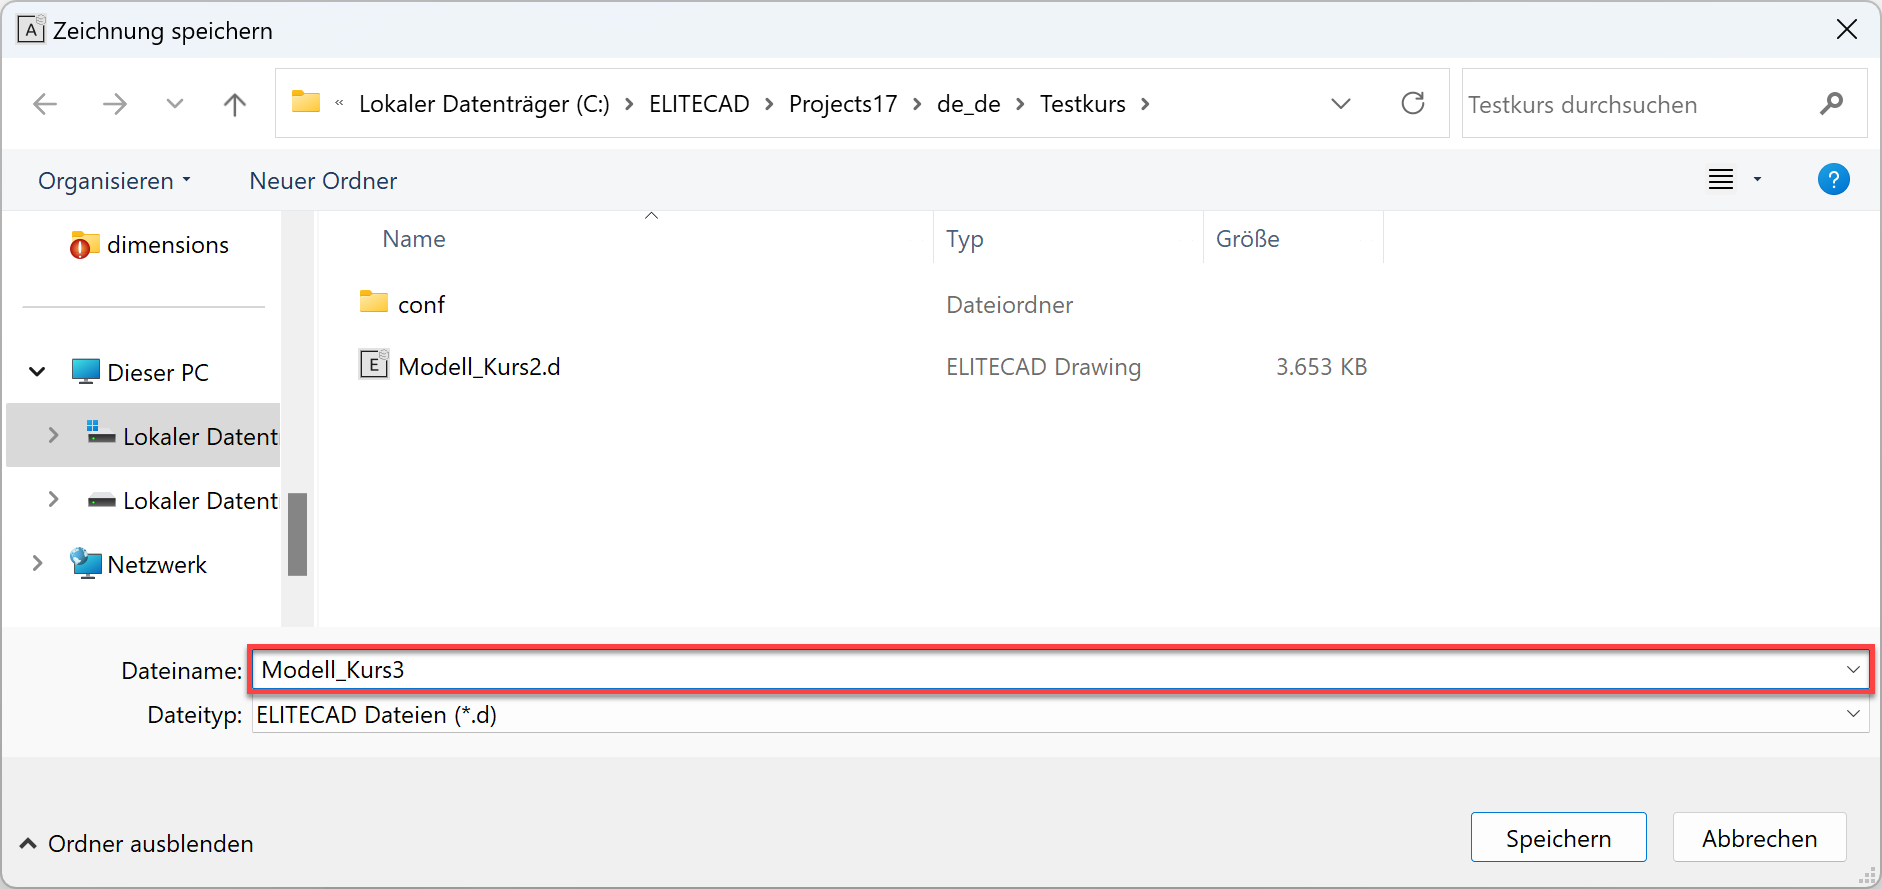
The next course unit builds on the current project state. Save the model.
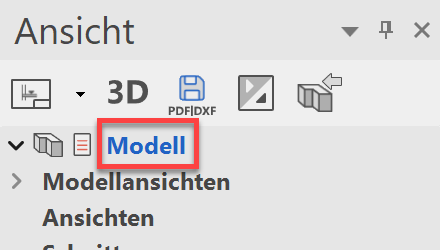
- Switch to the model view.
- Show all.

- Menu FILE > SAVE AS
Enter the name Model-course3.d for the model and save it.
You can now continue with course unit 4.