Video creation
Your walkthroughs in the walking mode can be saved as intelligent camera paths, which can then be used to generate videos with numerous graphical effects.
Create videos
Workshop
-
After loading the model CAD_Object_Virtual_Reality_01.d, we open the WALKING MODE CONFIGURATION and set the following parameters.
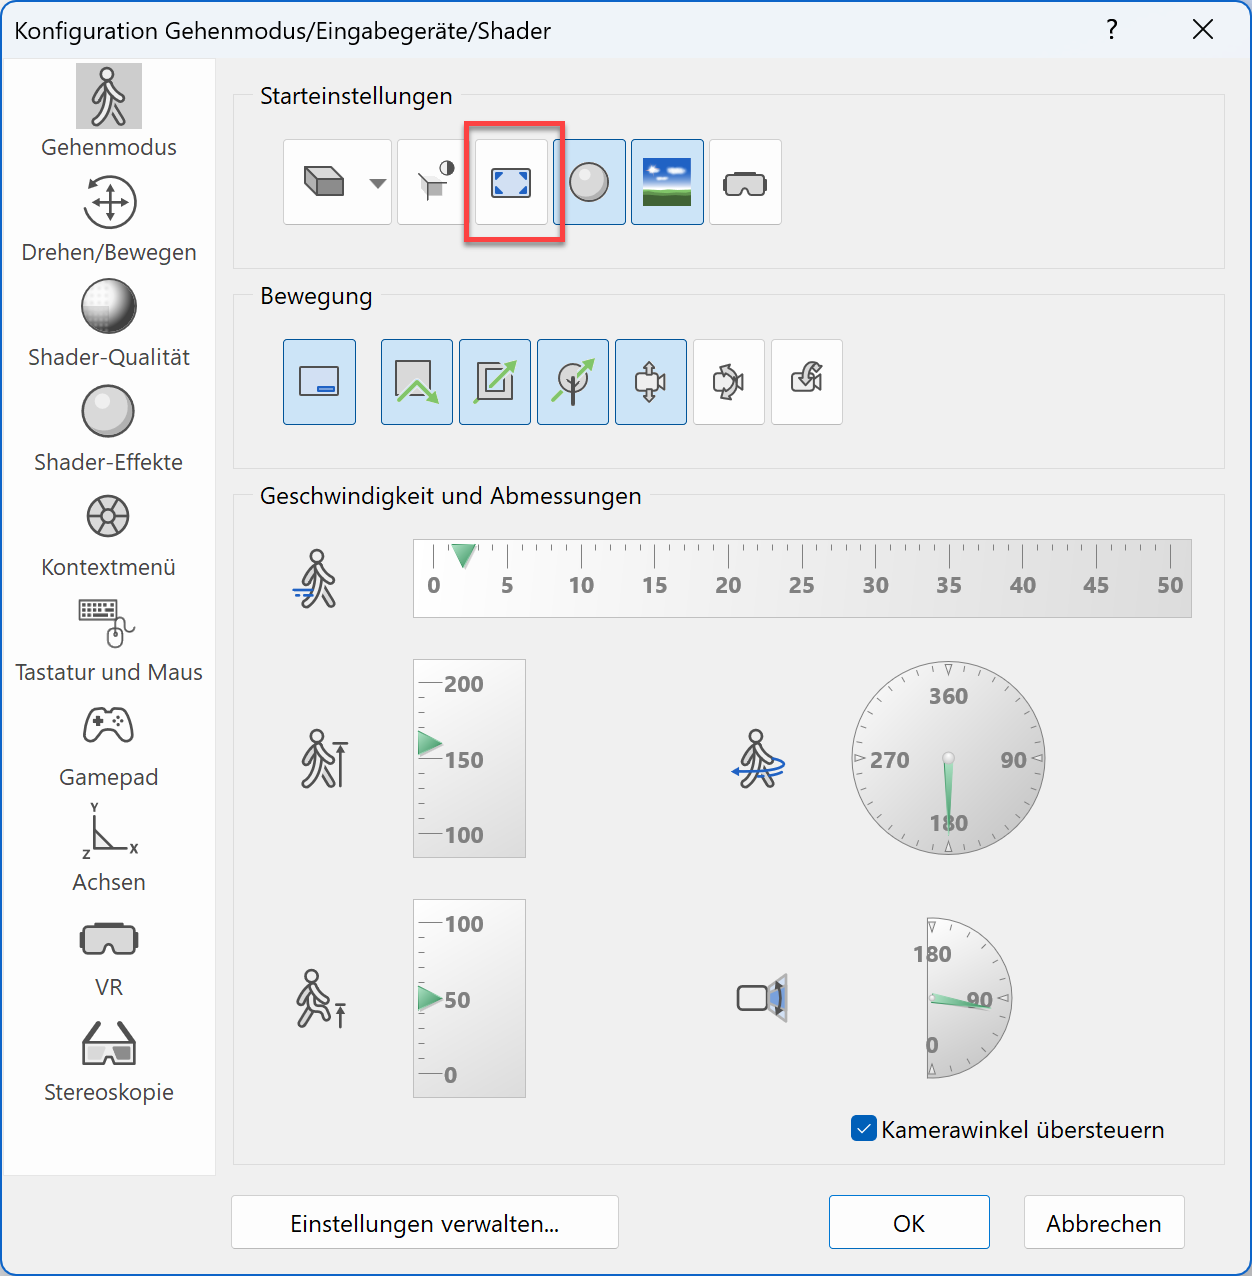
It is important that the full screen mode is disabled.
-
Afterwards we start the WALKING MODE and activate the function CREATE A VIDEO.
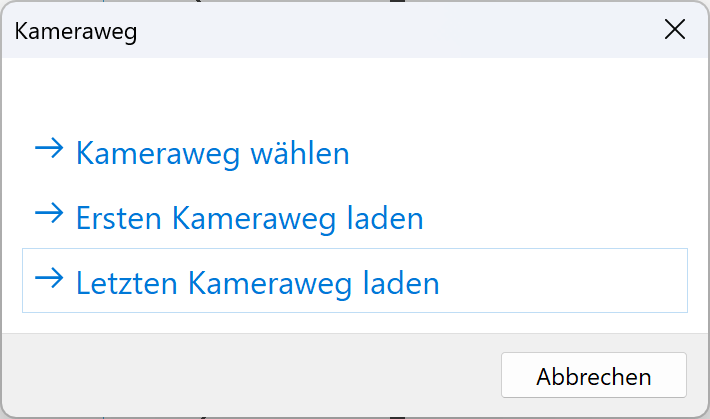
If currently there is no camera path selected, the selection menu appears and we can select an existing camera path.
There are three options to choose from: the first one, the last one or freely select another camera path.
-
We choose the option “select camera path” which will display the marked camera paths under the crosshair. Let's select the camera path that leads around the pool.

-
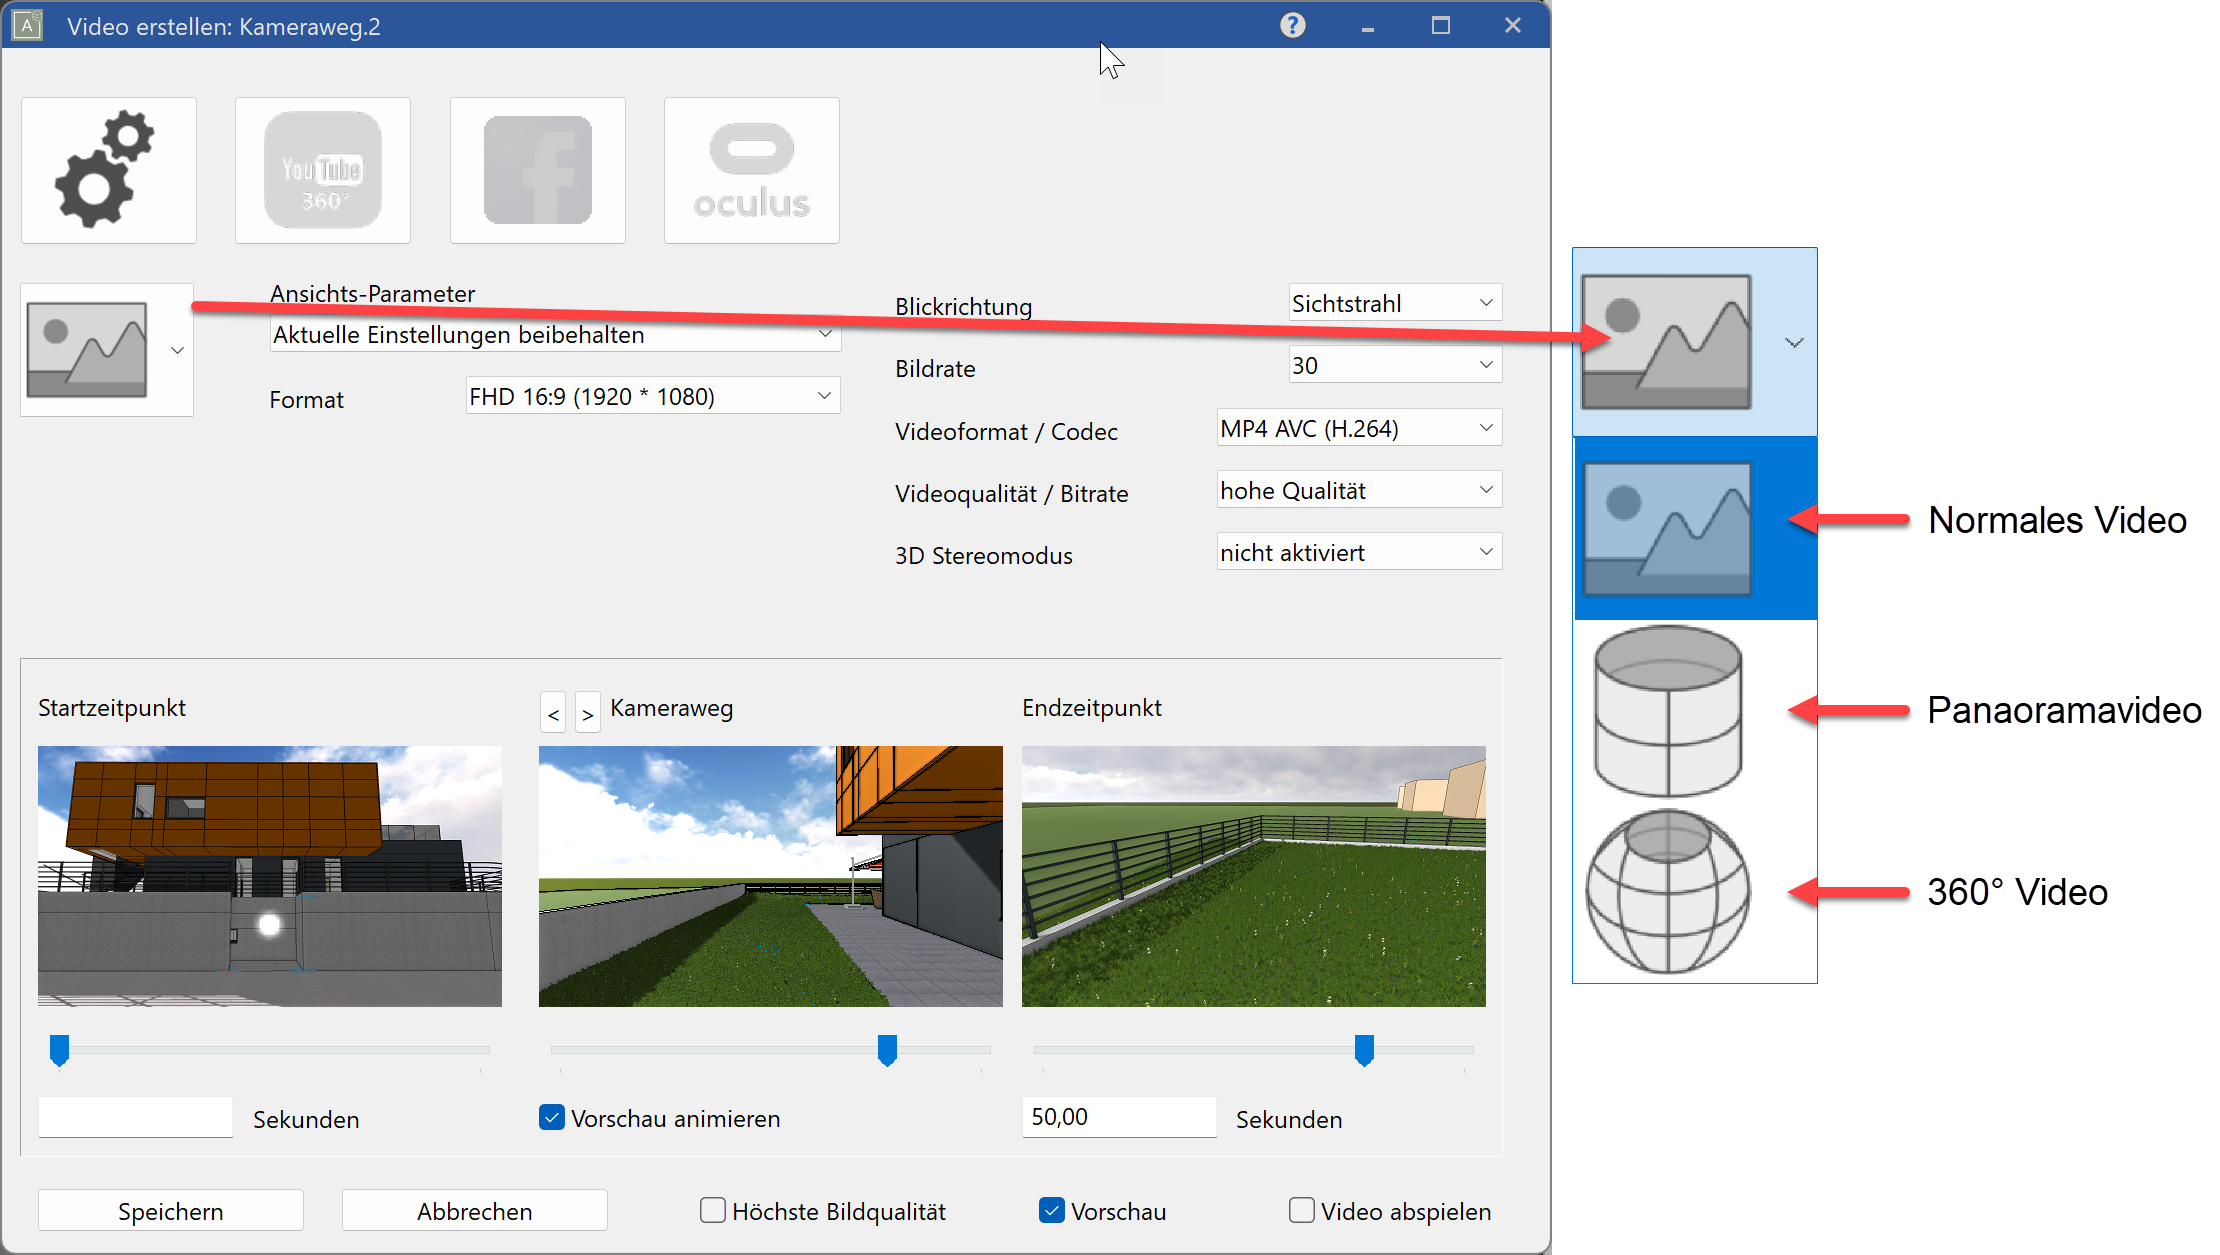
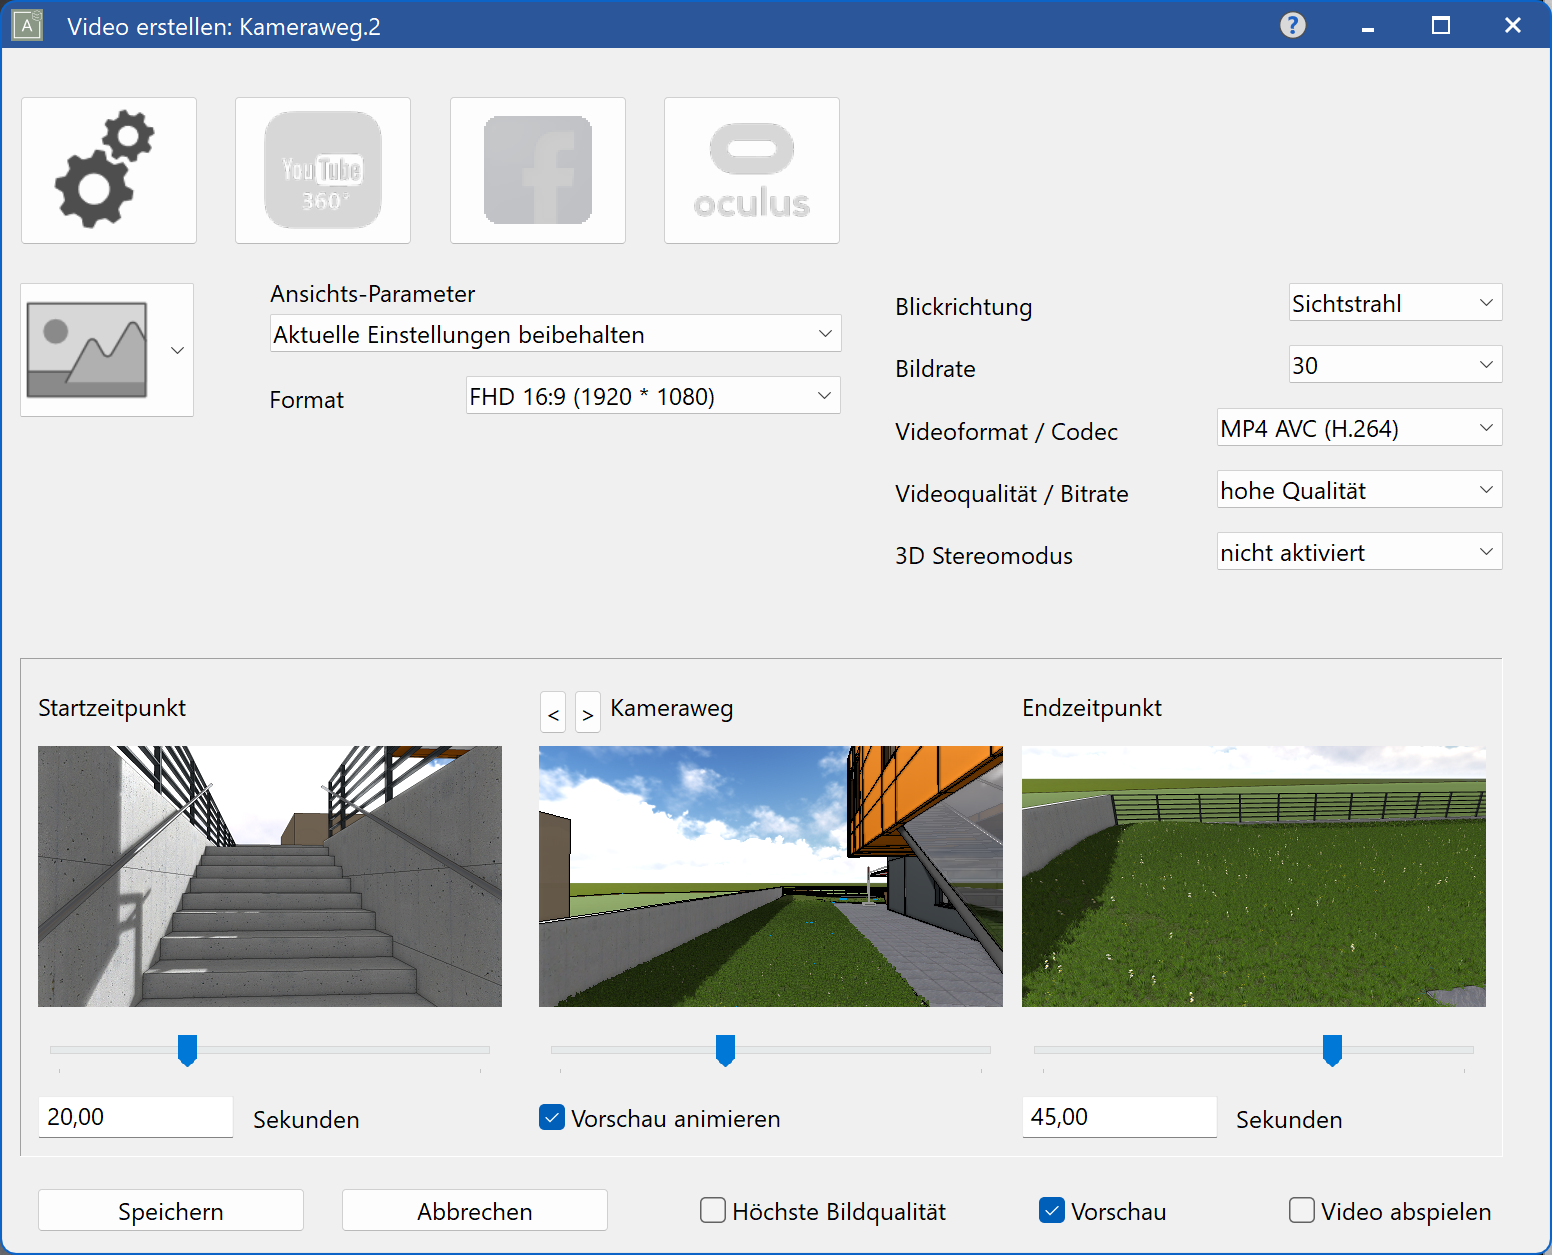
In the newly opened dialog, we see the currently active parameters as well as the start and end points and a preview of the camera path.
Afterwards we configure the type of video we want to create. Here we have the choice between “normal video”, “panorama video” and “360 panorama video”. We would like to generate a normal video and select the corresponding configuration.
-
The framerate settings influence the quality of the video. The parameter SAMPLES PER SECOND (images generated per second) has a direct correlation to quality. A higher framerate increases the quality of the video, but it also drastically increases the file size and the time needed to generate the video. If this is an issue, the overall quality can be set to a lower setting to balance the data amounts.
Furthermore, we need to choose the VIDEO FORMAT/CODEC for video generation as pictured.
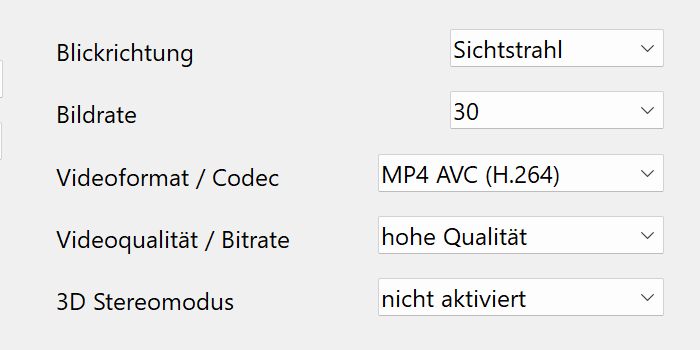
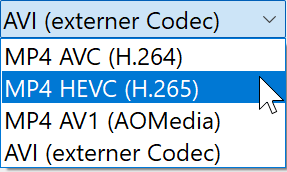
More detailed information about choosing a codec can be found in the Help center -
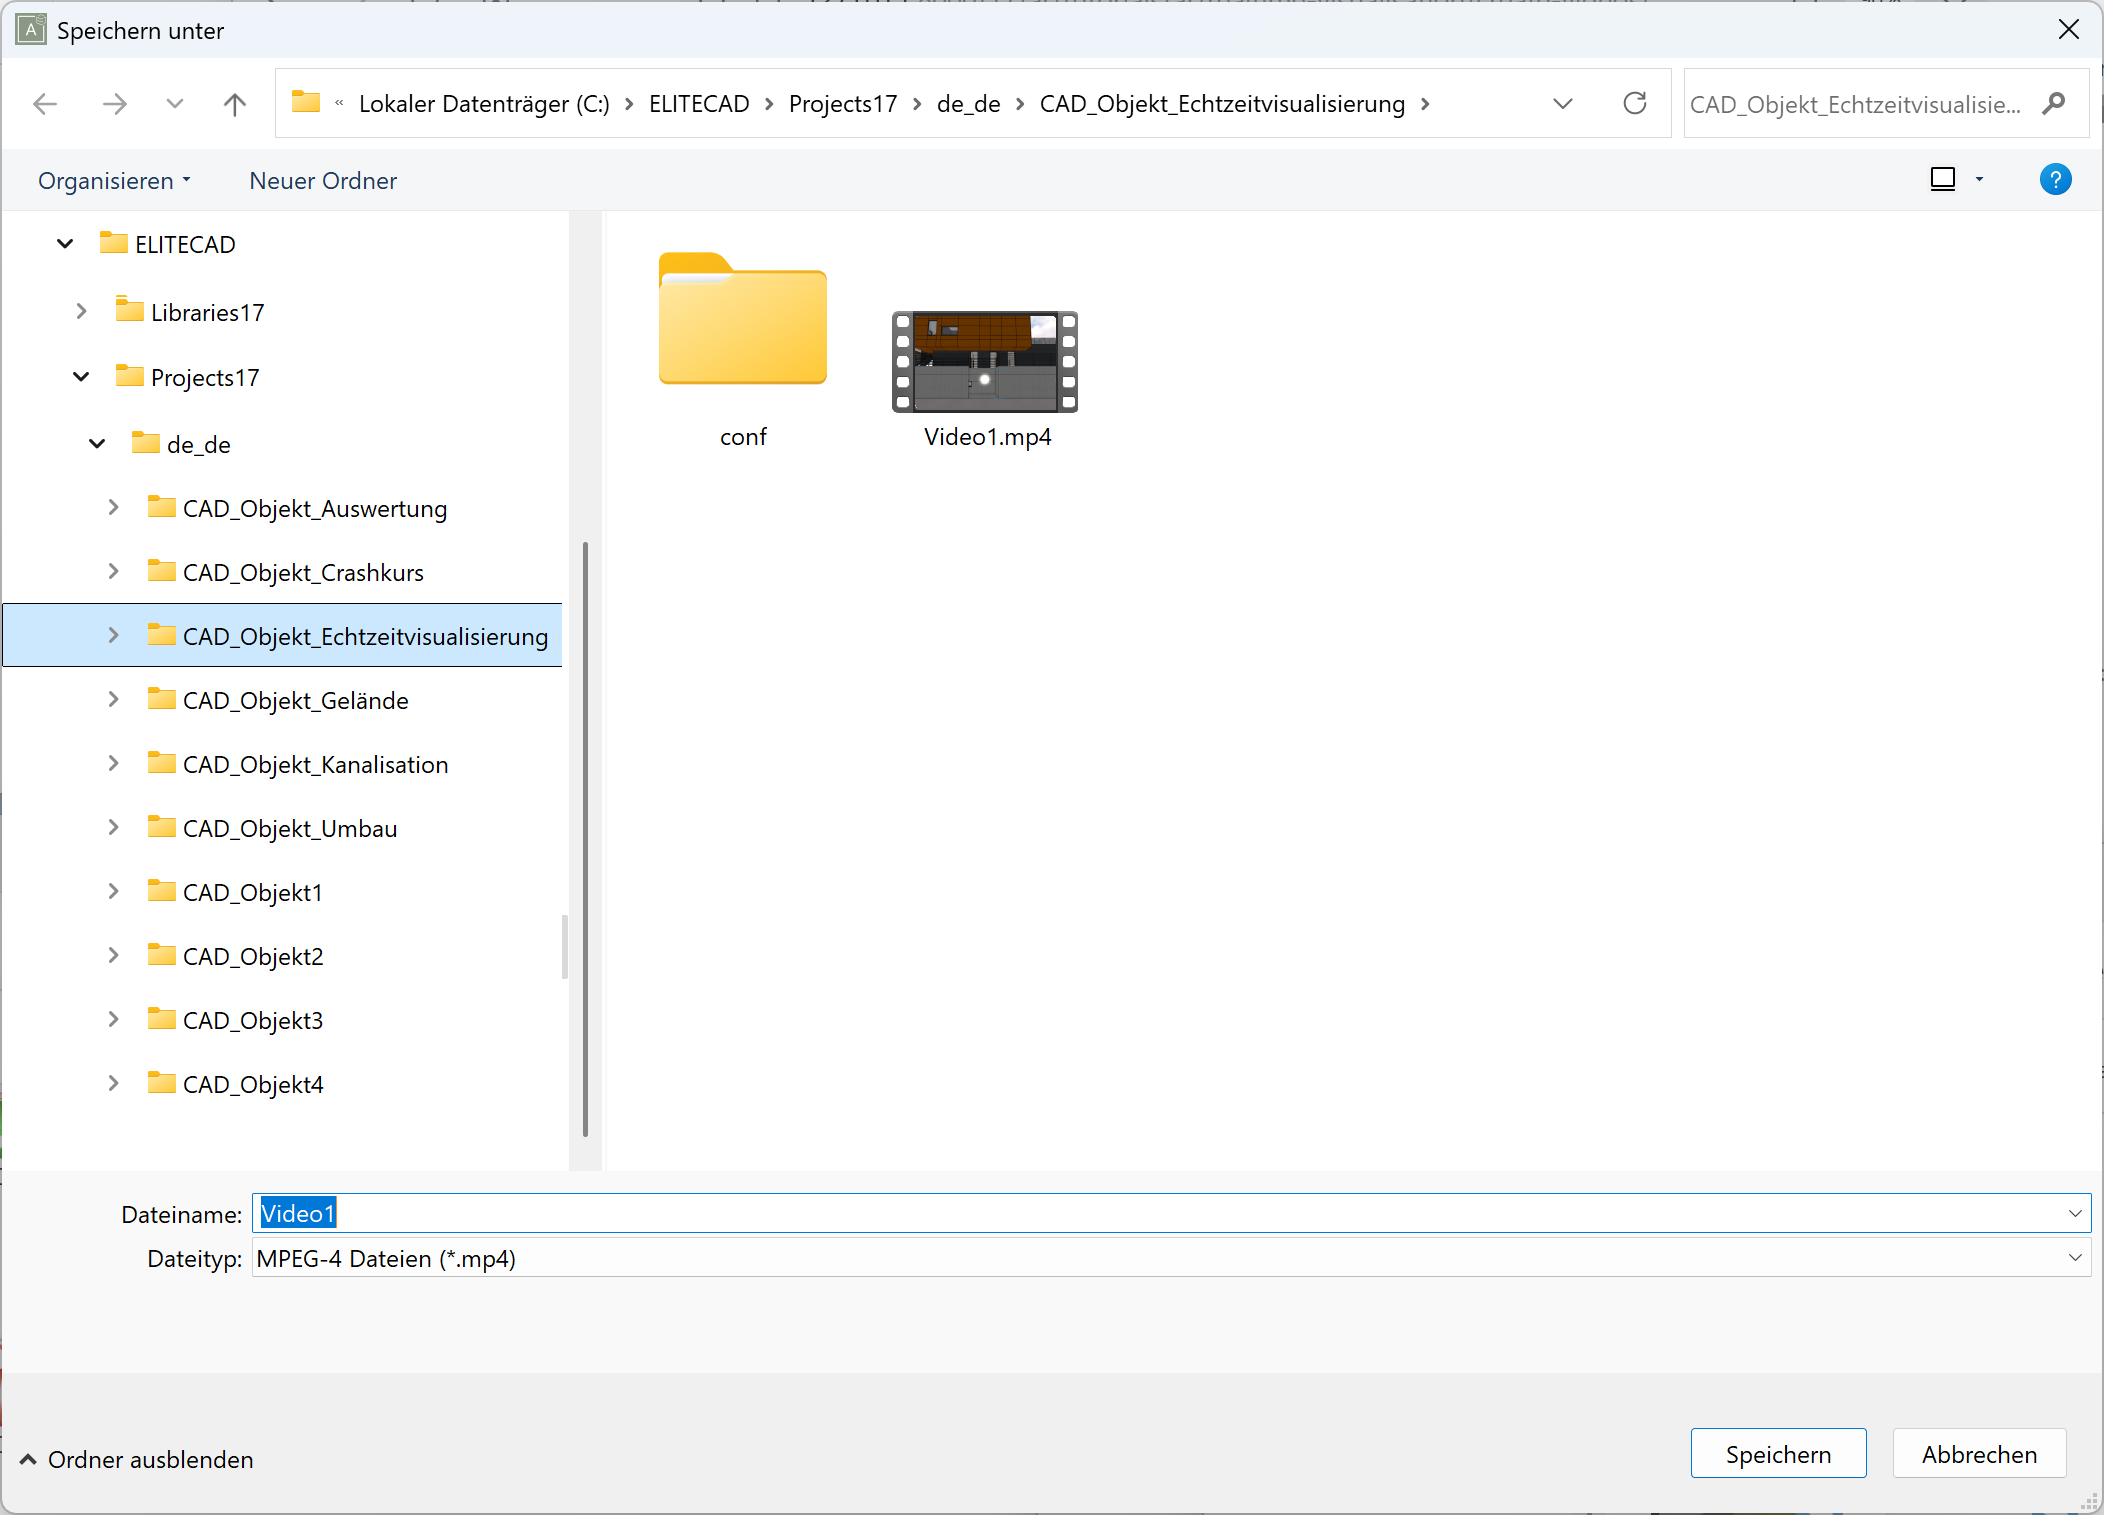
After we click SAVE, we need to add a filename and the desired path where the video should be stored, which in our case will be \Projects17\en_uk\CAD_Object_Realtime_Visualisation.
Now we are returned to the ELITECAD user interface and the video will be generated using the selected parameters.
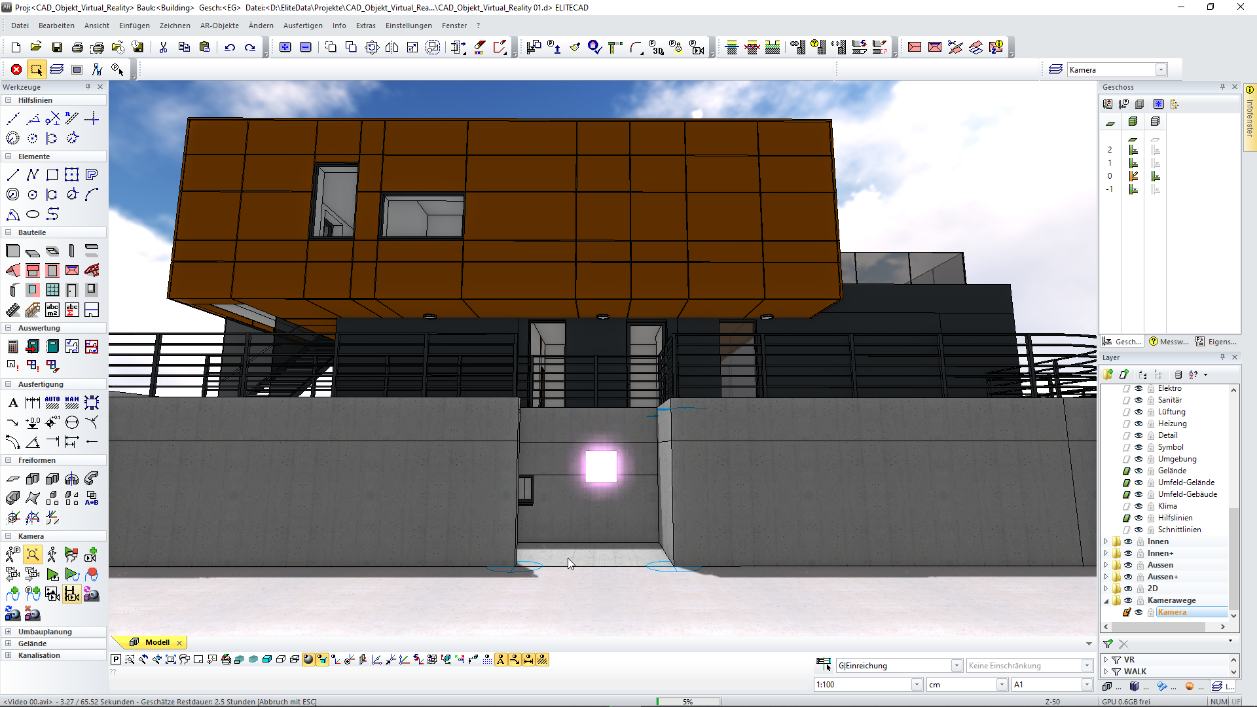
The status bar shows information about the process and duration for the video generation.
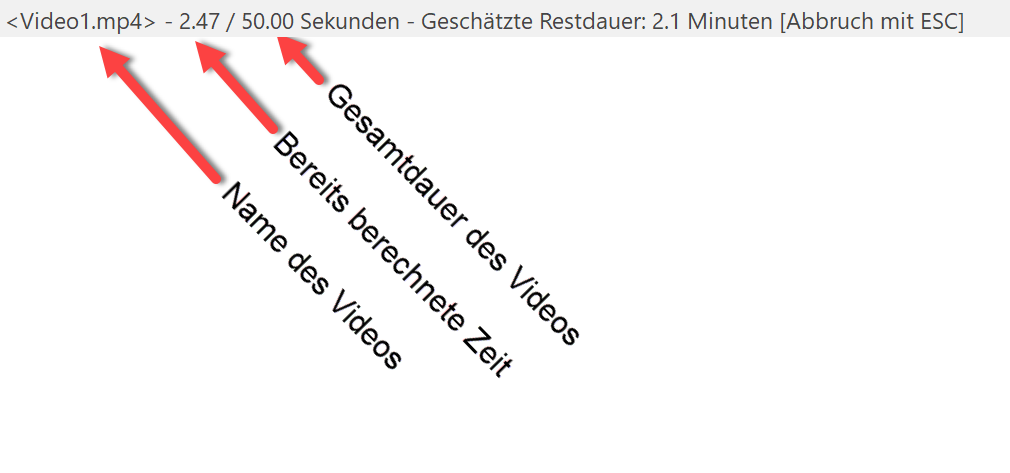
Furthermore, the overall progress for the generation of the video is displayed in percent in the centre of the status bar.

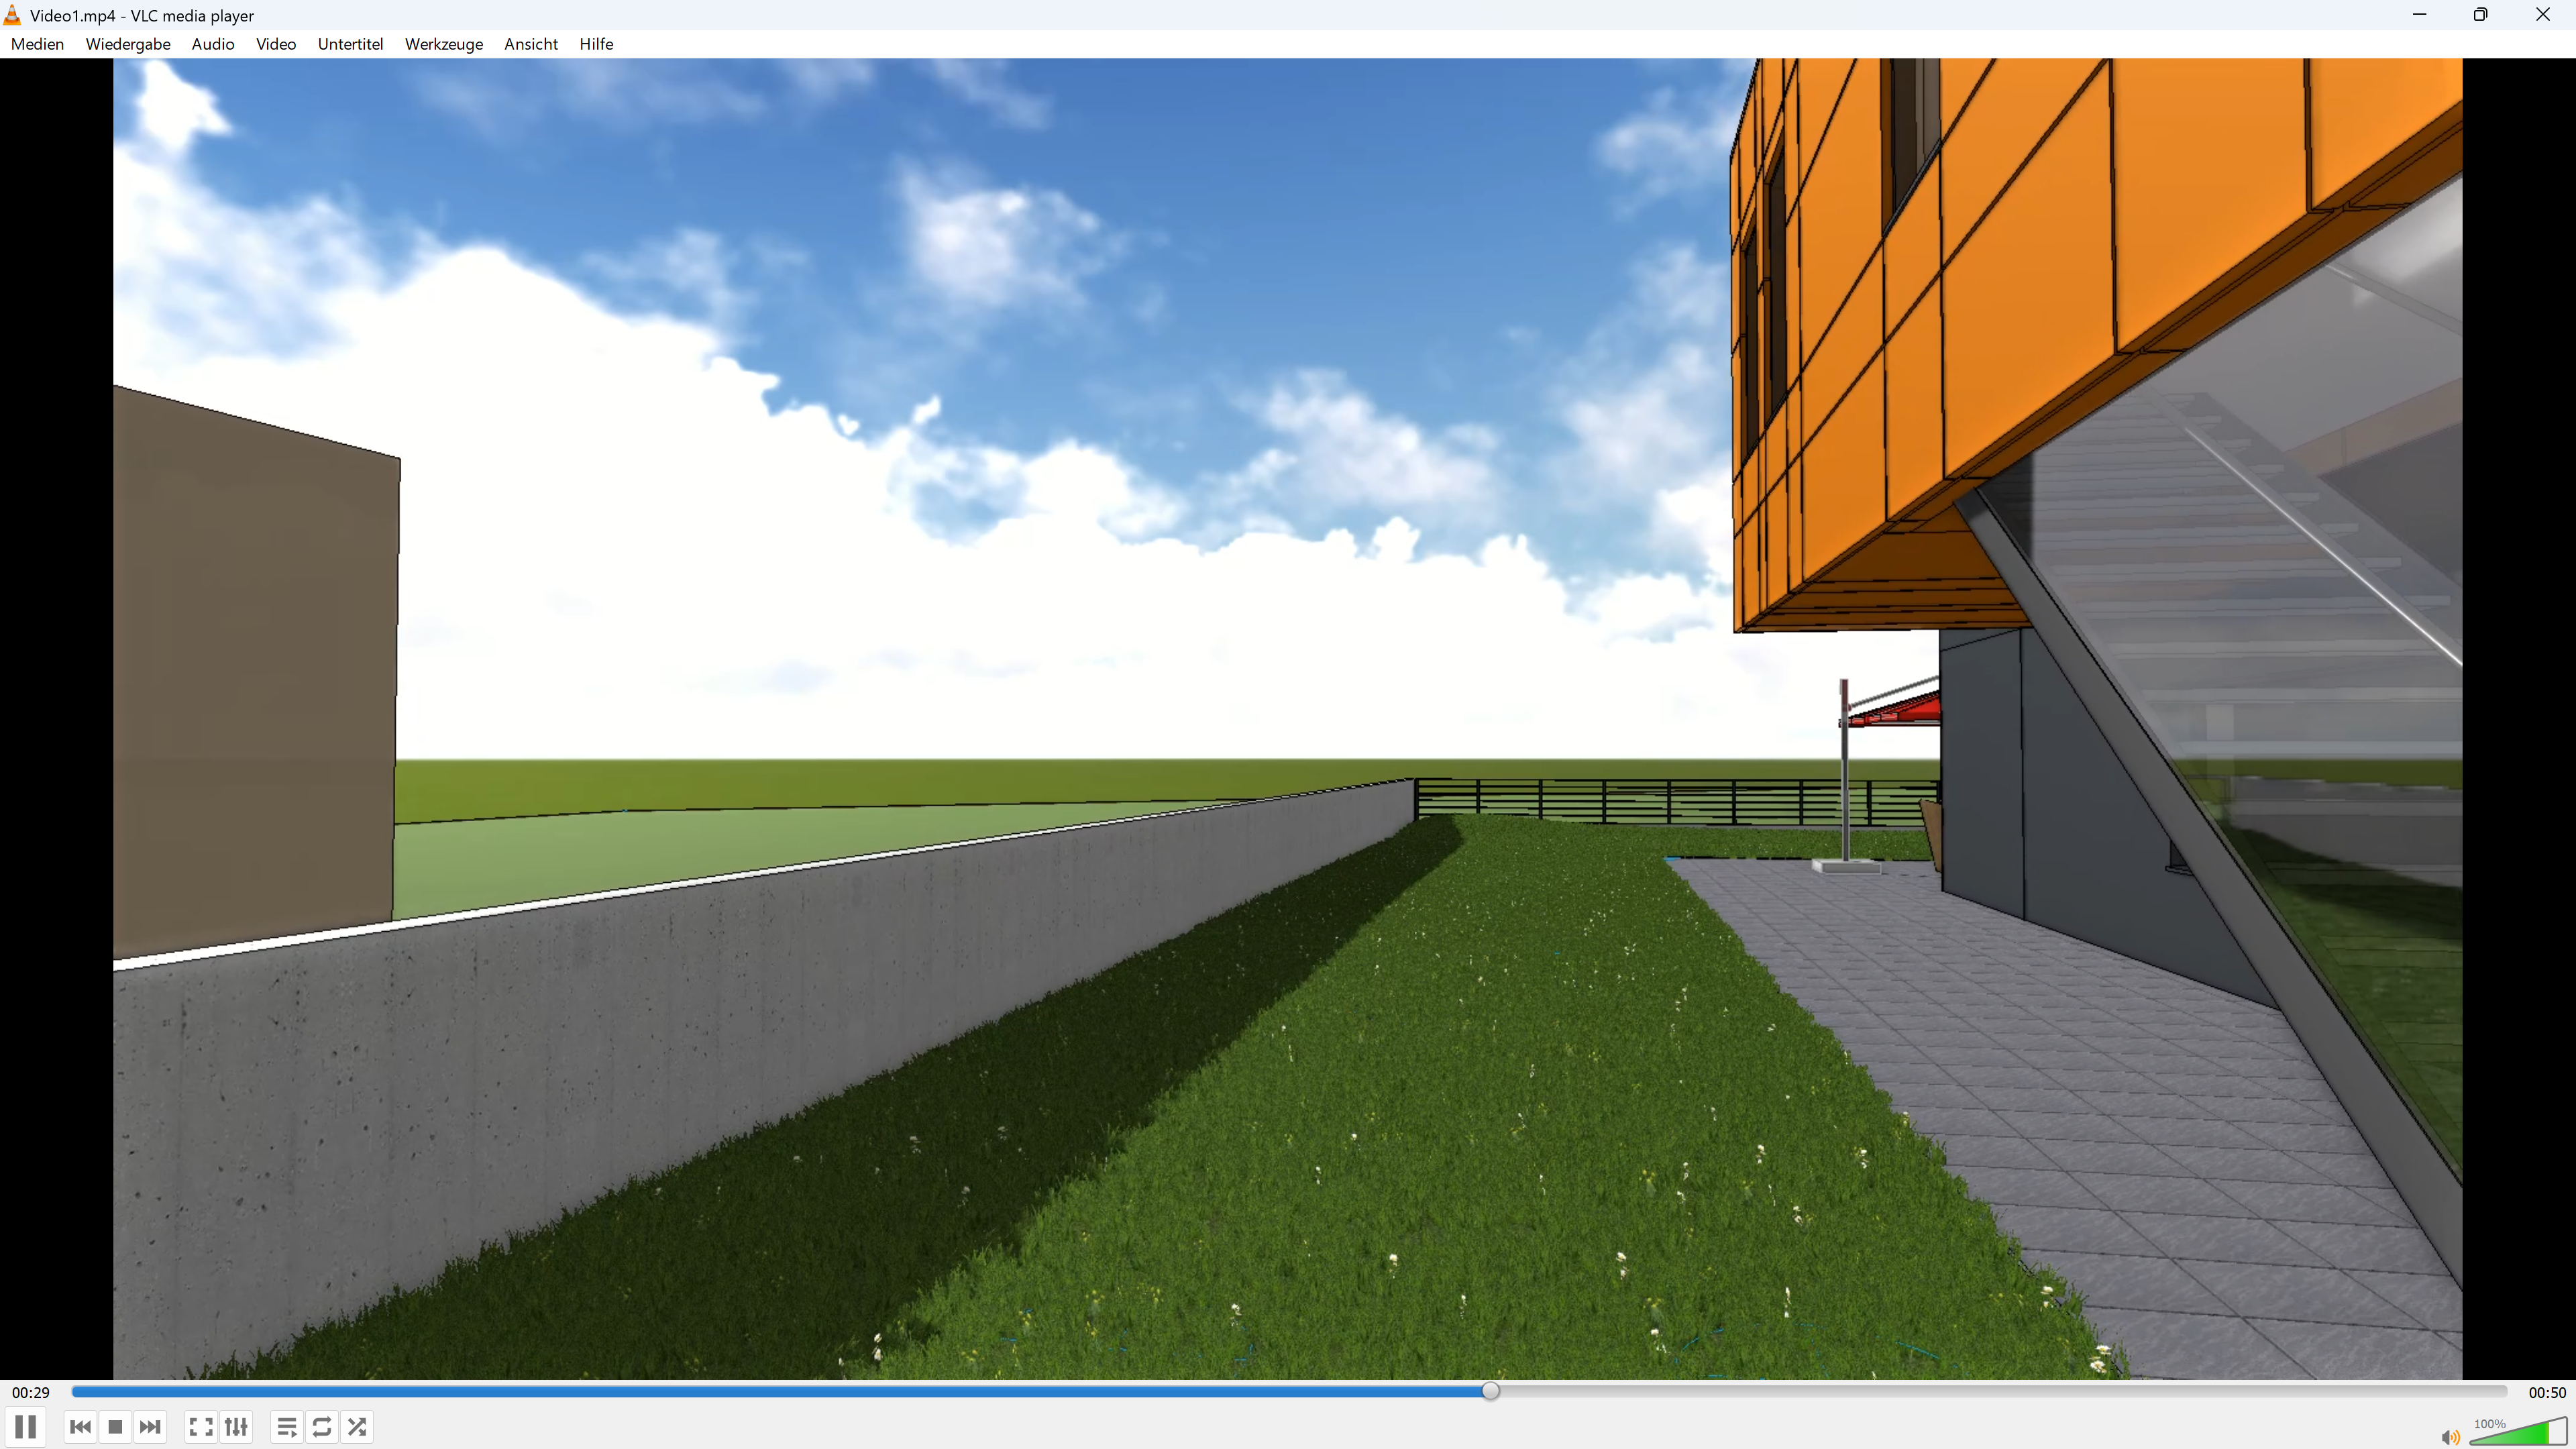
After the calculation is finished, we have generated our first video, which will be automatically opened and played by the windows standard tool for videos.
Editing of videos
We can adjust the length of the video directly in the parameter dialog. If we want to create a video from second 20 to second 45, we can just adapt the necessary parameters either using the sliders or directly entering the values.
Workshop
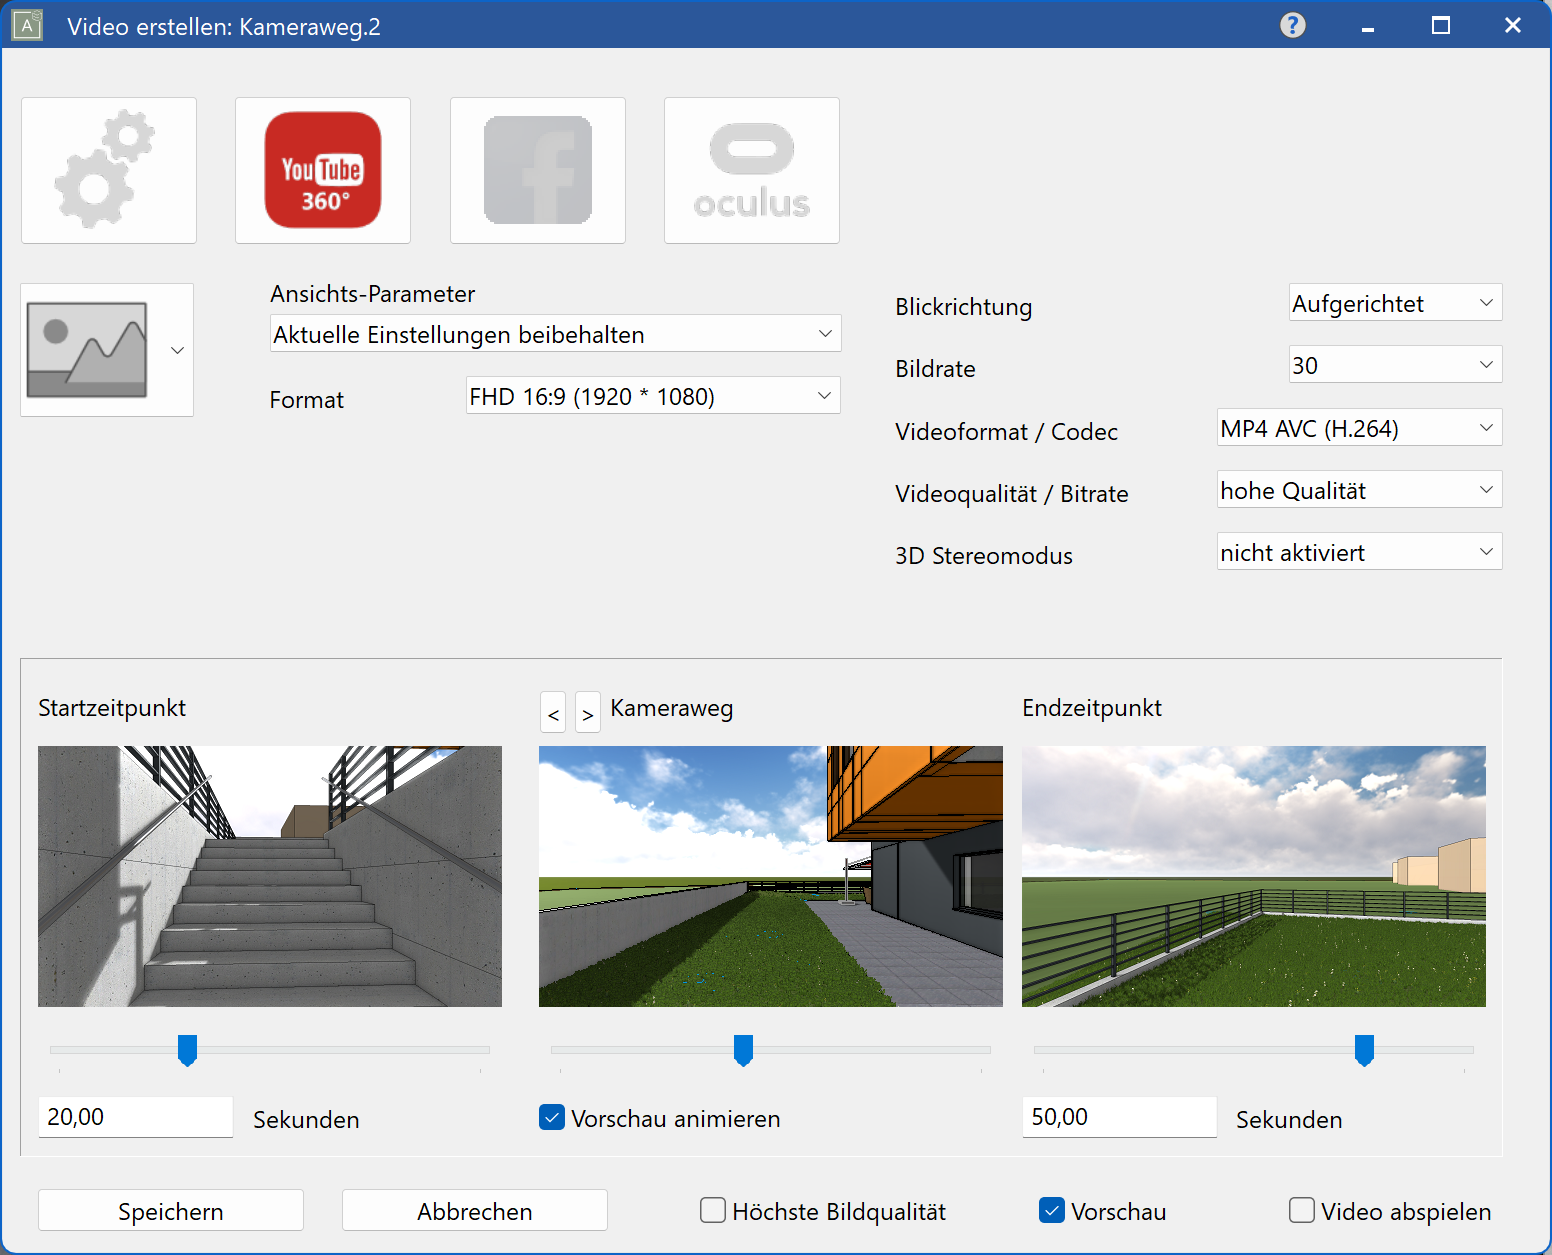
We change the start and end time of the video.
Note
If you want to make more detailed adaptions on your video, please use a dedicated video editing software.
Generating special videos
Workshop
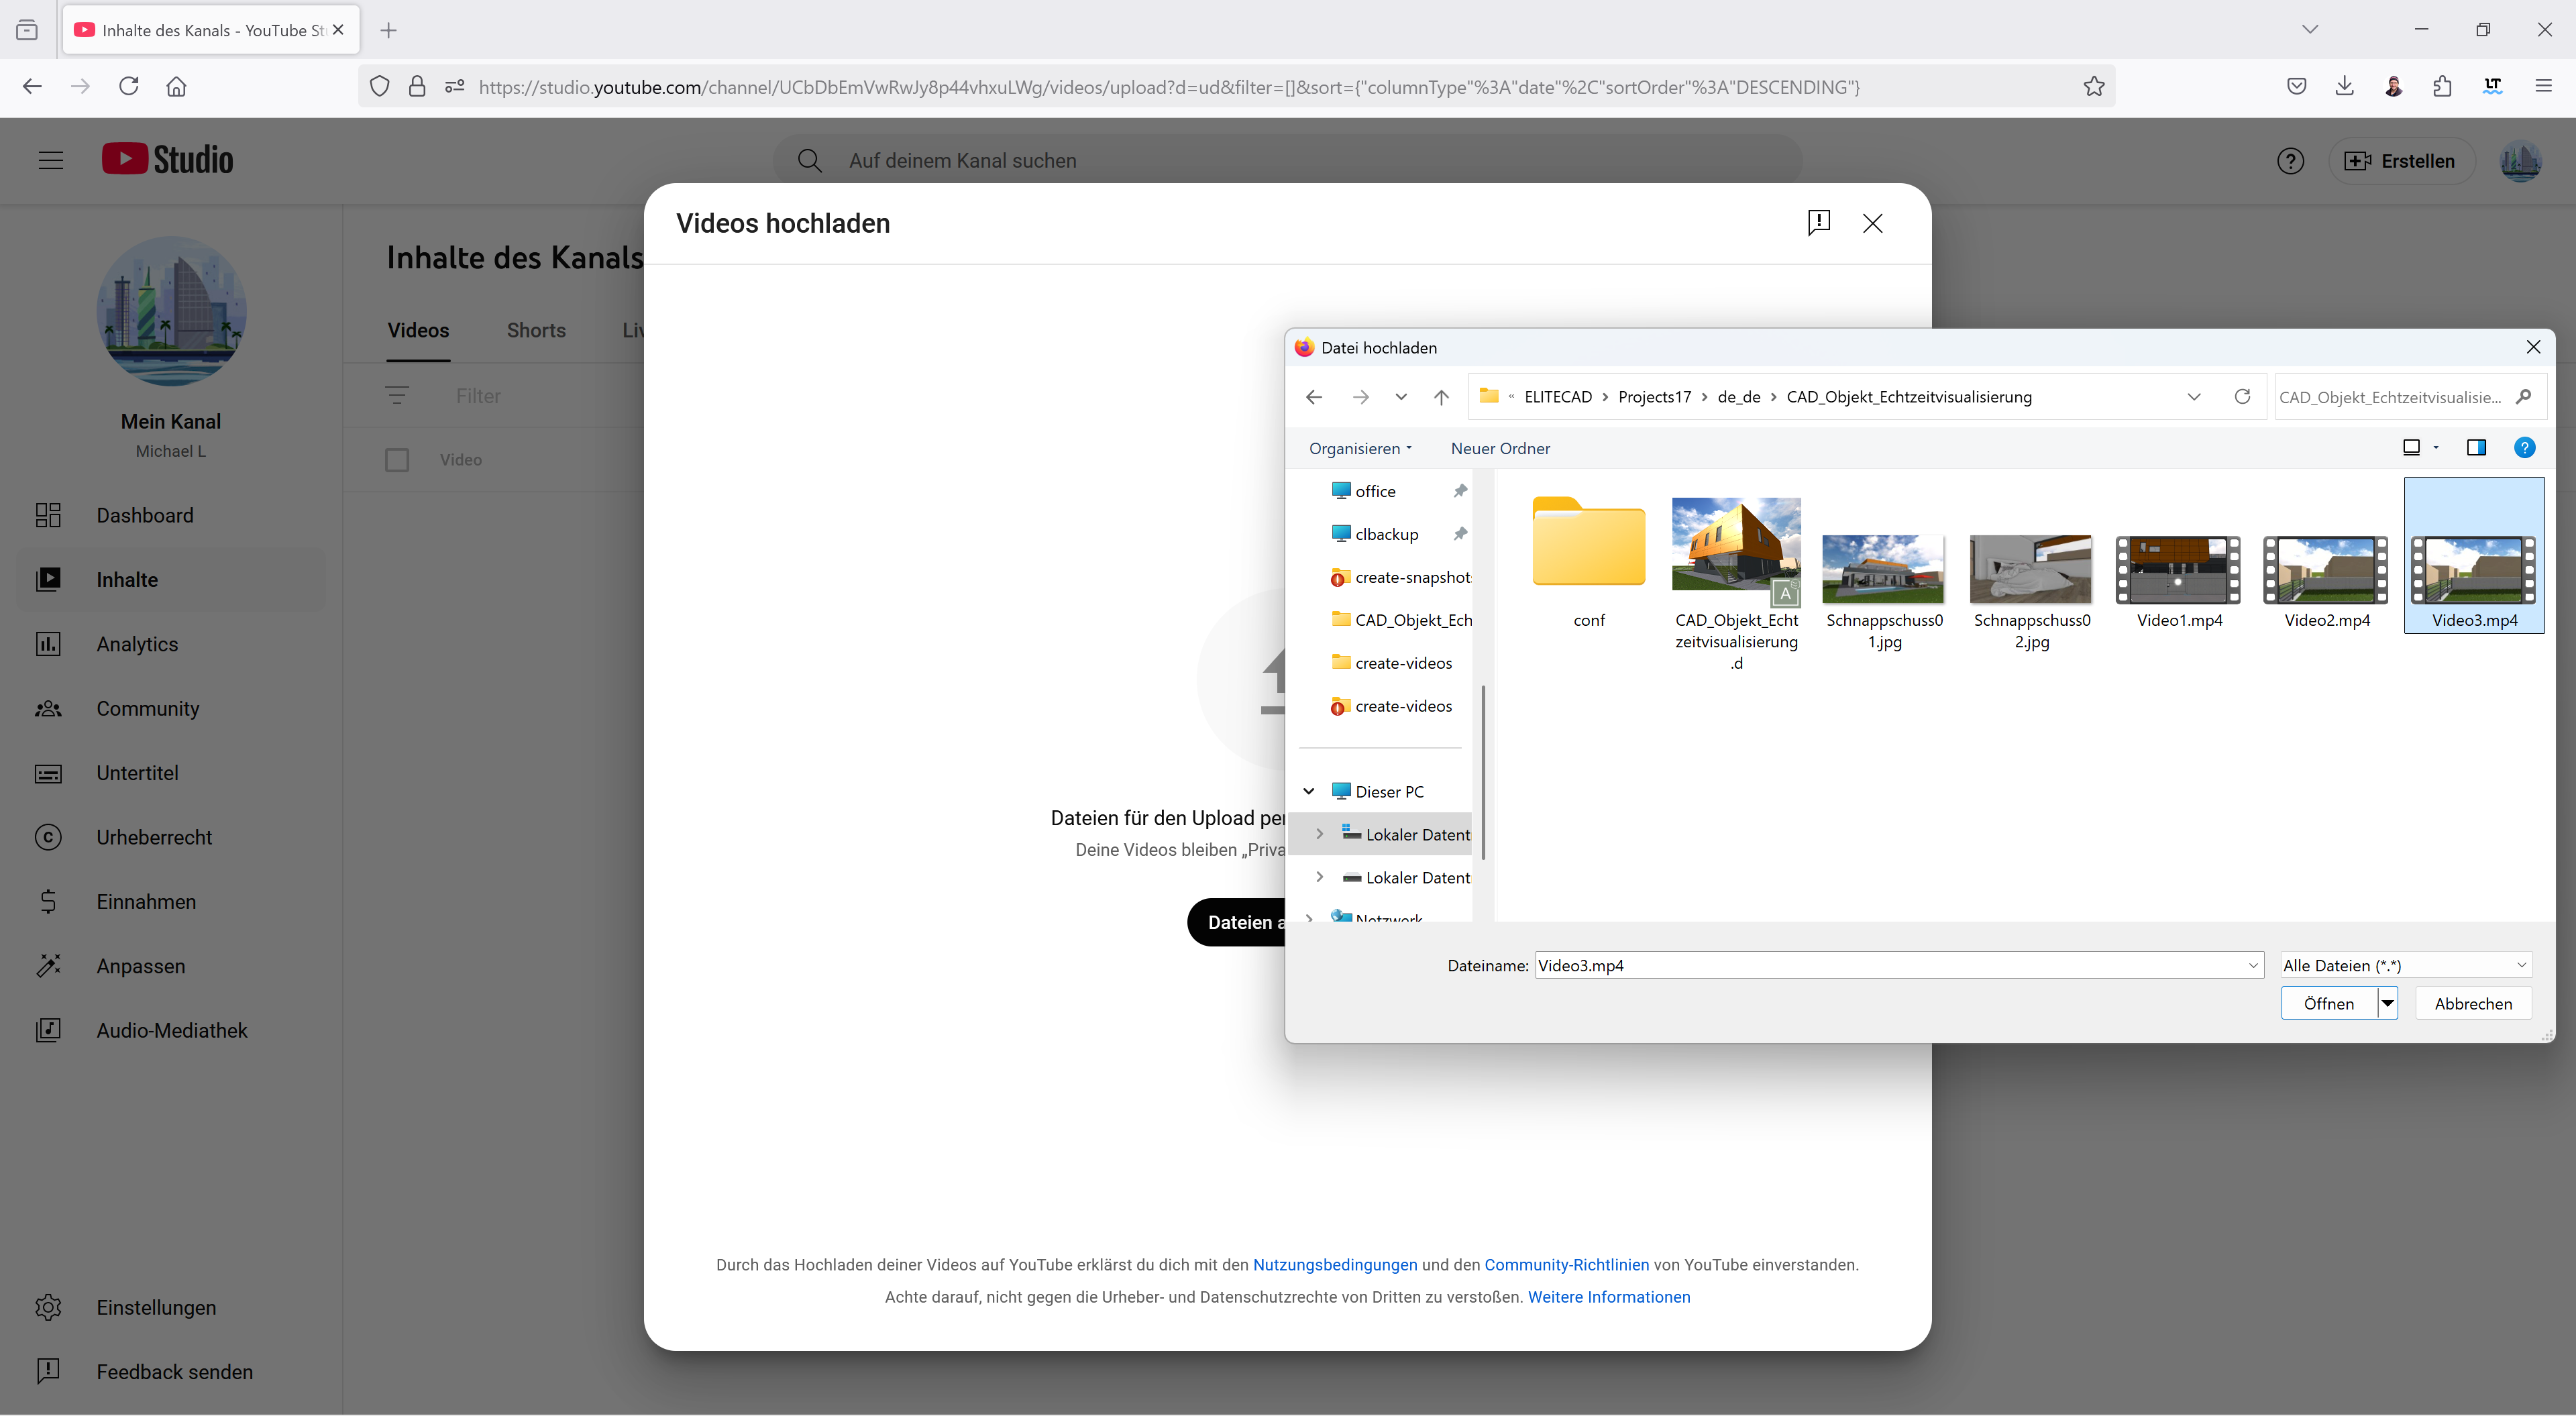
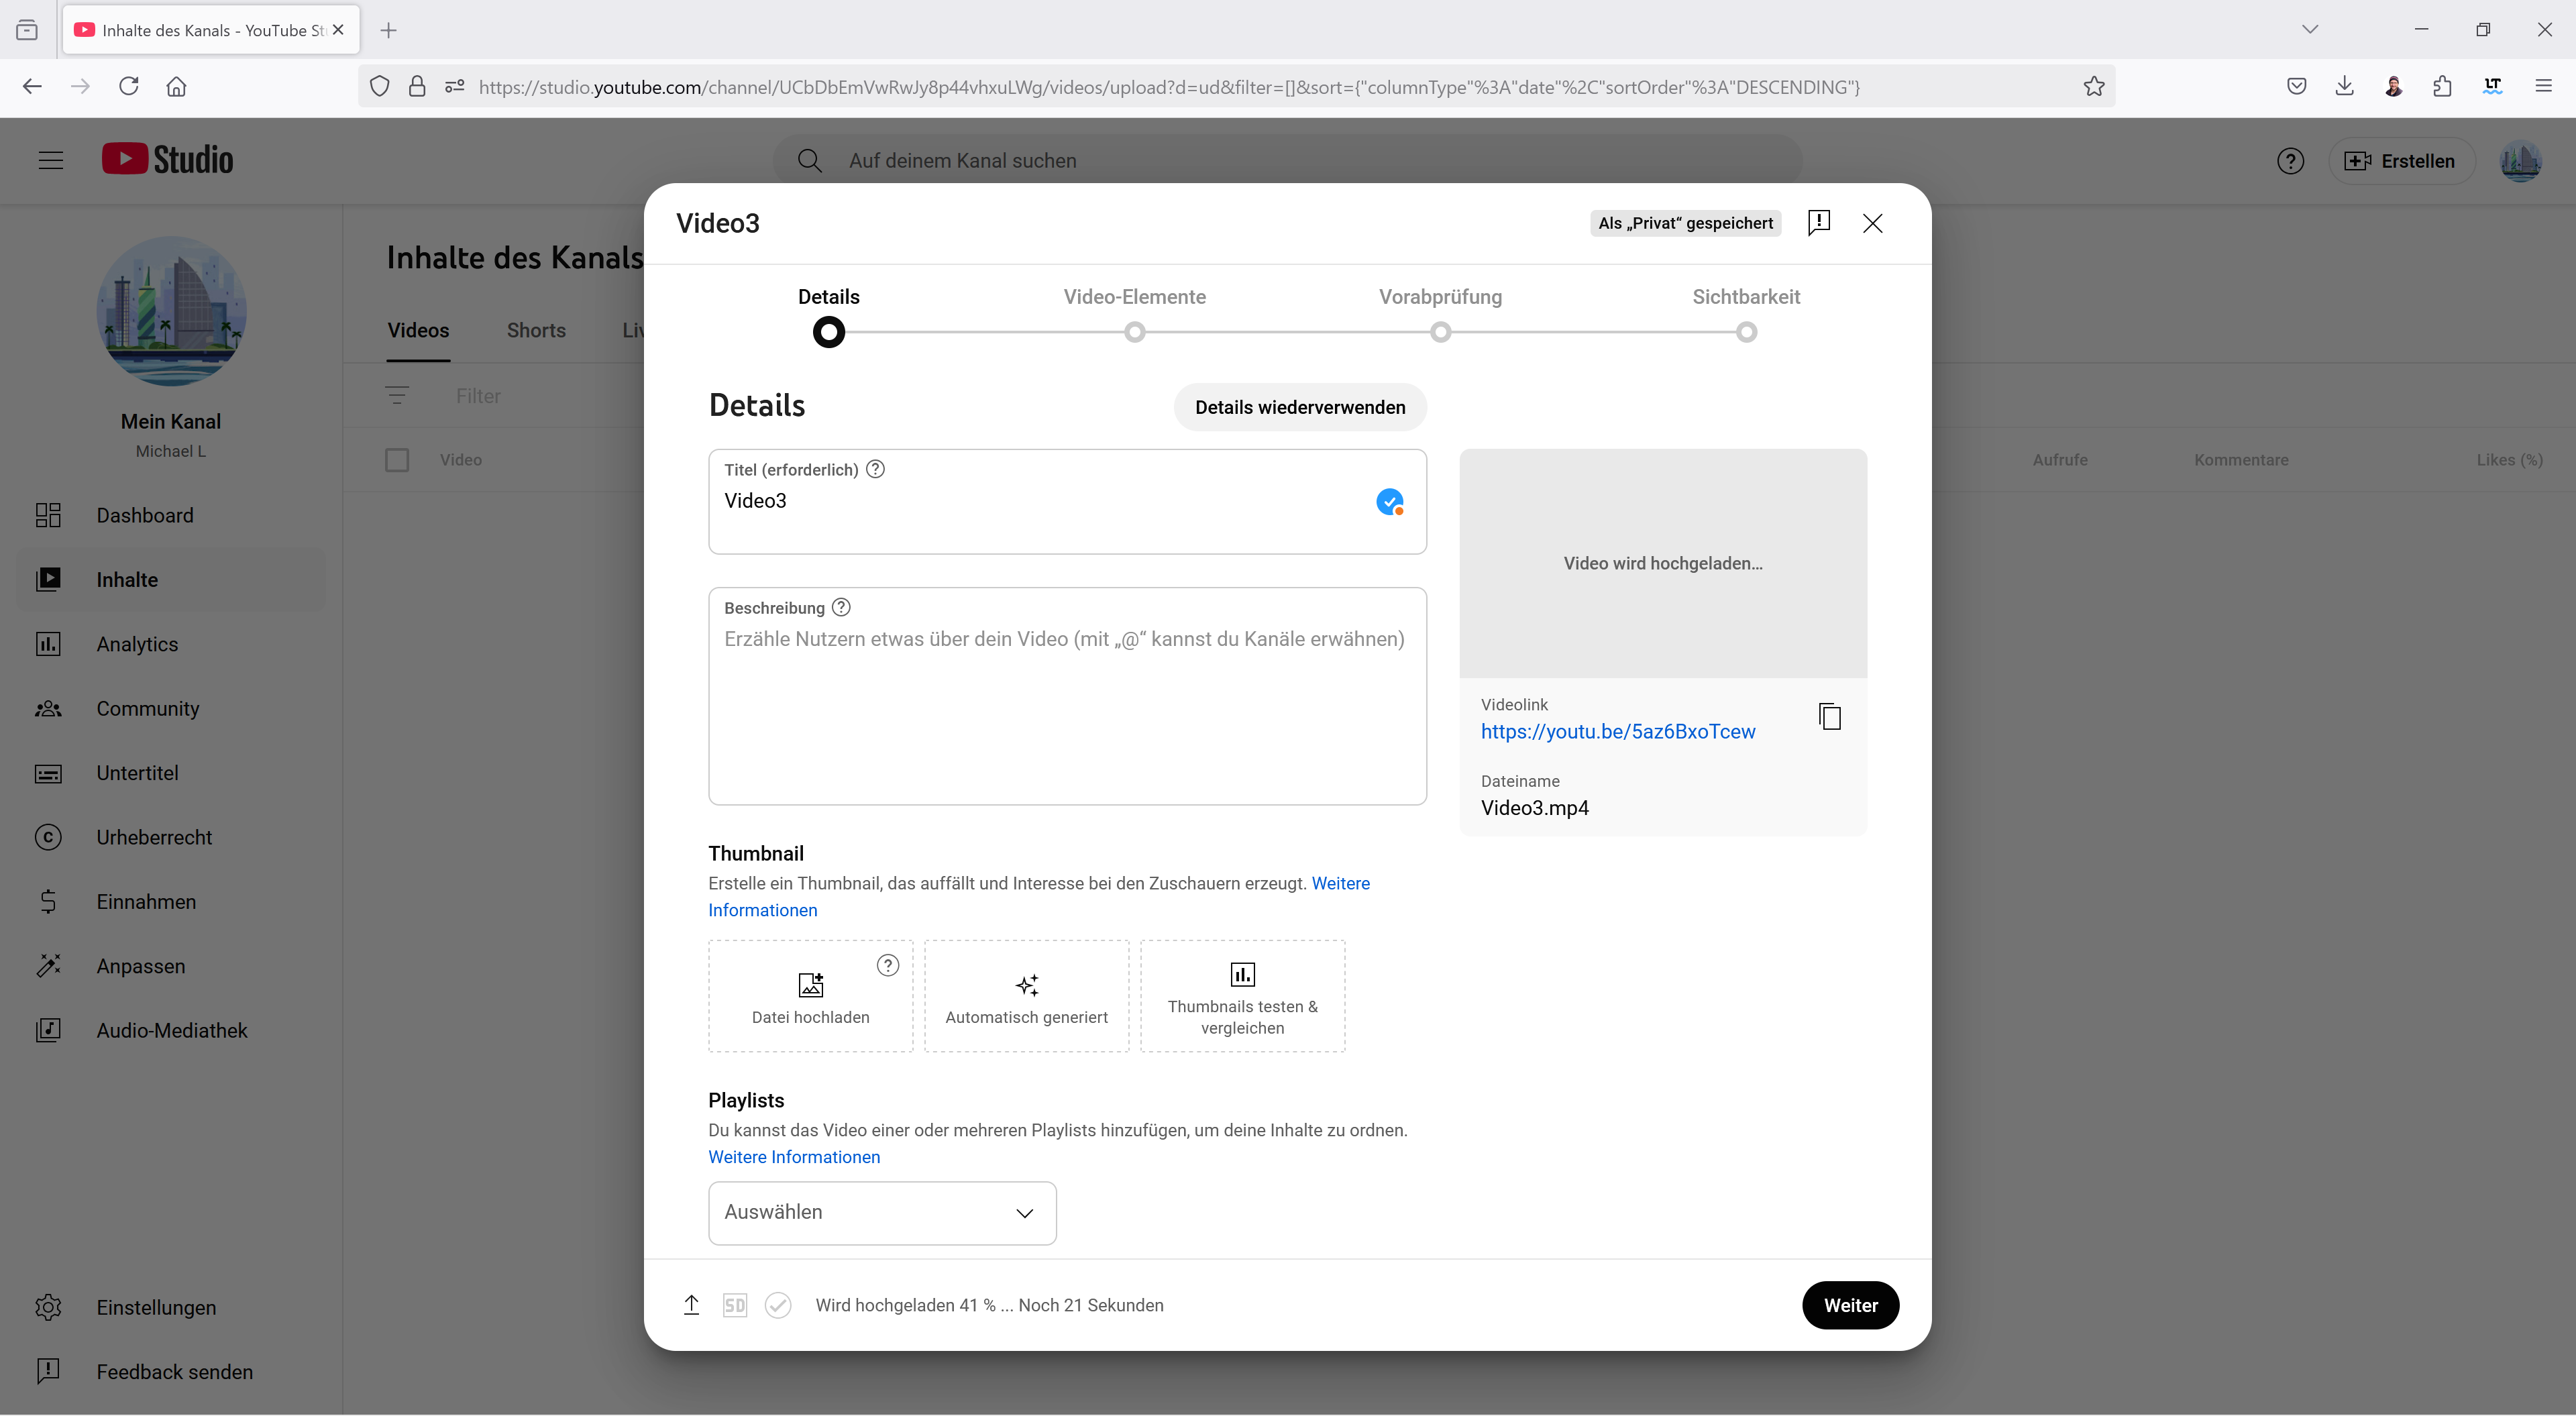
ELITECAD contains several presets for various online platforms, so it is easy to publish videos to services like YouTube or Facebook. Let's assume we want to create a video and publish it on YouTube. For this, we need an account for YouTube. We keep all parameters and set the presets to YouTube. Since we do not want to upload a 360-degree image, we switch back to normal view. The name of the video should be changed to “Video 03”.
Note
In order to publish videos to YouTube or Facebook you need to register an account on those platforms.