Introduction
ELITECAD Architecture 17 includes real-time visualisation of your BIM models using impressive effects like reflections, bump maps, animated grass and water, panoramic environments etc. With the new walkthrough mode, you can explore your future building together with your customers in a realistic visualisation using well-known input devices like PlayStation® controllers. Using VR glasses, you can immerse yourself in virtual reality and experience your model first hand. There are hardly any ways to present your models more impressively.

All those functions can be used without the need of additional software, the model is always available and adaptable. Furthermore, all plans and sections are always up-to-date so you are in control the entire time. Changes of materials or library parts can be done very intuitively in real time, eliminating the need for long renderings. You can generate images of up to 16K within seconds. 360° panoramic images are possible as well.
Your virtual walkthroughs are save das intelligent camera paths and can be exported as videos or 360° videos with graphical effects.
Preparations
Project settings
In ELITECAD Mechanical and ELITECAD Styler go to the next item Load drawing.
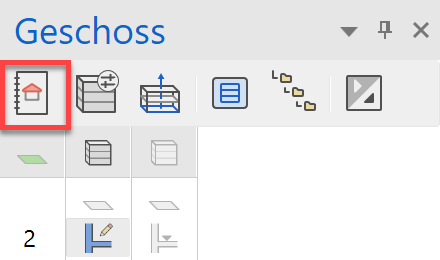
In ELITECAD Architecture, open the project settings …
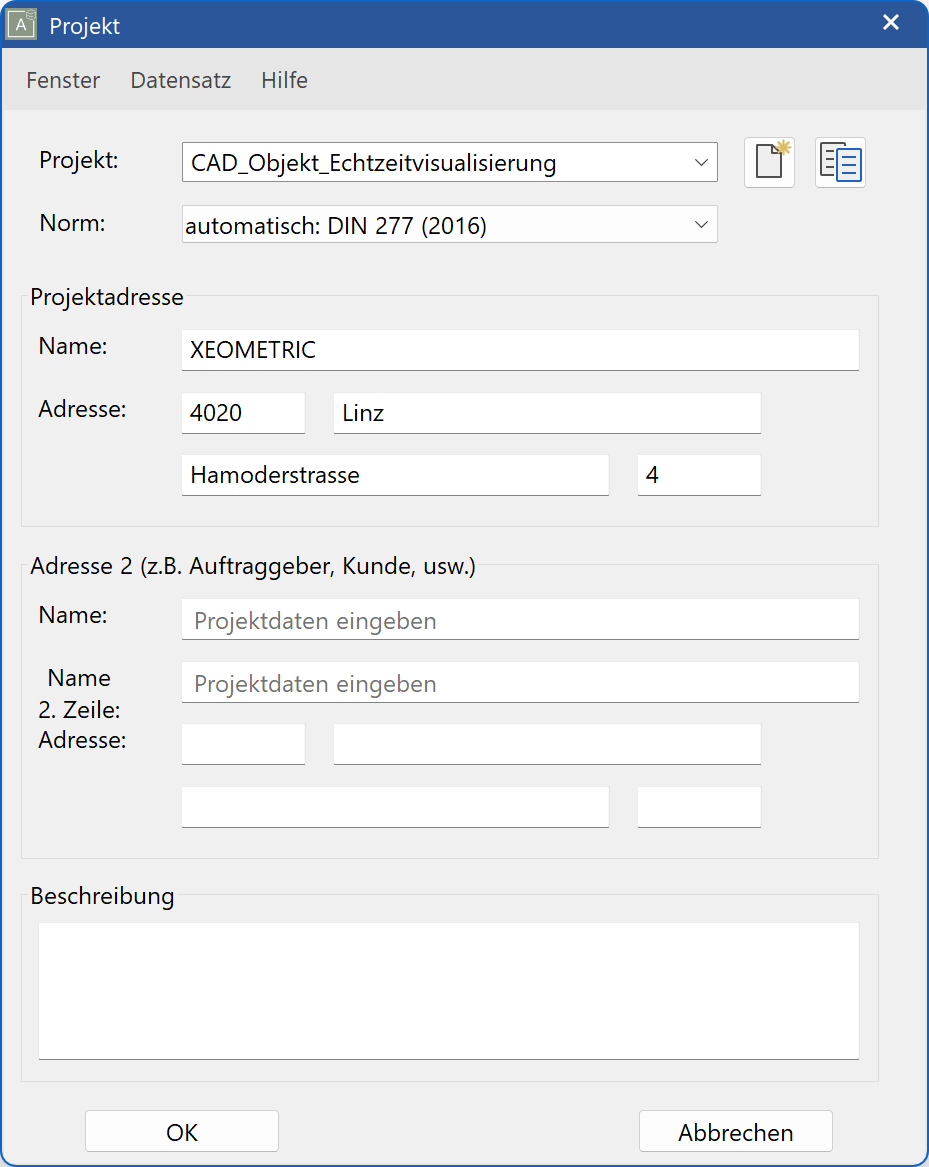
… and choose the project CAD_Object_Realtime_Visualisation.
Load drawing
Load the drawing CAD_Object_Realtime_Visualisation.d by using FILE > OPEN.
The loaded drawing should look like this:

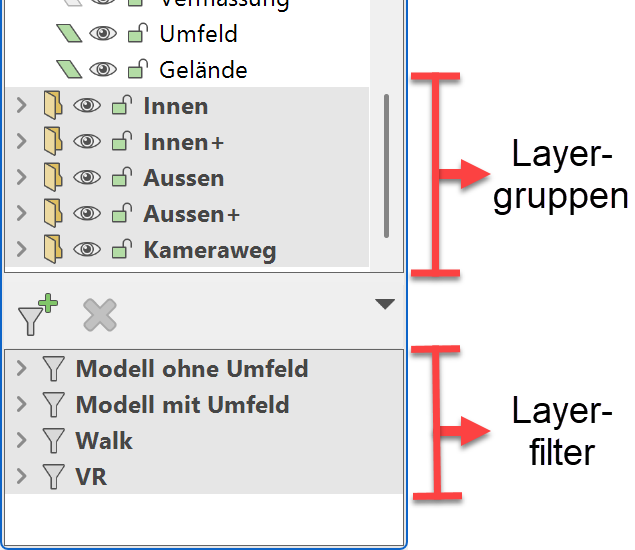
Performance settings using layer/layer filters
The model includes various layers and layer filters which allow you to adapt the level of detail of the model to the performance of your system. If you have a high-end graphics-card, you may activate the highest level of detail by activating the filter COMPLETE or showing all layers. Depending on the performance of your graphics card you can reduce the details to four different levels, the lowest being “VR”. This allows for a more realistic VR experience. Another possibility to influence the performance is switching entire layer groups on or off. These layer groups are already predefined for the example model.
Performance settings using level of detail
Despite high performance on graphics cards, complex shader effects can be resource intensive and are time consuming during scene refresh. Depending on your graphics card, you can influence the performance by reducing the level of detail. One example for this kind of setting would be the distance from the camera until which the grass shader should generate 3D grass.
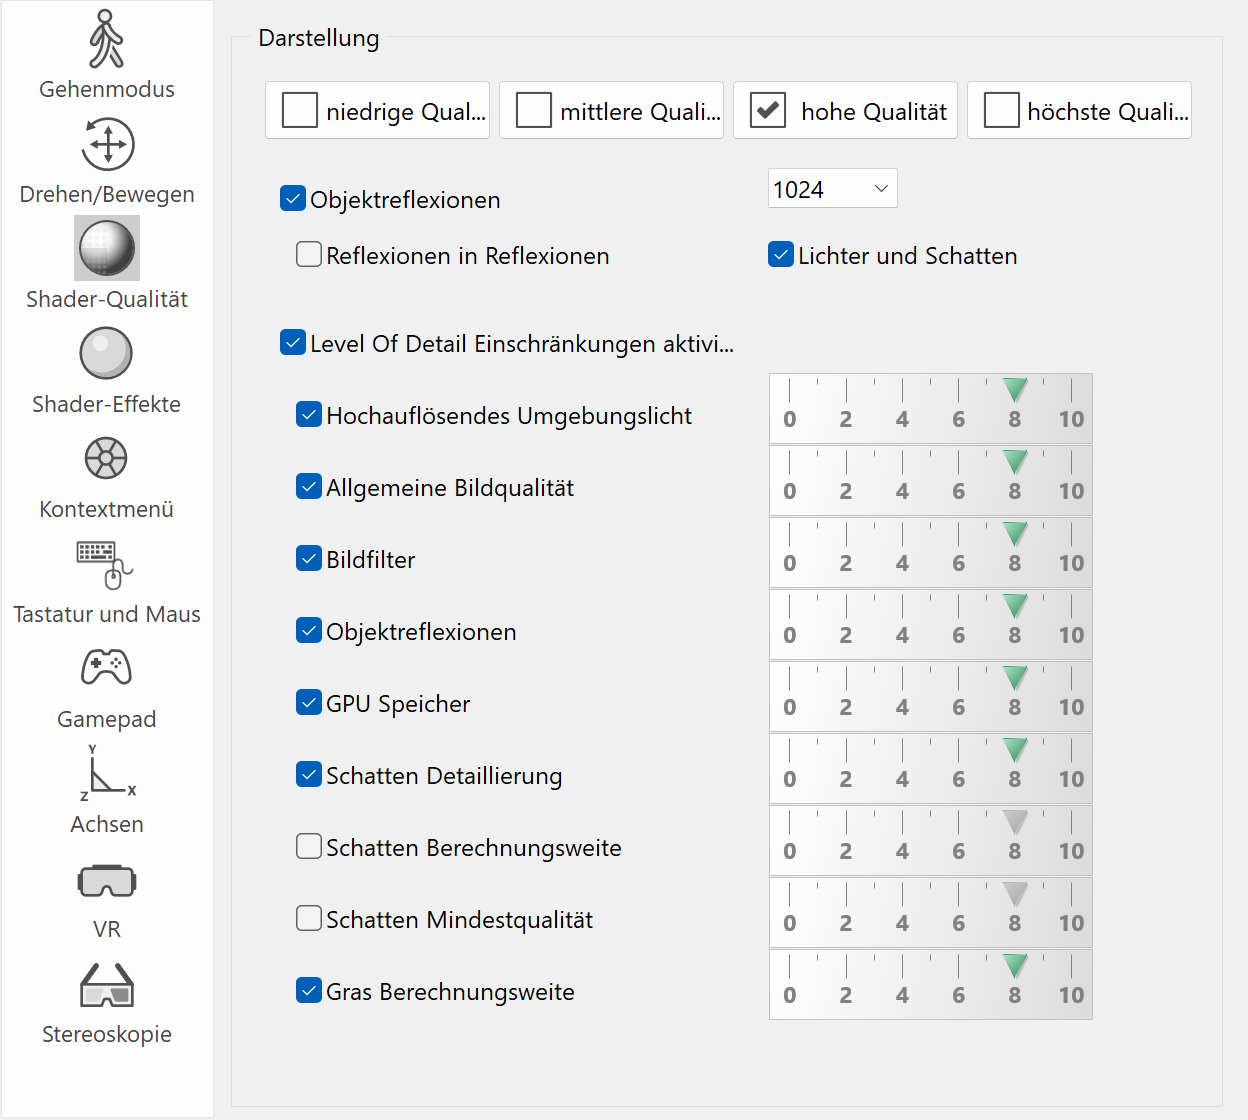

Four predefined quality standards allow for easily changing the settings with one click. When you create images and videos from your models, you can deactivate these LOD settings.
Shader-material properties
Shader mode
![]()
The shader mode is an additional option for the solid mode. Analog to the 3D edges, the shader mode can optionally be activated with the solid mode. Furthermore, the shader mode is activated when the walking mode is switched on. The shader mode can be activated for every view and allows a more realistic depiction by using materials with special material properties (in ELITECAD marked as S-).
The shader properties (reflections, mirrors etc.) have to be pre-calculated before the first usage. This Process can be manually started by the function SHADER ON/OFF. The required iterations are displayed in the status bar by the number of required calculations.
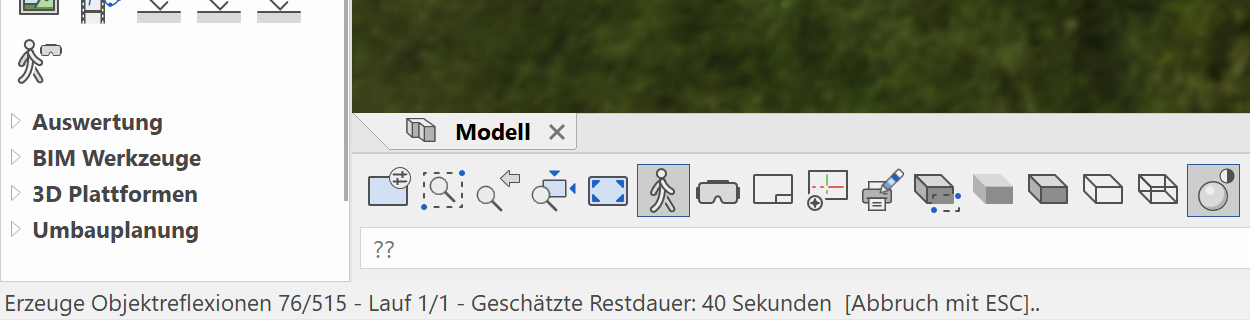
The calculation of shader properties may take some time. Therefore, it is possible to interrupt the calculation anytime by Esc and to continue working with the current partial result.
Using the shader mode is highly recommended, because it allows for a more detailed and vivid depiction of the model, but it is not required for interactive walkthroughs through a model. This means the existing sample model can be explored out of the box.
Material editor with shaders
The material editor now features more settings, the so-called shader effects. These shaders generate animated materials on 3D surfaces at runtime. So surfaces with complex structures and depth effects can be created on plain surfaces, which only need little memory. This process is done on the graphics card so the performance is improved dramatically.
Reflections
Object reflections and inter-reflections are calculated for reflecting surfaces. Even moving and transparent surfaces feature reflections. The sample model contains several spheres at the top floor, which show these effects in detail.

Shininess
Light sources can be used to generate impressive effects on shiny materials. This effect even applies to moving surfaces like water. It is possible to configure the quality of the material, so if the material is rough, varnished, oiled or translucent.
Transparency, Absorption, Refraction
These are some further effects that can also be configured for real-time visualisation.
Light sources
Light sources are not considered 3D objects in the visualisation. Objects that represent light sources, for instance lamps, can be equipped with a light emitting material to enable a more realistic depiction. In the example model there is a light source at the staircase.

Bumpmaps
Bump maps are textures that represent depth information. The height information contained in a bump map is applied to materials. This allows to realistically depicting joints, tiles and bricks or rough surfaces on geometrically plain surfaces. The example model features one sphere with a gravel surface on the top floor.

Animated water
Water is another special shader material. In order to depict water, multiple waves are overlapped, which can all be configured in wavelength and amplitude. The sum of all the waves is a complex moving surface, which resembles real moving water. The movements can be either calm or rapid. The library contains predefined water materials, so it is not necessary to configure them by hand.

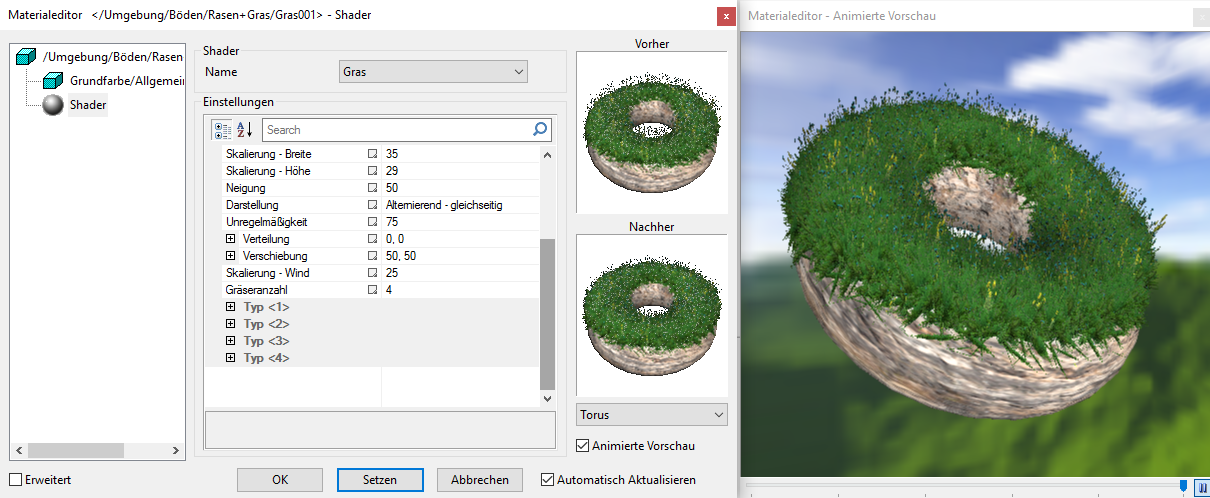
Animated grass
Modelling grass in 3D would be an impossible task. Using the new grass shaders, enhancing your models with realistic looking grass is as easy as it gets. By mixing different types of grass and flowers, you can achieve a natural distribution in your environment. Every type of grass can be individually configured in height, growing direction, tilt relative to the surface and so on. The adaptions can be made using simple sliders, and effects can be seen in real time in your model. Of course, ELITECAD products come with predefined grass types, so it is not necessary to configure it yourself.
On top of all the grass settings, you can even configure wind, which is applied to the culms depending on how strong the wind is.
Automatic calculation of reflections
![]() Adding new objects to a scene immediately has an effect on the depiction of reflections. In order to improve the performance, the real-time object reflections are pre-calculated when the walking mode is enabled. When new objects are added to the scene, the reflections have to be recalculated. whether this should be done automatically or manually can be configured by the user.
Adding new objects to a scene immediately has an effect on the depiction of reflections. In order to improve the performance, the real-time object reflections are pre-calculated when the walking mode is enabled. When new objects are added to the scene, the reflections have to be recalculated. whether this should be done automatically or manually can be configured by the user.
Realistic interior
Ambient shadows (SSAO shader) enhance the shadows of corners and edges inside the building. This leads to a more contrasting depth perception for example of joining walls having the same colour.

Soft shadows
While the sun in nature generates a precise shadow, soft shadows (shadow occlusion) can often be observed with extended light sources. This effect is displayed in real-time as well.

Panoramic environments – 360° background

A panoramic environment is a background image, which automatically adjusts according to the viewing direction. In contrast to the previously used static background images, which only works for one camera position, a Panoramic environment can be used for 360° views. Landscape images and views of the sky work particularly well. One can even take their own 360° picture via app or 360° camera of the future building site and load it into ELITECAD.
The panorama can be positioned horizontally in order to align the orientation of the model with the panorama image.
Tip
Information on how to create and edit materials can be found in ELITECAD user manual section MATERIAL MANAGER or MATERIAL EDITOR. Furthermore, we recommend completing the Visualisation course unit for learning how to work with materials.