Terrain surfaces
Workshop
The terrain will now be adapted to the house.
- Show everything and switch to the terrain mode "with structure".

- Start the TERRAIN
 function and then the function NEW TERRAIN EDGE/AREA
  . Ensure that the "type of entry" is set to ”Drawing the contour”.

- The drawing functions appear in the Input Assistant. Switch to the drawing function RECTANGLE.

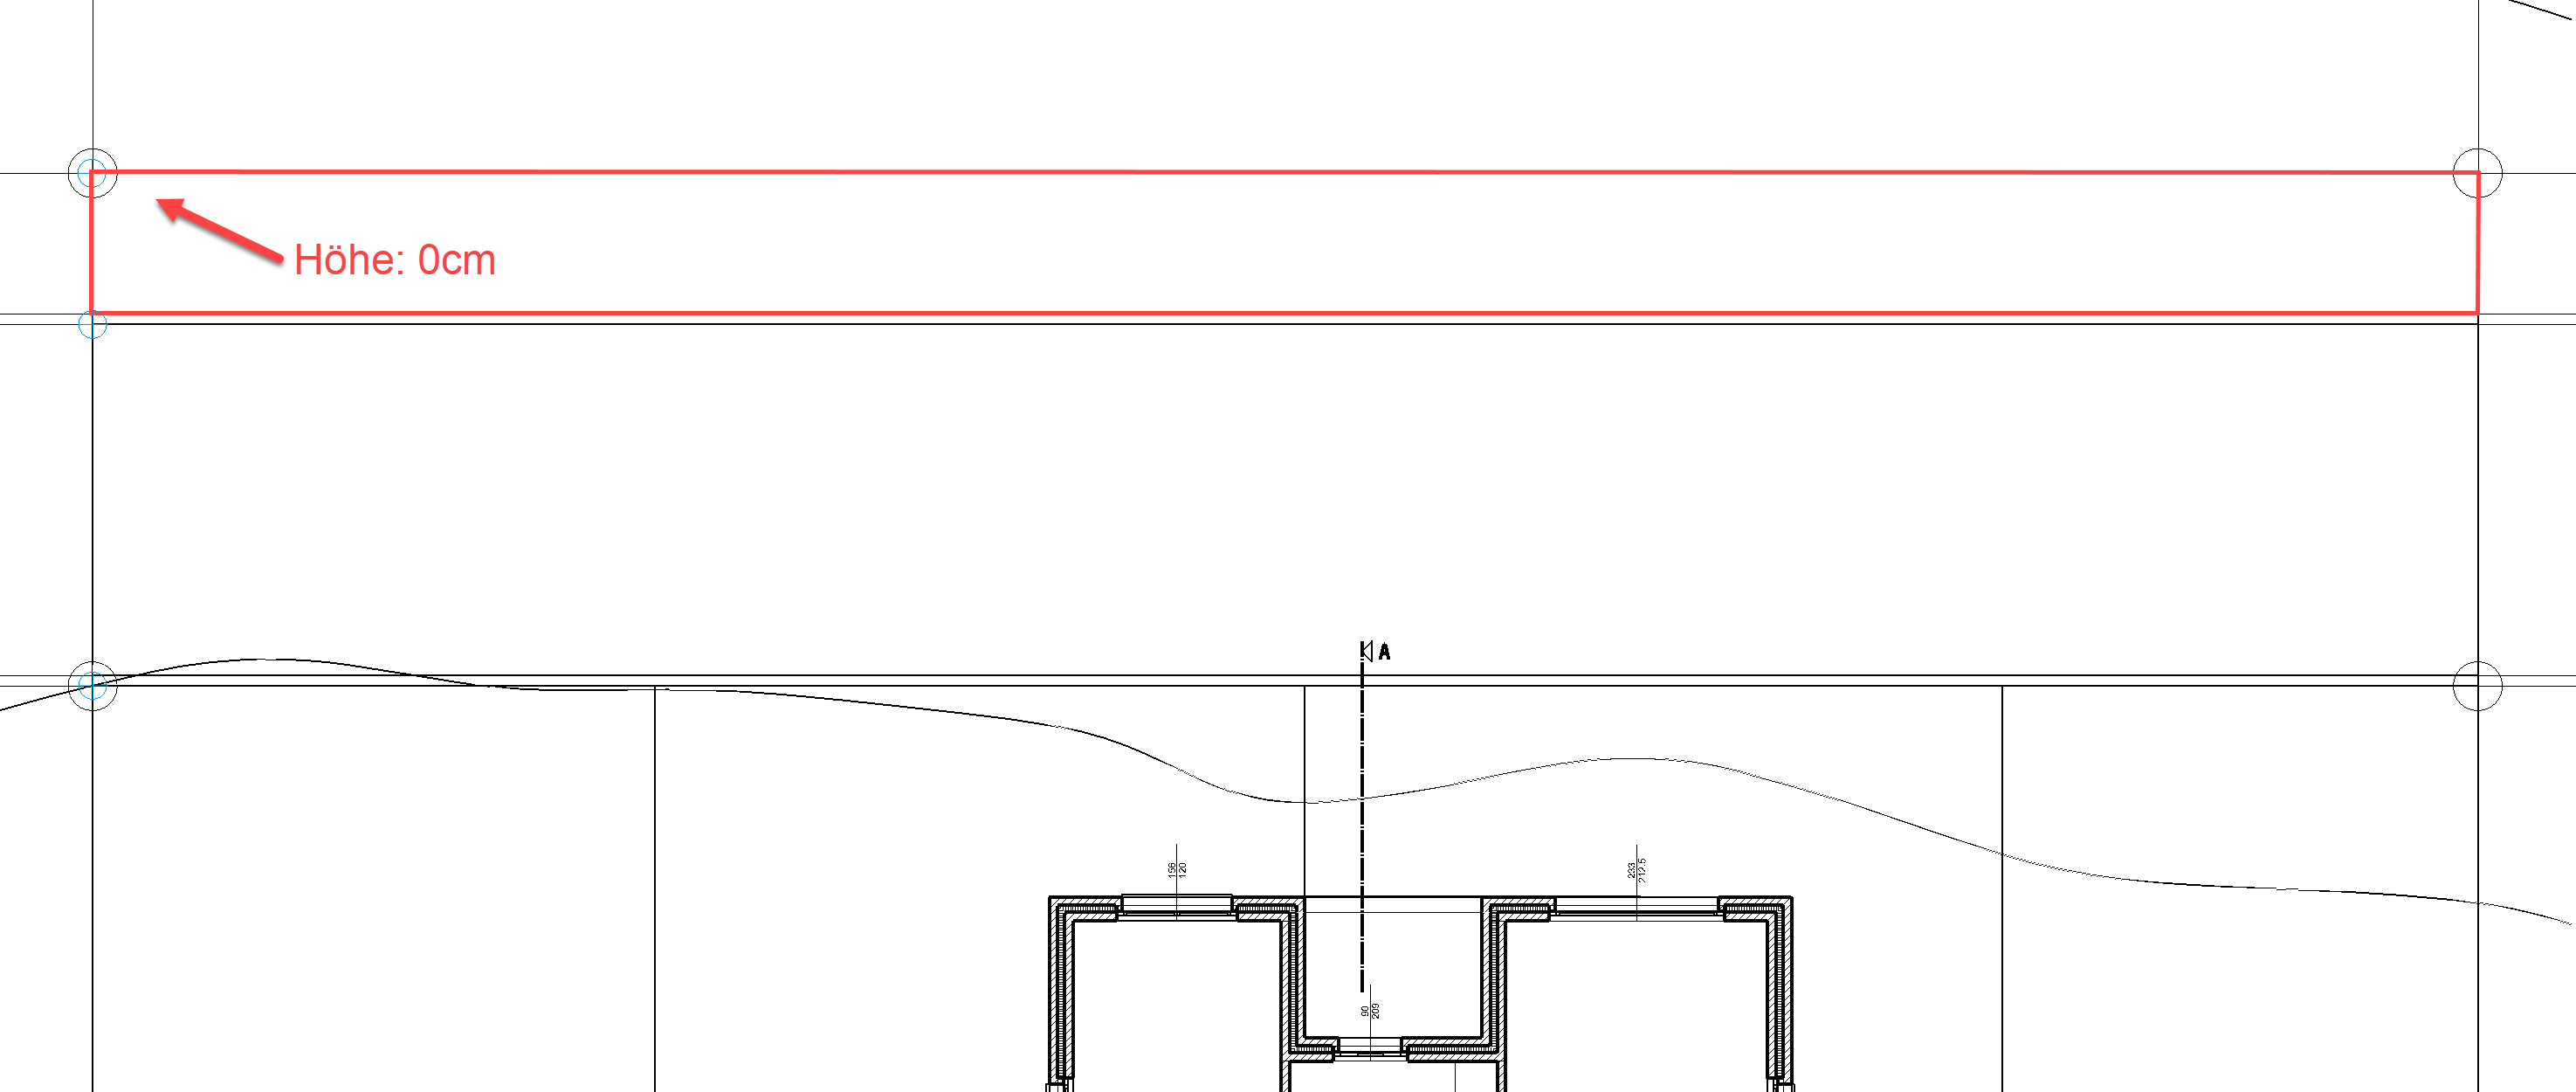
- Draw the contour shown in red.

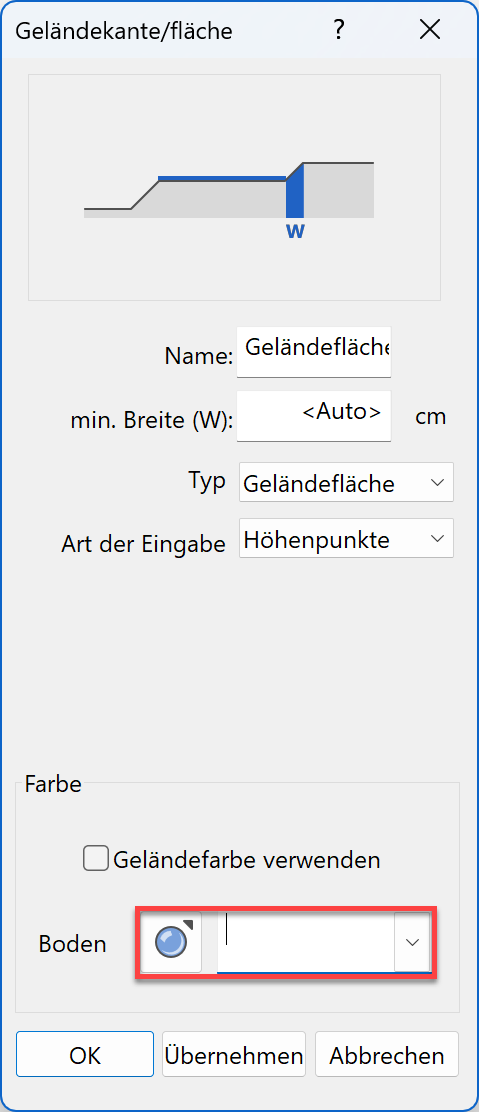
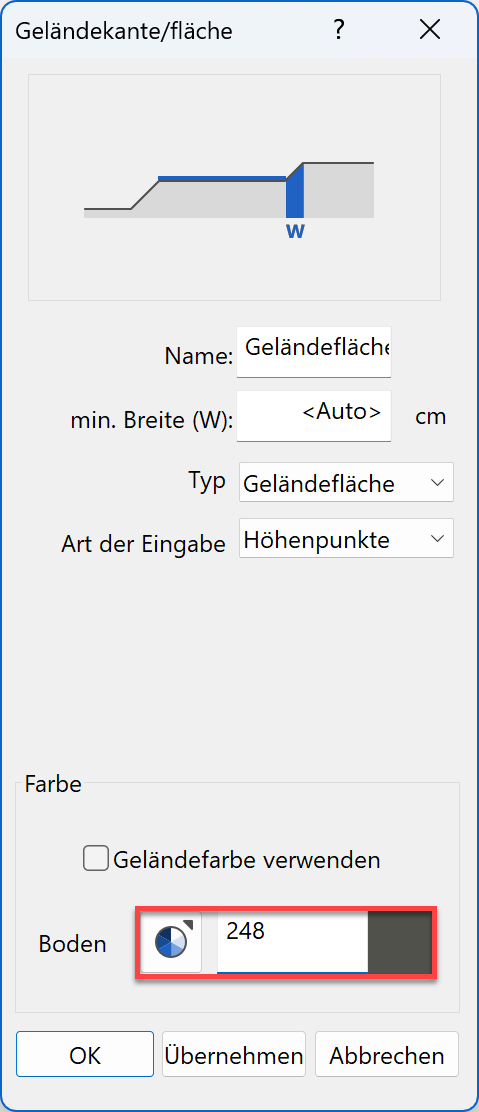
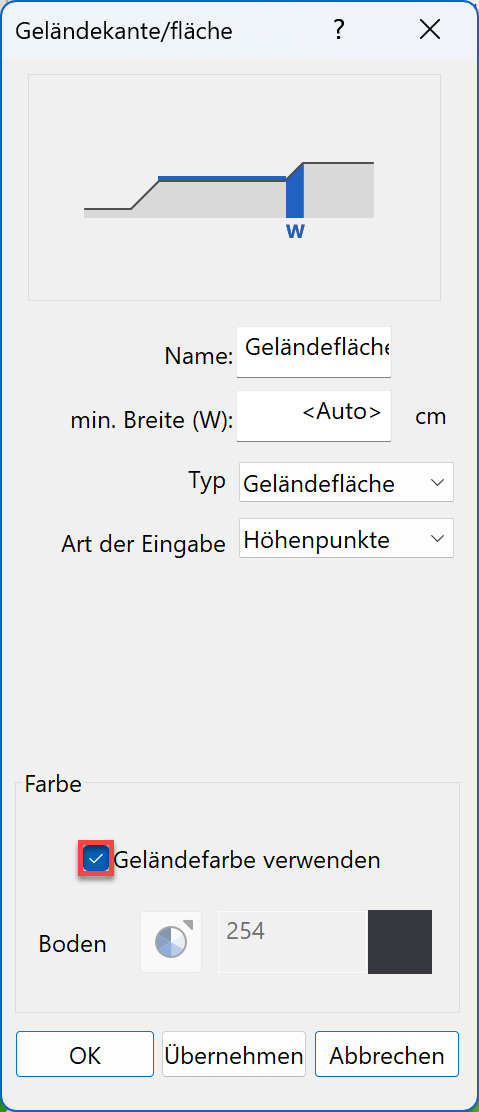
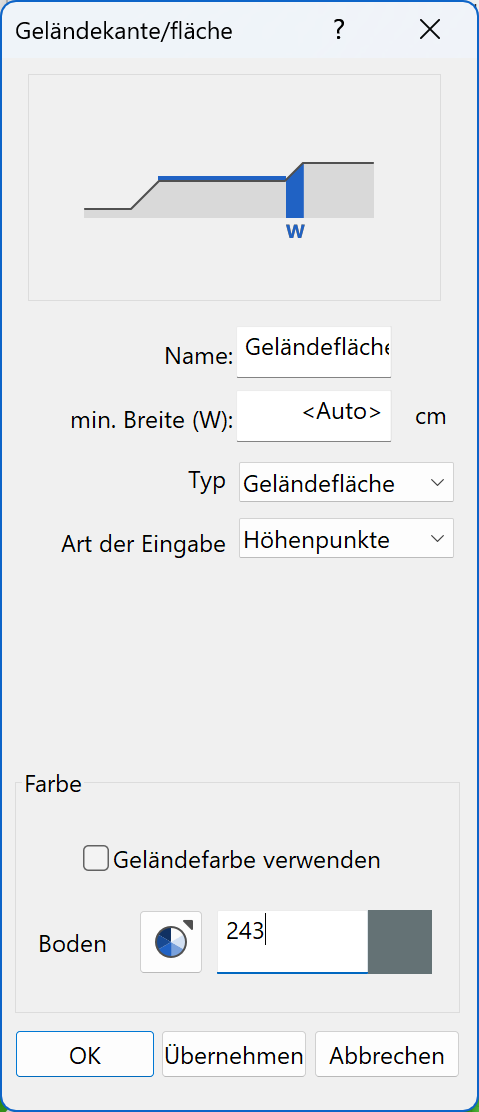
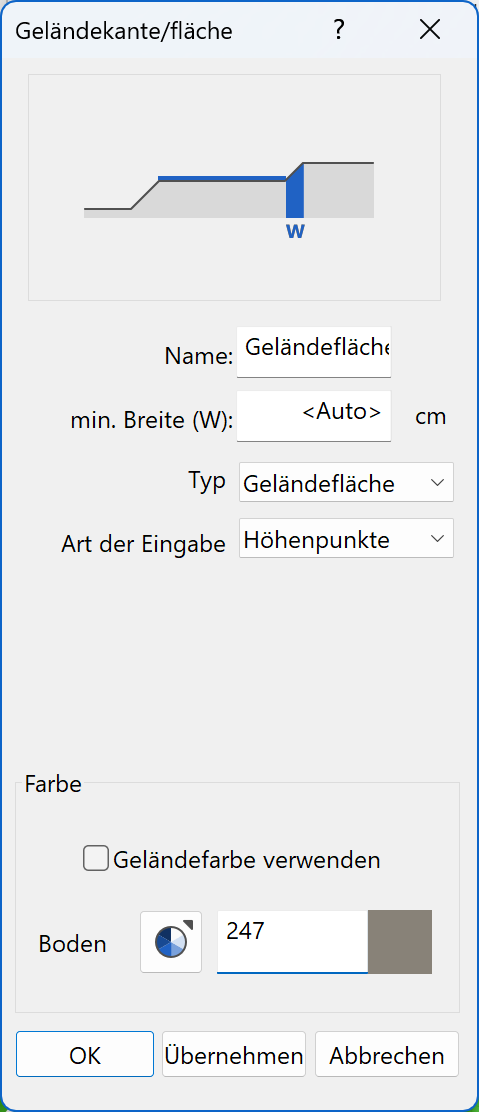
- For the ground colour, delete any material name present, switch to colour mode and enter the following values into the dialog.
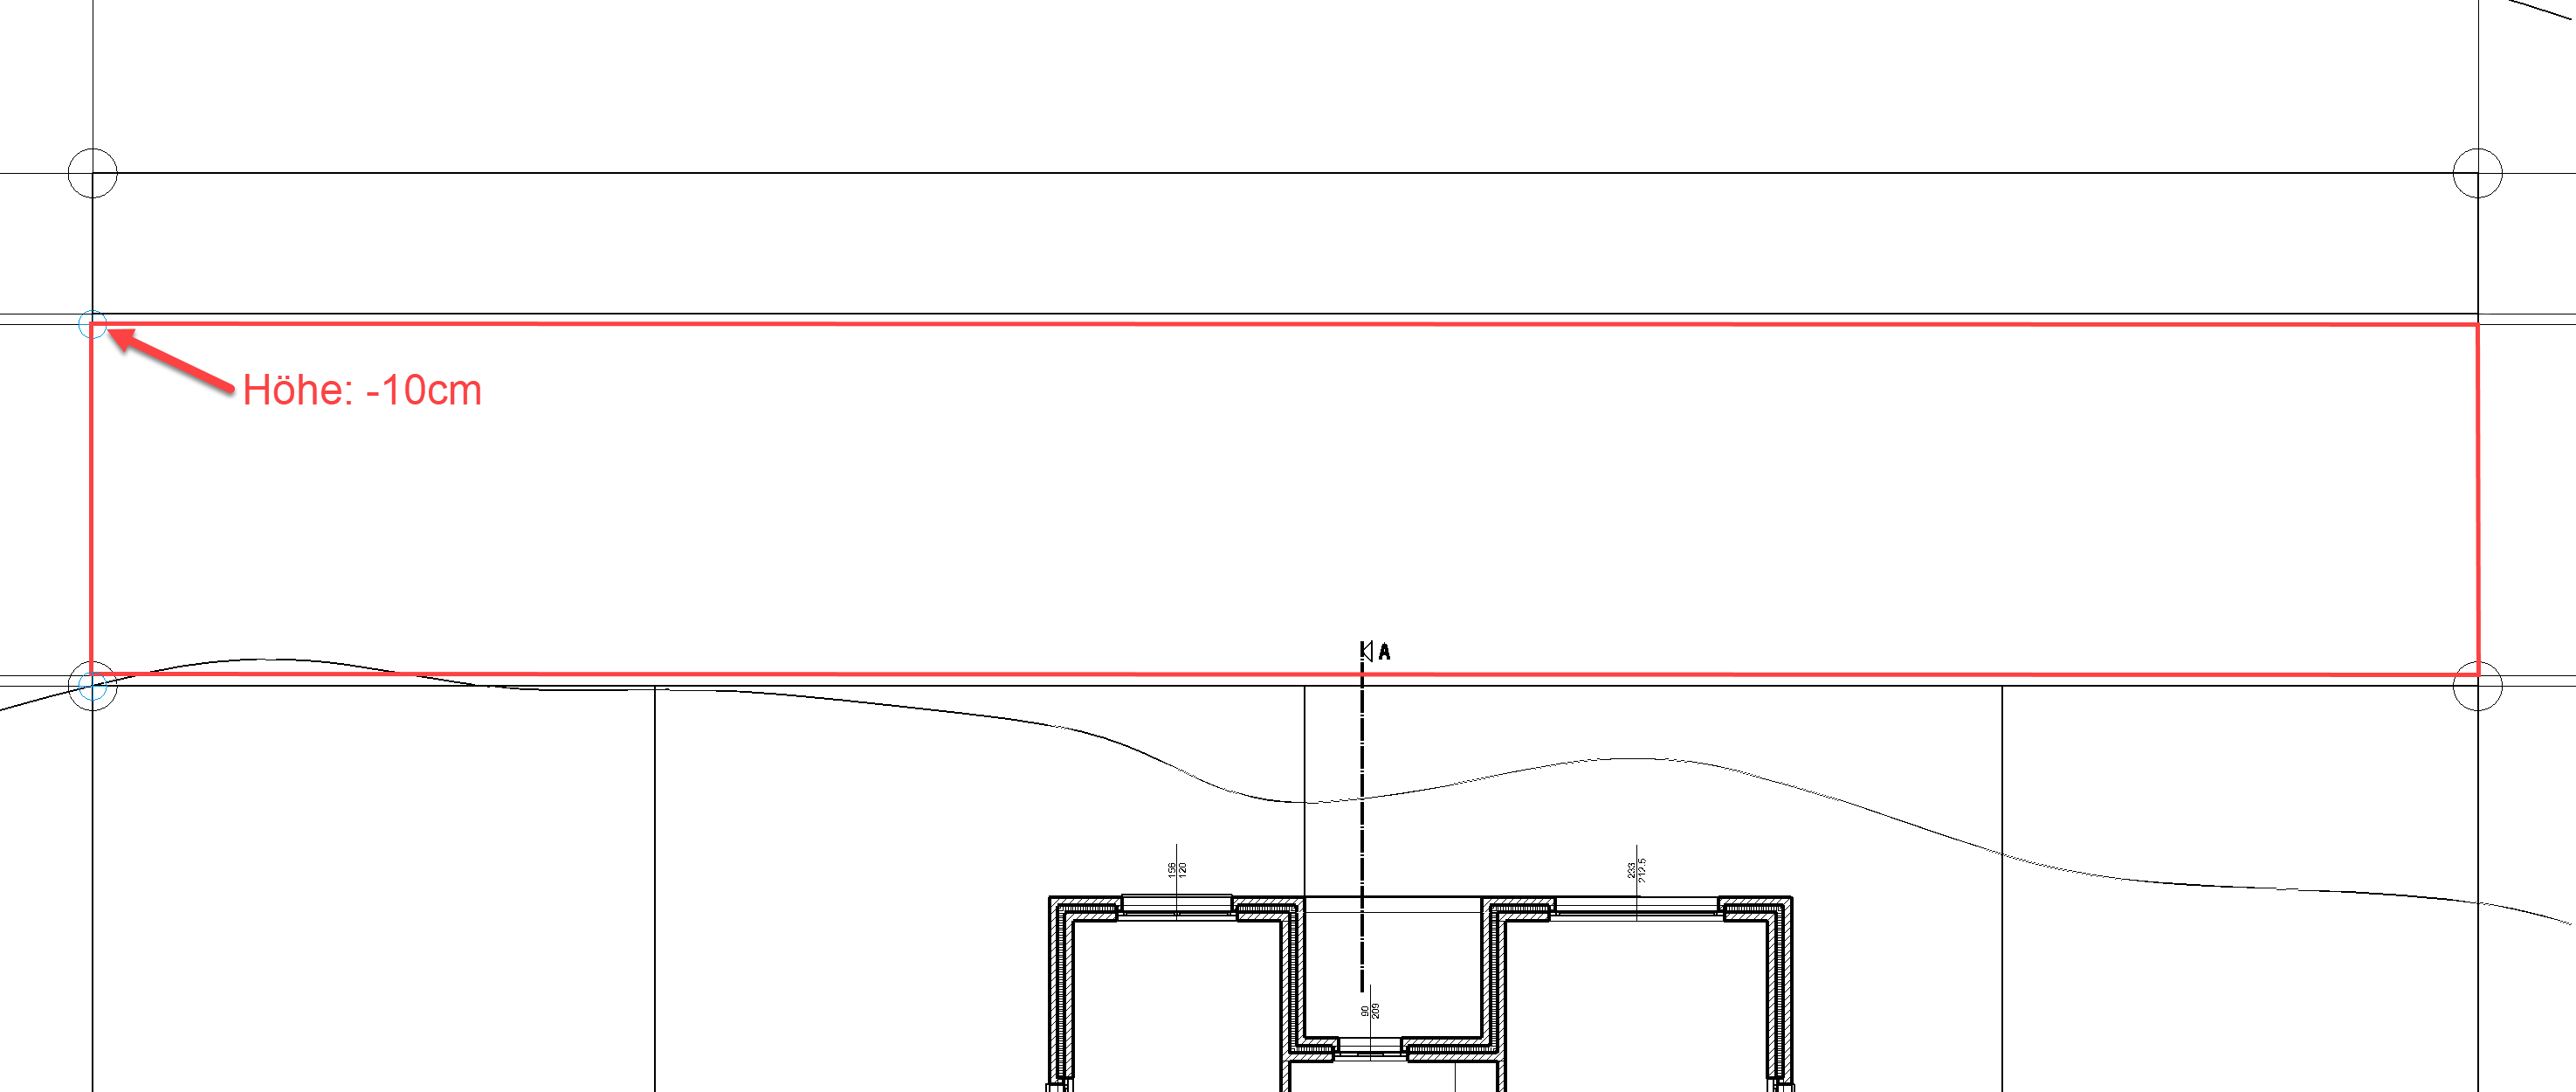
- For the terrain surface to take effect, a height point must be added to it. Start the function NEW DEFINITION POINT.

- For the z coordinate, specify the height 130, place the point at the bottom right onto the corner of the terrain surface and confirm with Enter.


The terrain now looks as follows:

- Restart the function TERRAIN and then the function TERRAIN EDGE/AREA.
- The drawing functions appear in the Input Assistant. Switch to the drawing function POLYGON.

- Draw the contour shown in red.

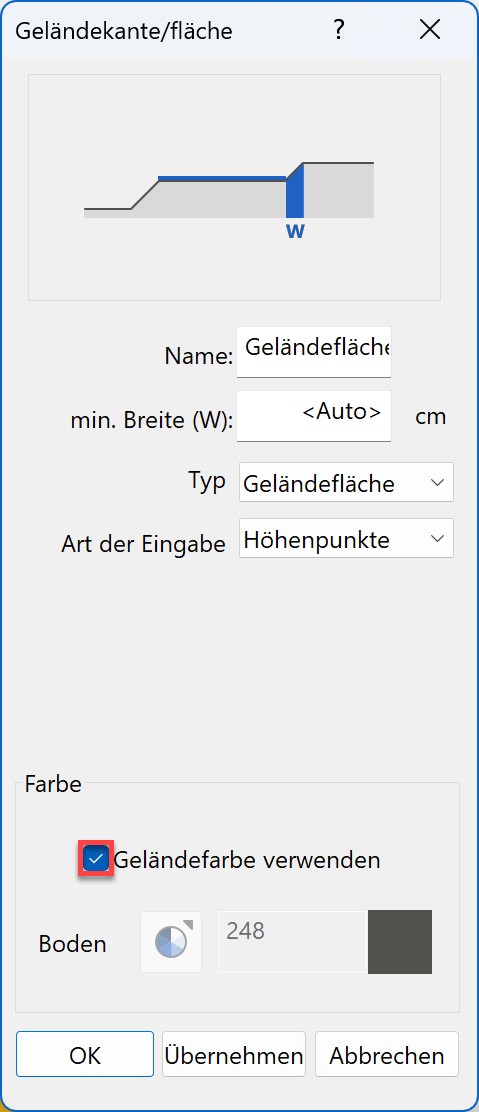
- Activate the option "Use terrain colour" and confirm with
 .
.
A height need not be assigned to this terrain surface because the definition point previously set applies to both areas.
The terrain now looks as follows:


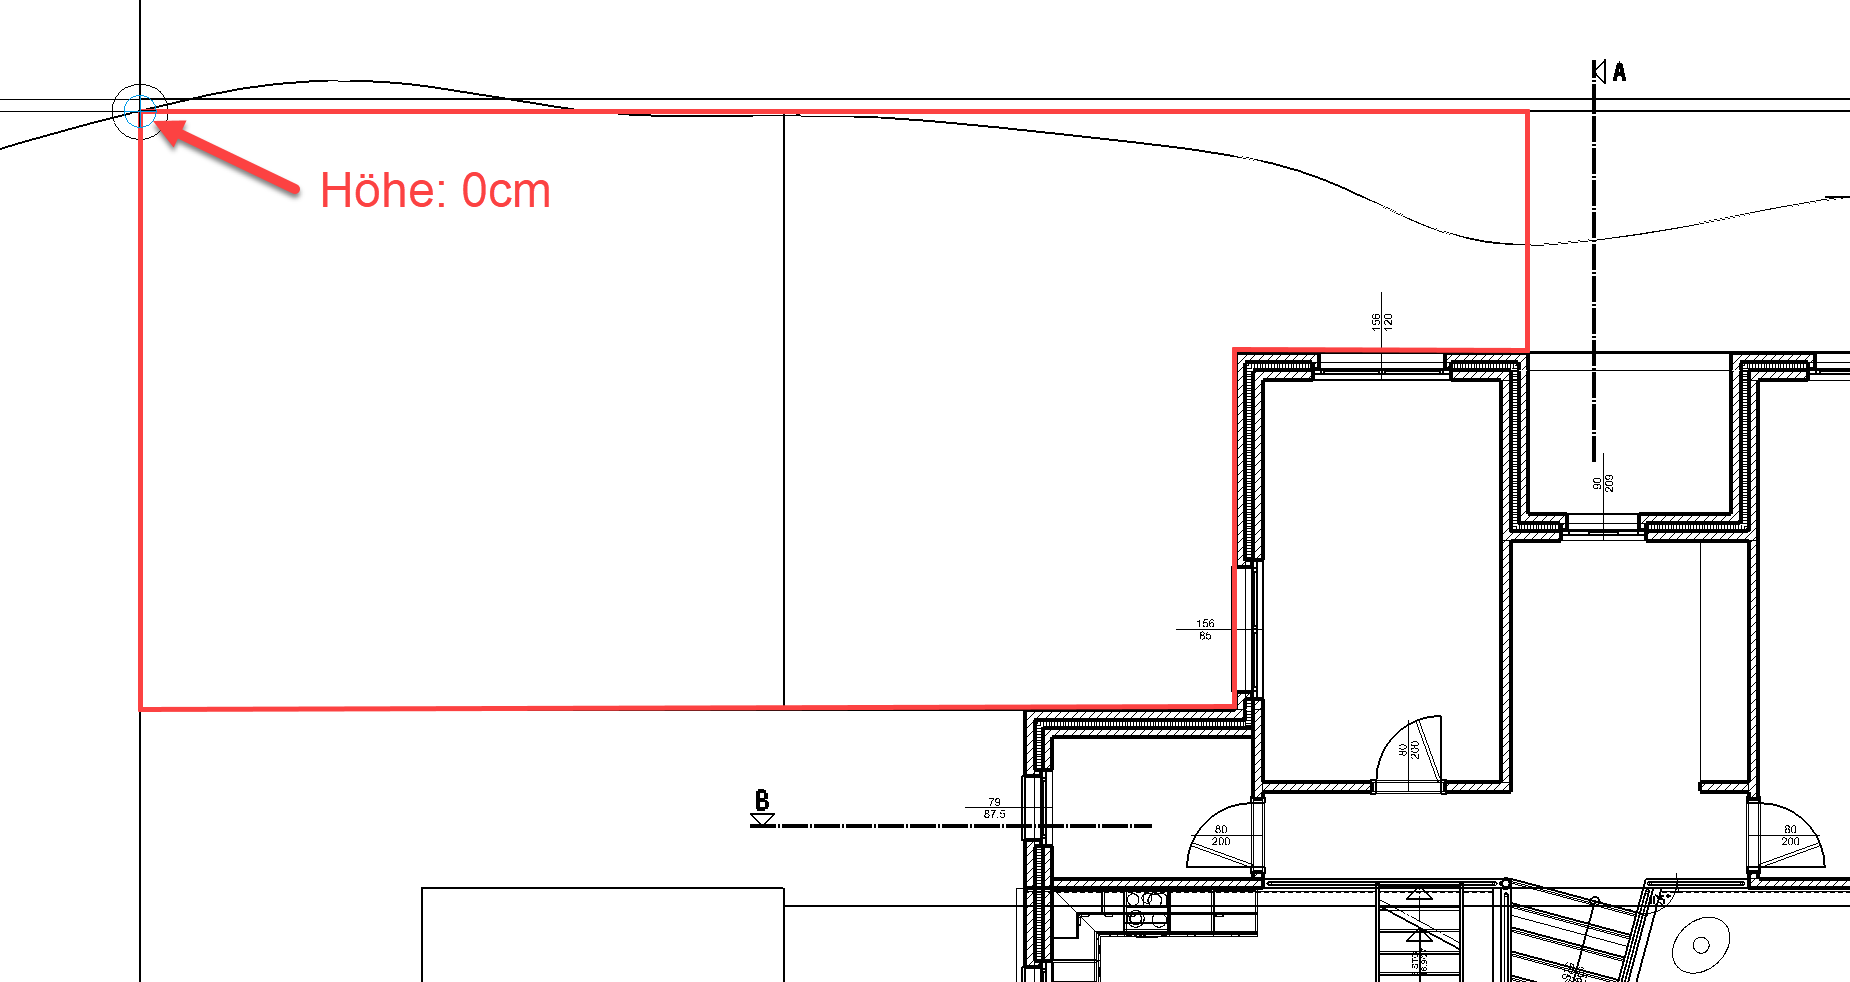
- Restart the function TERRAIN and then the function TERRAIN EDGE/AREA.
- The drawing functions appear in the Input Assistant. Switch to the drawing function POLYGON.
- Draw the contour shown in red.

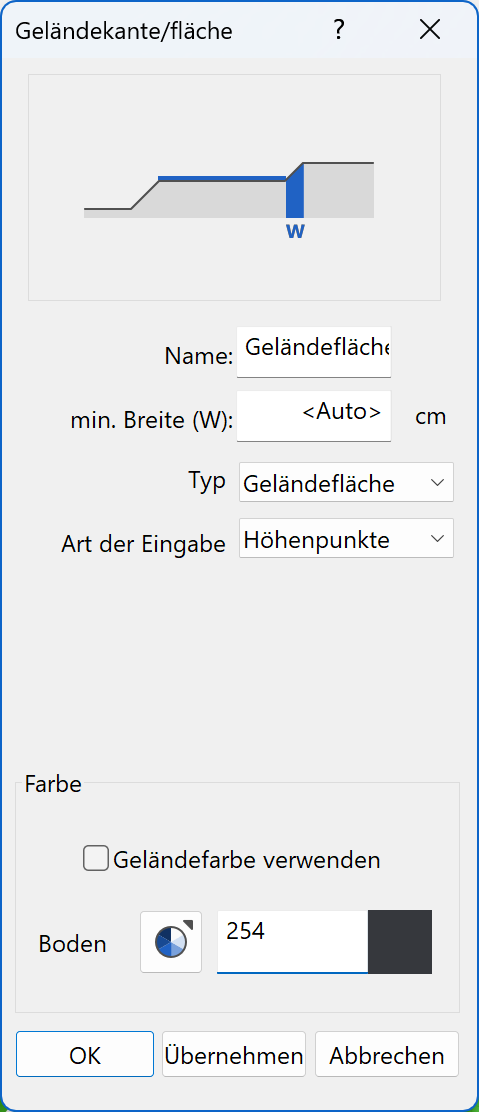
- Enter the following values into the dialog and confirm with .
- A height must be assigned to the terrain surface. Start the function NEW DEFINITION POINT.
- For the z coordinate, specify the height 0, place the point at the top right onto the corner of the terrain surface and confirm with Enter.


The terrain now looks as follows:

- Draw additional terrain surfaces
Ensure that the terrain surfaces are the same distance apart as specified in the template.

The terrain now looks as follows:

Explanation
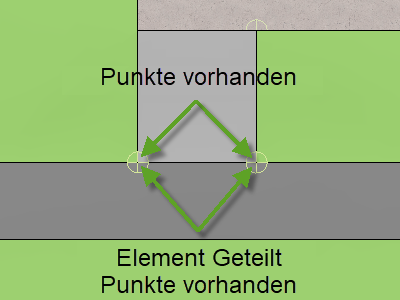
If terrain edges/surfaces are located exactly on top of each other, the 3D nodes are identical. After selecting the terrain surface, you can insert additional points by clicking on a handle or gripper of the contour.
Click on the terrain surface and divide the element on the relevant points. Height points must be set on these 3D nodes.
 |
 |
|---|---|
 |
 |