Edit visualisation material
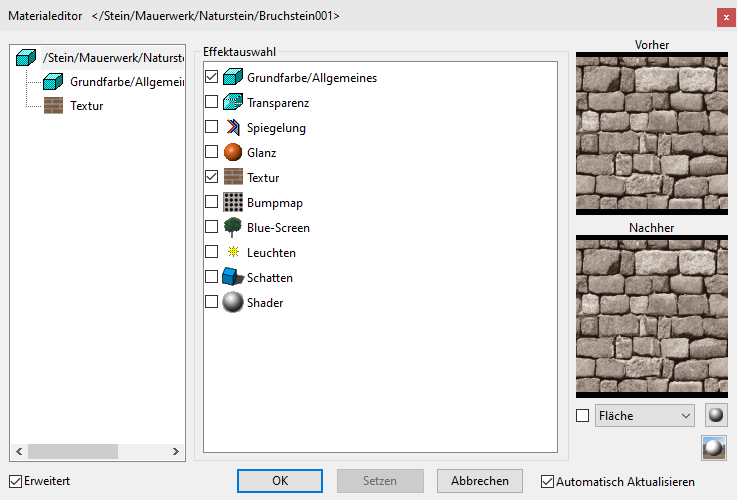
All properties that have been applied to a visualisation material such as image texture, transparency, mirroring, shine, etc. can be set or modified in the Visualisation materials editor.
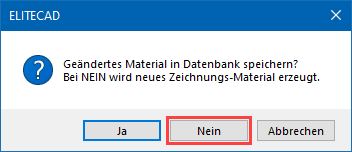
If a visualisation material that is stored in the database is changed, a query appears as to whether the change is saved to the visualisation material database or whether a new visualisation material should be generated. If you click  , a new visualisation material with a name extension is generated and automatically added. This new visualisation material is only present in this drawing and if you right-click on it, it can be stored to the database (DB).
Workshop
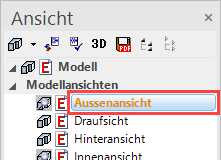
- Load the model view "Exterior view".
- Switch to solid mode.
Use eiterh Ctrl+D or

- In the Visualisation materials manager, right-click on a folder or click on a visualisation material and select the point "Edit VisMat by surface".
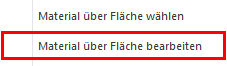
- Now left-click on the lawn. The Visualisation materials editor opens.
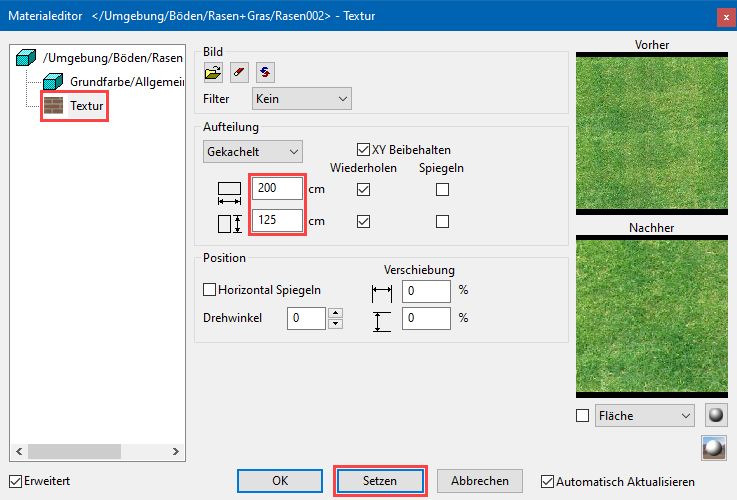
- On the left-hand side, click on the effect "Texture" and under Division change the texture width to 200.
The change in the preview window becomes visible on the right-hand side.
- Now click on
 .
.
A prompt appears asking you whether or not you wish to save the change directly to your database. Click and then close the main screen with  .
.
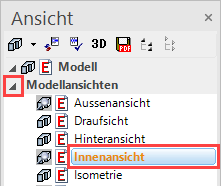
- Load the model view "Interior view" onto the screen.
- Switch to solid mode.
- In the Visualisation materials manager, right-click on a folder or click on a visualisation material and select the point "Edit VisMat over surface", and then click on the parquet flooring.
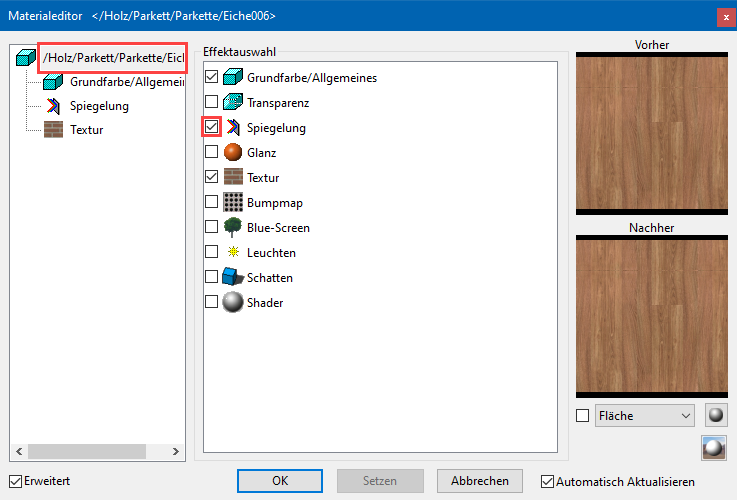
- On the left-hand side, left-click on the name of the visualisation material and activate "Mirroring" from the possible effects.
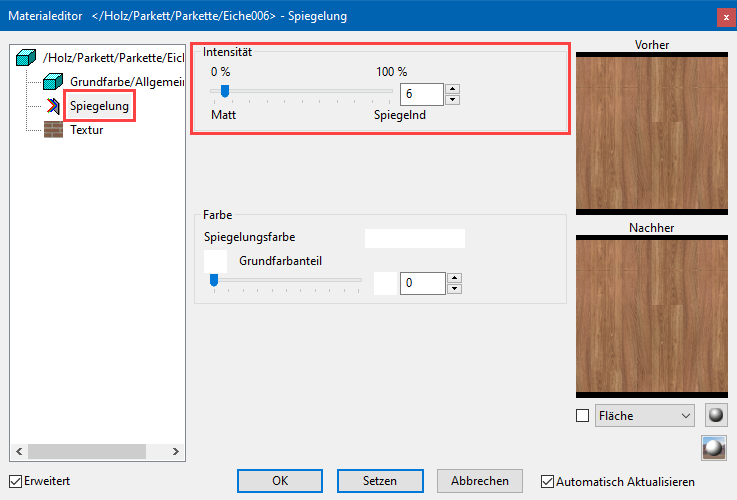
- On the left-hand side, click on the effect "Mirroring" and under intensity set the slider to 6.
- Click , confirm the prompt with and then close the main dialog with .
- Save work copy Ctrl+W