Save and print
Save image
Rendered model views can be saved as an image file.
Workshop
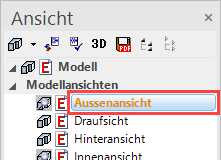
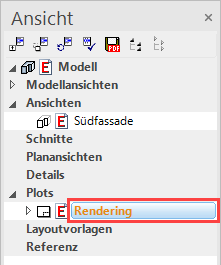
- Load the model view "Exterior view". Ensure that the image is rendered.
- From the menu "File > Export", select the point “Pixel format…".

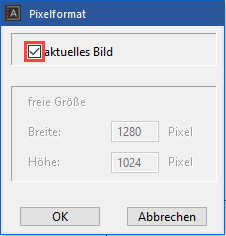
- The "Pixel format" selection dialog opens. Activate the “active image” checkmark and confirm with
 .
.
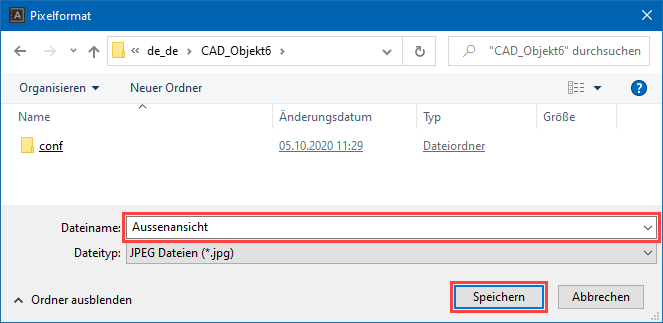
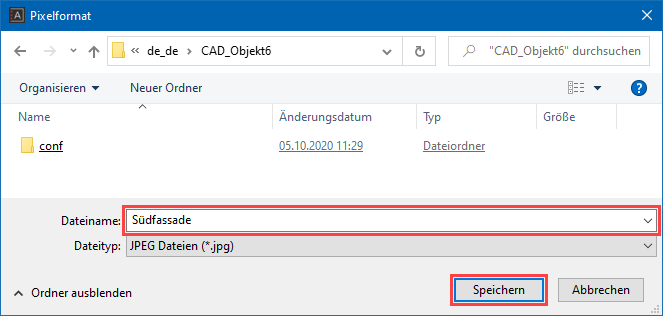
- The "Pixel format" dialog opens. Enter a file name and confirm it with
 . The image will be saved in the selected folder as an image file.
- Do the same for the view "Interior view" as well.
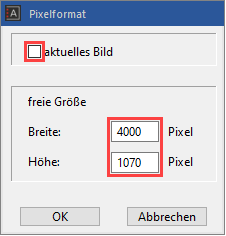
- The procedure is slightly different for the "South facade". Since the view is not pure rendering and also contains lines, the resolution must be entered manually.
Load the view "South facade" onto the screen and from the menu "File > Export" select the menu item "Pixel format…". Enter the pixel size as follows:
- Right-click in the view and select the point "Print preview".

- Click . to confirm the dialog "Pixel format". The "Pixel format" dialog opens. Enter a file name and confirm it with . The image will be saved in the selected folder as an image file.
Tip
For "Export view" for normal views, always use the aspect ratio of the image.
Print
If colour gradient hatches or transparencies exist in plans, certain printer drivers may not print them as transparent. In this case, the option "Print in highest quality" must be selected in the SETTINGS menu > OPTIONS > SYSTEM > CONFIGURATION.
Workshop
- Load the plot view onto the screen.
- Click on the PRINT symbol.

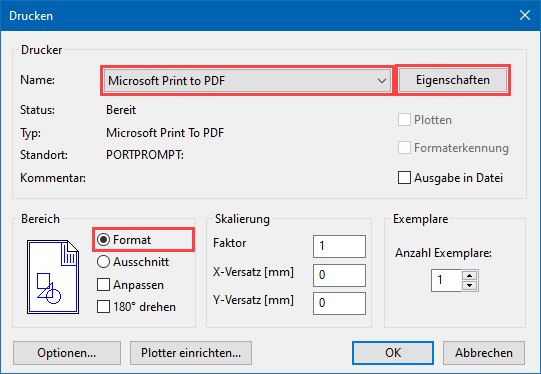
- Print with format size A2:
Select the relevant printer or plotter, select the format under "Properties" and under "Range" select "Format".
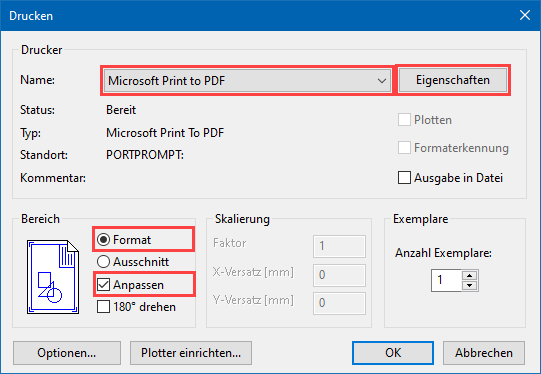
- Print with format size A3:
Select the relevant printer or plotter, select the format under "Properties" and under "Range" select both "Format" and also the "Modify" option.
- Save the file.