Chimney
Create Chimney
|
|
Construction parts toolbar |
| AR Objects menu > Chimney |
Click on the CREATE CHIMNEY function to enable the settings for the last chimney drawn. The chimney can immediately be placed. A chimney is generated from previously drawn contours or from a library part.
Chimney property bar

The property bar is visible as soon as the CREATE CHIMNEY function is started or if an existing chimney is edited.
You can manipulate the main values in the chimney's property bar.
Chimney parameters
![]()
You can open the chimney parameters via the property bar or by double-clicking the chimney to be modified.
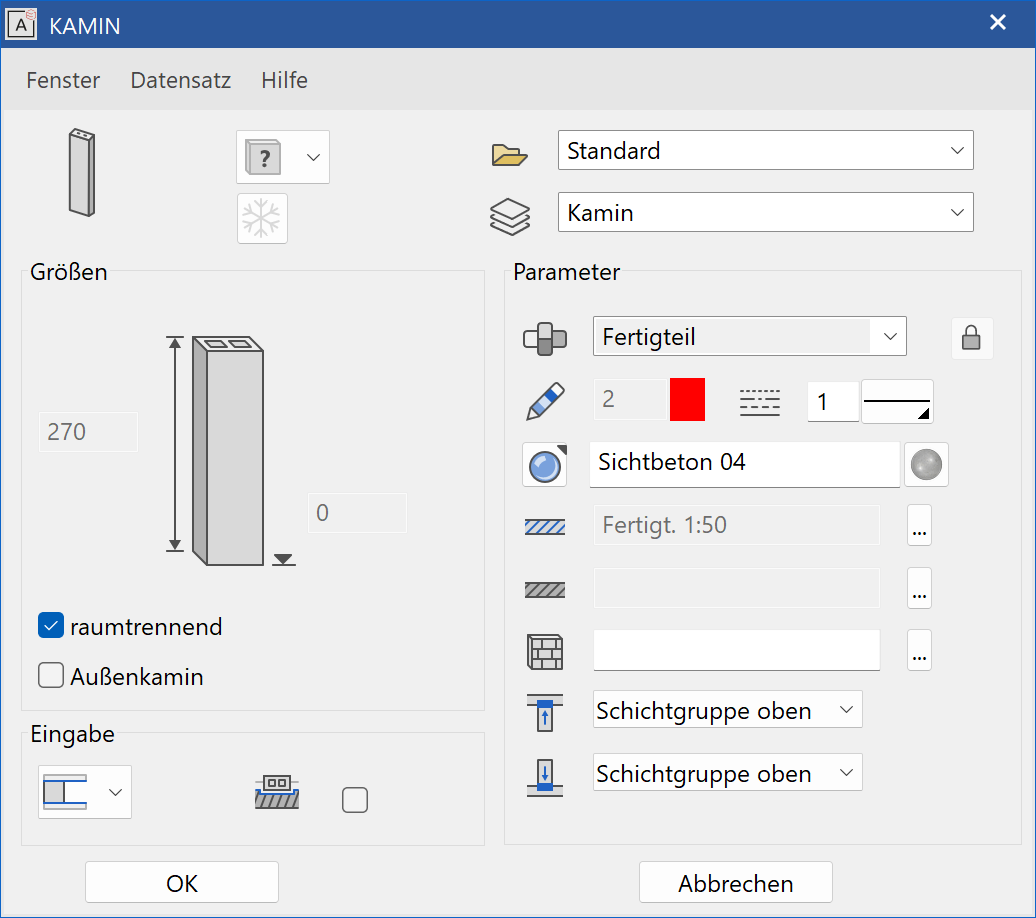
General parameters
Renovation planning state
Freeze
Type
Layer
The general parameters for architectural objects are described in chapter Architecture objects.
Dimensions
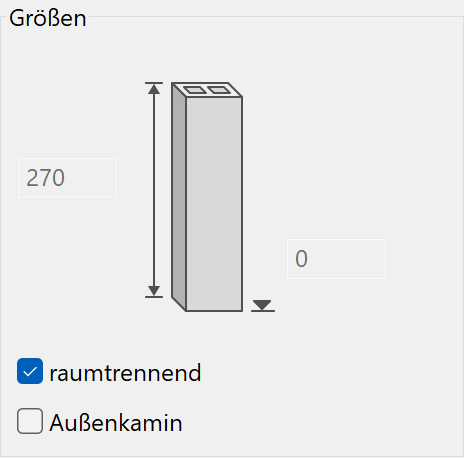
Depending on the height definition, you can enter the lower edge and the chimney height.
Room-dividing
If a chimney is dividing rooms, then it is treated as boundary for the calculation of room areas.
Exterior chimney
A chimney can be classified as exterior or interior chimney.
Entry
Height reference
The chimney does not react to level floors or roofs. The heights are read from the height section.
Chimney with free height
The lower edge and height of this chimney can be freely defined.
Chimney from slab to ceiling
The chimney leads from the upper edge of the slab to the lower edge of the ceiling.
Chimney from underside floor to ceiling
The chimney leads from the lower edge of the floor to the lower edge of the ceiling.
Chimney to ceiling
The chimney leads from any specified height to the lower edge of the ceiling. This would apply to a stove with a chimney that only starts at a specific height.
Chimney from floor
The chimney leads up from the upper edge of the floor to any specified height. This reference should be selected for the top floor in order to lead the chimney out through the roof.
Chimney from underside floor
The chimney leads from the lower edge of the floor to any specified height. This reference should be selected for the top floor in order to lead the chimney out through the roof.
Remove chimney from wall

If you select this option, walls in which a chimney is placed have automatic cutouts created in 2D and in 3D. Allowing for a chimney to be directly drawn into the wall.
Parameter
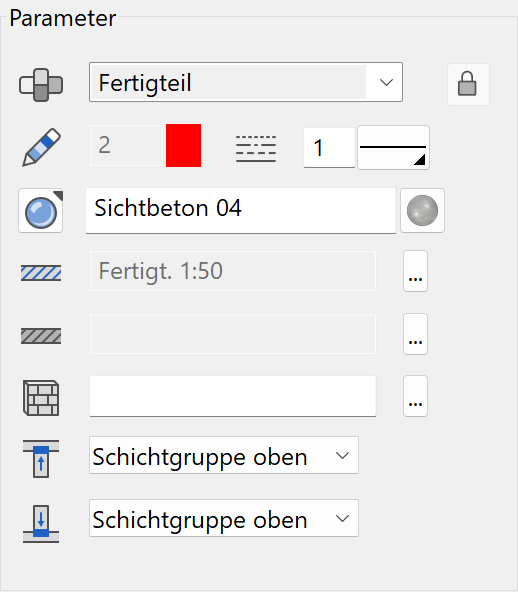
Material and its linkage

Details in Wall > Property bar.
Pen and hatching parameters
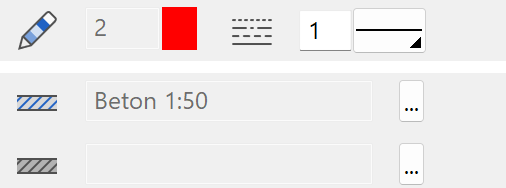
Details in Wall > Property bar.
Colour mode/material mode


Details in Wall > Property bar.
3D hatch

Details in Wall > Property bar.
Limitation top/bottom
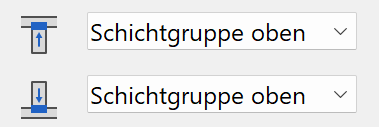
Details in Wall > Property bar.
The chimney can be limited at the top or bottom ends with a certain layer group of the ceiling/floor.
Workshop
Create chimney
After launching the CREATE function, you are prompted for a contour to serve as the basis of the chimney definition. After you click on this contour (which will need to have been created in advance), a 3D chimney is generated from it according to the settings in the parameter window.
![]()


For a simple chimney, you can also use two attached contours. The chimney hatch is always generated solely between the two outer polygons of the chimney's definition. When making your selection, you must always click the outer contour first.

However, the 2D depiction may be significantly more complex (e.g. libraries from chimney manufacturers).


