Examples
The basic drawing is a work drawing with details in A0 format, scale 1:50.


Default setting A4 format
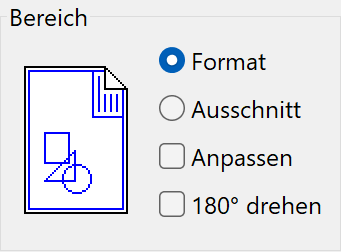
Result: A cut-out of the drawing. The drawing is cut around the centre. The cut-out remains to scale.


Format with modify
This setting means that everything is always output on the selected printing format regardless of the format on the screen. The printout is not to scale.
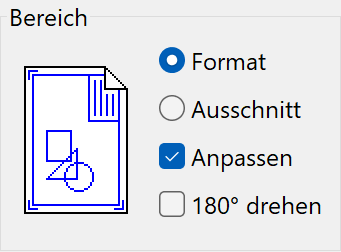
E.g.: A drawing in A0 format is adjusted to the format that is set under properties (e.g. A4).
CAUTION: If the lines are too thick in this case, they can be set under SETTINGS > COLOUR PROPERTIES. This means that A0 can also be output on lasers in A4 format (still visible).
Result: Complete drawing but not to scale.


Cut-out
The current zoom cut-out is output in the selected format that is set under properties (e.g. A4) using the CUT-OUT function. This printout remains to scale. No defined zoom can therefore be output with this method. This is possible using the functions CUT-OUT and MODIFY.
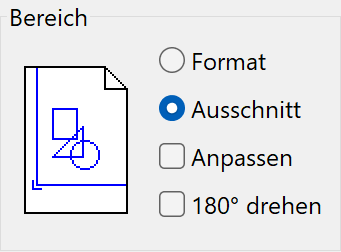
Zoom on screen

Result:
To scale cut-out area

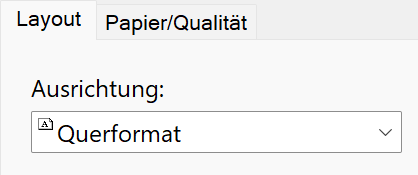
A3 format with upright A4 format


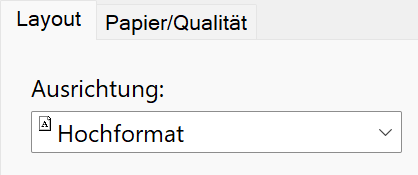
Switch to portrait format in the properties to ensure that the output is correct.
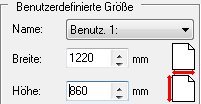
A0 plan
Some example settings for HP DesignJet 1055C A0 plotters:

Printing command
Landscape format
User-defined paper size 1220 x 860 mm
Activate automatic rotation and printing area in the plotter settings.

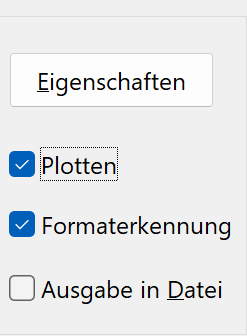
Plotting command
Activate plotting and format detection
Landscape format
A1 Plan

Printing command
Landscape format
User-defined paper size 860 x 620 mm
Paper source: 36-inch roll
Activate automatic rotation and printing area
Plotting command
Activate plotting and format detection
Portrait format
Paper source: 36-inch roll
A1 plan halved in height

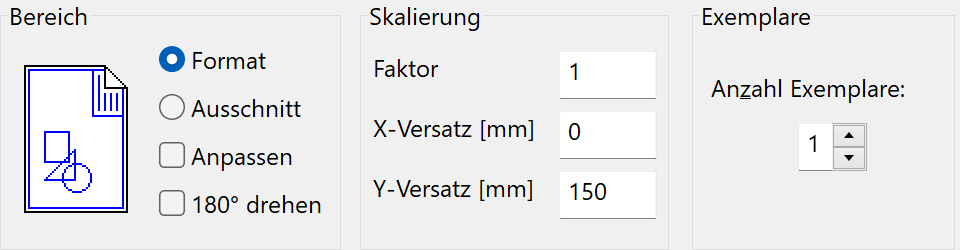
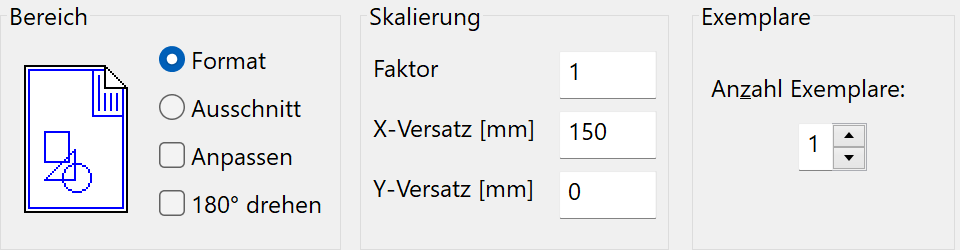
Printing command:
The PRINT command takes the centre of the page as the point of reference. A Y-offset can be entered for vertical movement and an X-offset for horizontal movement to change the reference point.
Y-offset scaling of 150 mm
Landscape format
User-defined paper size 860 x 320 mm
Paper source: 36-inch roll
Activate automatic rotation and printing area
Plotting command
Activate plotting and format detection
Portrait format
Paper source: 36-inch roll
A4 Plan
Printing command
X-offset scaling of 105 mm
Portrait format
User-defined paper size 230 x 320 mm
Paper source: 36-inch roll
Activate automatic rotation and printing area
Plotting command
Activate plotting and format detection
Portrait format
Paper source: 36-inch roll
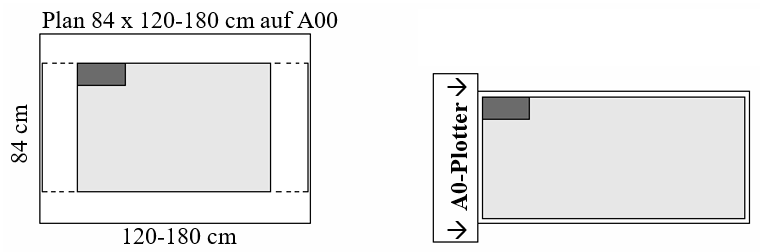
Plan between A0 and A00
Plan 90 cm high, 120-180 cm long
Printing command
Format must be centred to A00
Landscape format
User-defined paper size 1220-1820 x 920 mm
Paper source: 36-inch roll
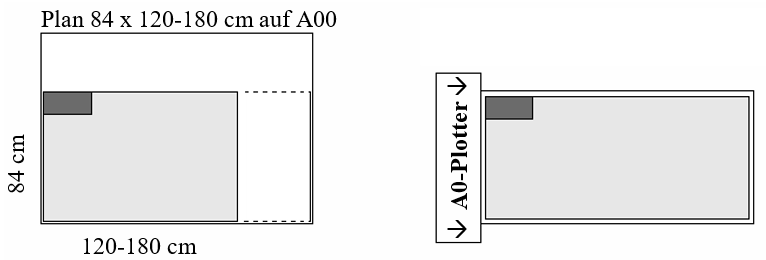
Plotting command
The plan must be left aligned on the A00. The vertical position of the plan is not important.
Activate plotting and format detection
Landscape format
Paper source: 36-inch roll
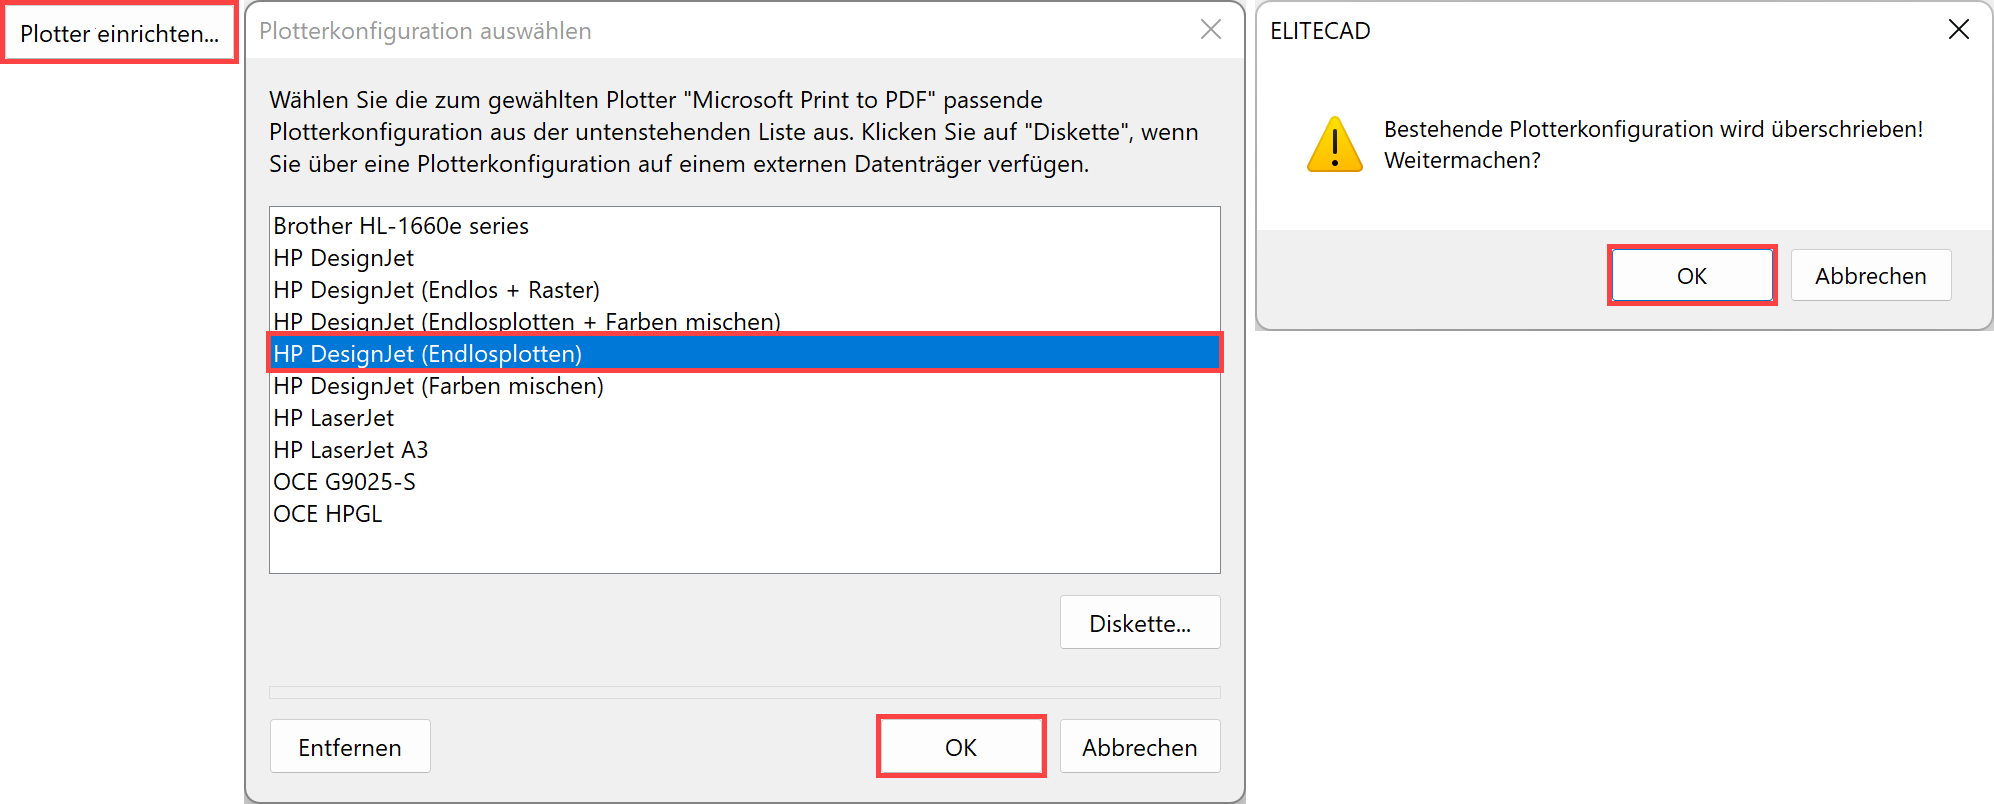
A special plotter configuration must be installed for formats larger than A0:
HP DesignJet (vanishing point plotting).
(If plotting is performed again with A0 size, the default configuration must be set up again.)
Plan with excess length

Printing command
Landscape format
User-defined paper size 2020 x 320 mm
Paper source: 36-inch roll
Activate automatic rotation and printing area
Plotting command
The plotter must be installed with the option ENDLESS PLOTTING.
Activate plotting, format detection deactivated
Landscape format
User-defined paper size 2020 x 320 mm
Paper source: 36-inch roll
Zoom plot
|
|
Toolbar * Main functions |
| File menu > Zoom plot |
Improved · 16 R3 · Improvements
With the ZOOM PLOT function, a plan cut-out can be selected and output directly to a printer, saved as a PDF file or attached directly into an email as a PDF. Users can choose between A4, A3 and a freely definable printing format.
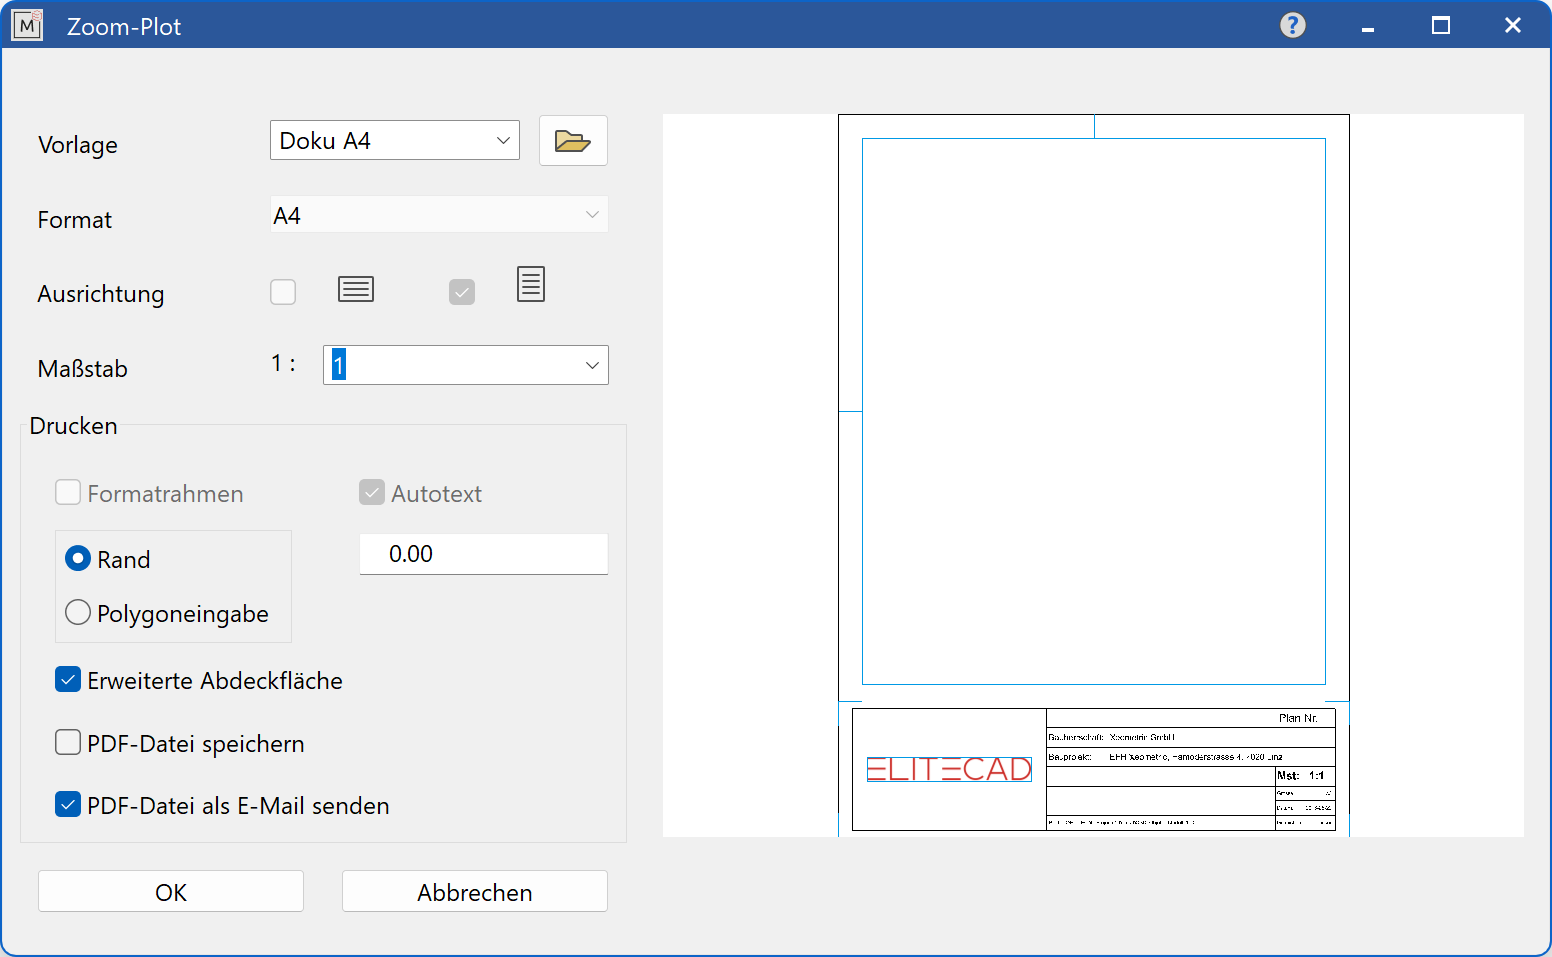
Template
A previously created layout template is used as a template. A layout template appears in the preview window when selected. Any scale can be entered or selected from the list. Settings that were already defined by the Layout template can no longer be selected (format, orientation, format frame, display autotext).
Format
Formats from A5-A00, A-E as well as A4 and A3 portrait format can be selected. The format must also be set in the printer driver.
Orientation
Landscape or portrait format. The orientation must also be set in the printer driver.
Scale
A scale can be selected from the list or entered directly into the field.
Print
FORMAT FRAME active: A frame is printed out along with the drawing. The frame drawing can be found here:
<ELITECAD installation path>\u\<version>\cad\glob\l
AUTOTEXT active: Auto texts of the format frame drawing are printed.
BORDER active: A covering border with the entered width (in cm) is inserted.
POLYGON active: If the centre point is set, a polygon dialog appears and the Input Assistant tools are displayed.
EXTENDED COVERAGE AREA: The entire drawing is hidden with the exception of the cut-out to be printed.