Quantities Manager
|
|
Windows Toolbar |
| Menu Extras > Quantities > Quantities manager | |
| Menu Window > Quantities manager |
If the window of the quantities manager is shown, the visualisation of the design model switches to the Transparency mode. If a storey or structure is selected in the quantities manager, the visualisation switches to the solid mode.
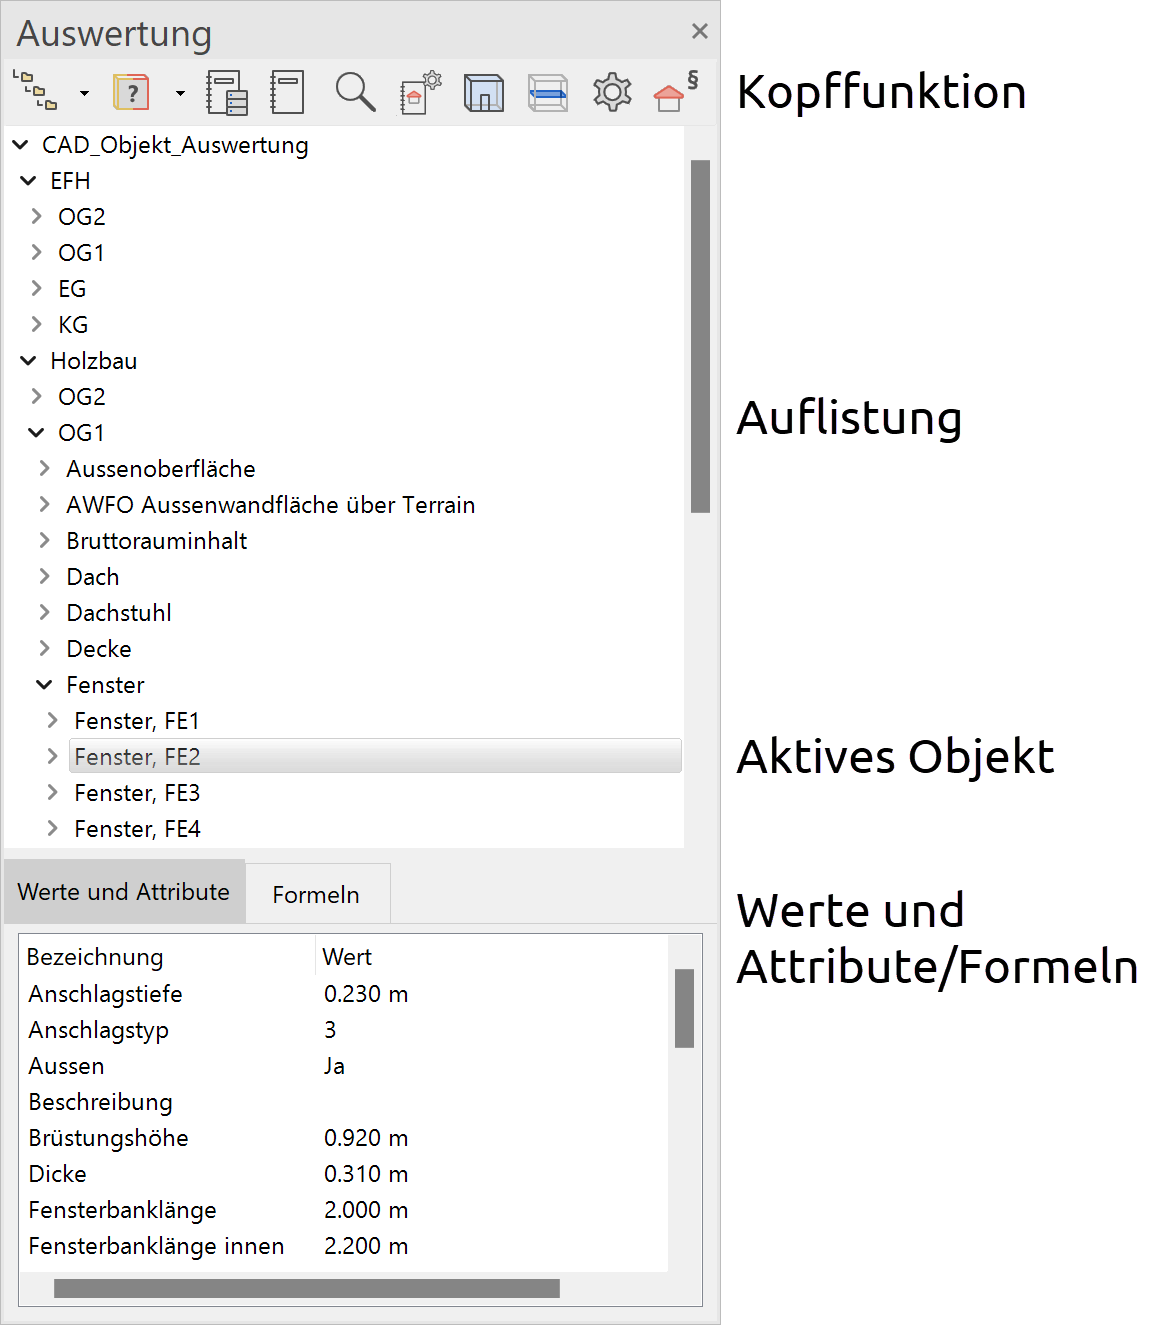
Navigation within the quantities manager
Show a structure/storey
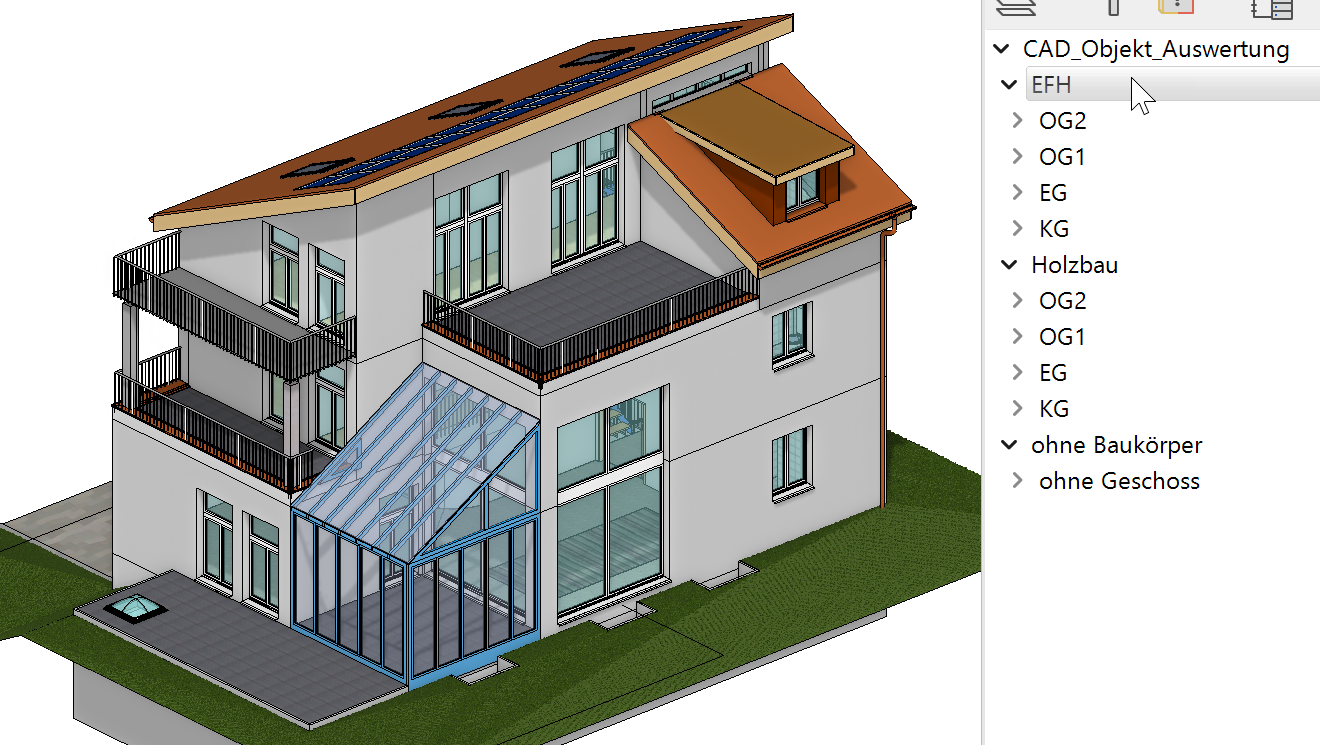
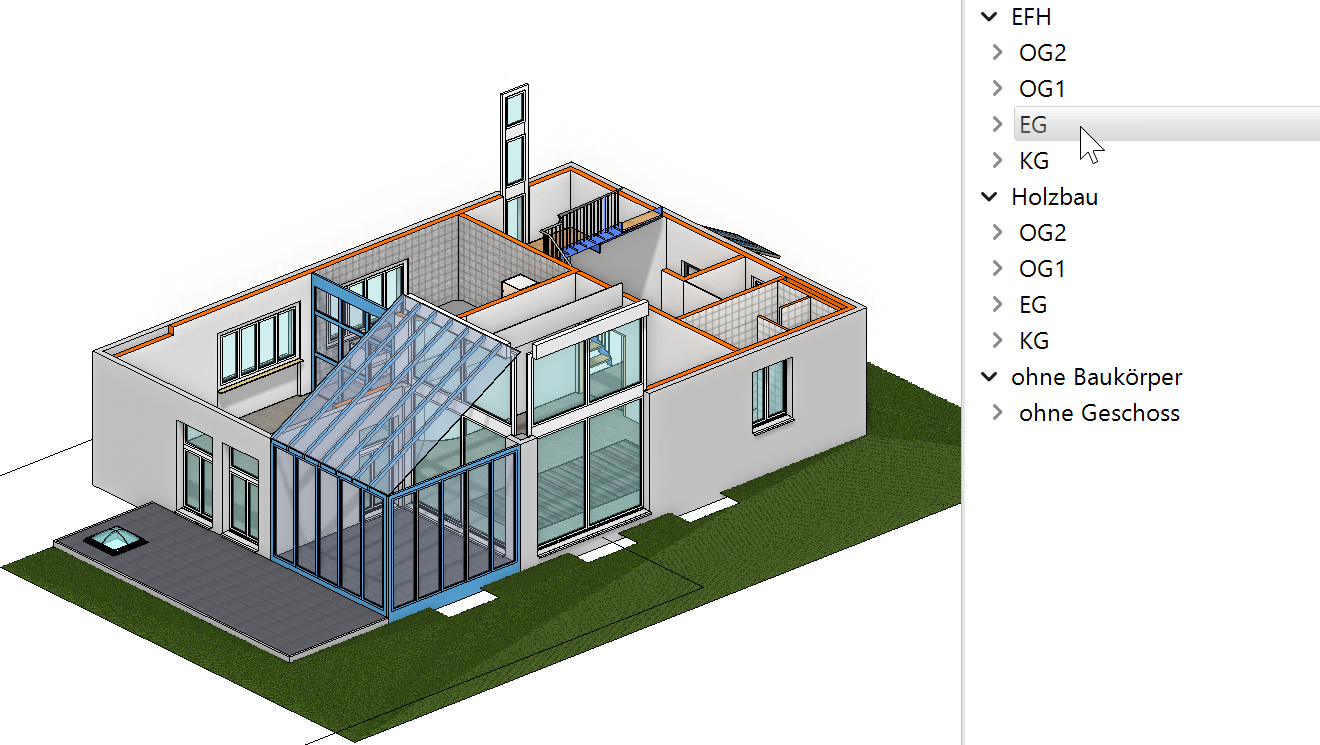
Showing by selecting the structure or storey in the quantities manager
Visualize a group of object types/an object type
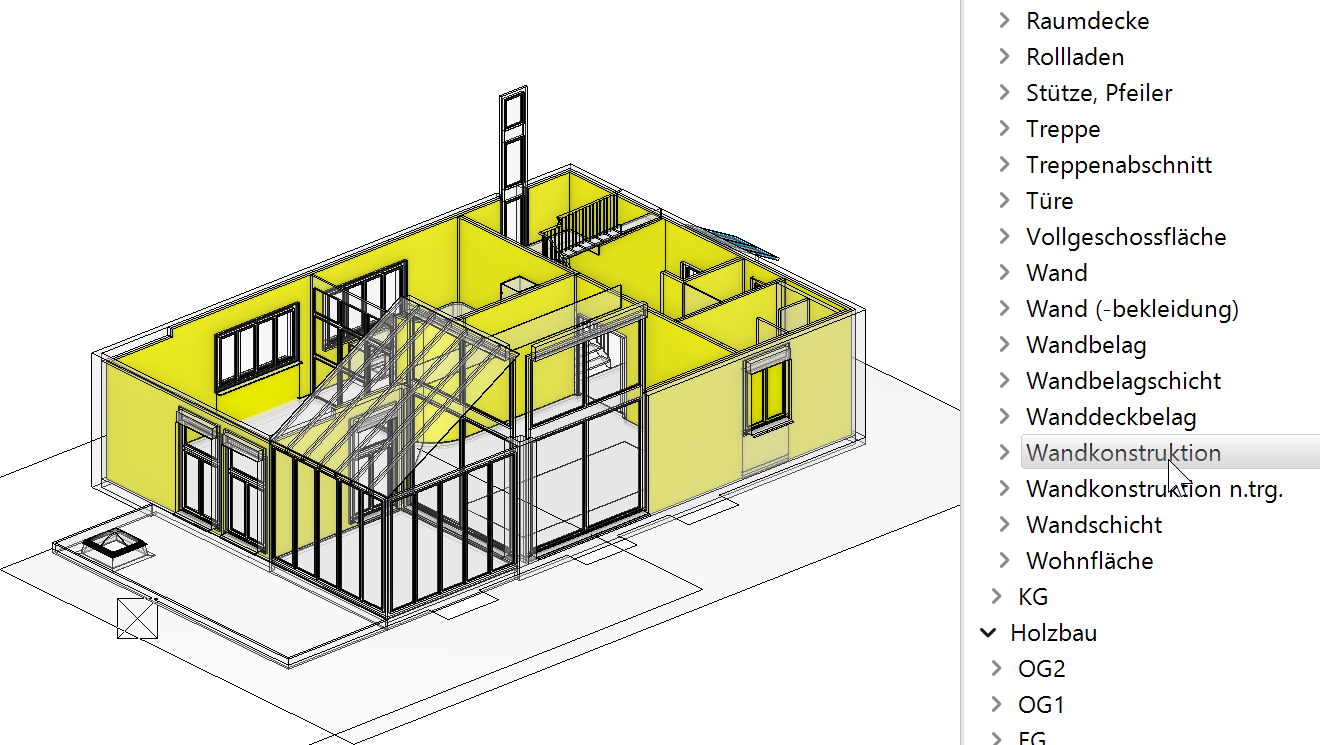
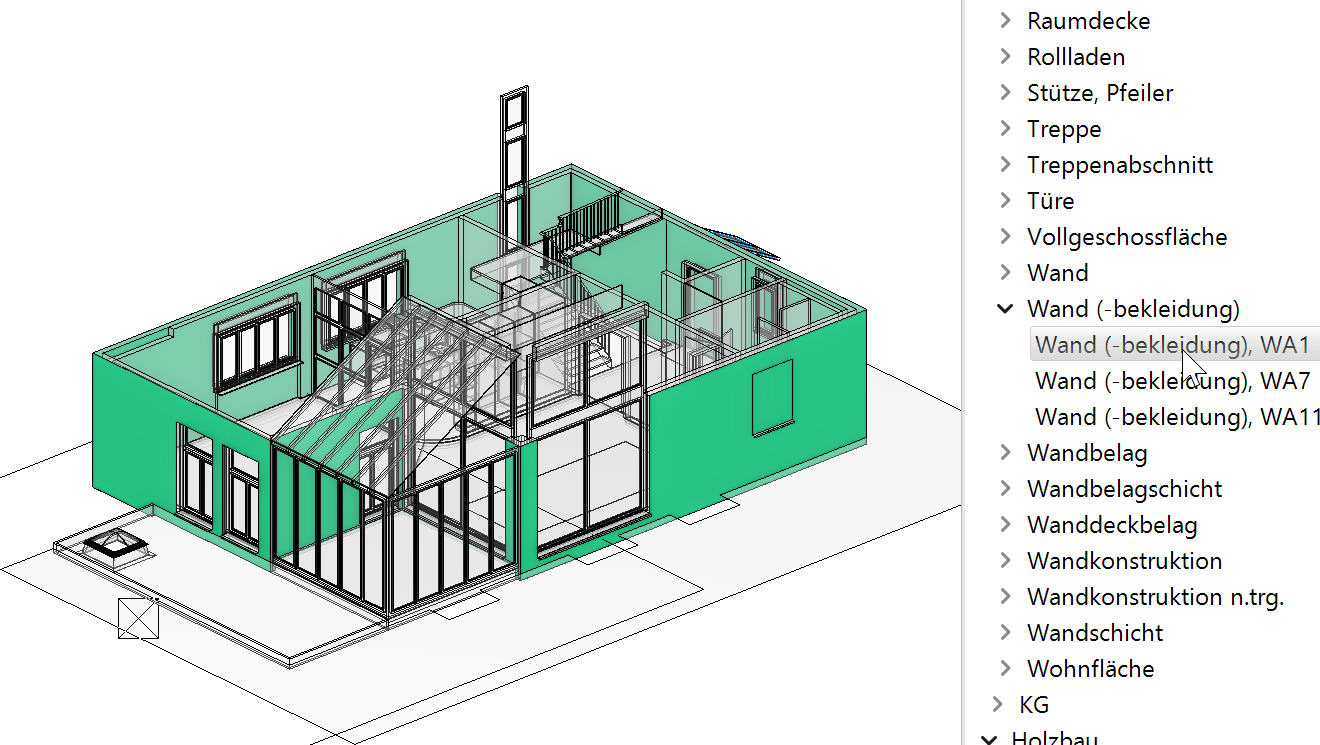
Visualization by selecting the group of object types or the object type in the quantities manager. The calculation results are displayed with the object type.
Select an object in the CAD
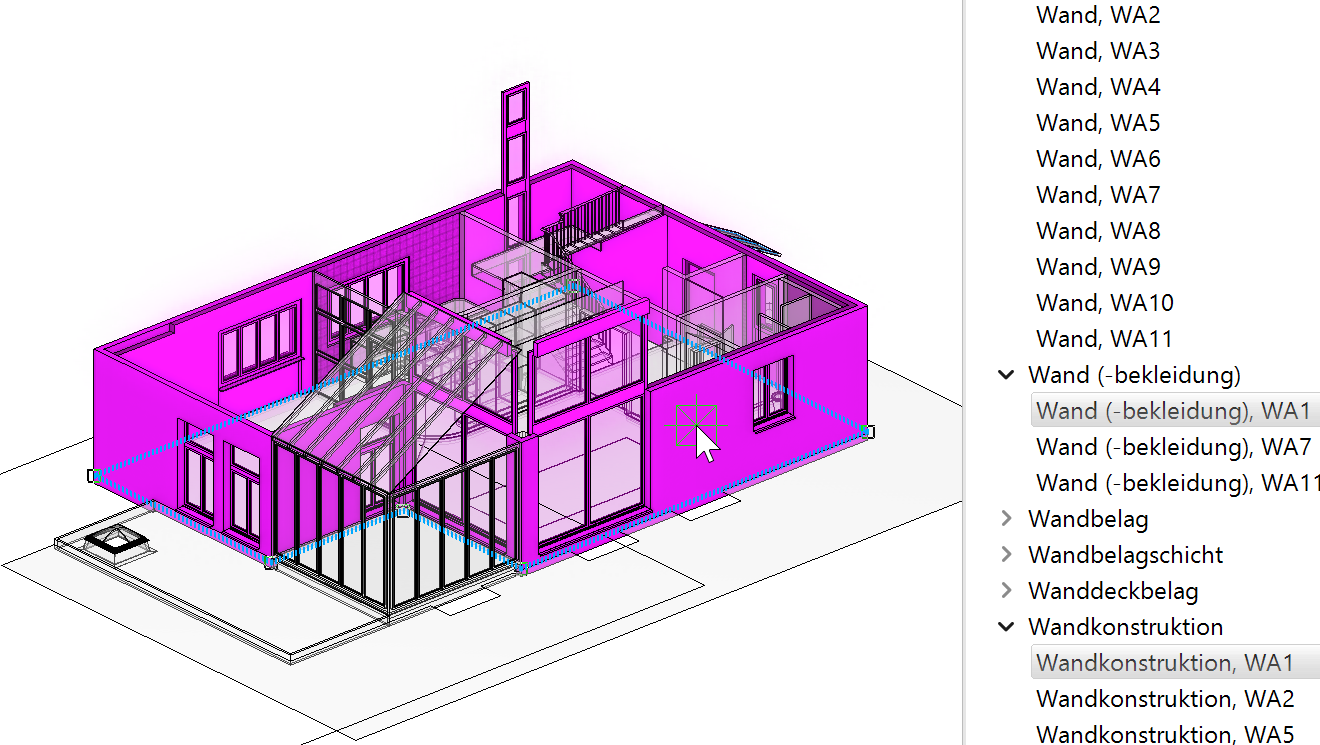
If an object is selected in the CAD, the object types belonging to it are marked in the quantities manager.
An individual object type is subsequently selected in the quantities manager and the calculation results are displayed.
Display calculation results

The object type is selected in the quantities manager.
The same is visualized in the CAD together with the location, the measuring type (here at the facade surface) and, as far as possible, which openings will be ignored (here a small window to the left of the door) .
The results are displayed in the tab "Values and attributes".

The detailed calculation including any deductions is displayed in the tab Formulas.
Navigation inside of rooms
In the case of rooms, it usually makes sense to select the room in the CAD beforehand.

The object types belonging to them are marked in the quantities manager.
The desired object type is subsequently selected in the quantities manager.

Structuring
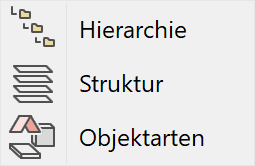
The object types can be listed using various kinds of structures.
Choosing hierarchy:
The object types are subordinate to the rooms, walls and ceilings which are, in turn, classified per storey.
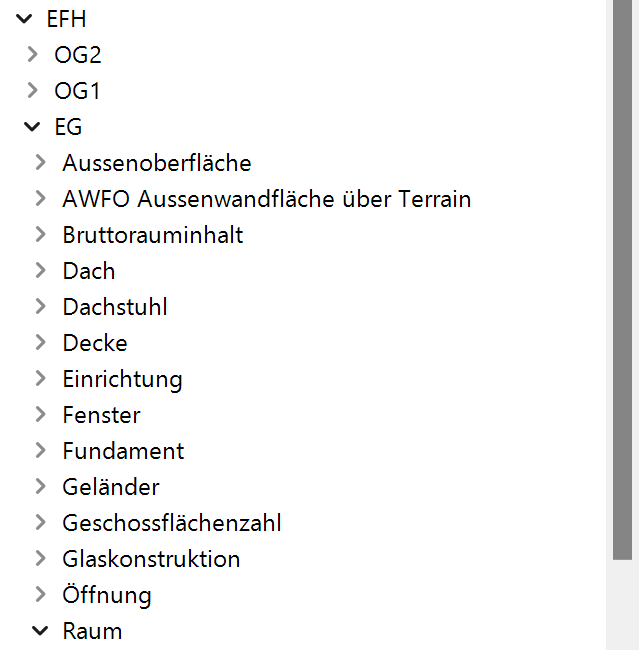
The object type "Floor layer" is assigned to the flooring of the corresponding room and storey.
Choosing structure:
The object types are subordinate to the storeys.
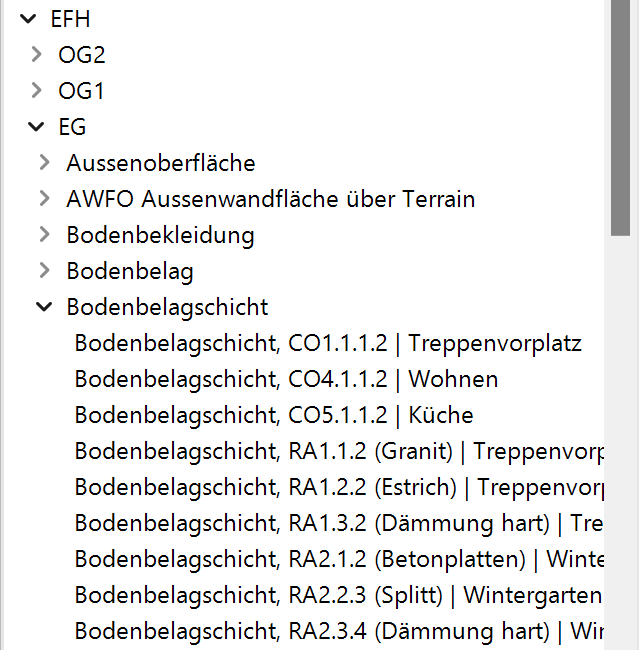
For each storey the object type "Floor layer", in which any floor layers of this storey are listed, exists.
Choosing object types:
The objects types are not subordinate to the storeys.
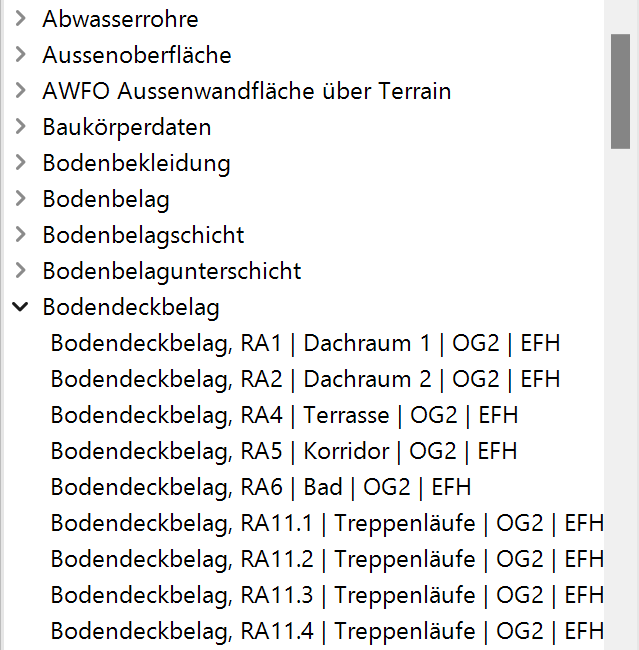
All floor layers of the entire project are listed under the object type "Floor layer".
Filter for renovation planning
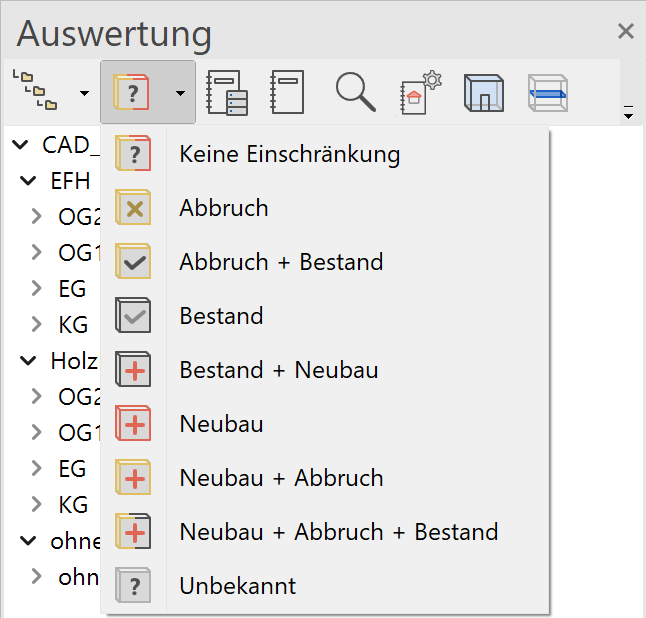
The renovation planning state is noted for each object. The filter only displays data in the quantities manager that correspond to the selected state.
Zoom to selected objects
In some cases, it is difficult to locate objects being selected in the quantification manager in the drawing because they are too small or outside the field of view. The function ZOOM TO OBJECT displays the selected objects as large as possible in full screen size.
Calculate quantities
|
|
Toolbar AR-Lay-out > Calculate quantities |
| Menu Extras > Quantities > Calculate quantities | |
| Quantities manager > Calculate quantities |
The masses of the currently loaded model are calculated and recorded in the database. Any hidden parts also have been quantified.
Project and model
The project name as well as the model name (drawing name) are saved. This allows for the saving of several variations of a project under varying model names (Project management).
Quantified AR objects
Areas and volumes of rooms and constructions
According to DIN 277, ÖNORM B 1800 and SIA 416
Living spaces
Quantified living spaces (e.g. German Living Space Regulations)
Area verification
Room areas divided into parts
Gross room volume
Room volume divided into parts
Floor
Solid ceilings, wooden joist ceilings, balconies, roofs, stair landings, room ceilings, and foundations
Volume and floor areas
Roof
Individual layers
Area in real projection
Roof edges (roof ridge, roof valleys, roof cut-outs etc.) in the measure of length
Truss
Carcassing timber
Walls
Interior / exterior walls, system-built walls, water-proof concrete walls, brick walls, dry-wall construction, cubicle partitions, exterior insulations, ventilated wall linings, solid wooden wallboards, wooden single plank walls
Columns
Without brackets and notched columns
Girders/binding beam
Chimney
Free objects
Windows, roof windows and glass elements
Window sills and cornices
Doors
Openings
Wall, floor, ceiling and roof openings
Stairs
Banisters
Room
Room area depending on the type of usage and enclosing
Calculation of living spaces with 2 limit values, usable area beyond the limiting height
Room value depending on the enclosing
Floor area coverings
Wall coverings
Exterior wall areas
Ceiling coverings
Room list
Compilation depending on the room
Furnishings
From the library
Room volume depiction

This mode visualizes the shown rooms as boxes.
If an individual room is shown, the same is solely displayed in this room volume depiction. Deduction areas may also be defined in this mode (see chapter Room).
Define transparency
Adjustment of the transparency for the model depiction if object type structuring is chosen.
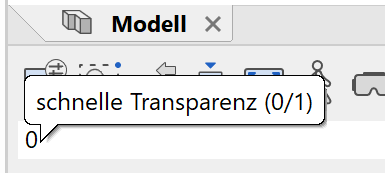
The quality of the transparency is selected in the entry line using 0 or 1.
1 = rapid transparency
The imaging is faster, the resolution of the transparency is coarser.
0 = fine transparency
The imaging takes longer; the resolution of the transparency is finer.
The transparency is subsequently adjusted.
0: The model is not displayed transparently.
255: Highest transparency value.
Note
The transparency mode is only possible in the active quantities manager.