New Terrain Edge / Area
|
|
Terrain toolbar (AR) / Extras (ME) |
| Extras menu > Terrain (AR) / Extras menu > Special functions > Terrain (ME) |
Edges and area can be integrated into the terrain using this function. Terrain edges are calculated before all of the other modifications (street, path, landfill/dispersal, excavation)
The "New terrain edge/area" function prompts you either to draw a contour or to select an existing polygon, depending on which Entry mode is selected. This contour must meet the following requirements:
- The polygon is an open or closed continuous contour.
- The contours must not intersect each other.
- The contour lies in a level parallel to the floor plan level.
Tip
A straight line can also be divided into multiple line segments and provided with different height values.
The following dialog window appears.
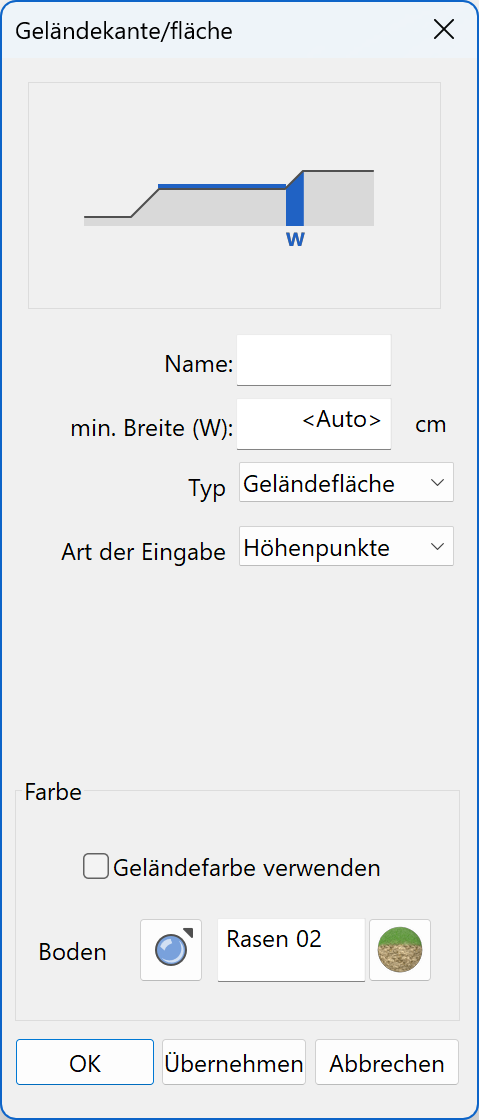
Minimal width

The minimal width defines a distance to a terrain edge or area within height points and curves are ignored except height points lying on the contour which are used to define the height of the edge/area. If the terrain edges/areas overlap with height curves or if there are any height points or curves within that distance, then the height values of the contour take precedence. The width is necessary to create a smooth transition between the terrain edge/area and the remaining terrain surface. The smaller the width, the steeper is the transition.
If the value is deleted, the distance is set automatically. (Approx. 5% of the whole terrain extent).
The points, which no longer have any effect on the terrain because of this entry, are identified by a rhombic handle.
 Height point on a terrain edge or area
 Ignored height point
 Standard height point
Type
For closed contours, one can define if just the contour or if the whole area should be taken into account. If the area type is selected, height curves and height points lying within the area are ignored.
Entry mode
Here the mode of height definition is defined.
- Height entry by value.
-
Applying the height from the reference terrain, if defined.
Tip
This setting is used to fix the height along a contour. (i.e. a property boundary).
-
Height definition by height points on the contour. The following rules are in force:
1 point The whole contour lies on this height. 2 points Establishes the direction of the steepest descent. 3 points Establishes a plane. Multiple points Establishes a variable height gradient. The height is interpolated between height points. Tip
Height points can be used for multiple contours.
Limitations:
- Height points can only be entered onto the endpoints of a line.
- Two height points must not lie next to each other.
- The terrain edges must not intersect each other.
- Avoid very small areas.
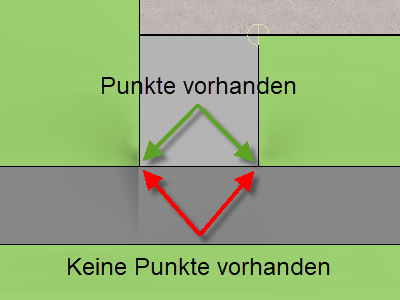
Explanation
If terrain edges/areas are located exactly on top of each other, the 3D nodes are identical. After selecting the terrain area, you can insert additional points by clicking on a handle or gripper of the contour.
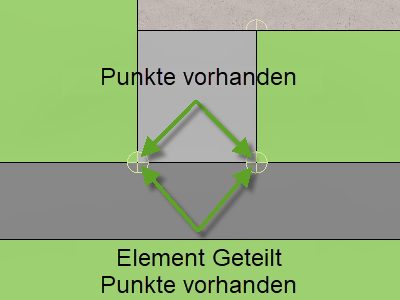
Click on the terrain area and divide the element at the relevant points. Height points must be set on these 3D nodes.
 |
 |
|---|---|
 |
 |
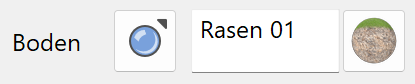
Use terrain colour
If the option is active, the same colour or same material is used as that in the terrain area.
A colour or material for the terrain area can otherwise be selected. The range is "superimposed" onto the terrain.
Colour mode/material mode
![]()
![]()
This switch allows you to toggle between colour mode and material mode. For more details, see the Colours and Materials chapters.
Tip
It is only possible to enter a colour or material for a closed contour.