Light Source
|
|
*Modify toolbar |
| Settings > Light source... |
This function is used to configure the light sources in the 4-view window.
The light sources are always saved along with the drawing. When you load a new drawing, the most recently used light sources are selected.
The light sources can be switched on or off separately in design model views, views and sections. The intensity of the ambient light can also be adjusted on its own.
Light source parameters can be modified in 4-view mode.
Administrate light sources
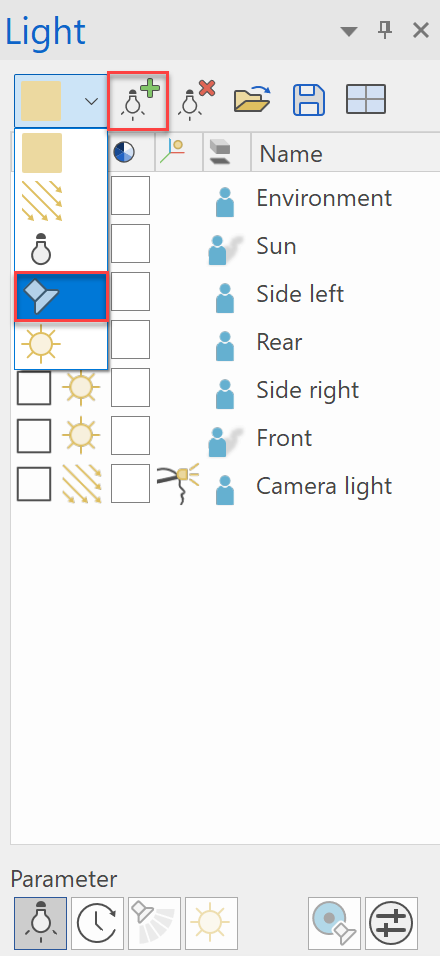
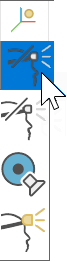
Create new light source
![]()
![]()
The “New light source” function creates a new light source with a light type from the DROP-DOWN menu. By clicking the name in the list, the name can be modified.
![]() Ambient light
Ambient light
![]() Parallel light
Parallel light
![]() All around light
All around light
![]() Spotlight
Spotlight
![]() Sun
Sun
Delete light source
![]()
The selected light source is deleted. This procedure cannot be undone.
Load light sources from file
![]()
This is where you can load a previously saved light source list (*.ld).
Save light sources in file
![]()
This is where you can save a light source list (*.ld).
Modify light sources
![]()
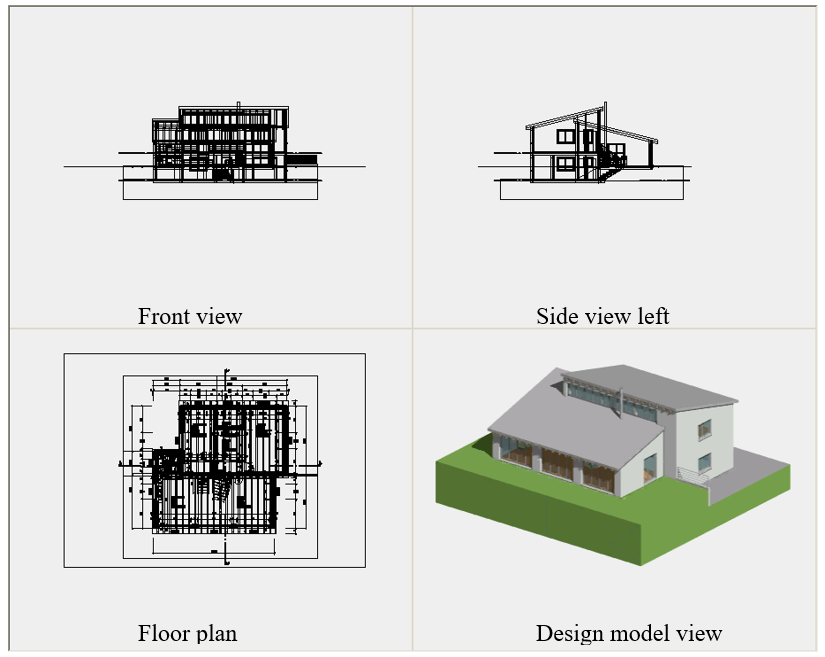
4-view window
The light sources are configured in the 4-view window. If the light dialog window is open, only the light symbol can be clicked on. Objects cannot be selected or manipulated.
The depiction of the design model view can be controlled separately. If you right-click in this area, a menu opens where you can select how the design model view should be displayed. This is also true for the other views, as they are interconnected.
Tip
The depiction of the standard view should be in the wire model, if possible, as this speeds up image assembly.
Workshop
Create new light source
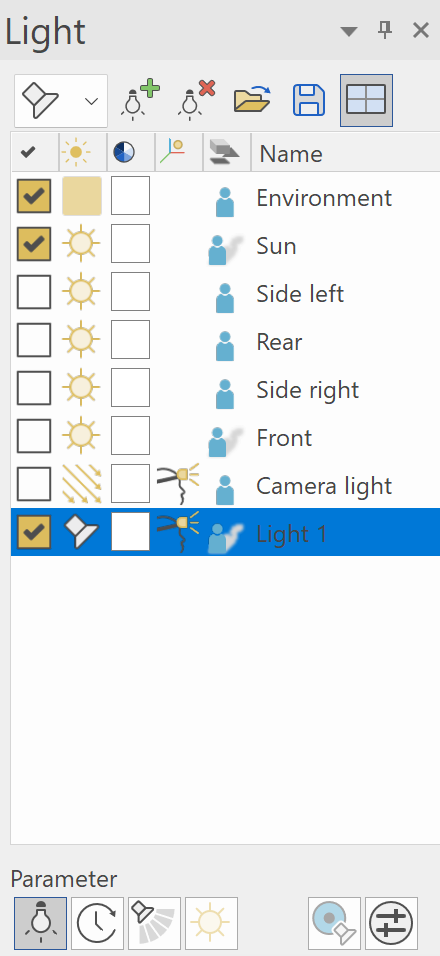
Under "New light source", choose the "Spotlight" type and start the “New light source” function Start the 4-view mode.
Now the light source is highlighted in red in the 4-view window and can be aligned.
Using light sources in the 4-view window
Depending on the light type, there are various handles available, which you can use to manipulate the light type interactively while holding down the left mouse button.
Here is a spotlight, for example:
| Modify position of light source | Move light source |
|---|---|
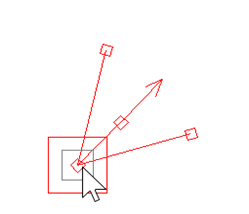 |
 |
| Modify direction of light source | Modify opening angle of light source |
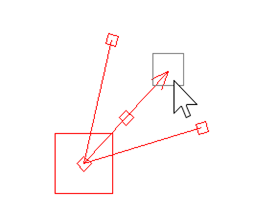 |
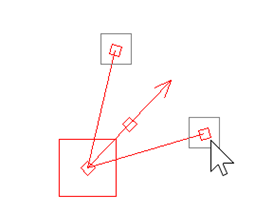 |
Global light source properties
![]()
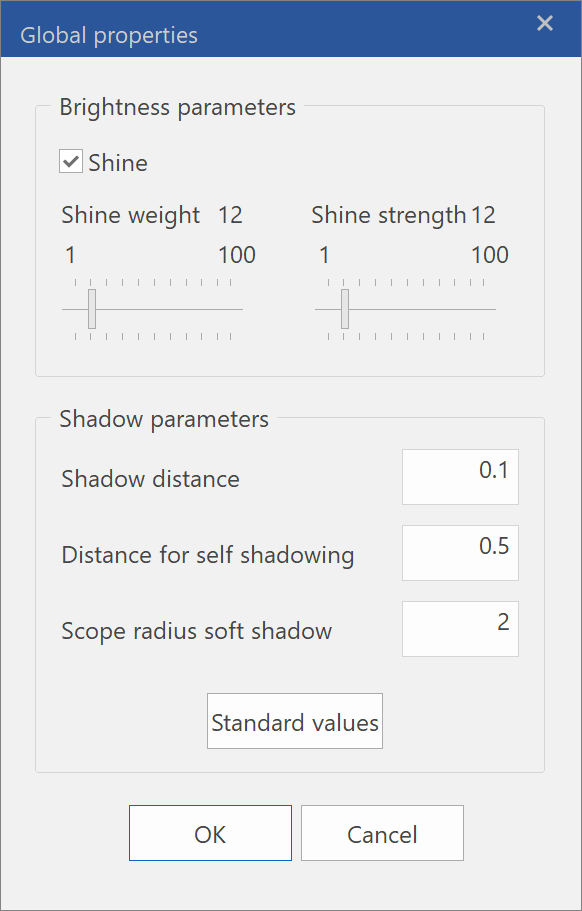
Brightness parameters
Using these settings, you can define a shine level for the light that looks good especially for curved surfaces. However, this setting applies only to the solid depiction and not to the renderings. The shine applies to all objects and cannot be limited to individual ones.
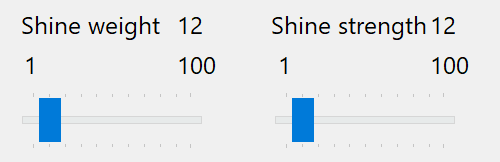
The effect can be adjusted via the "shine weight" (shiny or matte) or the "shine strength" (size of shiny area).
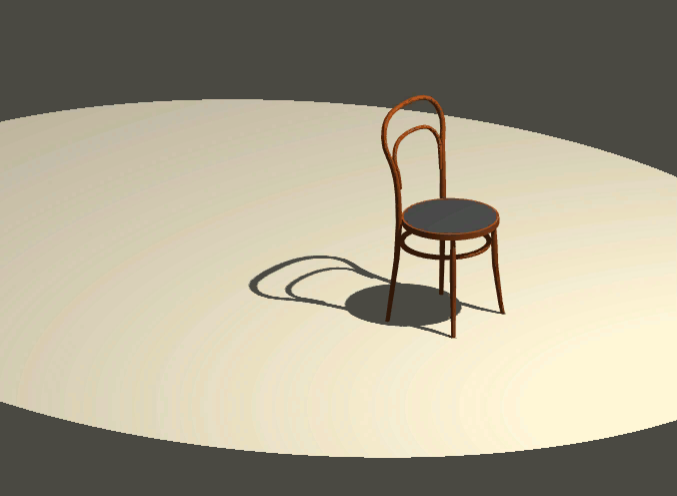
Shadow parameters
There are 3 entry fields here for the shadow rendering settings:
Shadow distance:
The shadow does not take effect until the distance entered here. This is always entered in metres.
Distance for self-shadowing:
Occasionally, surfaces positioned close to each other may have dark spots, making the shadow seem incorrect. If so, you can raise the value to disable self-shadowing.
Scope radius soft shadow:
This value determines the width of the fading gradient at the edge of the shadow. Lower values generate harder shadows; higher values create softer shadows.
The "Standard values" button resets the values back to their origin.
Light source list
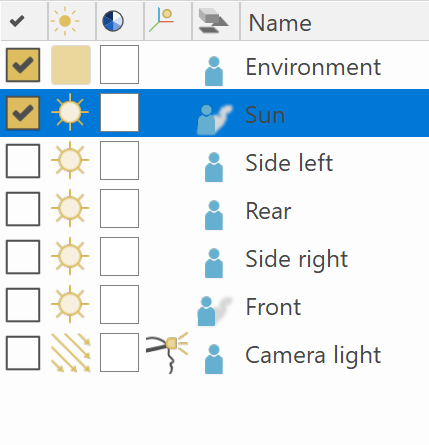
This lists all of the light sources present in the drawing.
Symbol and heading columns

By clicking one of the symbols in the columns, the list can be sorted in different ways.
Light status
![]()
You can use this column to switch the light sources on or off.
Light name
This column lists the names of the light sources. If you select a light source and right-click on its name, you can modify it.
Light type
![]()
This column displays the different light types. If you left-click on a specific light symbol, you can toggle through the different available types. If you right-click on the symbol, a sub-menu appears where you can choose the type directly.

Ambient light:
![]()
The ambient light is a diffused background light that comes from all directions. It helps brighten surfaces that are not lit up by a light source.
All around light:
![]()
All around light is a light source at a specific position that shines in all directions equally. This type of light source can be affected by intensity and range.
Sun:
![]()
Sunlight is a form of parallel light that comes from the distance and shines in from a defined direction. The light source is defined by its position and direction. There is also an option to perform a sun position rendering.
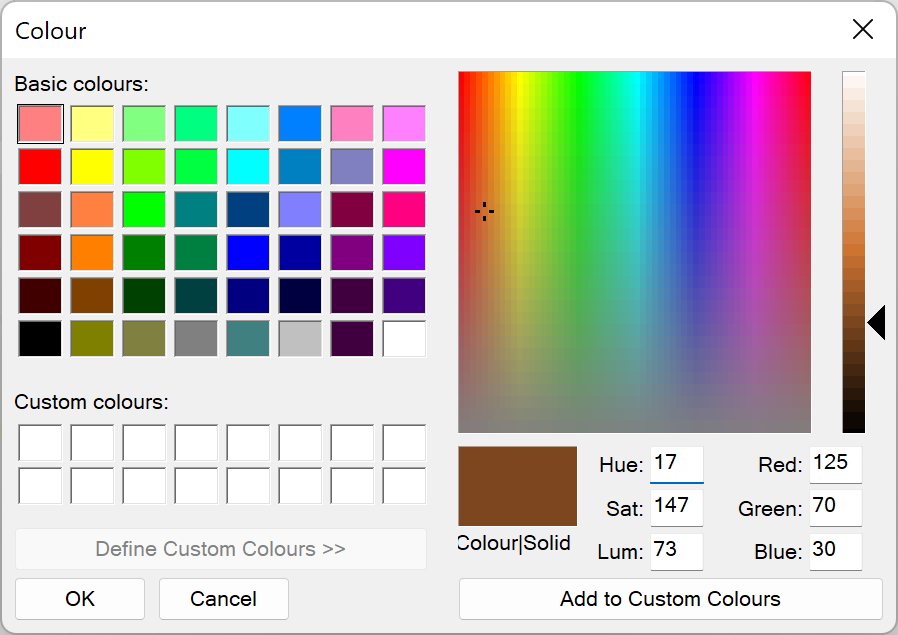
Select colour
![]()
Select the light colour in this column. The standard Windows colour dialog opens. If you click the "Define colour" button, the entire menu opens.
Light mask
![]()
This column displays the different light masks. If you left-click on the respective symbol, the light mask can be switched on. If you right-click on the symbol, a sub-menu appears where you can choose the light mask directly.
Camera-relative: (only available with parallel light)
![]()
The light source is tied to the camera position. The light always comes from ahead and its position cannot be changed.
Not Camera-relative: (only available with parallel light)
![]()
The light source always retains its predefined position. The light's location can be freely modified.
Associative light source:
![]()
If this symbol is selected and you close the light dialog window by clicking  , you can select an associative polygon or object. This associates the light source with that object. If the object is later moved, copied or deleted, the light source follows it. If you want to configure multiple lights that way after closing the light dialog window, assign them in sequence.
Shadow type
![]()
This column displays the different shadow types. If you left-click on a shadow symbol, its type can be switched on. If you right-click on the "soft shadow" symbol, an extended selection set appears.

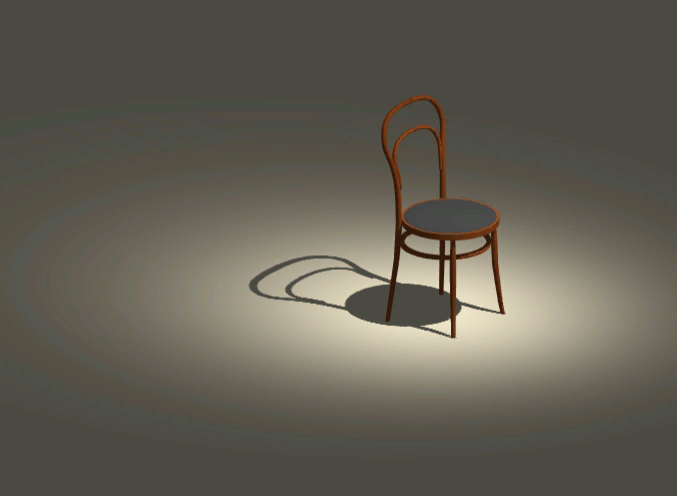
Soft shadow:
![]()
This rendering produces a soft shadow that fades outwards. You can also adjust the shadow resolution. This rendering option does not take as much time as a hard shadow does but it does require more memory.
Hard shadow:
![]()
This rendering option creates a hard, precise shadow on the edge. The transparencies are also taken into account (slide effect). This rendering option takes more time than a soft shadow, but requires less memory.
No shadow:
![]()
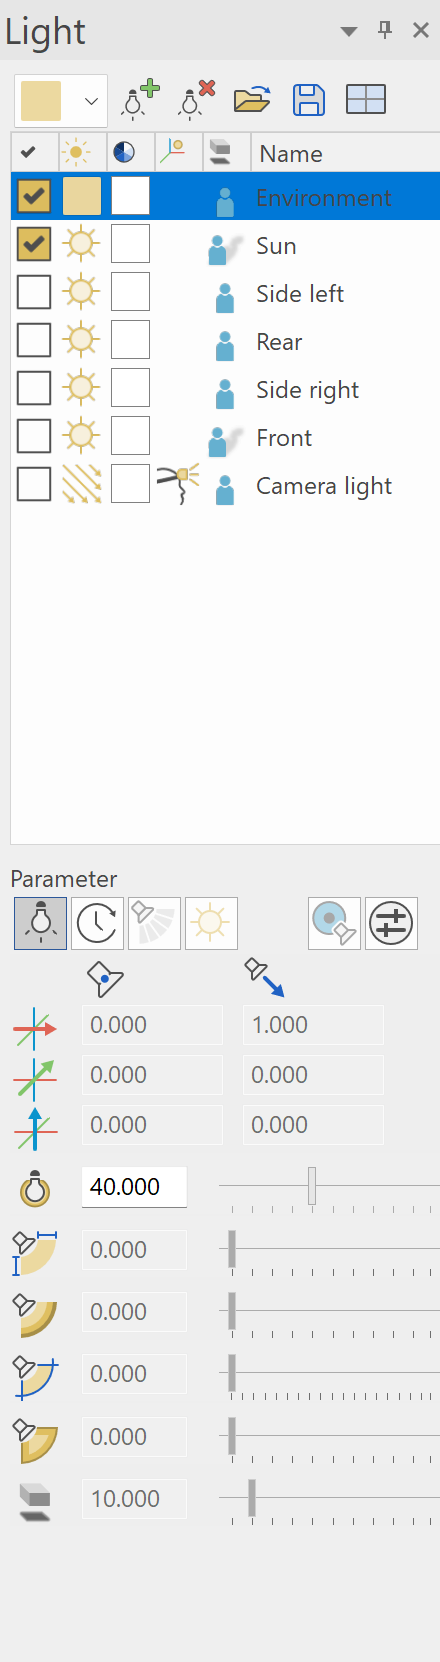
Light parameter
![]()
Position and direction

This is where you can enter the coordinates for the "Position" and the directional vectors for the "Direction" depending on the light type. Either the values are defined using interactive configuration, or you can enter them in the entry fields manually.
Intensity

You can use the "Intensity" slider to adjust the strength of the light source. The value is defined in percent of the maximum value.
Shadow resolution

The "Shadow resolution" slider is only available for soft shadows and controls the precision of a shadow's edge.
Tip
The larger the design model, the finer you should set the shadow resolution. As a fine resolution uses more working memory, you should always start with a low resolution. Gradually raise the slider until you are happy with the result.
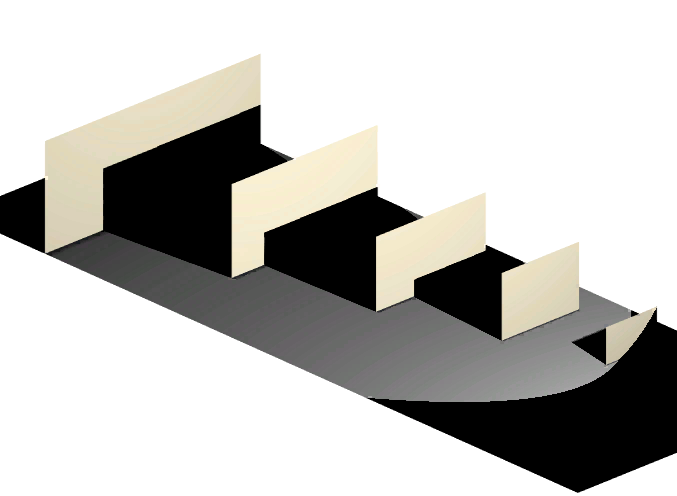
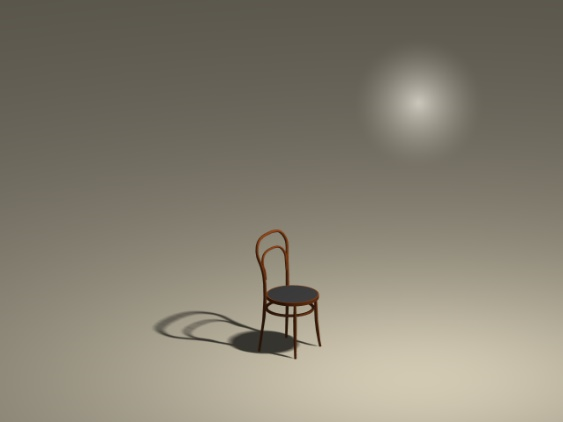
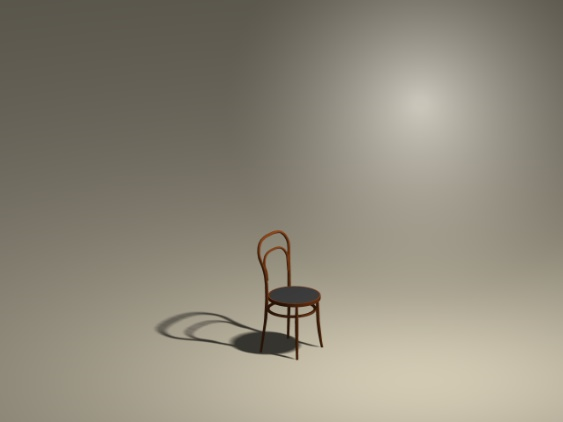
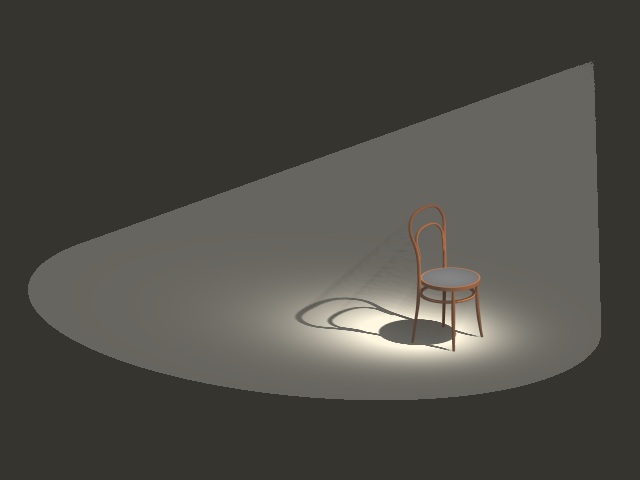
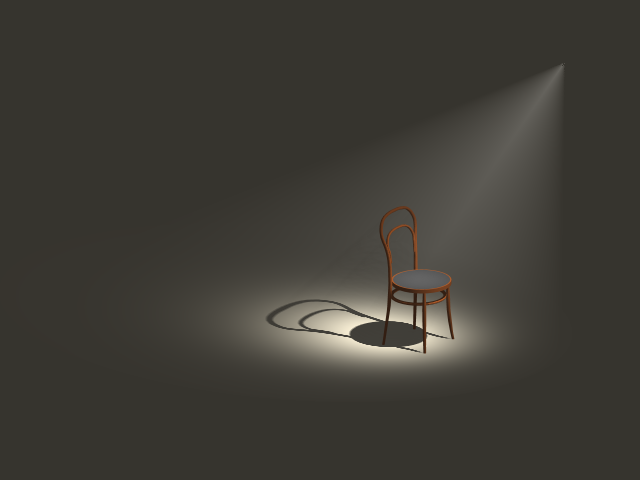
Range and intensity

The "Range" slider can be used to reduce the light's intensity starting at a specific distance. If you set the "Range" to 100 %, the intensity will hold constant throughout all distances (extent of the model). Depending on that distance, the slider can be adjusted from 0–100 %. Up to the specified distance, the intensity holds constant, then gradually decreases beyond it.
This setting is only available for the all-around light and spotlight light types.
| Range 100 % | Range reduced |
|---|---|
 |
 |
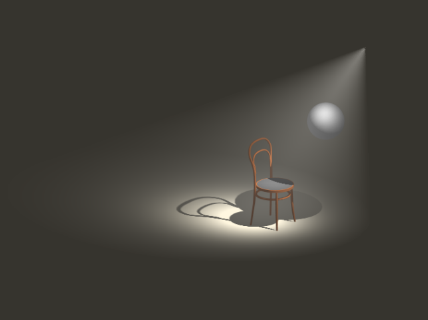
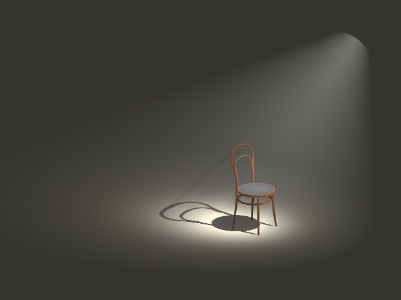
Opening angle

This slider can be used to modify the opening angle of a light source.
This setting is only available for the spotlight light type.
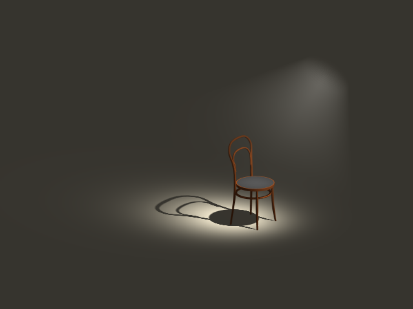
Sharpness

The "Sharpness" slider can be used to reduce the intensity of the cone of light outwards. If you set the slider to 0 %, a sharply demarcated cone of light will be displayed. The higher the value you specify, the more rapidly the intensity decreases outwards.
| Sharpness 0% | Sharpness increased |
|---|---|
 |
 |
Light intervals
![]()

Activate
This switch can be used to activate light intervals for this light source.
Night-active
A night active light source automatically is switched on during the nights with the sun position animation. This option has the advantage that the beginning of the activity is independent of the calendar day and the geographical location. Examples of night-active light sources are for instance streetlights.
Intervals
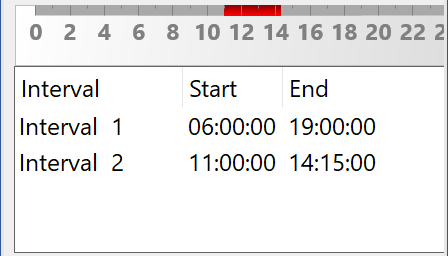
The intervals are listed in columns and the bar on top indicates the brightness. By clicking on them, the name can be changed.
Adding/deleting intervals
![]()
![]()
The selected interval is deleted and a new interval can be added.
Interval properties
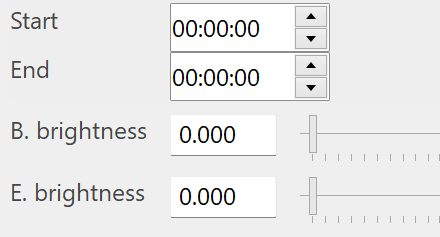
Every interval has a start and ending point, as well as a start and an ending brightness.
Visible light
![]()
Activate

This check box activates the visible light.
Smooth light

If this option is switched on, the visible light is rendered more precisely and displayed more softly. It should also be taken into account that these options increase the rendering time.
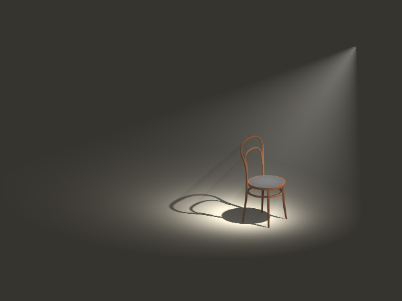
Shadow


If this option is switched off, the light beam infuses all objects in the path of the cone of light. However, if the option is switched on, a spatial shadow is rendered that is visible within the cone of light.
The "Quality" slider can be used to specify the precision of shadow rendering. Keep in mind, though, that the rendering time is longer the higher the precision.
| Without shadow | With shadow |
|---|---|
 |
 |
Diameter

This value defines the diameter of the visible light in metres for the sun, parallel light and all around light types. For the spotlight light type, this defines the diameter of the initial opening in the light source.
Example of all around light:
| Diameter 1 m | Diameter increased |
|---|---|
 |
 |
Example of spotlight:
| Diameter 0 m | Diameter increased |
|---|---|
 |
 |
Start distance, range

These two values can be used to restrict the cone of light to a specific area.
| Start at 0.01 m, end at 5.00 m | Start at 0.5 m, end at 2.00 m |
|---|---|
 |
 |
Brightness

Use this slide to define the intensity of the shine.
Tip
The brightness can be overridden by up to a value of 600. Enter the corresponding value into the entry field.
Attenuation

The "Attenuation" slider can be used to reduce the intensity of visible light outwards. If you set the slider to 0 %, a sharply demarcated cone of light will be displayed. The higher the value you specify, the more rapidly the intensity decreases outwards.
Tip
The attenuation can be overridden by up to a value of 600. Enter the corresponding value into the entry field.
| Attenuation 0% | Attenuation higher |
|---|---|
 |
 |
Sun position
![]()
If you set the light type to sun, you can also switch to sun position rendering.

Clicking  refreshes the light symbol on the plan. If the "Set automatically" button is active, this is done automatically after every modification.
![]()
This function starts the sun position animation using the time lapse.
Location
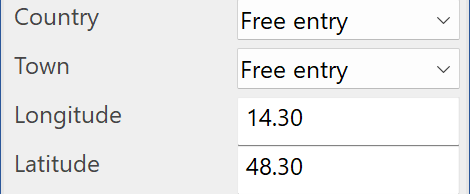
The locations are selected from a list. You can enter the longitude and latitude manually or using the sliders.
You cannot save your own locations.
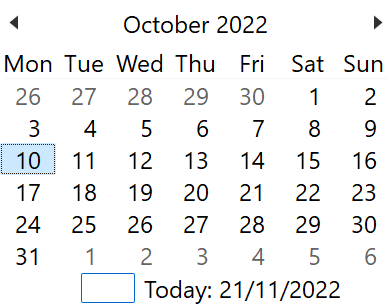
Hour/time

You can either enter the time of day manually or adjust it using the slider.
You can modify the date manually or click on the selection box to open a small calendar. Click the appropriate date to add it into the list.
The time offset is always listed as compared to Coordinated Universal Time (UTC), based in Greenwich, England (at 0 degrees of longitude). The time offset for Central Europe (CET) is +1 hours. Central European Summer Time (CEST) has an offset of +2 hours.
Alignment of floor plan

The sun's compass alignment in relation to the floor plan can be modified here.
Results

The calculated values can be read under results.