ELITECAD Architecture Crash Course
What's waiting for you
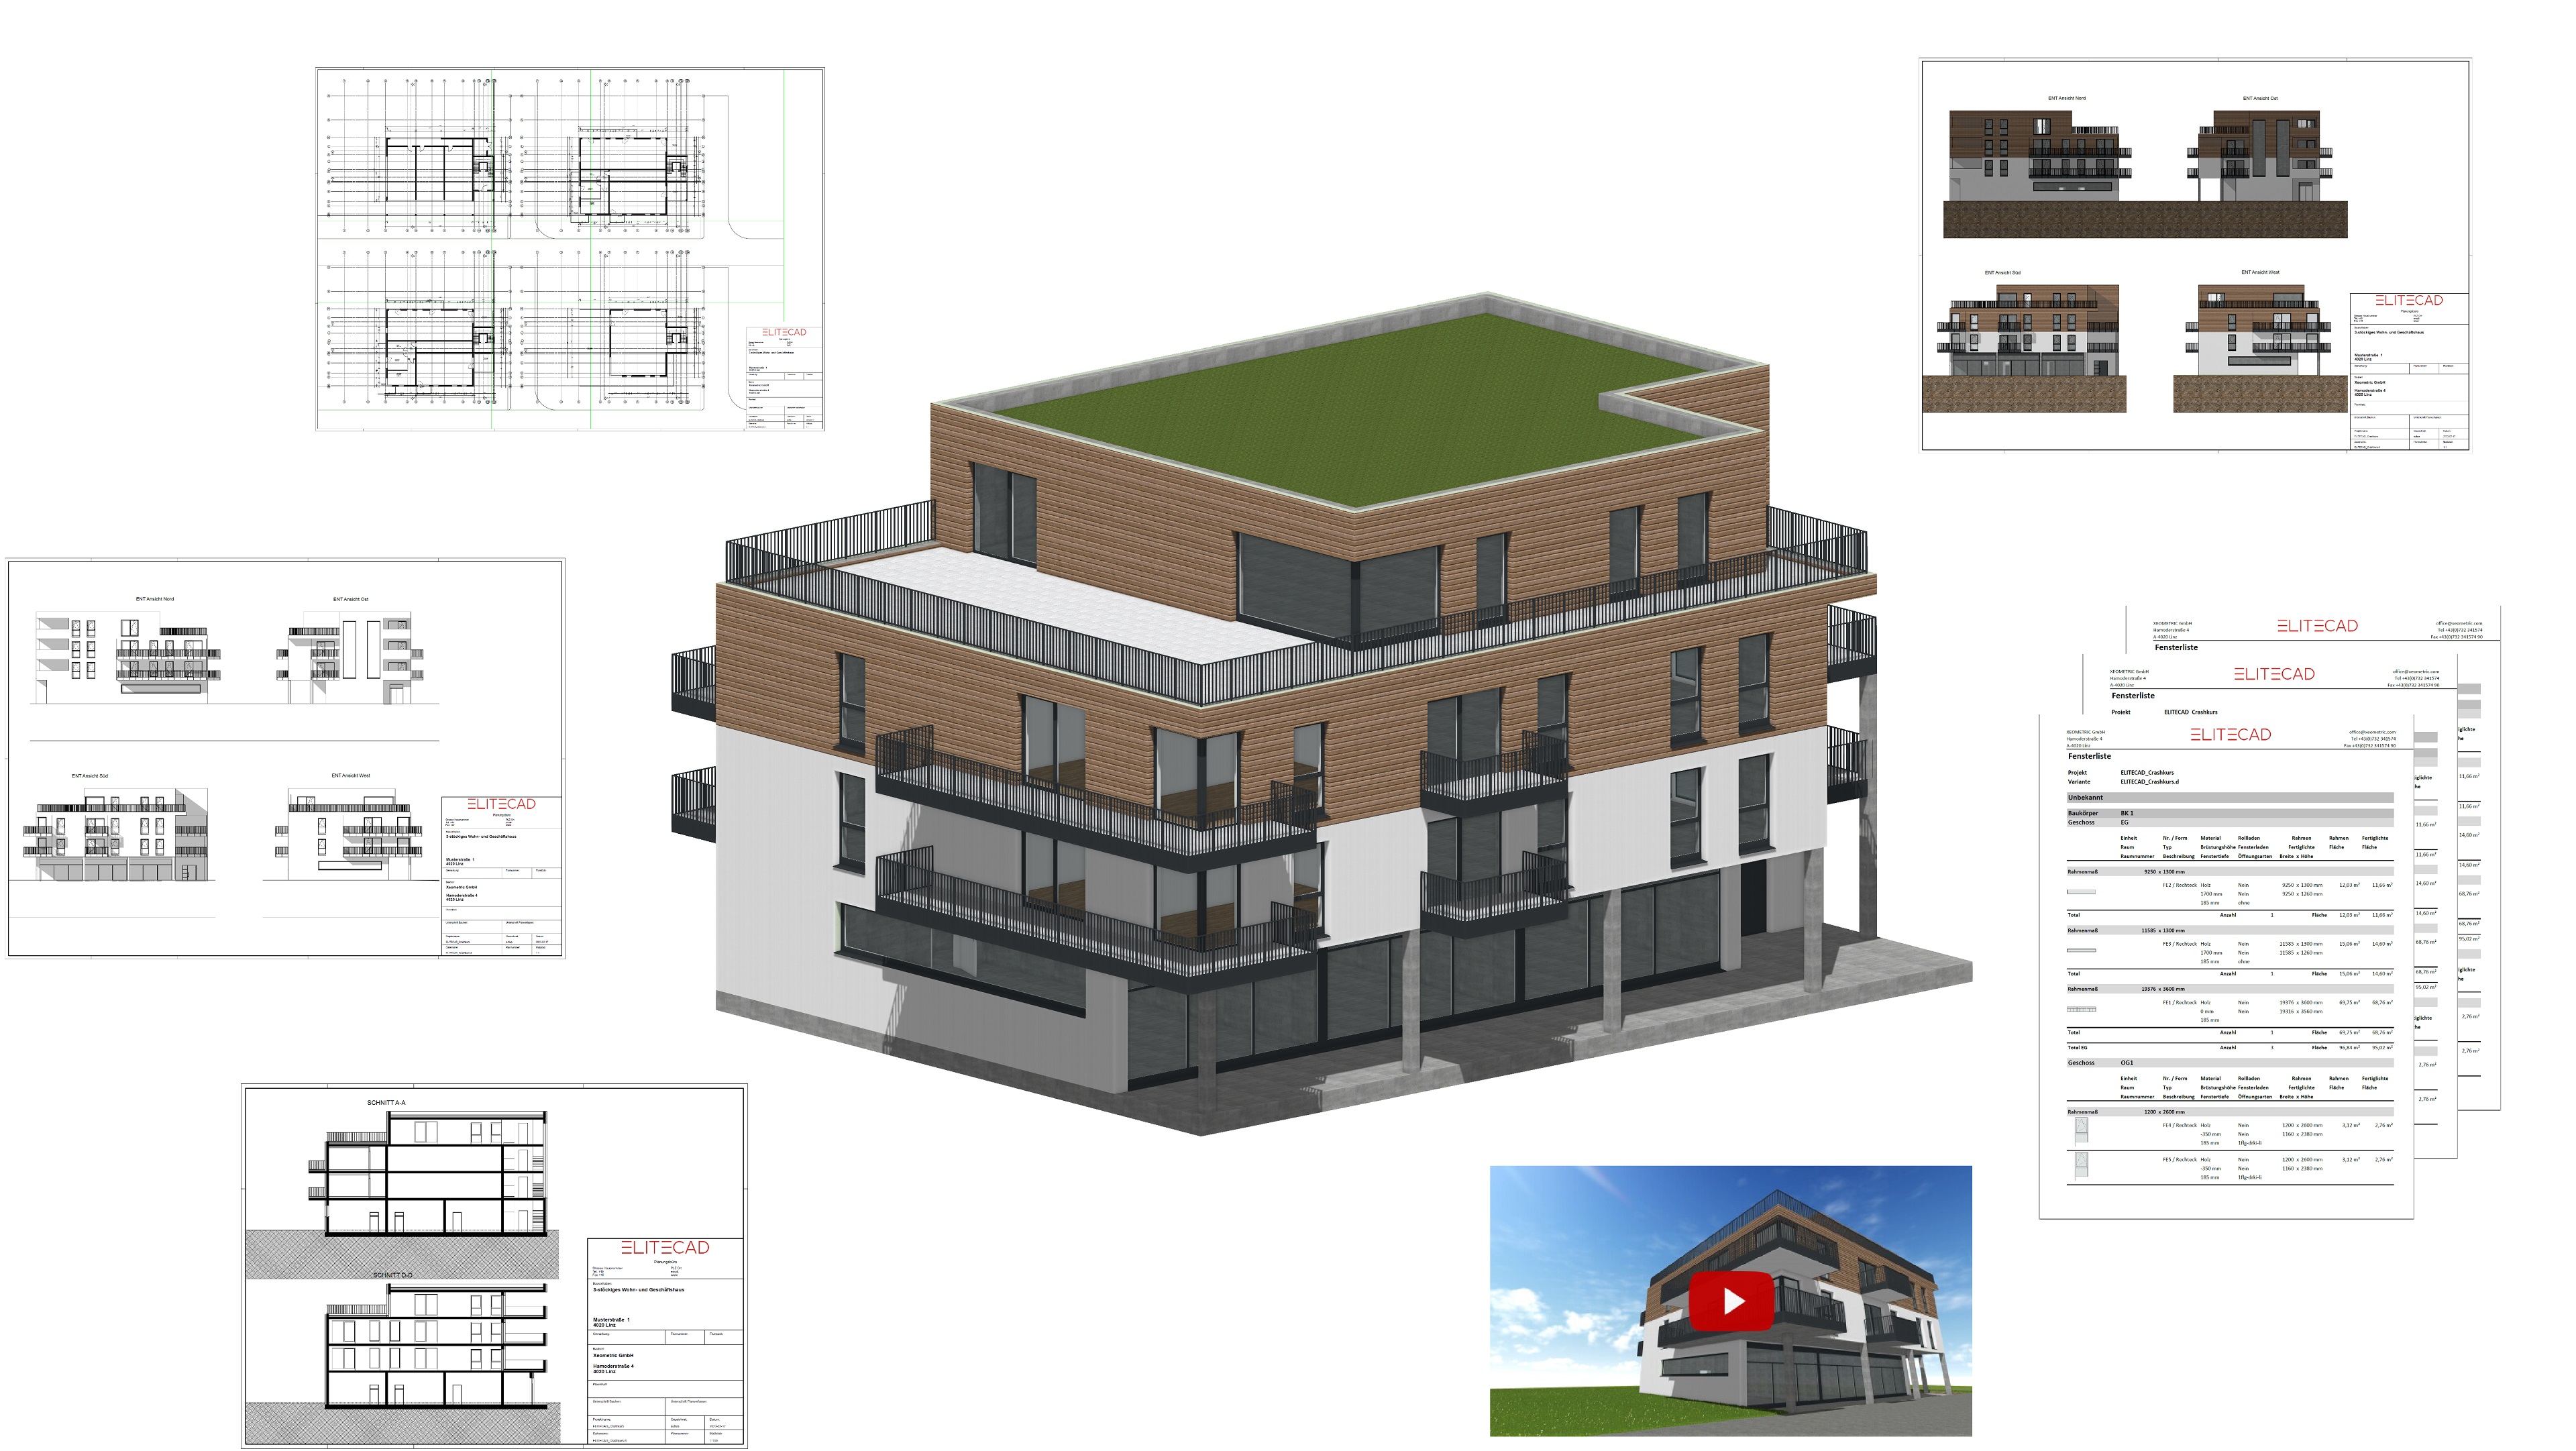
The perfect introduction to ELITECAD! In only half a day, you will learn how to construct a complete 3D building model in ELITECAD Architecture, create automated 2D views, floor plans and sections, calculate dimensions (and export, for example, a window list as an Excel report with them) as well as create stunning visualisations.
You will find all needed models and examples pre-installed so that you can hit the ground running. Simply follow the step-by-step instructions with pictures at your own pace. If you have any questions at any point, you can contact our support team.
A quick run-through of the model
In our popular video "ELITECAD Architecture in 15 Minutes", you can see how quickly and simply the model for this course unit can be drawn with ELITECAD.
Prerequisites
In order to be able to draw the model from this course unit for yourself, you will need an up-to-date full-, trial- or education version of ELITECAD Architecture 16. If you have the Small Business Edition which is limited to 3 storeys, we recommend that you use the trial version for this course or while creating the structure model to leave 2 of the 5 storeys out.
Configuration
ELITECAD Architecture aligns to country-specific standards. This has many advantages: You design your 3D model without concerning yourself with standard-compliant plan depictions and ELITECAD does the rest. Depending on the planning phase, which is referred to as representation level in ELITECAD, your 2D plans will automatically be created with the correct, country-specific hatches, line types and labels. Even calculations of the quantities functions are region specific and always deliver an appropriate result for your concrete project. This course unit has been documented with the regional settings for the United Kingdom (en_uk). If you use the Crash Course in Germany ( de_de ), Austria (de_at), Switzerland (de_ch) or a different country, your plans will look a bit different (i.e. coloured depiction of the planning drawing instead of hatches as is customary in Germany).
Tip
The region settings can be set in the ELITECAD configuration menu. Please note, that you will need to re-install the project and sample templates if you change the region after the fact.
Preparations
If you have installed ELITECAD with a current setup, then you are almost ready to get started. In case you have had ELITECAD installed for a while, you may not have the sample project and project template for the Crash Course. To make the course a bit simpler to draw, we have already configured all needed construction parts and saved them as data records (also called parameter records). These must be imported into your user settings, so that you do not have to recreate every construction part yourself.
Please check the following 3 points:
Sample project
Open your ELITECAD project template. This is usually found under C:\ELITECAD\Projects16\en_uk. There should be a folder here called CAD_Object_Crash_Course. If this folder is not there, then you must first download the sample project and copy the folder into the directory.
Project template
Open your ELITECAD project template directory. This is usually found under C:\ELITECAD\Templates16\en_uk. There should be a file here called CAD_Project_Template_Crash_Course.d. If this file is not there, then you must first download the template and copy it into the folder.
Construction part data records
Because the Crash Course is not using only ELITECAD standard construction parts, we have pre-defined them so that you can easily use them in your project. You could still configure the construction parts manually, but, for the purposes of this course unit, this is not recommended. Download the data records from the ELITECAD Website:
Construction part data records
After you have downloaded the data records, you must unzip the files by right-clicking and selecting Extract all.

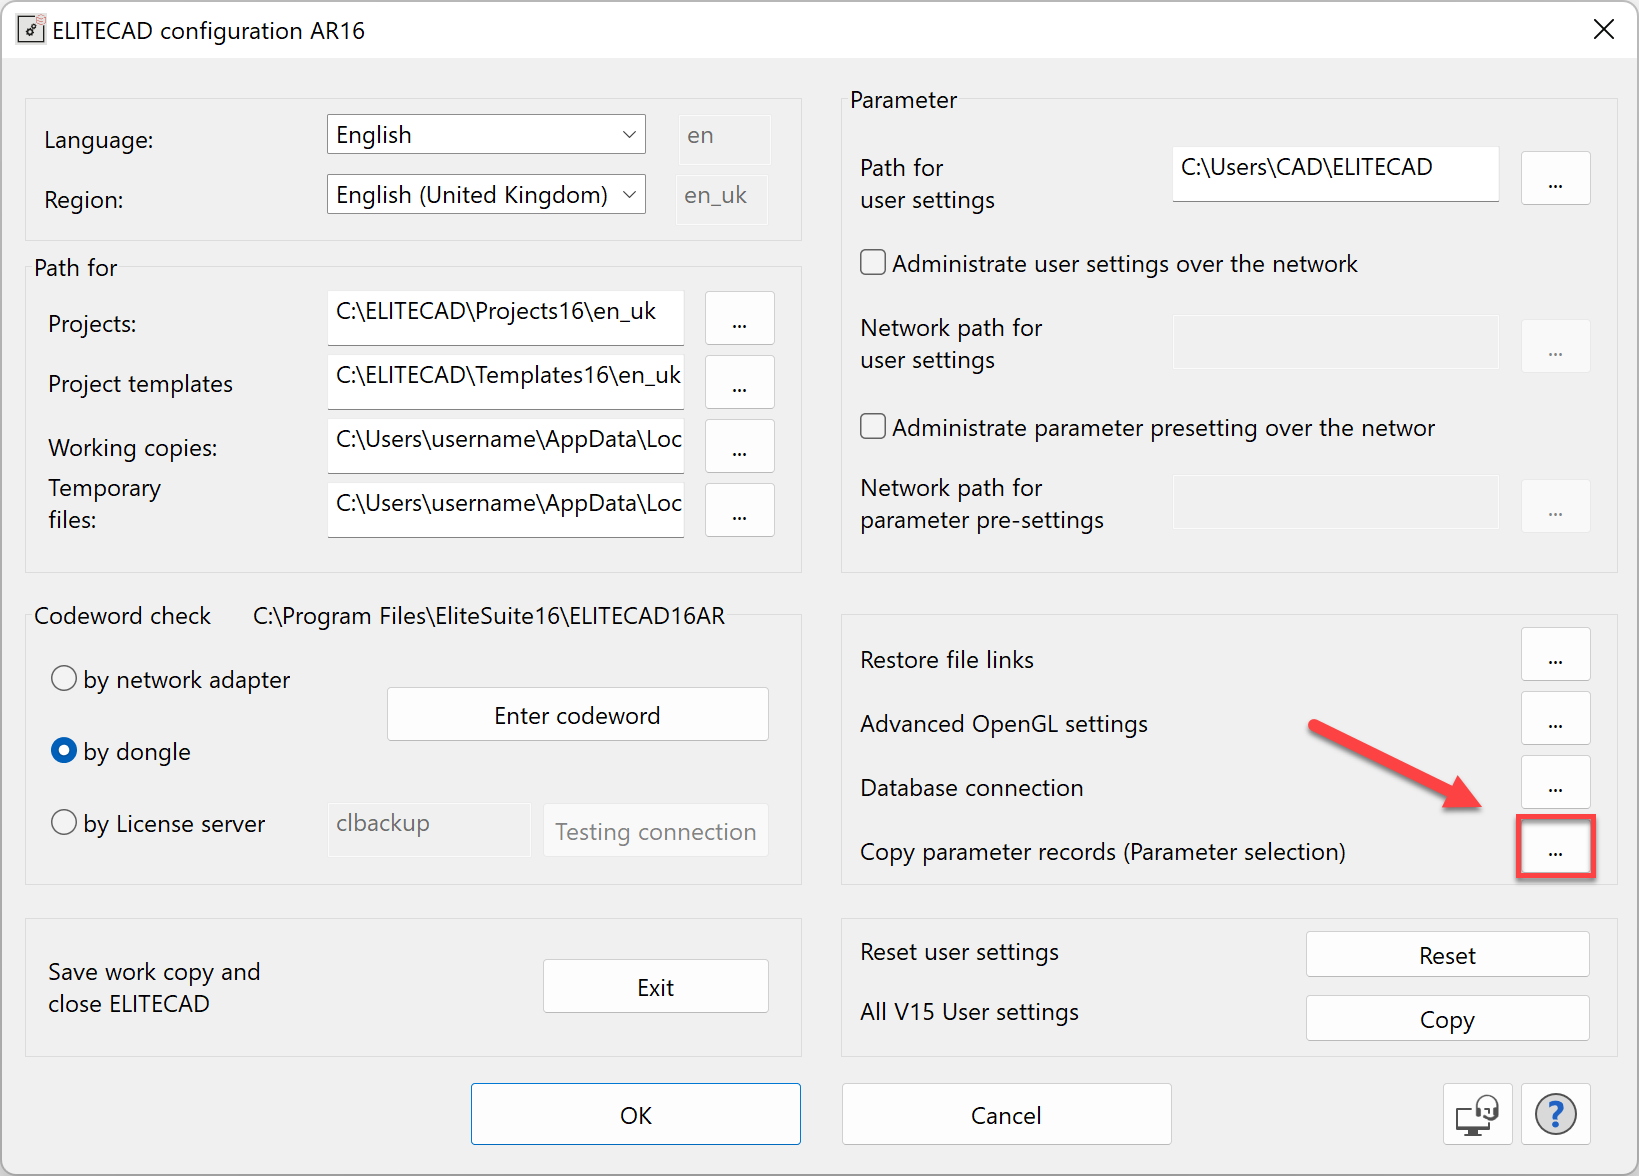
Once you have unzipped the folder, open the ELITECAD Configuration AR16, i. e. by using the Windows Search. Important: ELITECAD cannot be open in the background during this process. The configuration program contains a tool to manage construction part data records. We will use this in order to import the data records for the crash course. Click on the button Copy parameter records (Parameter selection).
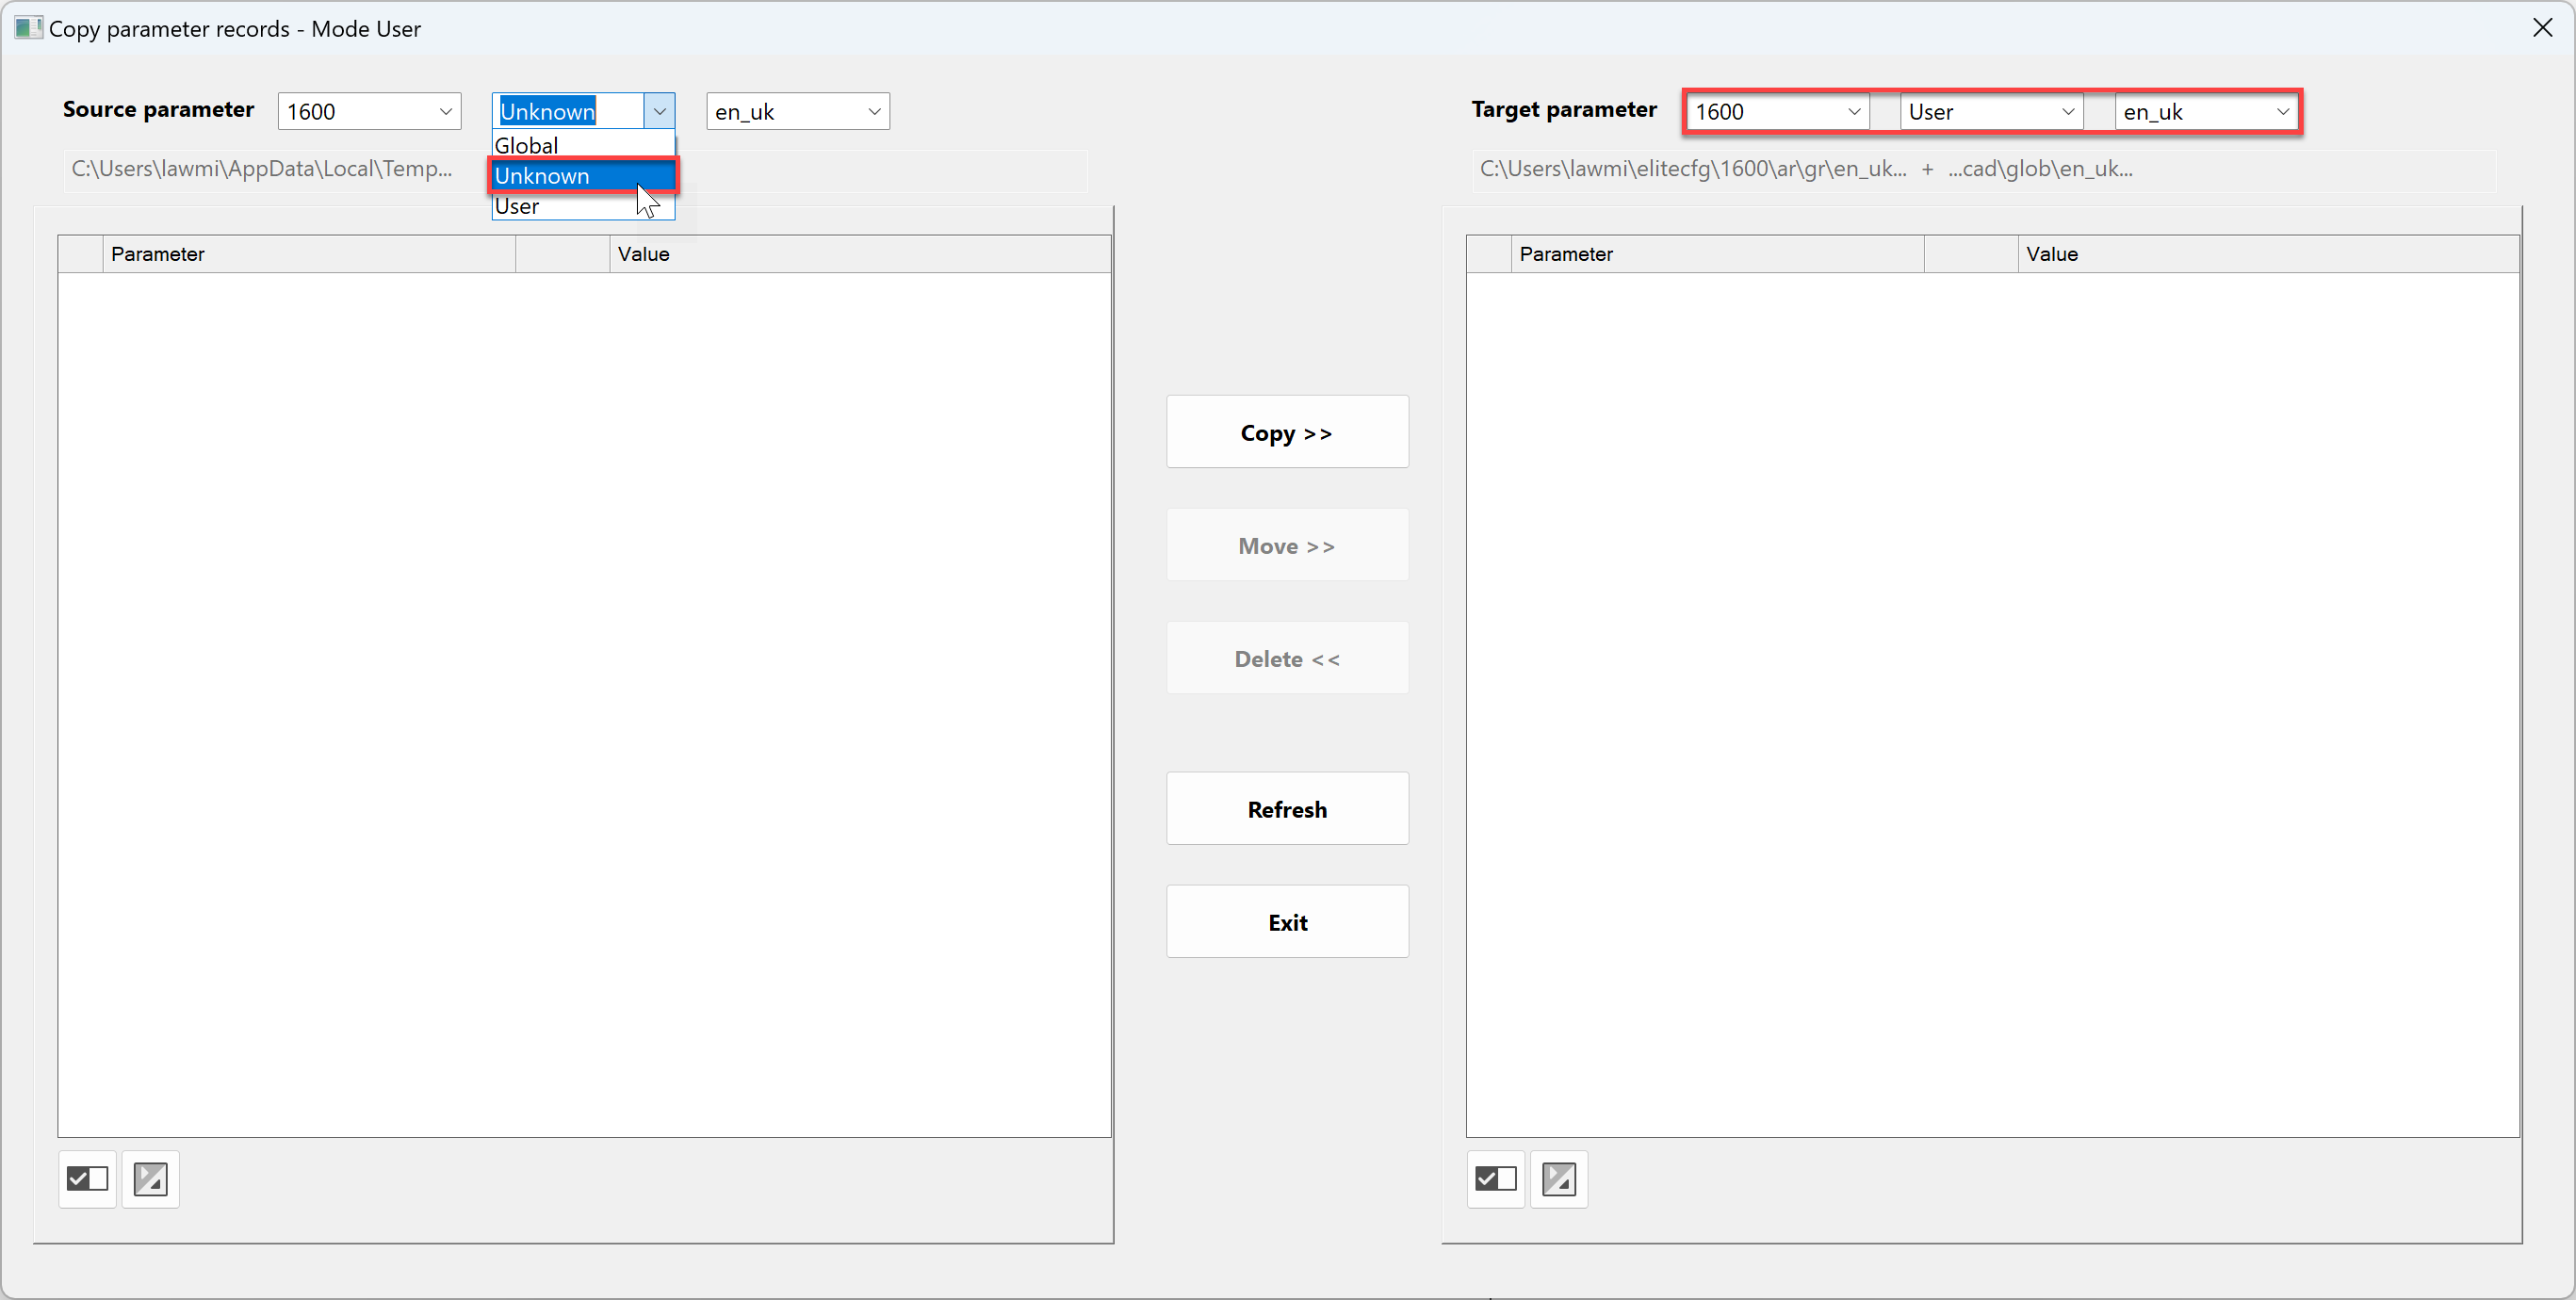
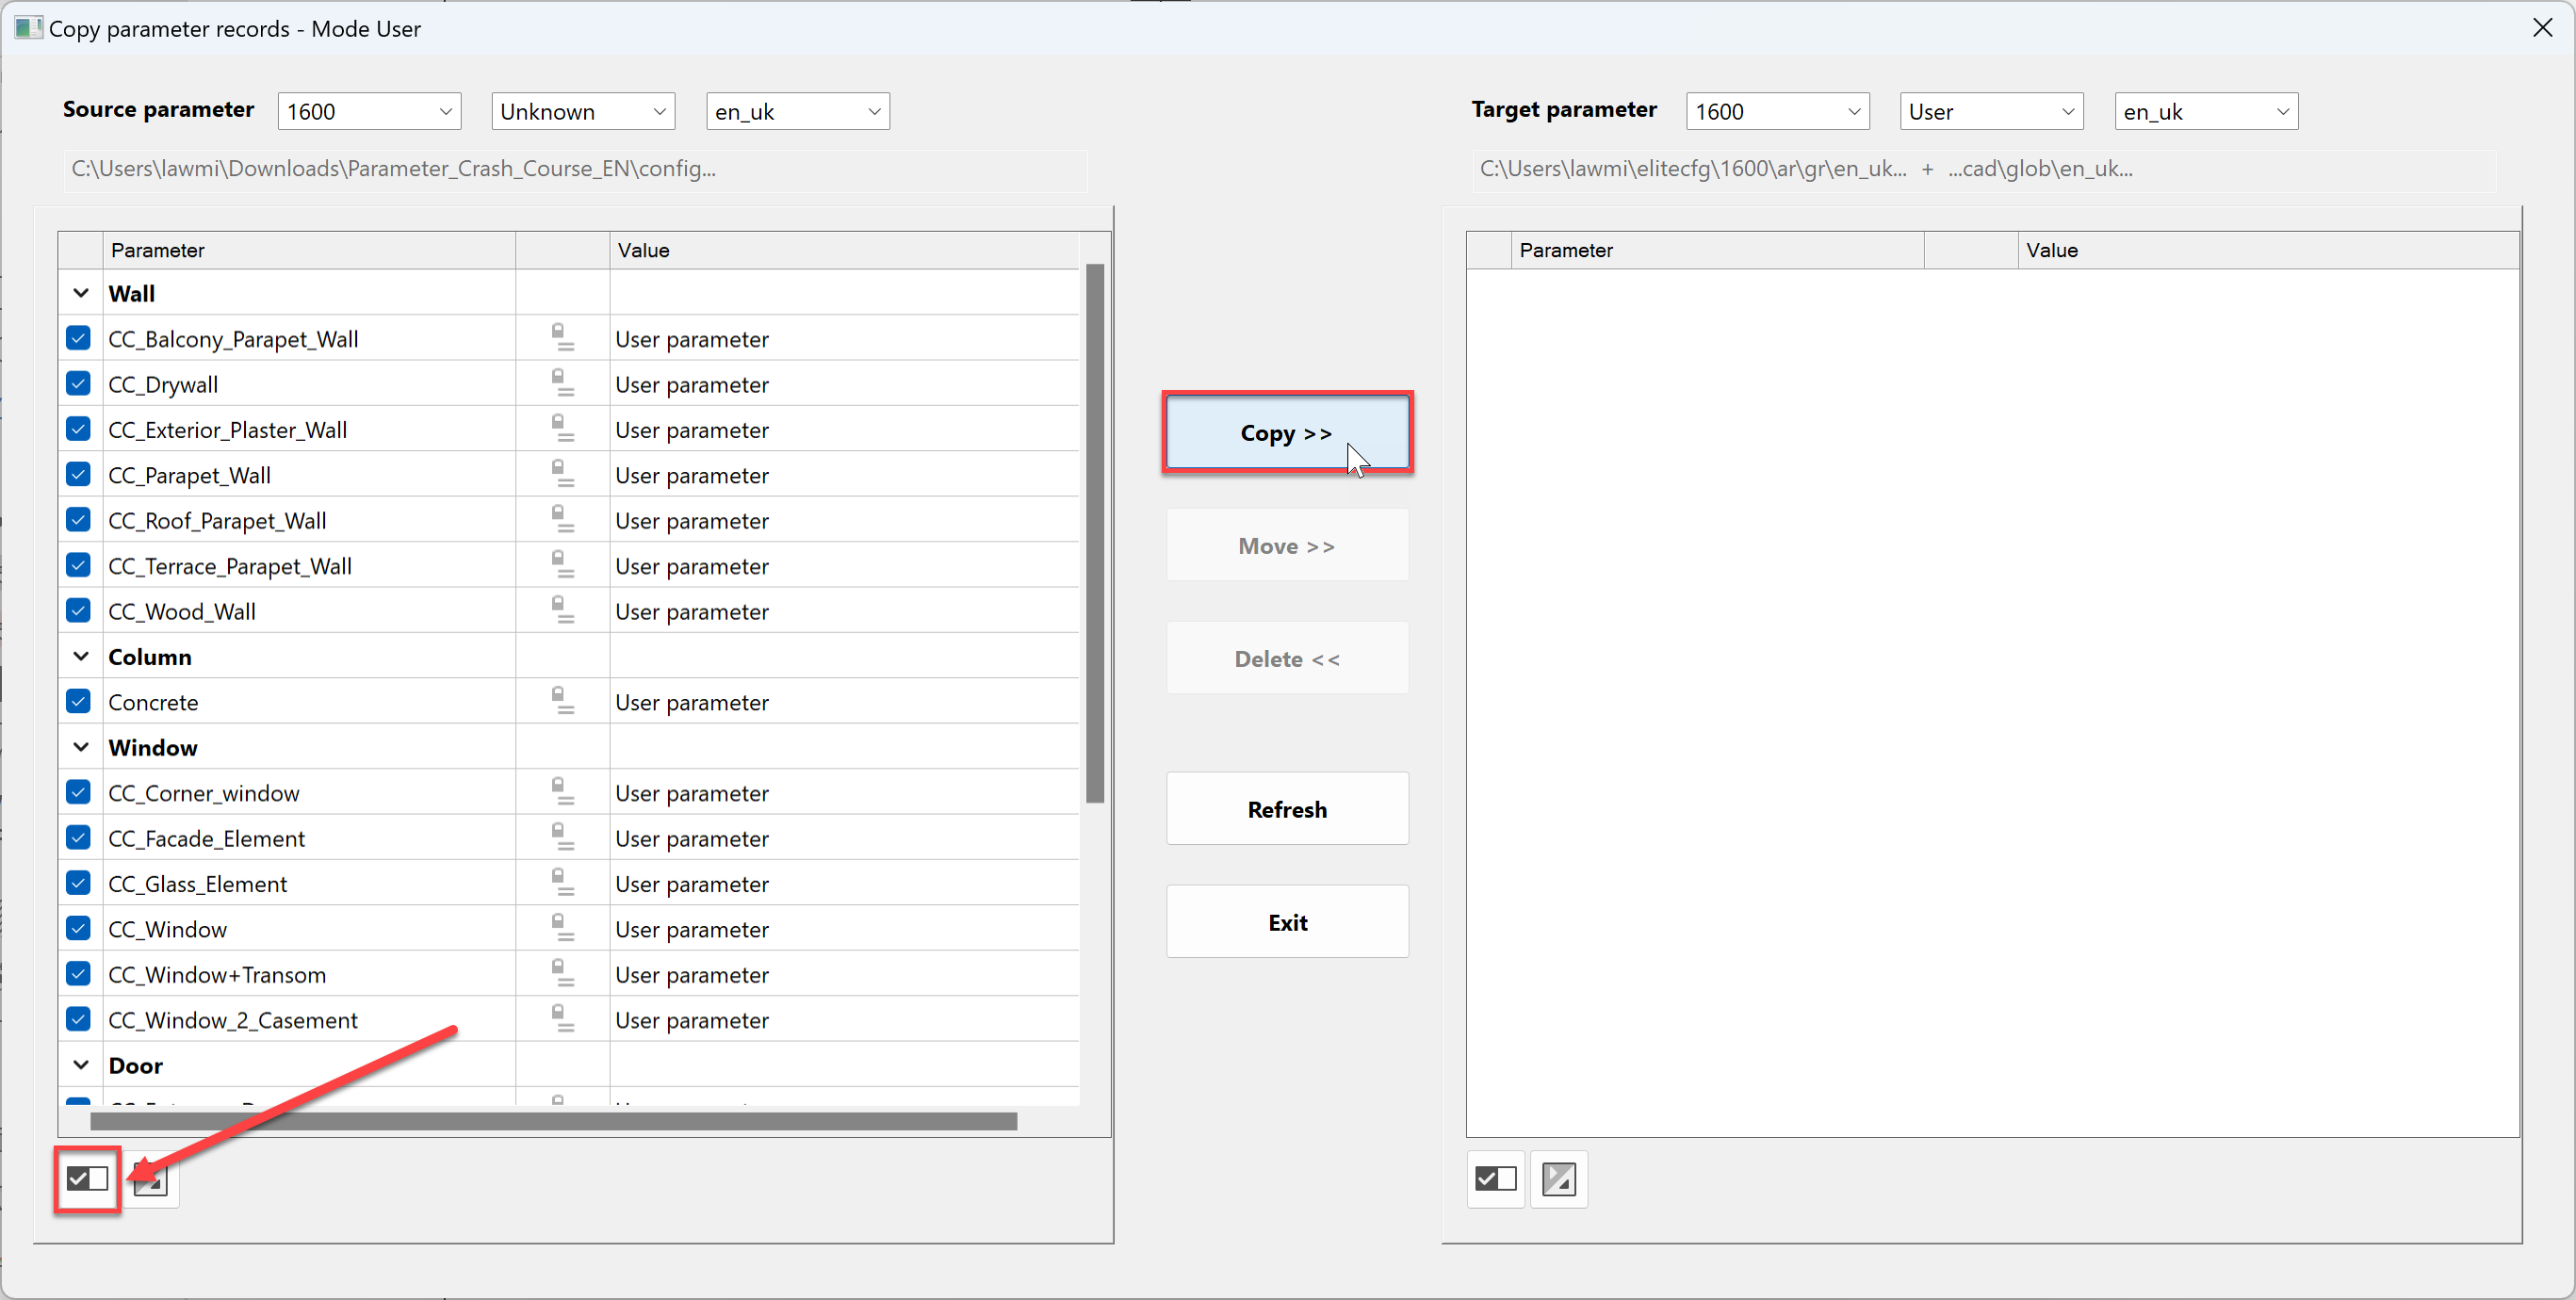
This opens the tool where we see links for the source parameter on the left and the target parameter on the right. Set the target parameter to Version 16 - User - en_uk. For the source parameter, select Unknown. Now we can a select a file that contains data records.
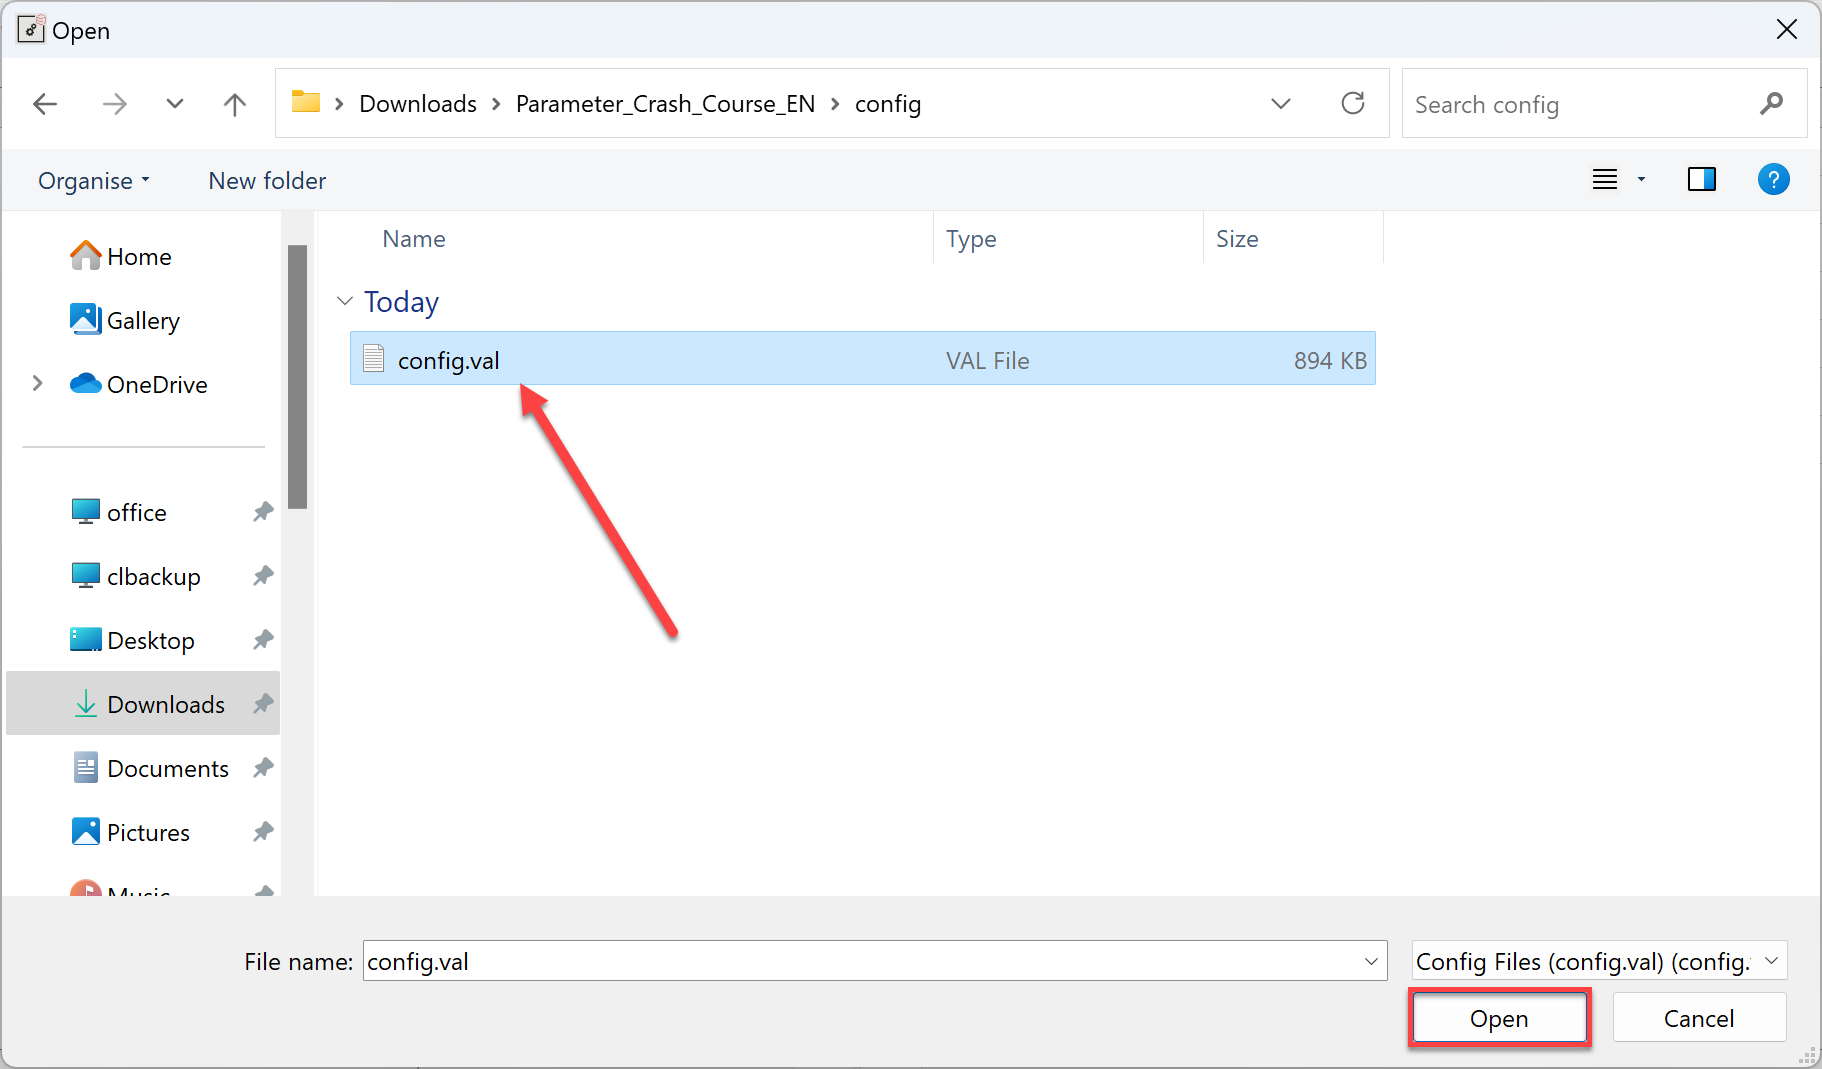
Select the previously unzipped folder and open the file config.val.
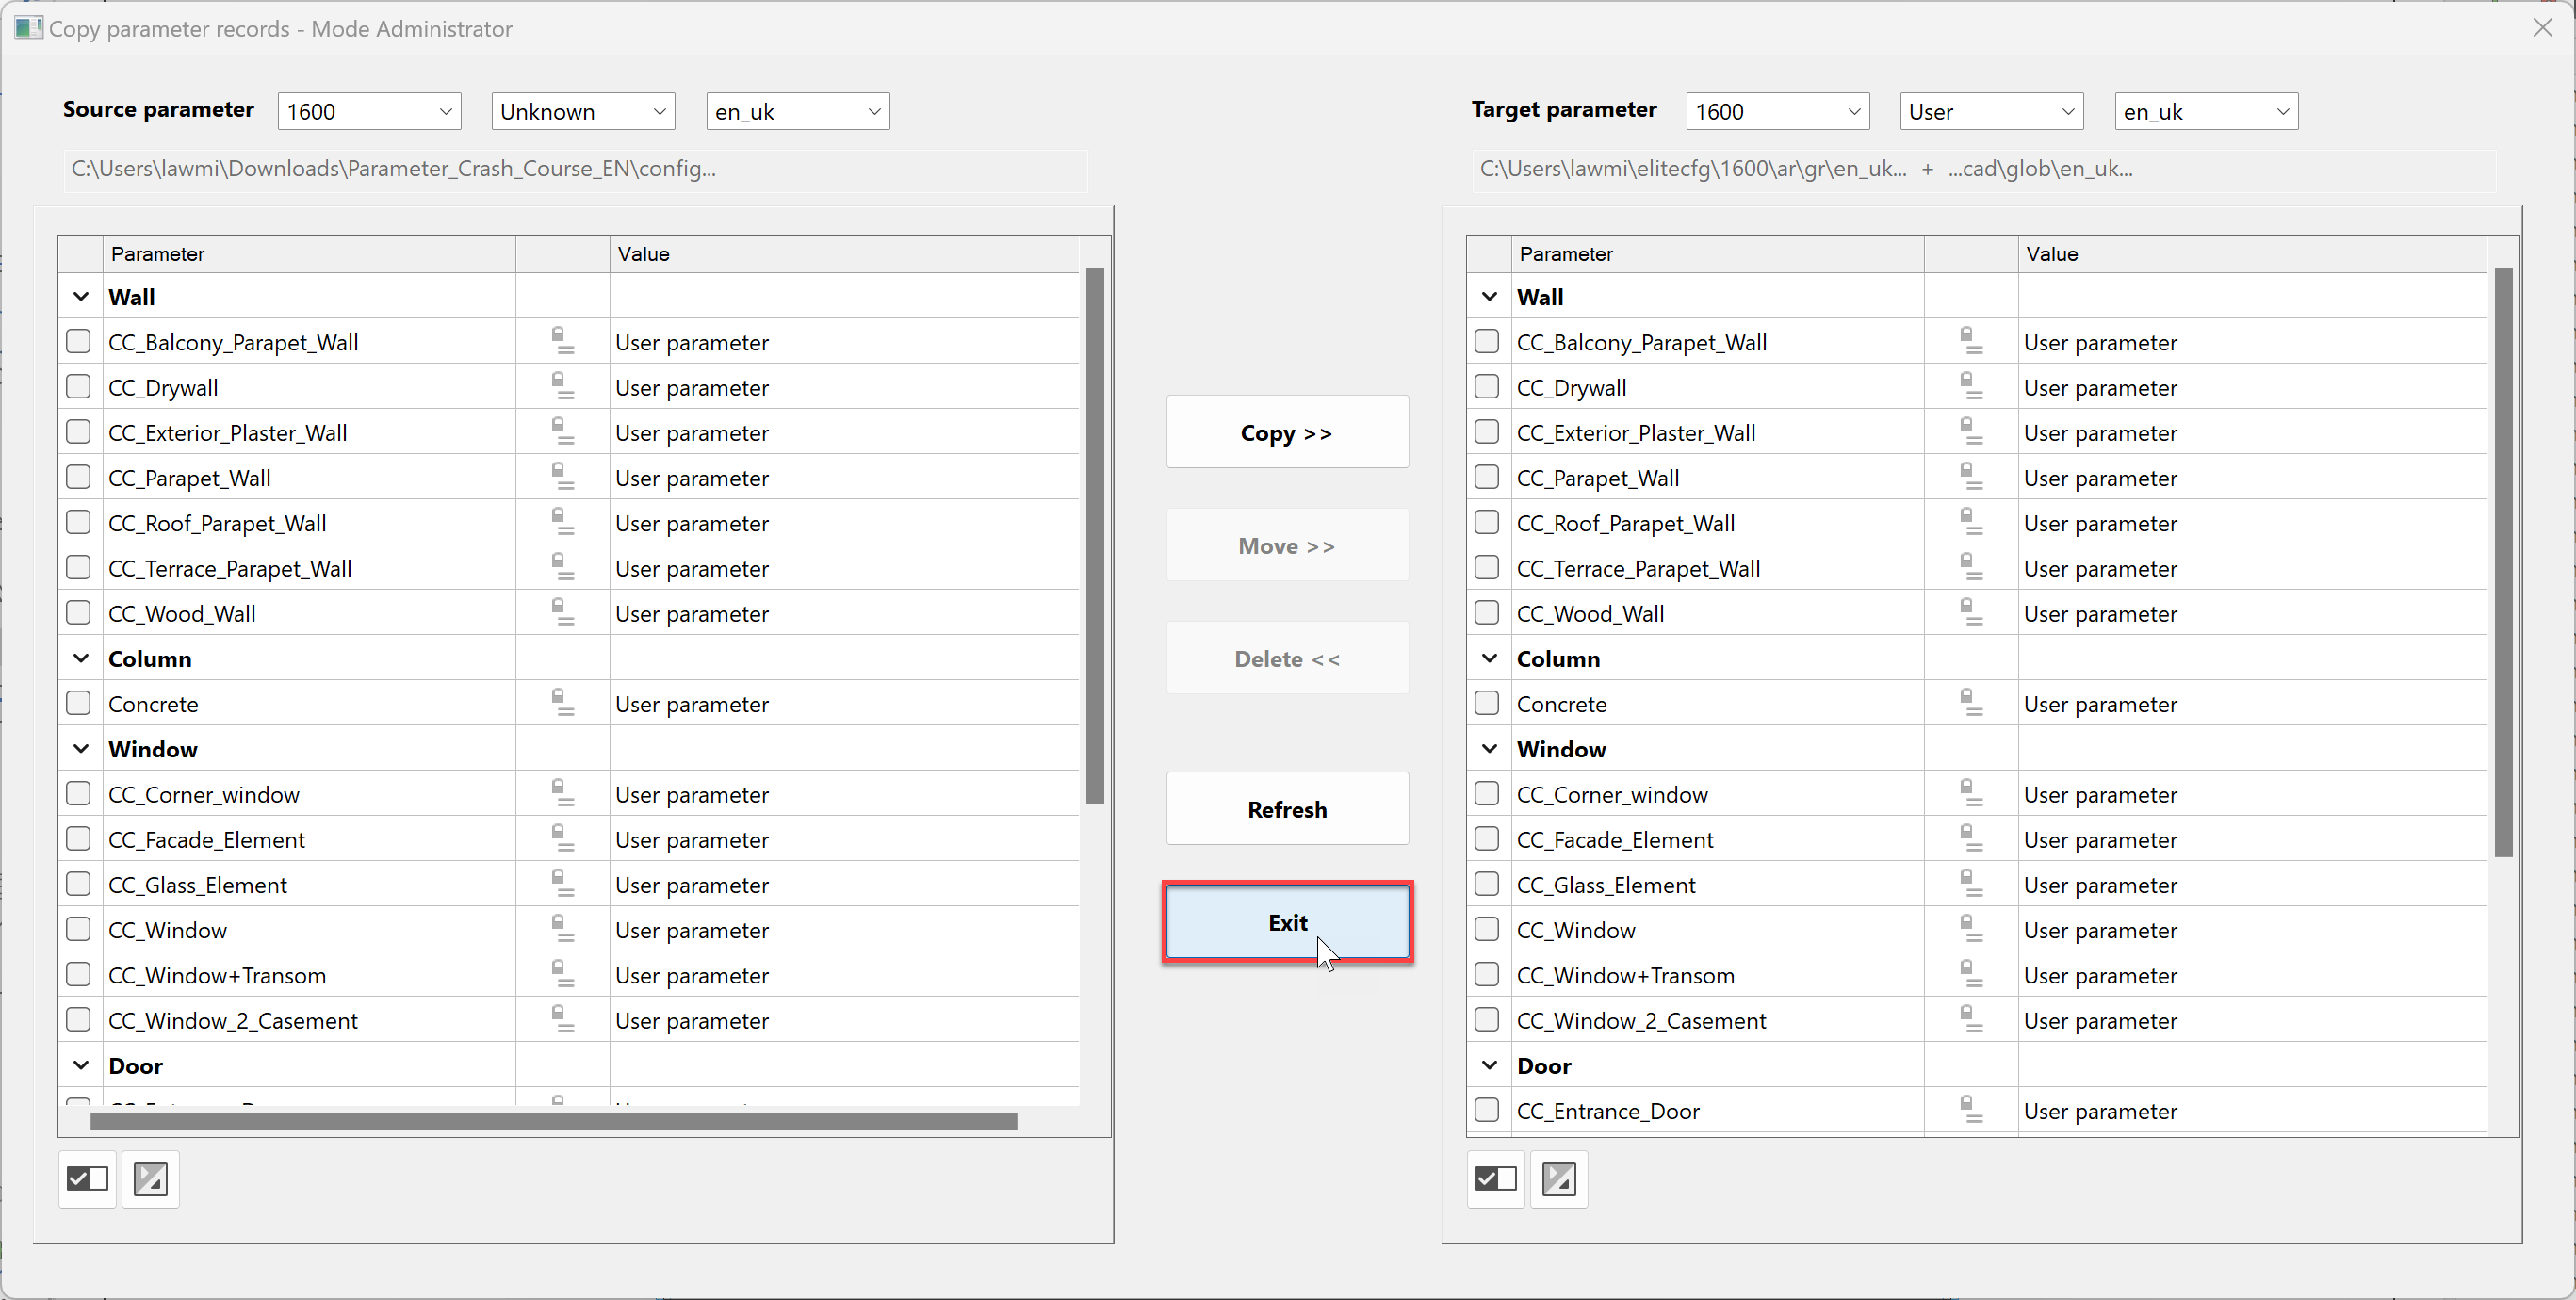
Now we can see all the data records that are contained within the file, such as, special wall constructions, windows, doors, etc. and can add these either individually or all together to our own user parameters. By clicking on the check box in the bottom left, we can select all the data records at once. Finally, we click on Copy >> and the data is then added.
If the parameters are listed on the right side, then they will be correctly applied. You cannot use the Exit button to close this program and then also close the ELITECAD Configuration AR16.
Now you are prepared to begin the course unit. We wish you much fun and success while creating your first building model in ELITECAD Architecture.