Visualisation and presentation
In this part, we want to briefly look at the possibilities of integrated visualization and model presentation in ELITECAD. First, a few library parts should be placed in the model to get a feel for the room layout. Afterwards, we want to take a virtual, interactive walk through the model and exchange materials. Finally, a picture and a short video should be created for the client.
Library
ELITECAD comes with a pre-installed library of hundreds of 2D and 3D parts. Of course, using the numerous import interfaces such as IFC, SketchUp, 3DS, etc..., you can download and import numerous other library parts from the Internet. We now want to place a few furnishings as samples to show how the library manager in ELITECAD works.
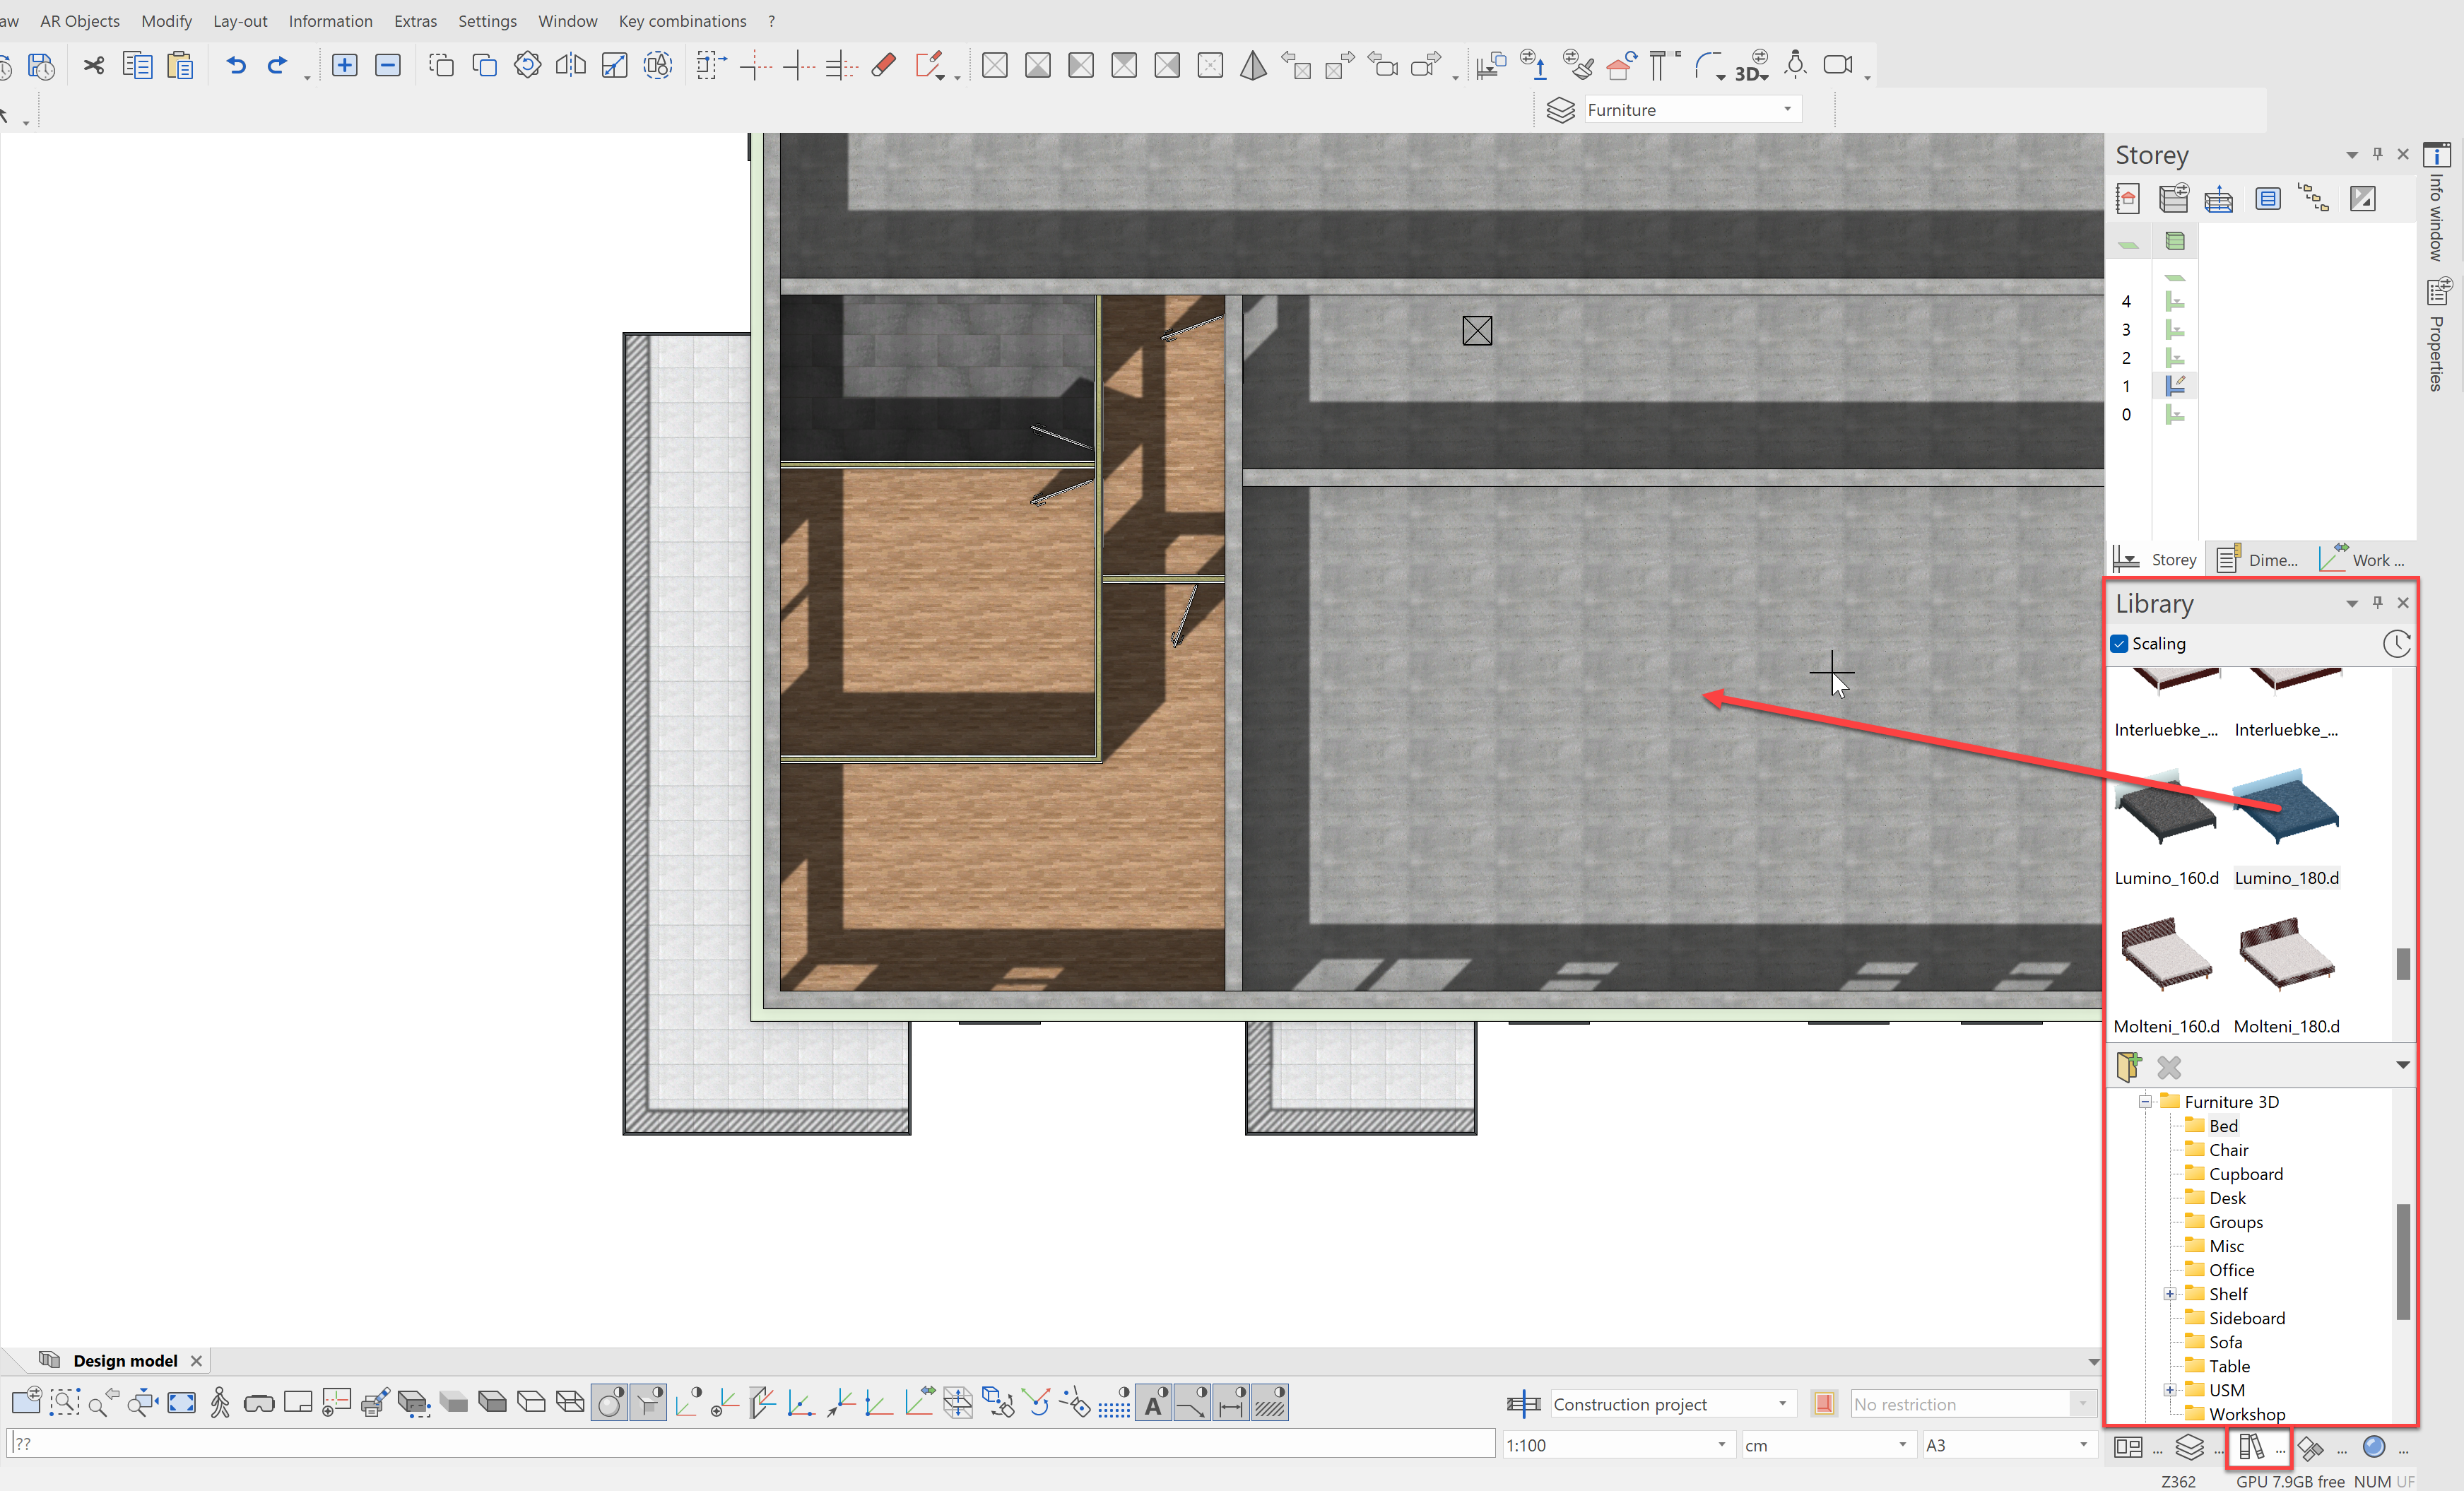
First open the ELITECAD Library manager at the bottom right and select a library part, e.g. the bed /Furniture 3D/Bed/Lumino_180.d:
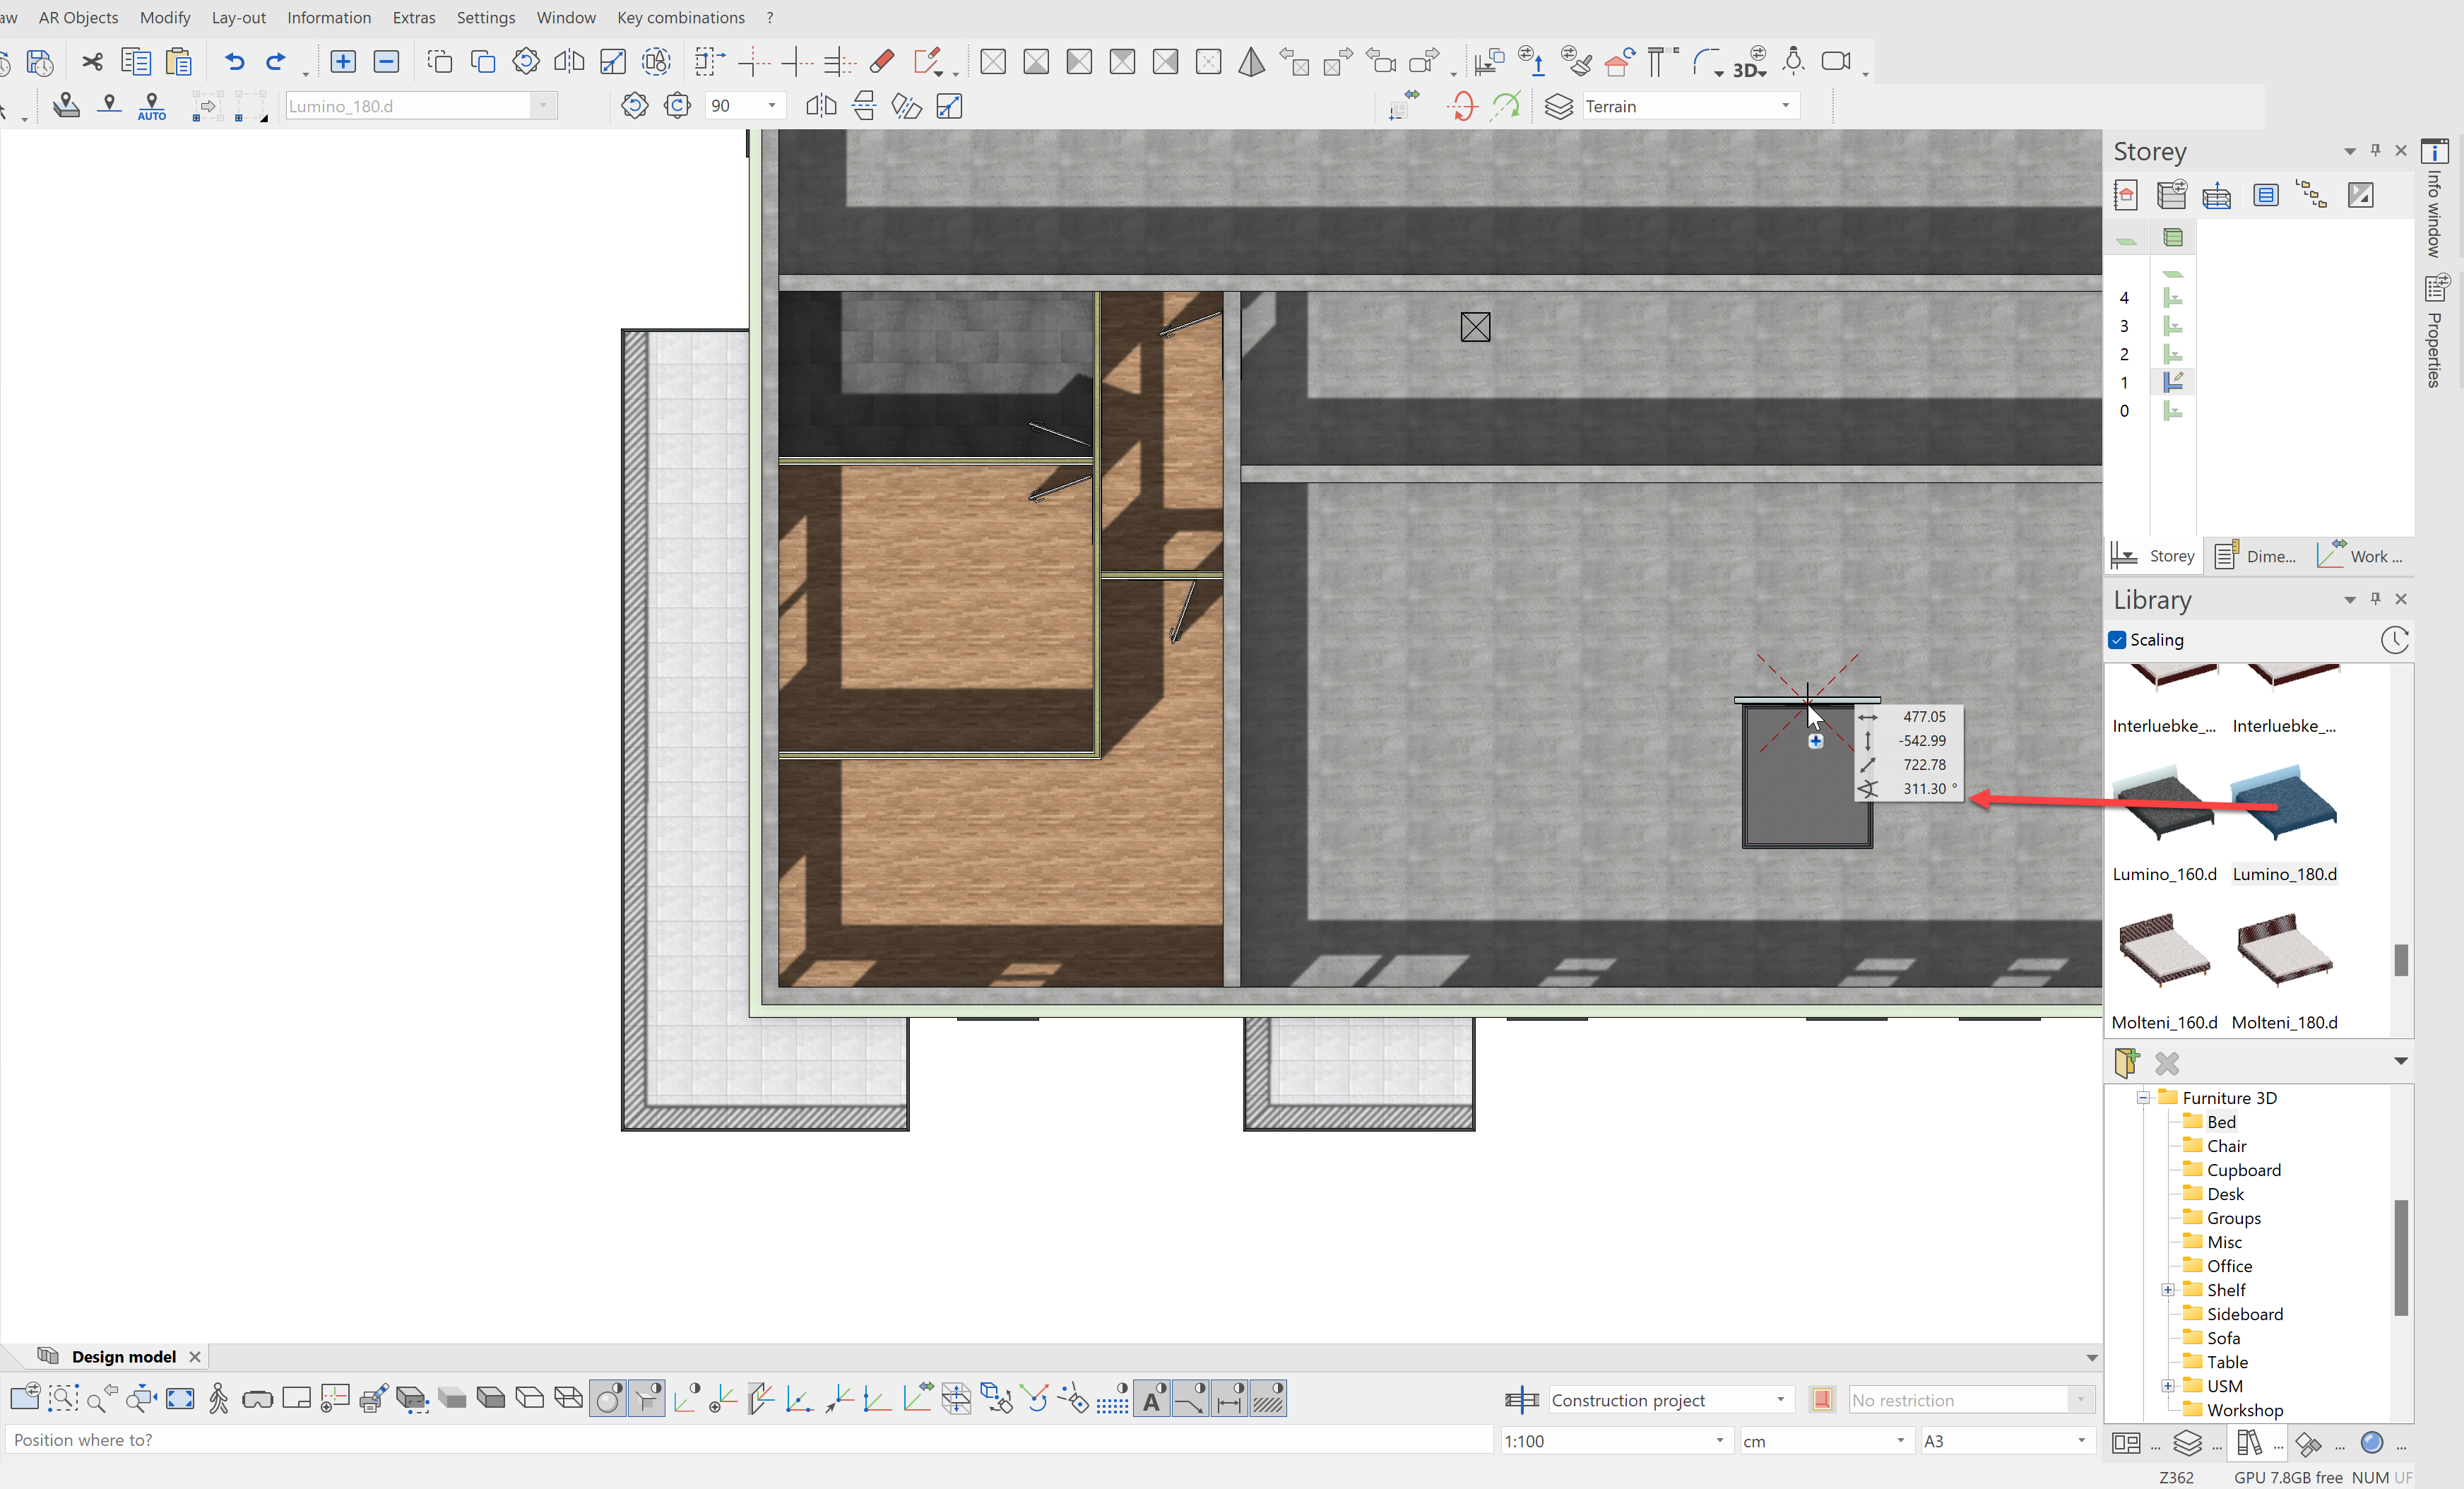
Now show a storey alone, where you already have established rooms, e.g. NF1 and drag the bed into the model. The library part will be placed once for each click. Again, it is up to you whether you work in 2D, 3D, solid or wire model mode.
Now select another part, e.g. the sideboard /Furniture 3D/Sideboard/Ad Hoc Executive Lowboard 160.d and drag it into the model, but do not set it down just yet.
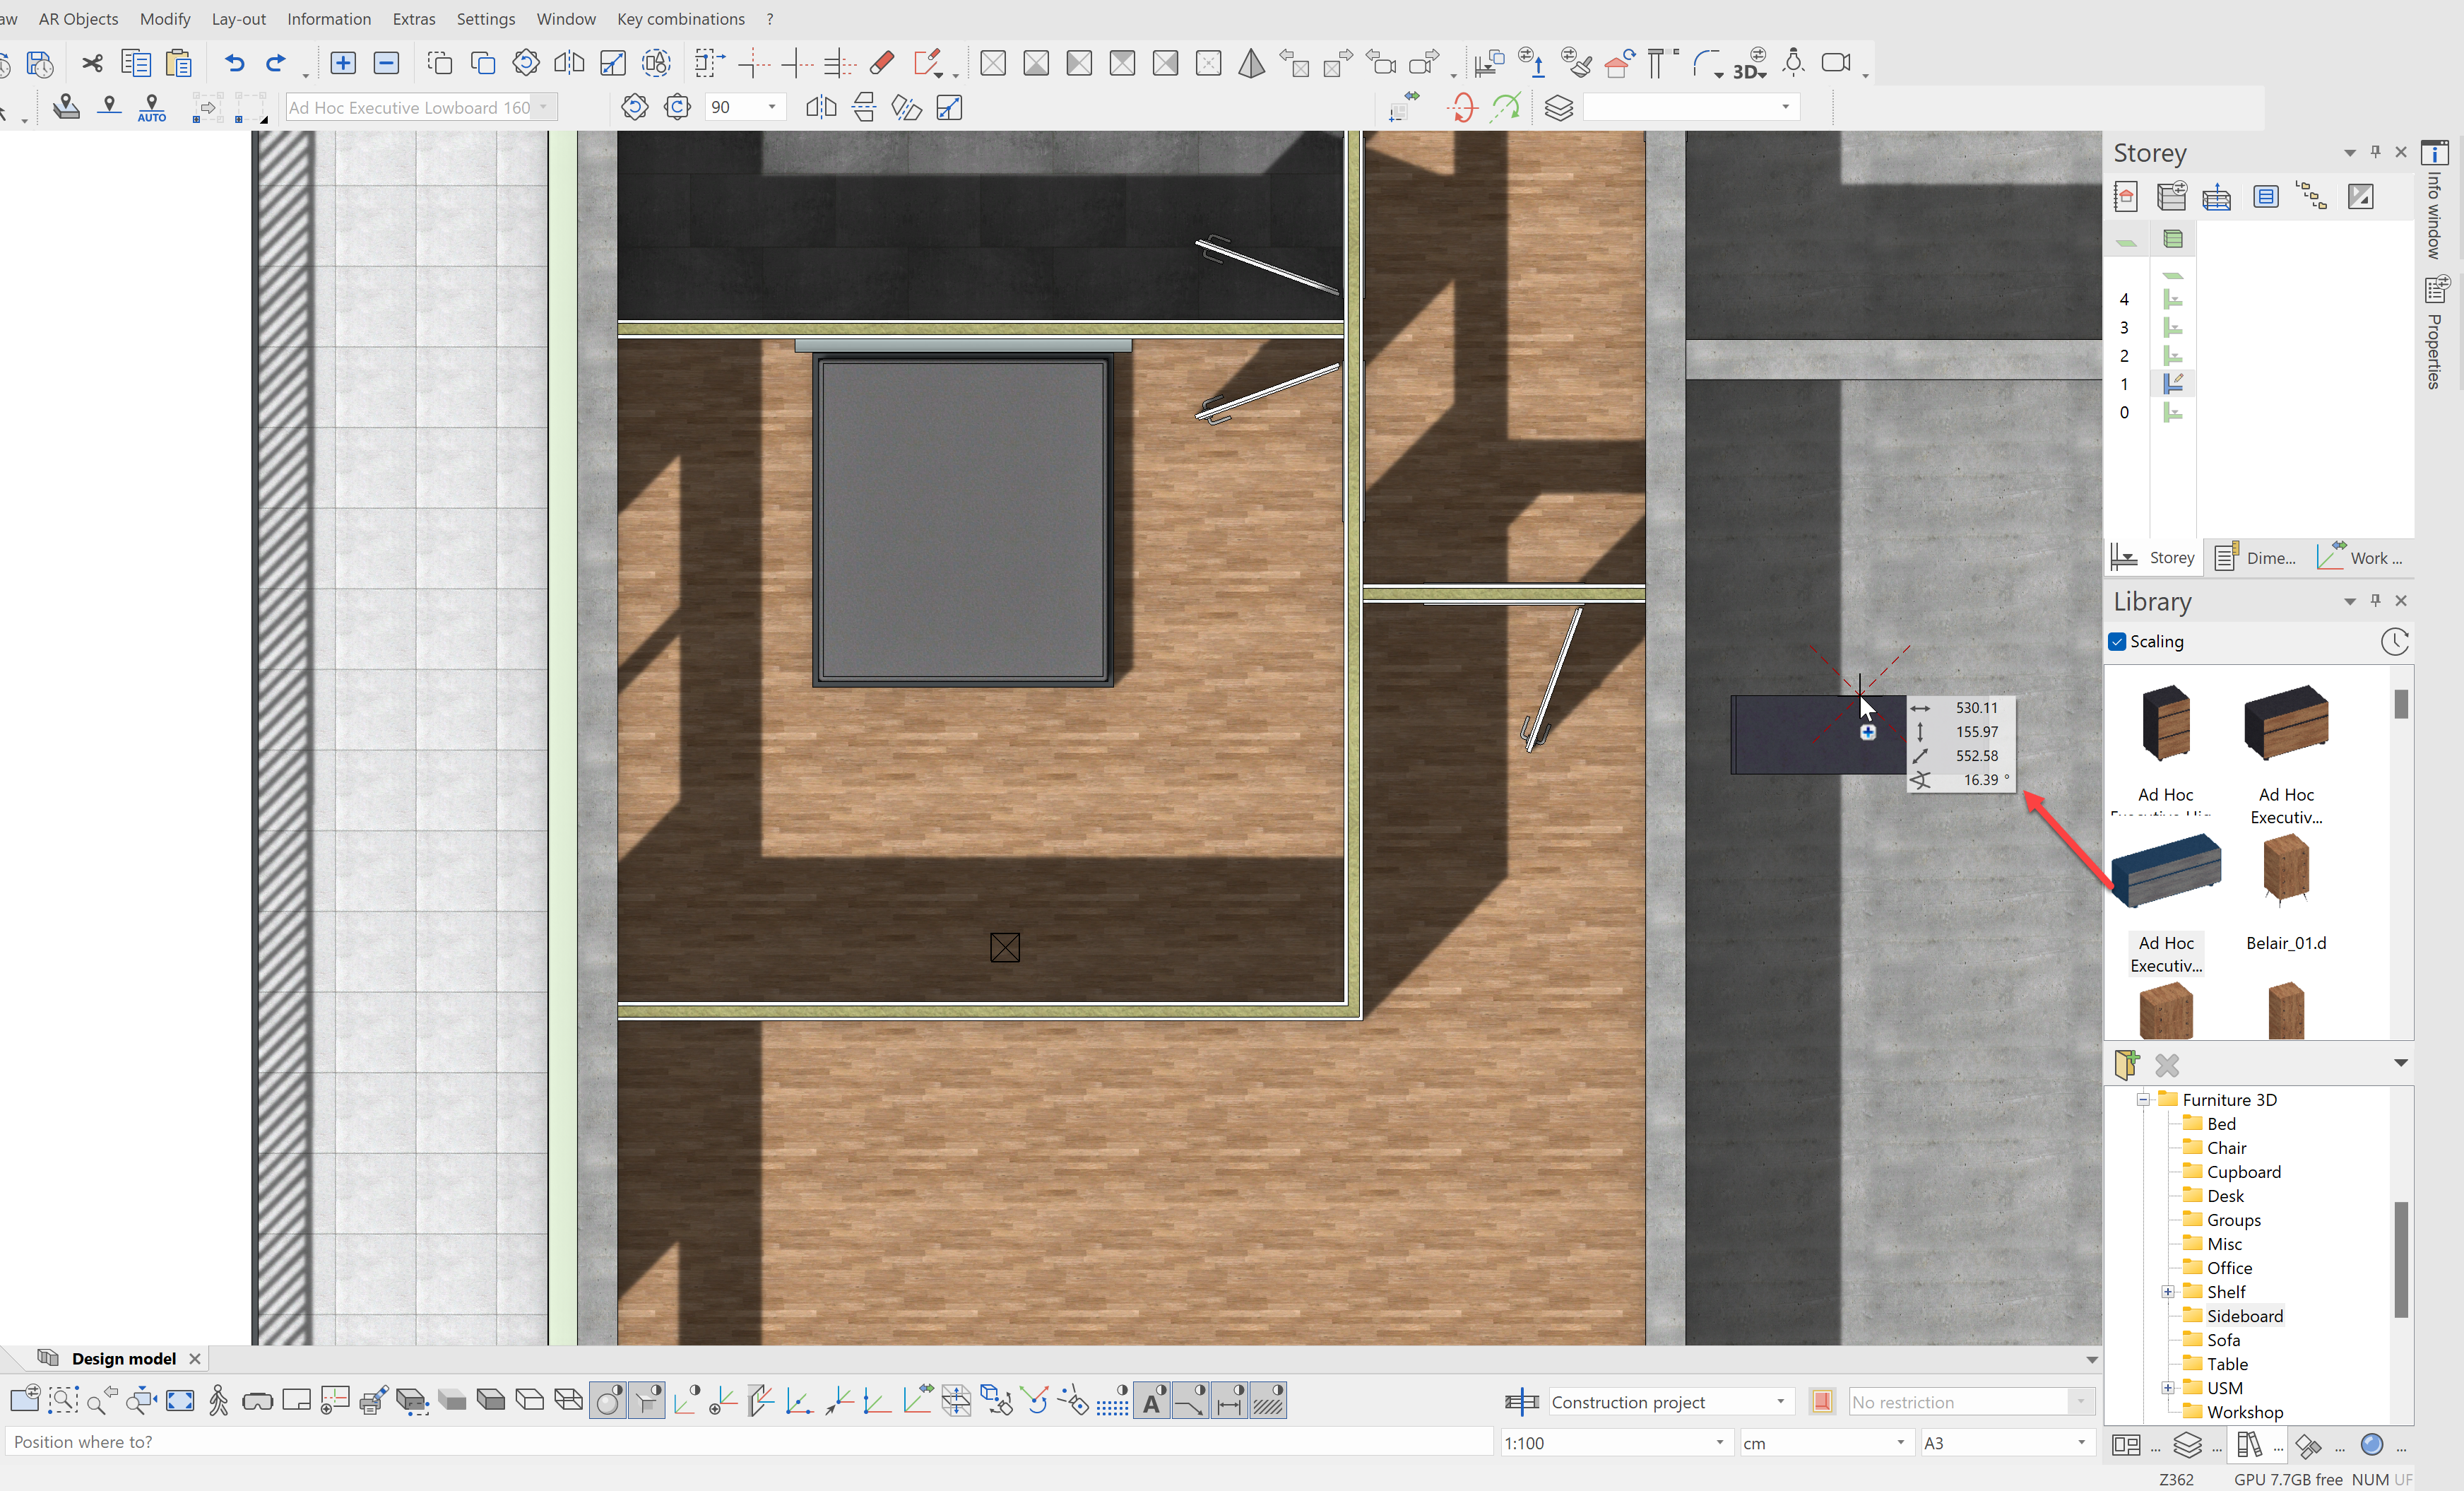
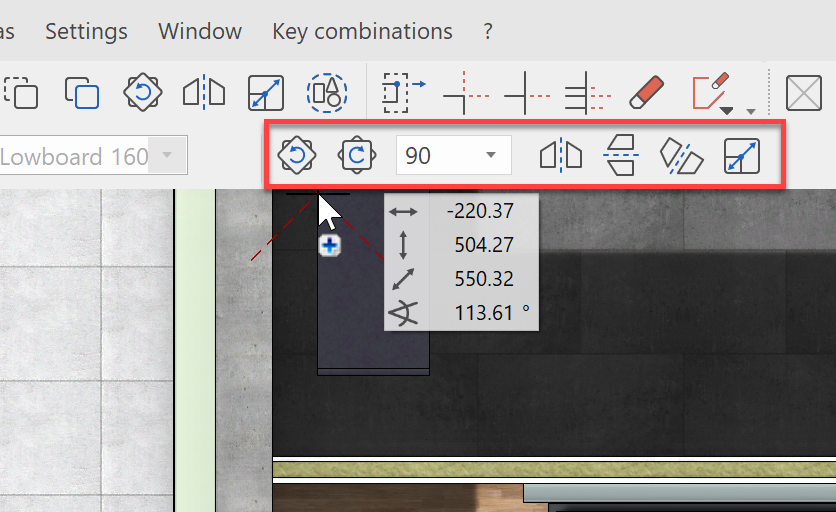
This library part should be placed across from the bed. We must either rotate or mirror it for it to be in the correct position. From the property bar, library parts that are still attached to the cursor can be rotated, mirrored or scaled. Rotate the object 180 degrees:
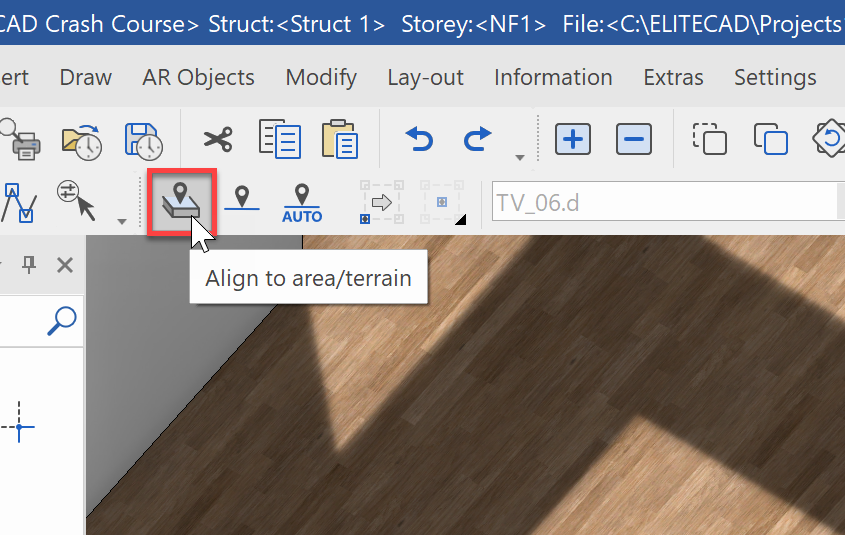
Next a television should be placed upon the sideboard. Pick out a television from the library, e.g. Furniture 3D/Misc/TV-06.d and drag it into the model. So that the television will be placed on the sideboard and not the floor, you must activate the option Align to area/terrain.
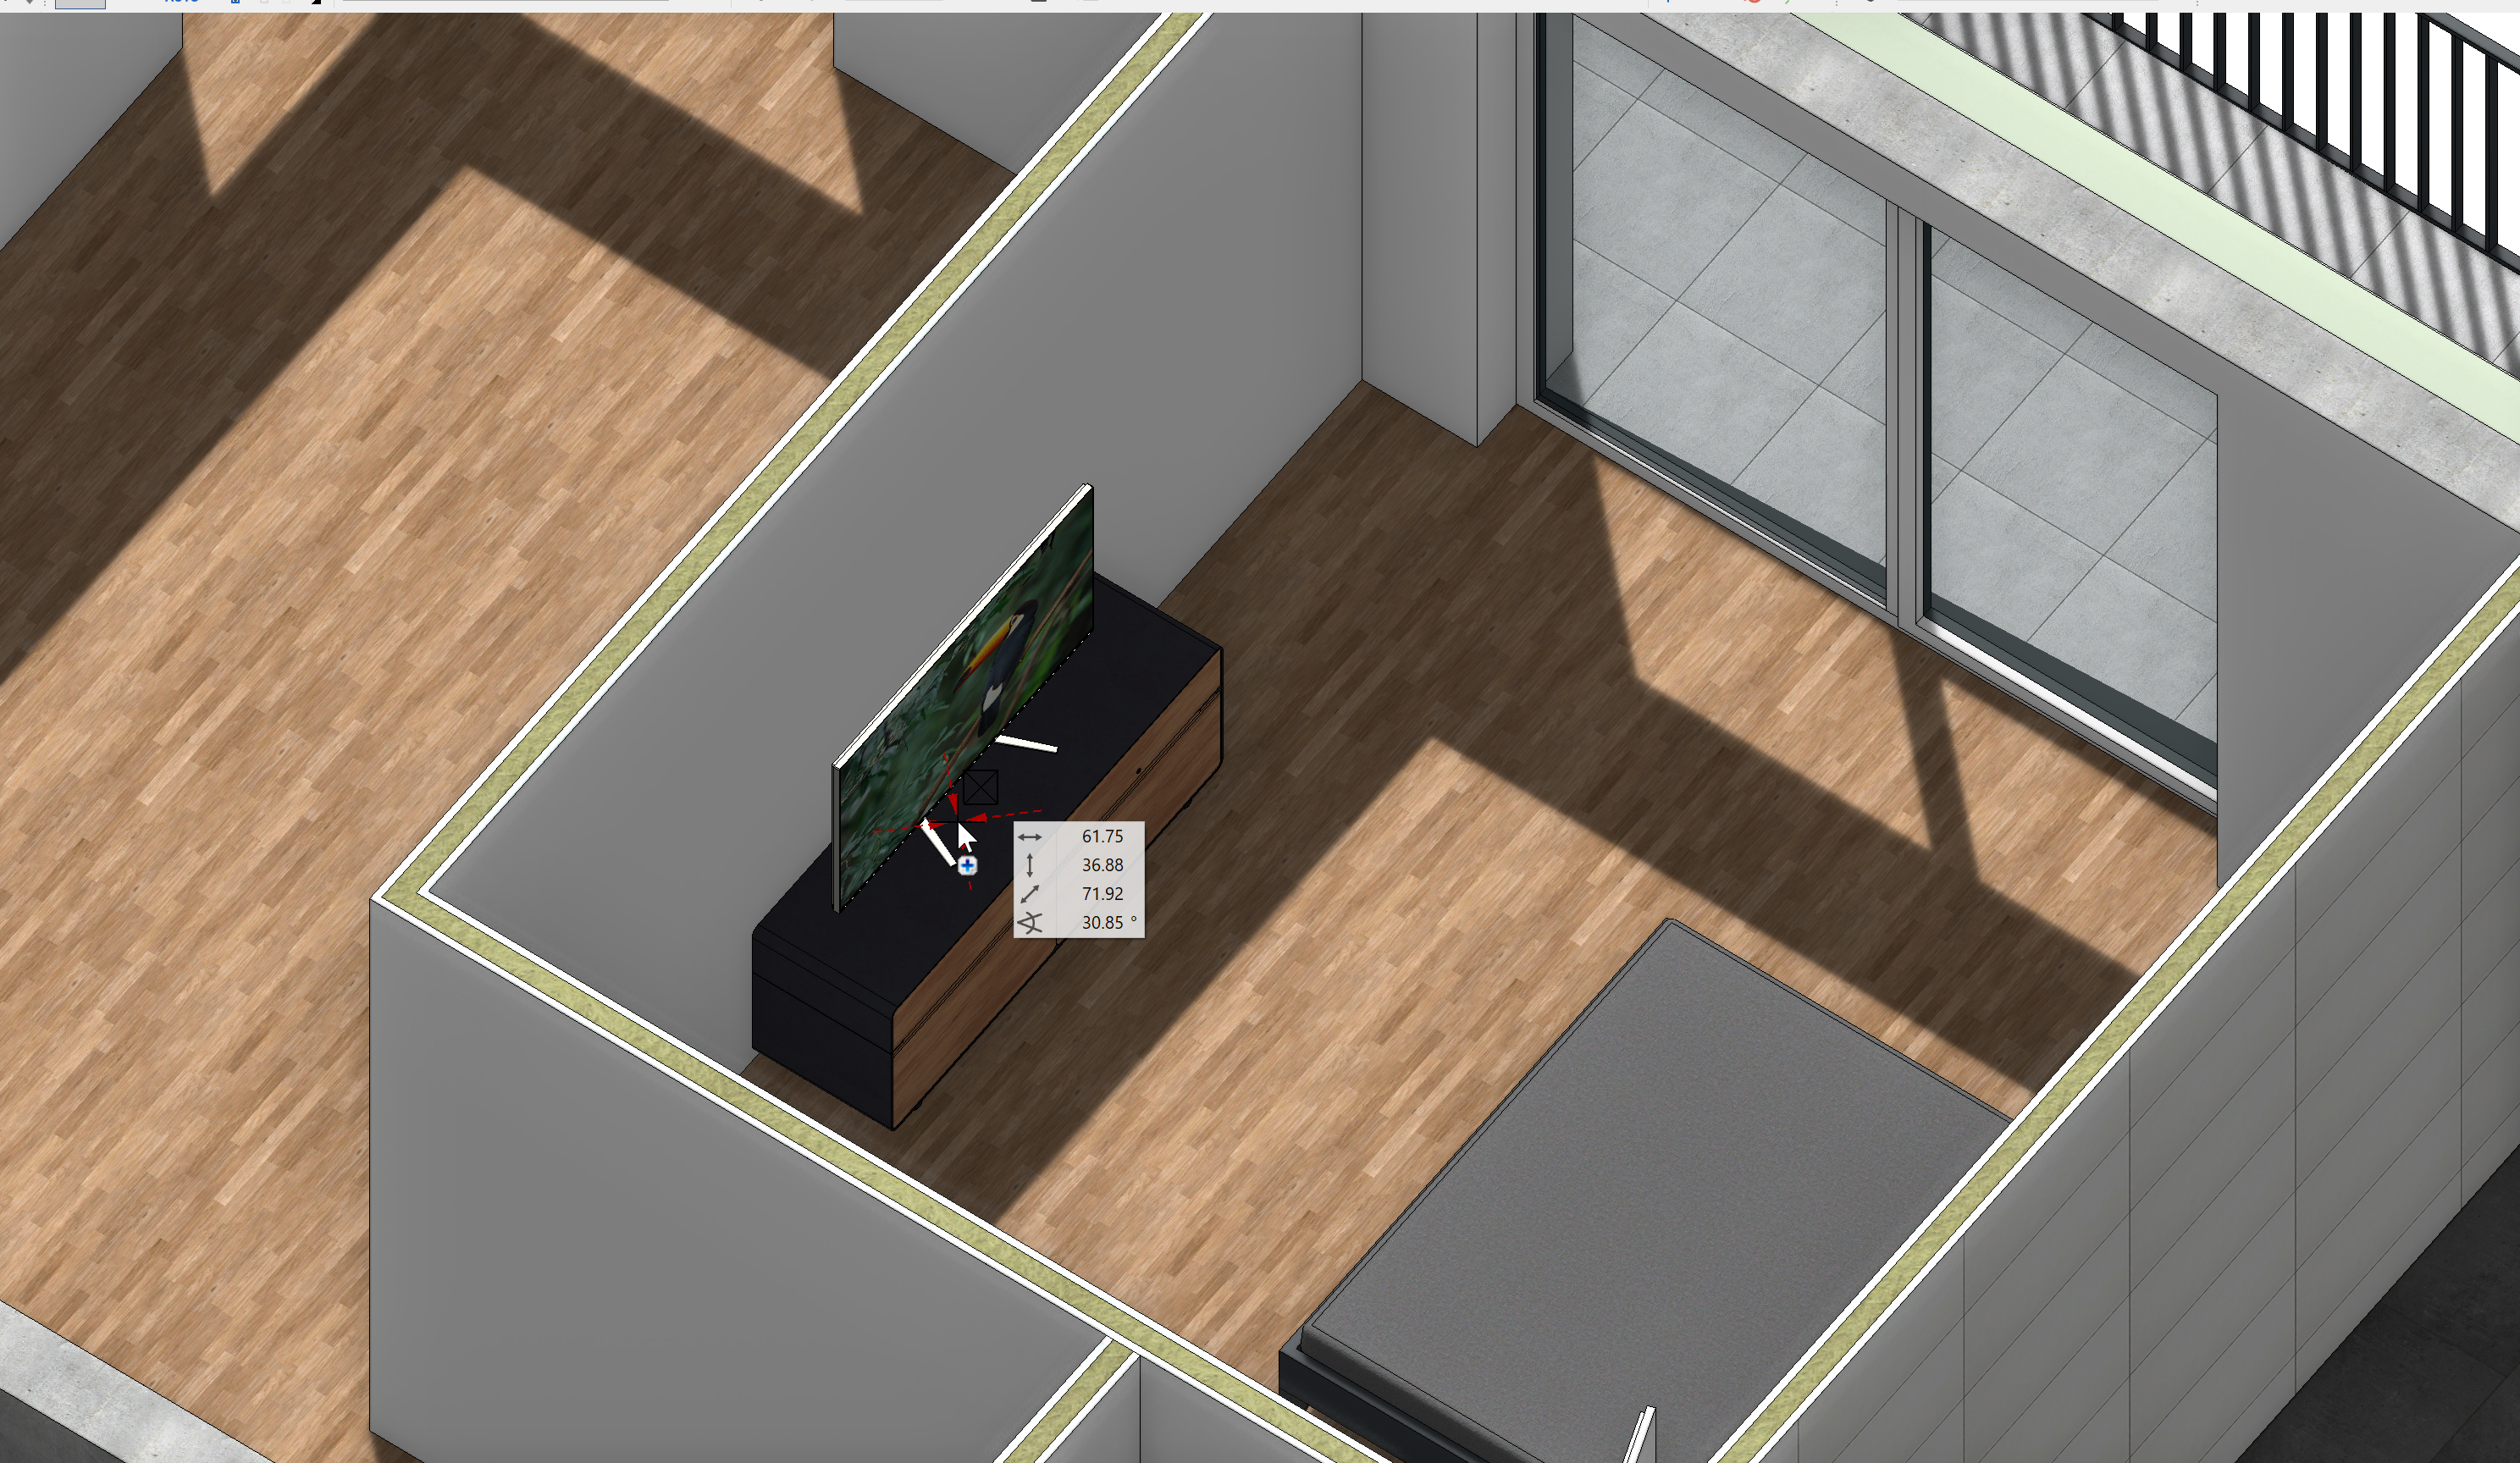
Position the TV on the sideboard:
Feel free to place more interior objects like sinks, showers, closets, etc... into the model.
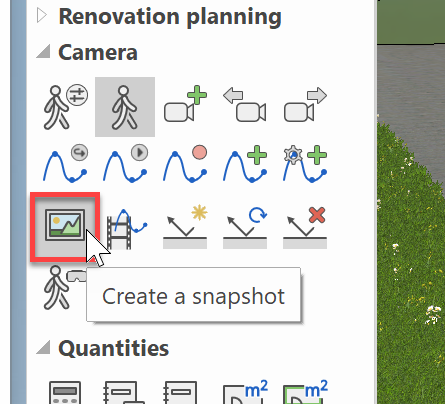
Take a snapshot
Next, we want to create impressive pictures for the presentation with our customer. For this, ELITECAD offers a practical snapshot function.
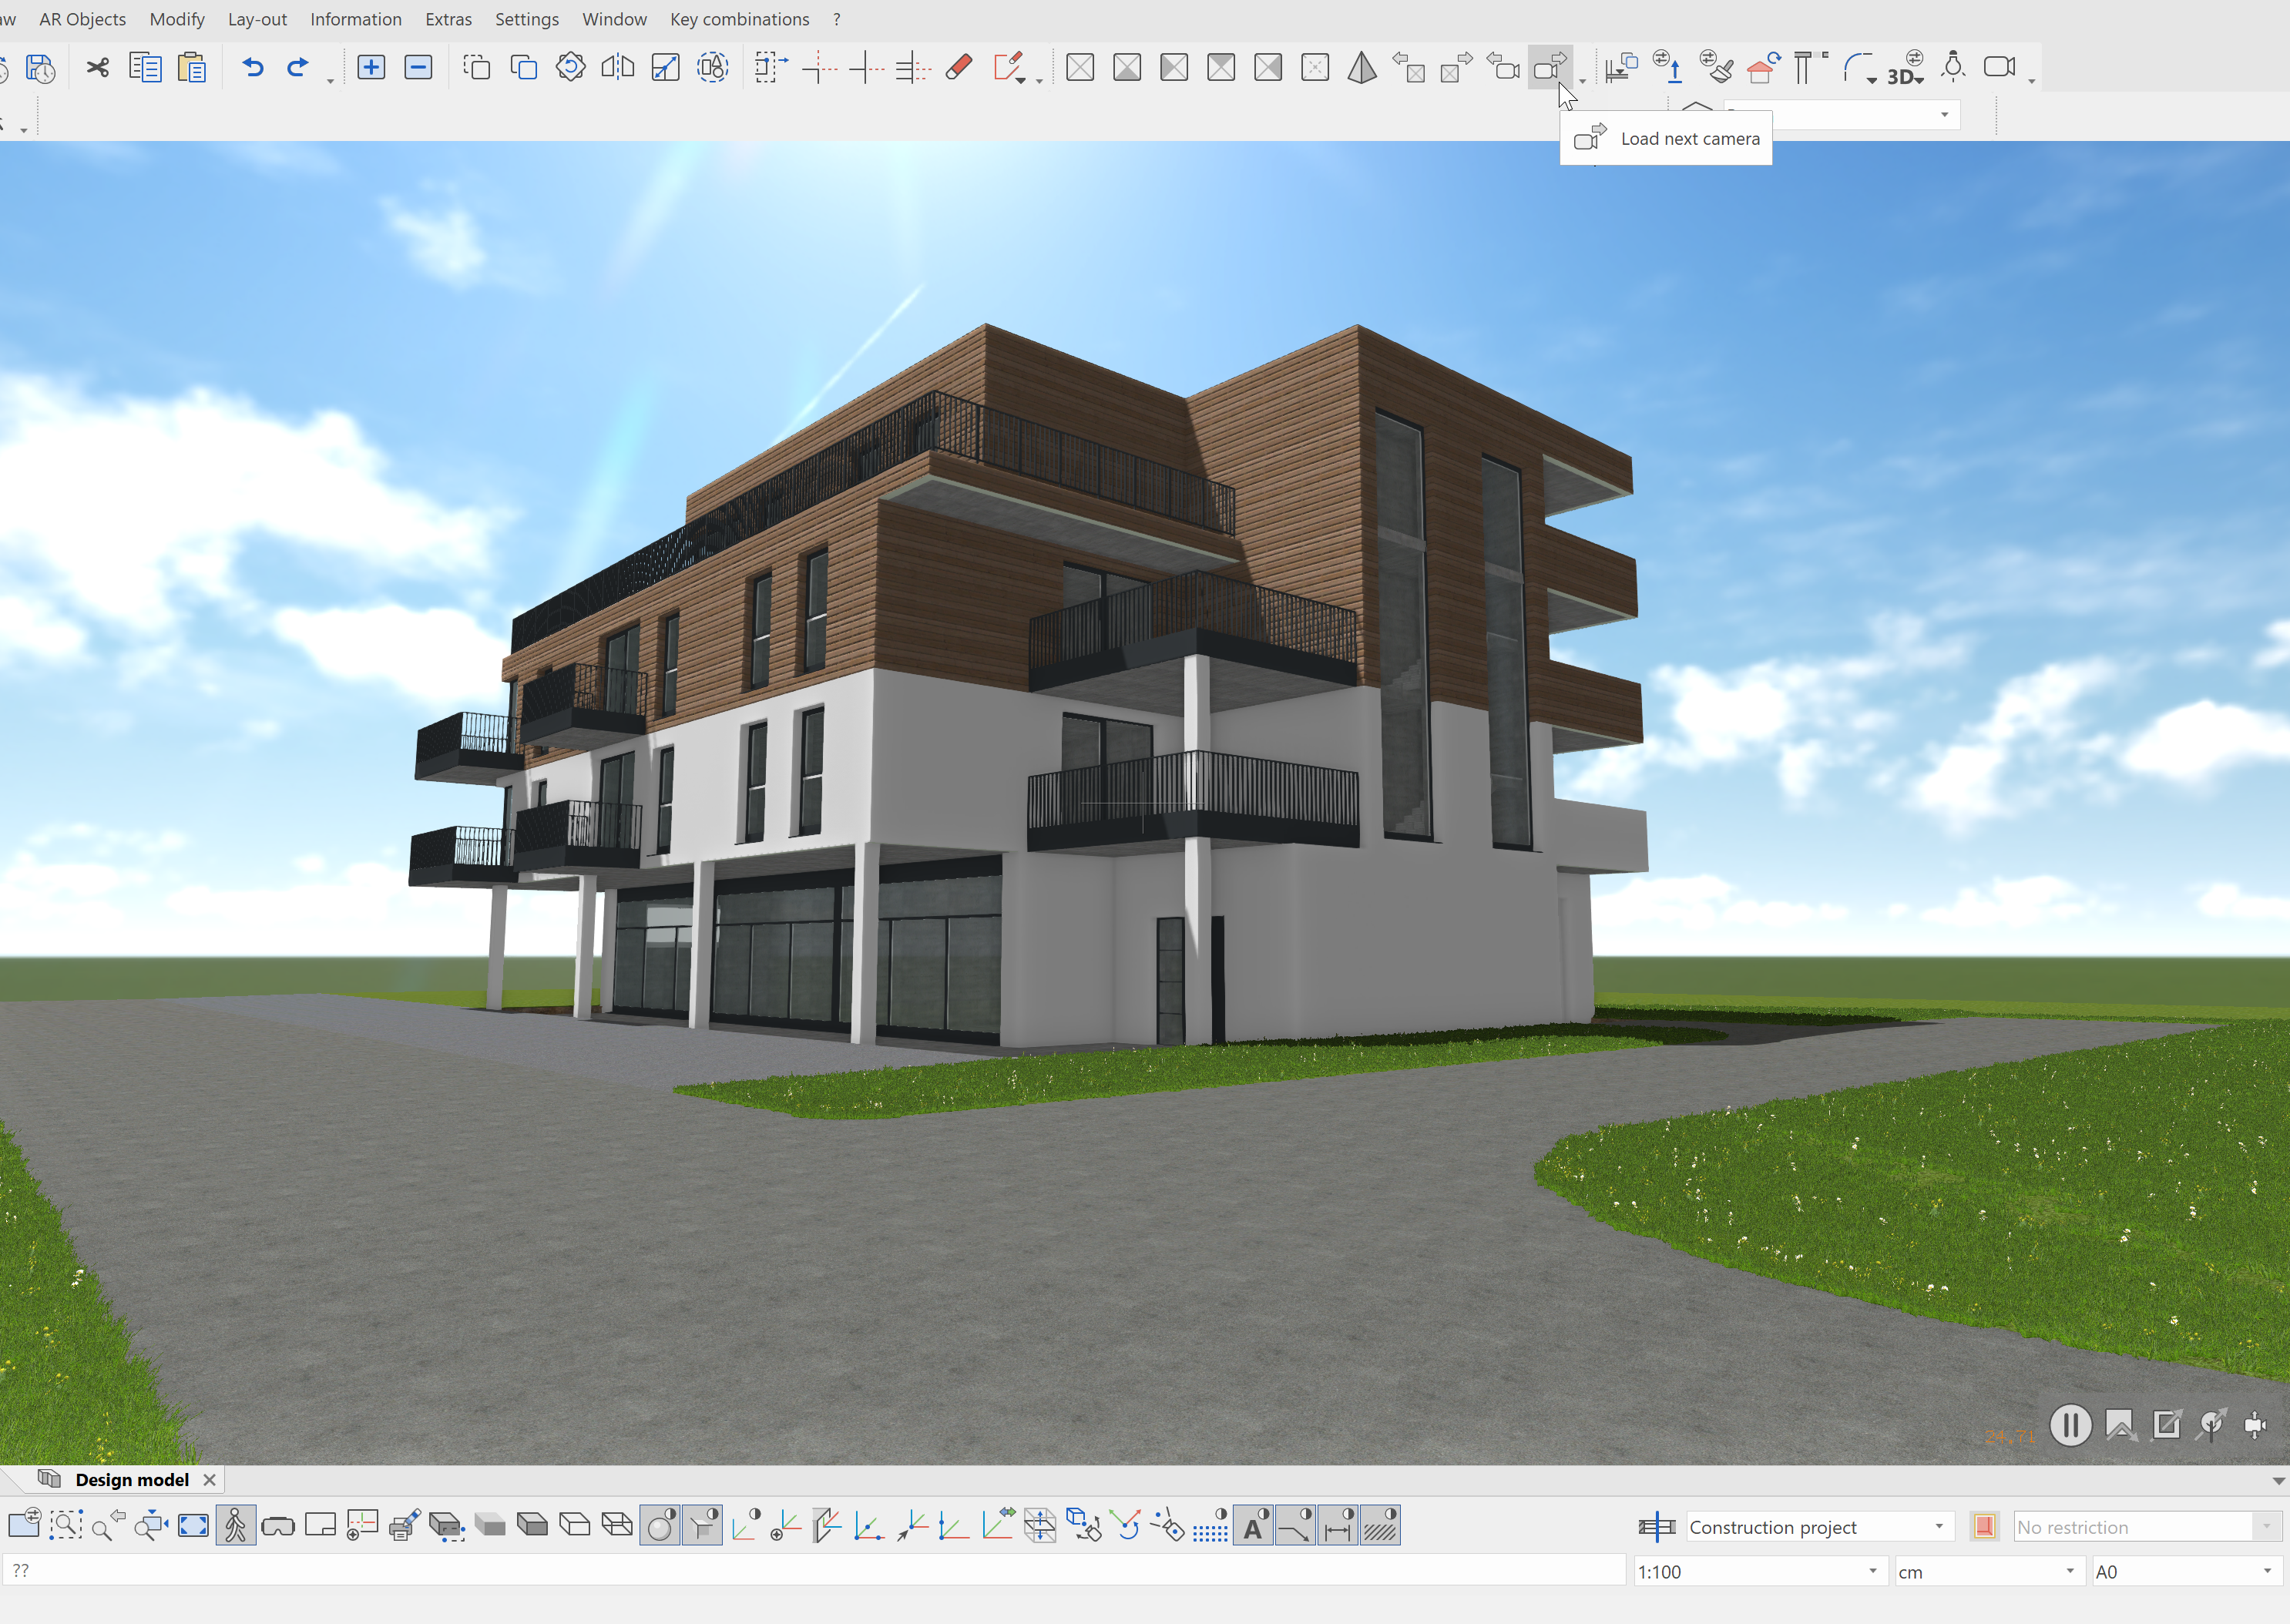
Let's load a predefined camera position using the Load next camera in the menu bar.
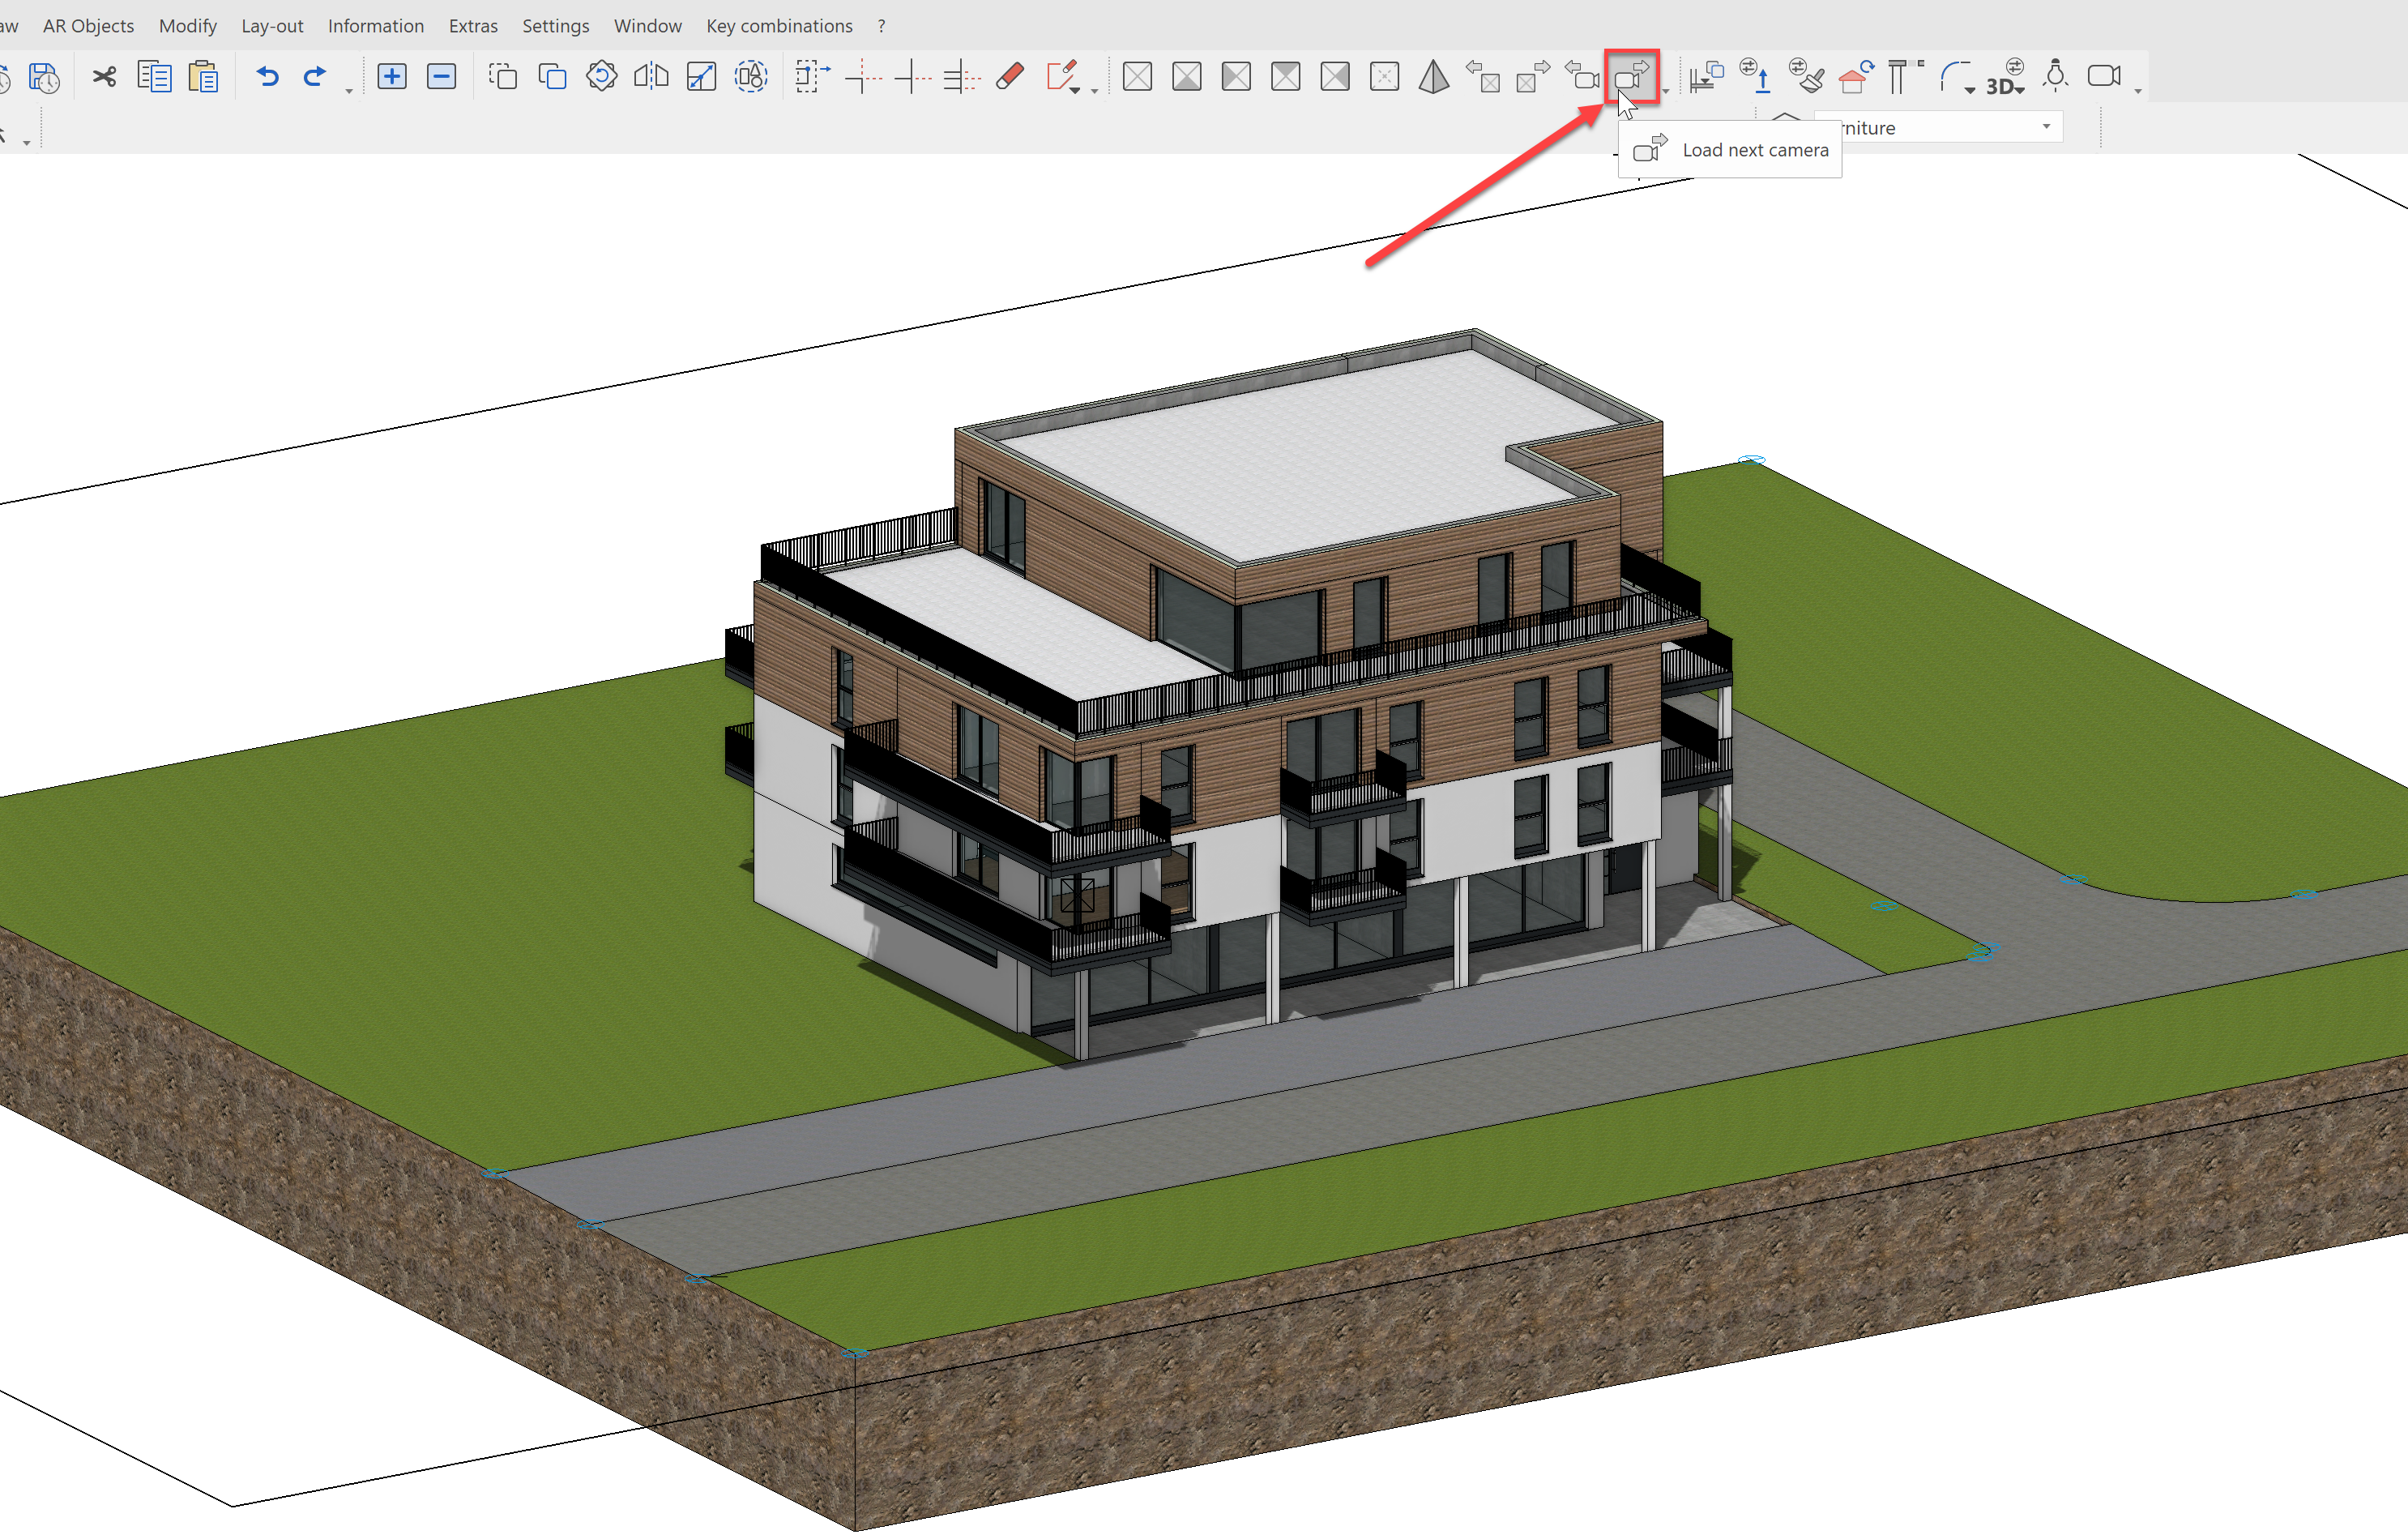
If you do not like the view, you can continue clicking to select a different view.
Use the function Create a snapshot from the tools manager Camera to take a snapshot.
Before the snapshot is generated, all reflections in your model will be refreshed. You can wait for this or cancel this with Esc.

Now configure what your snapshot should look like, e.g. JPEG in 4K. You can also create PNG snapshots with a transparent background. Enabling Settings from camera mode walk in the view parameters will hide the edges, resulting in a more realistic view.
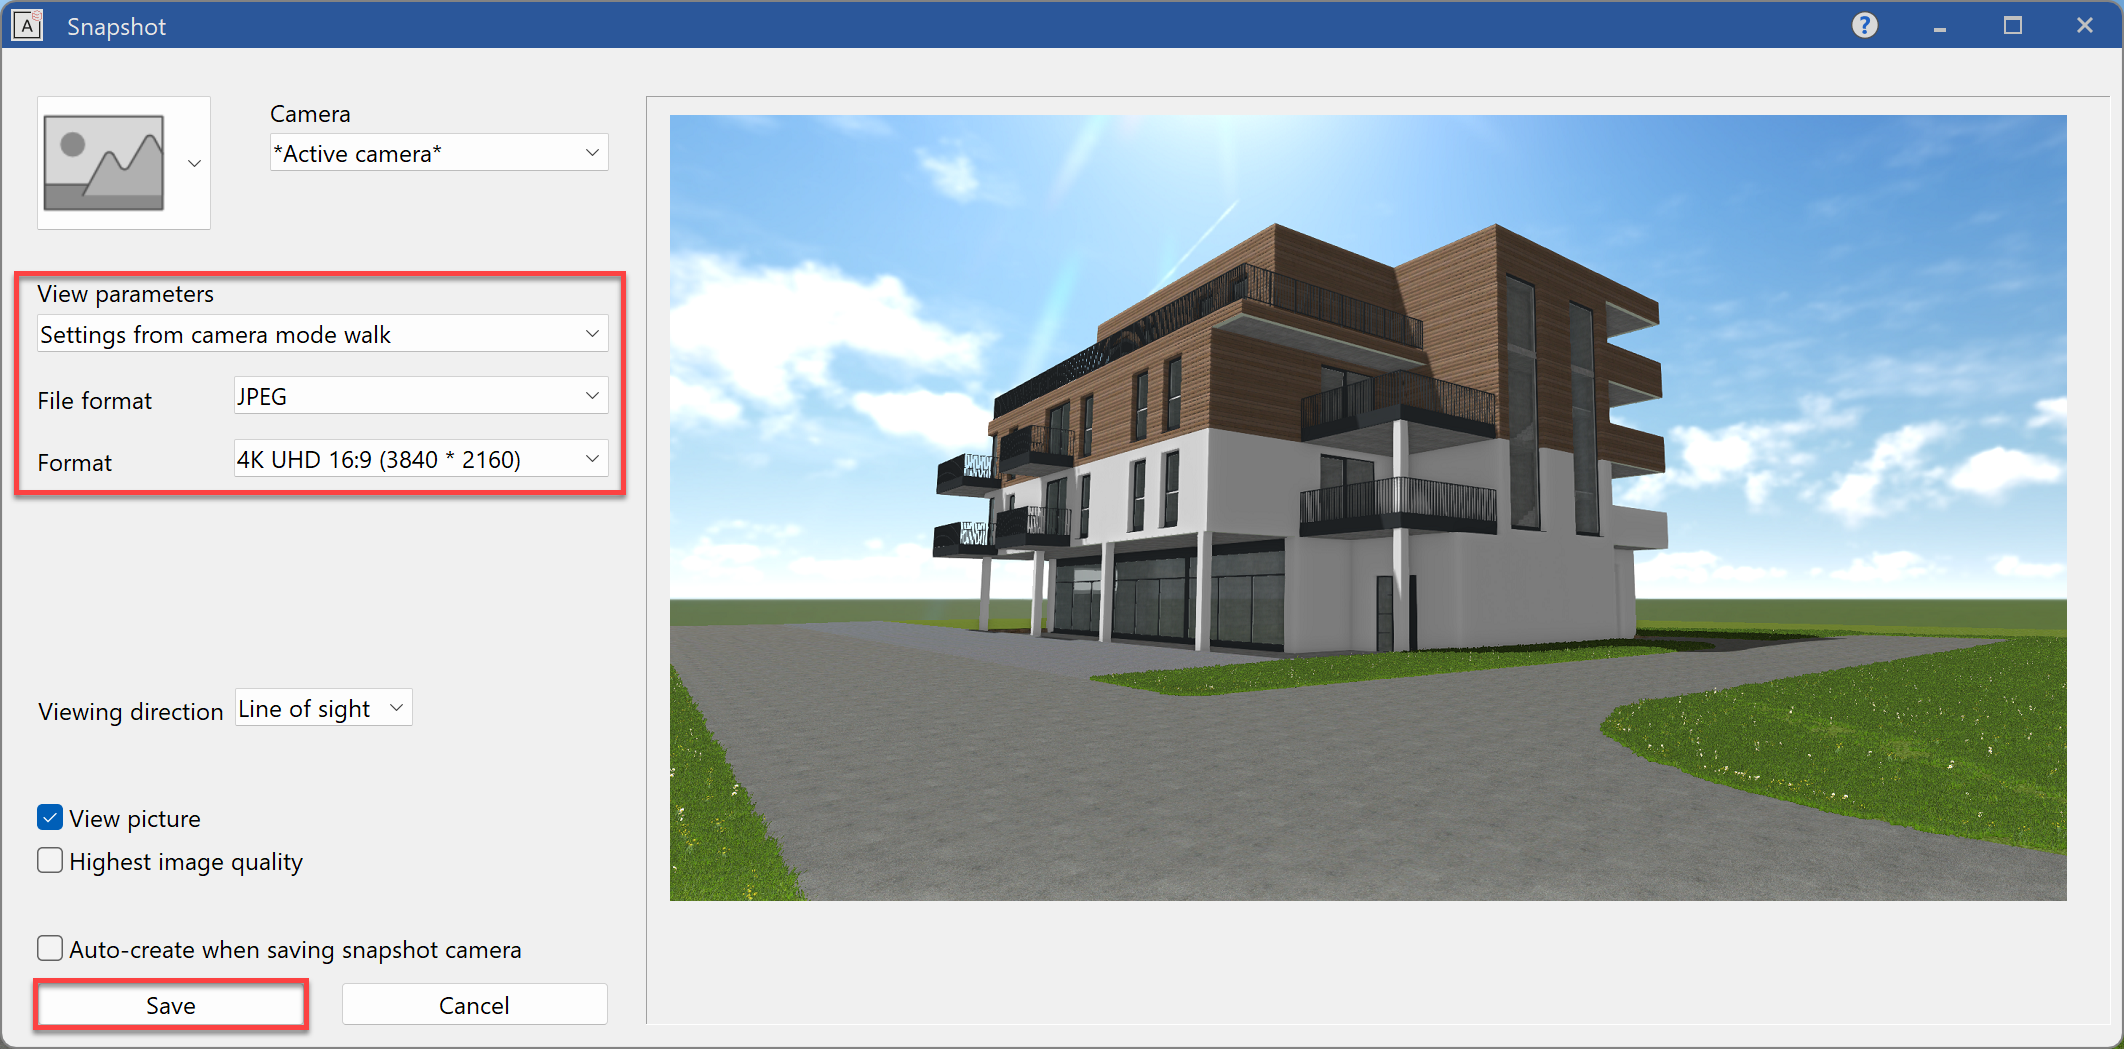
Click now on Save and your picture will be generated.
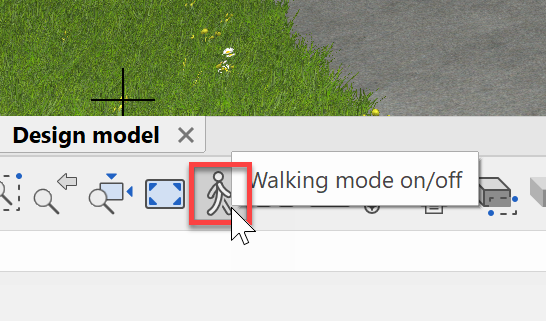
Walking mode and material exchange
In ELITECAD, models can be explored at any time in 3D. This is possible in the so-called Walking mode. Activate this from the image properties:
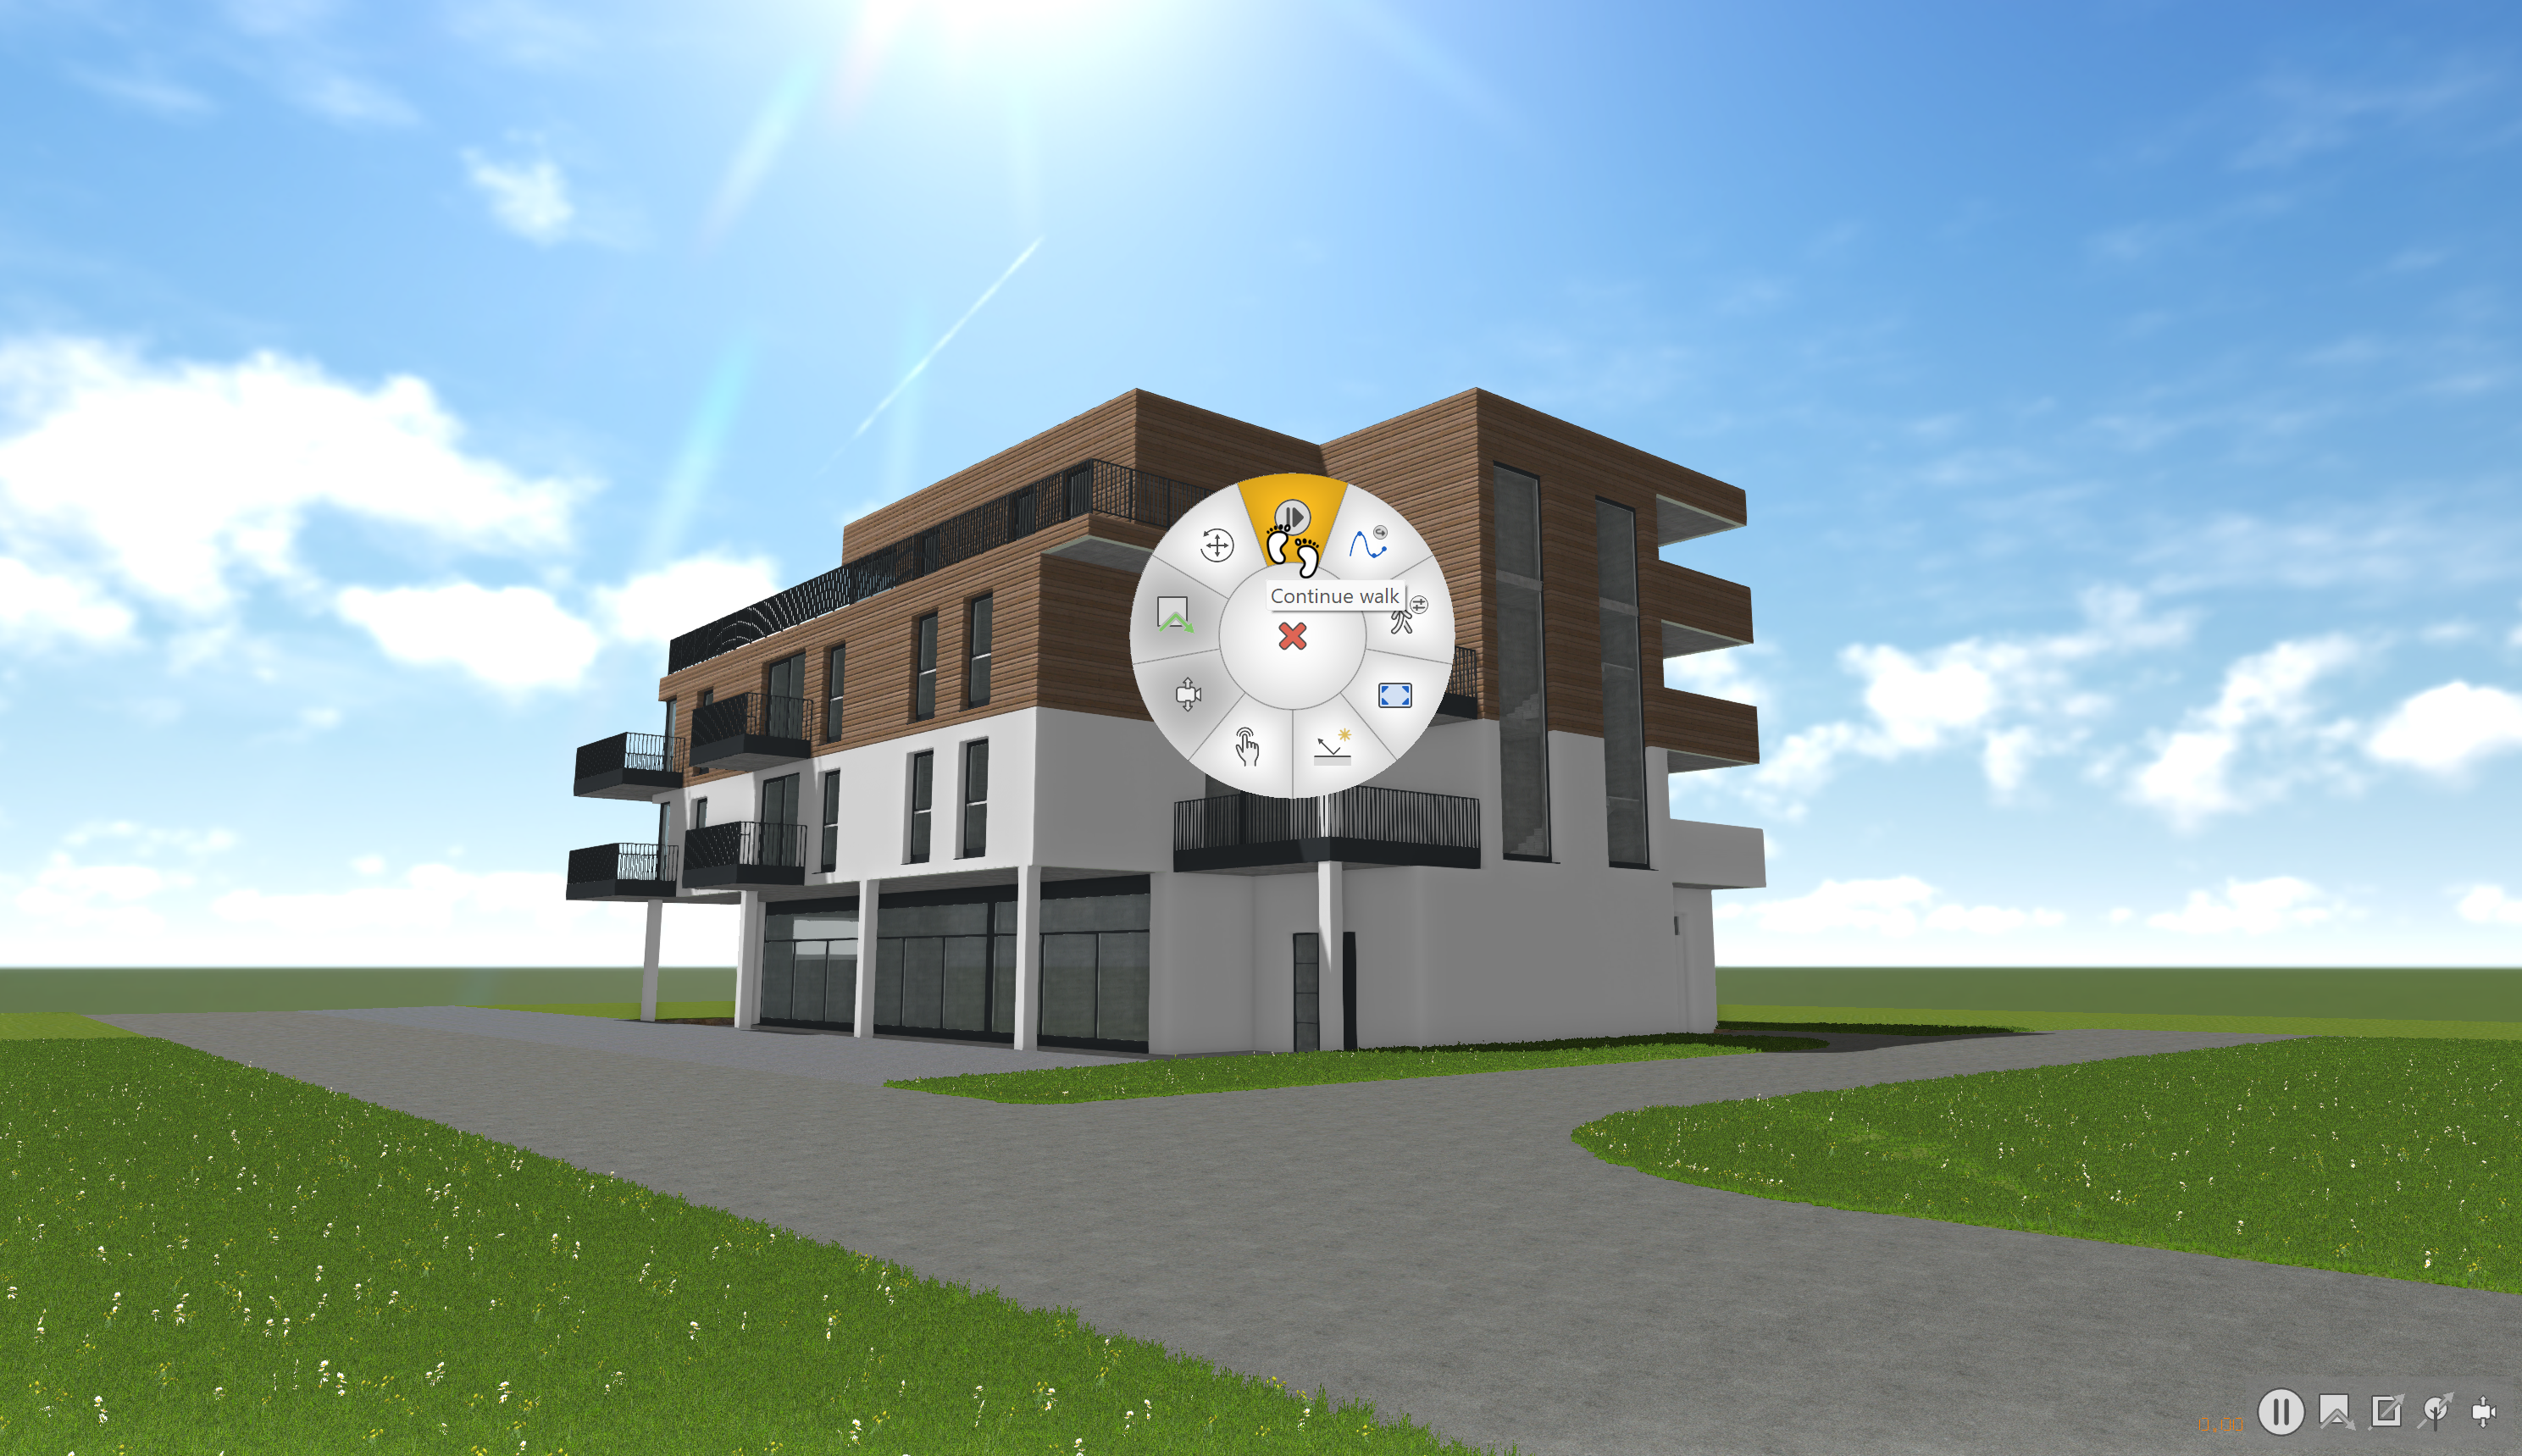
Now you can move through your model live with the mouse and arrow keys of your keyboard. If you have a game pad, like for example a Playstation controller, you can use this connected to your PC as an input device. With a right click, you open the round context menu, where you can pause or end the walking mode. From here, you can also switch to fullscreen mode as well as toggle the gravity and collision control on/off.
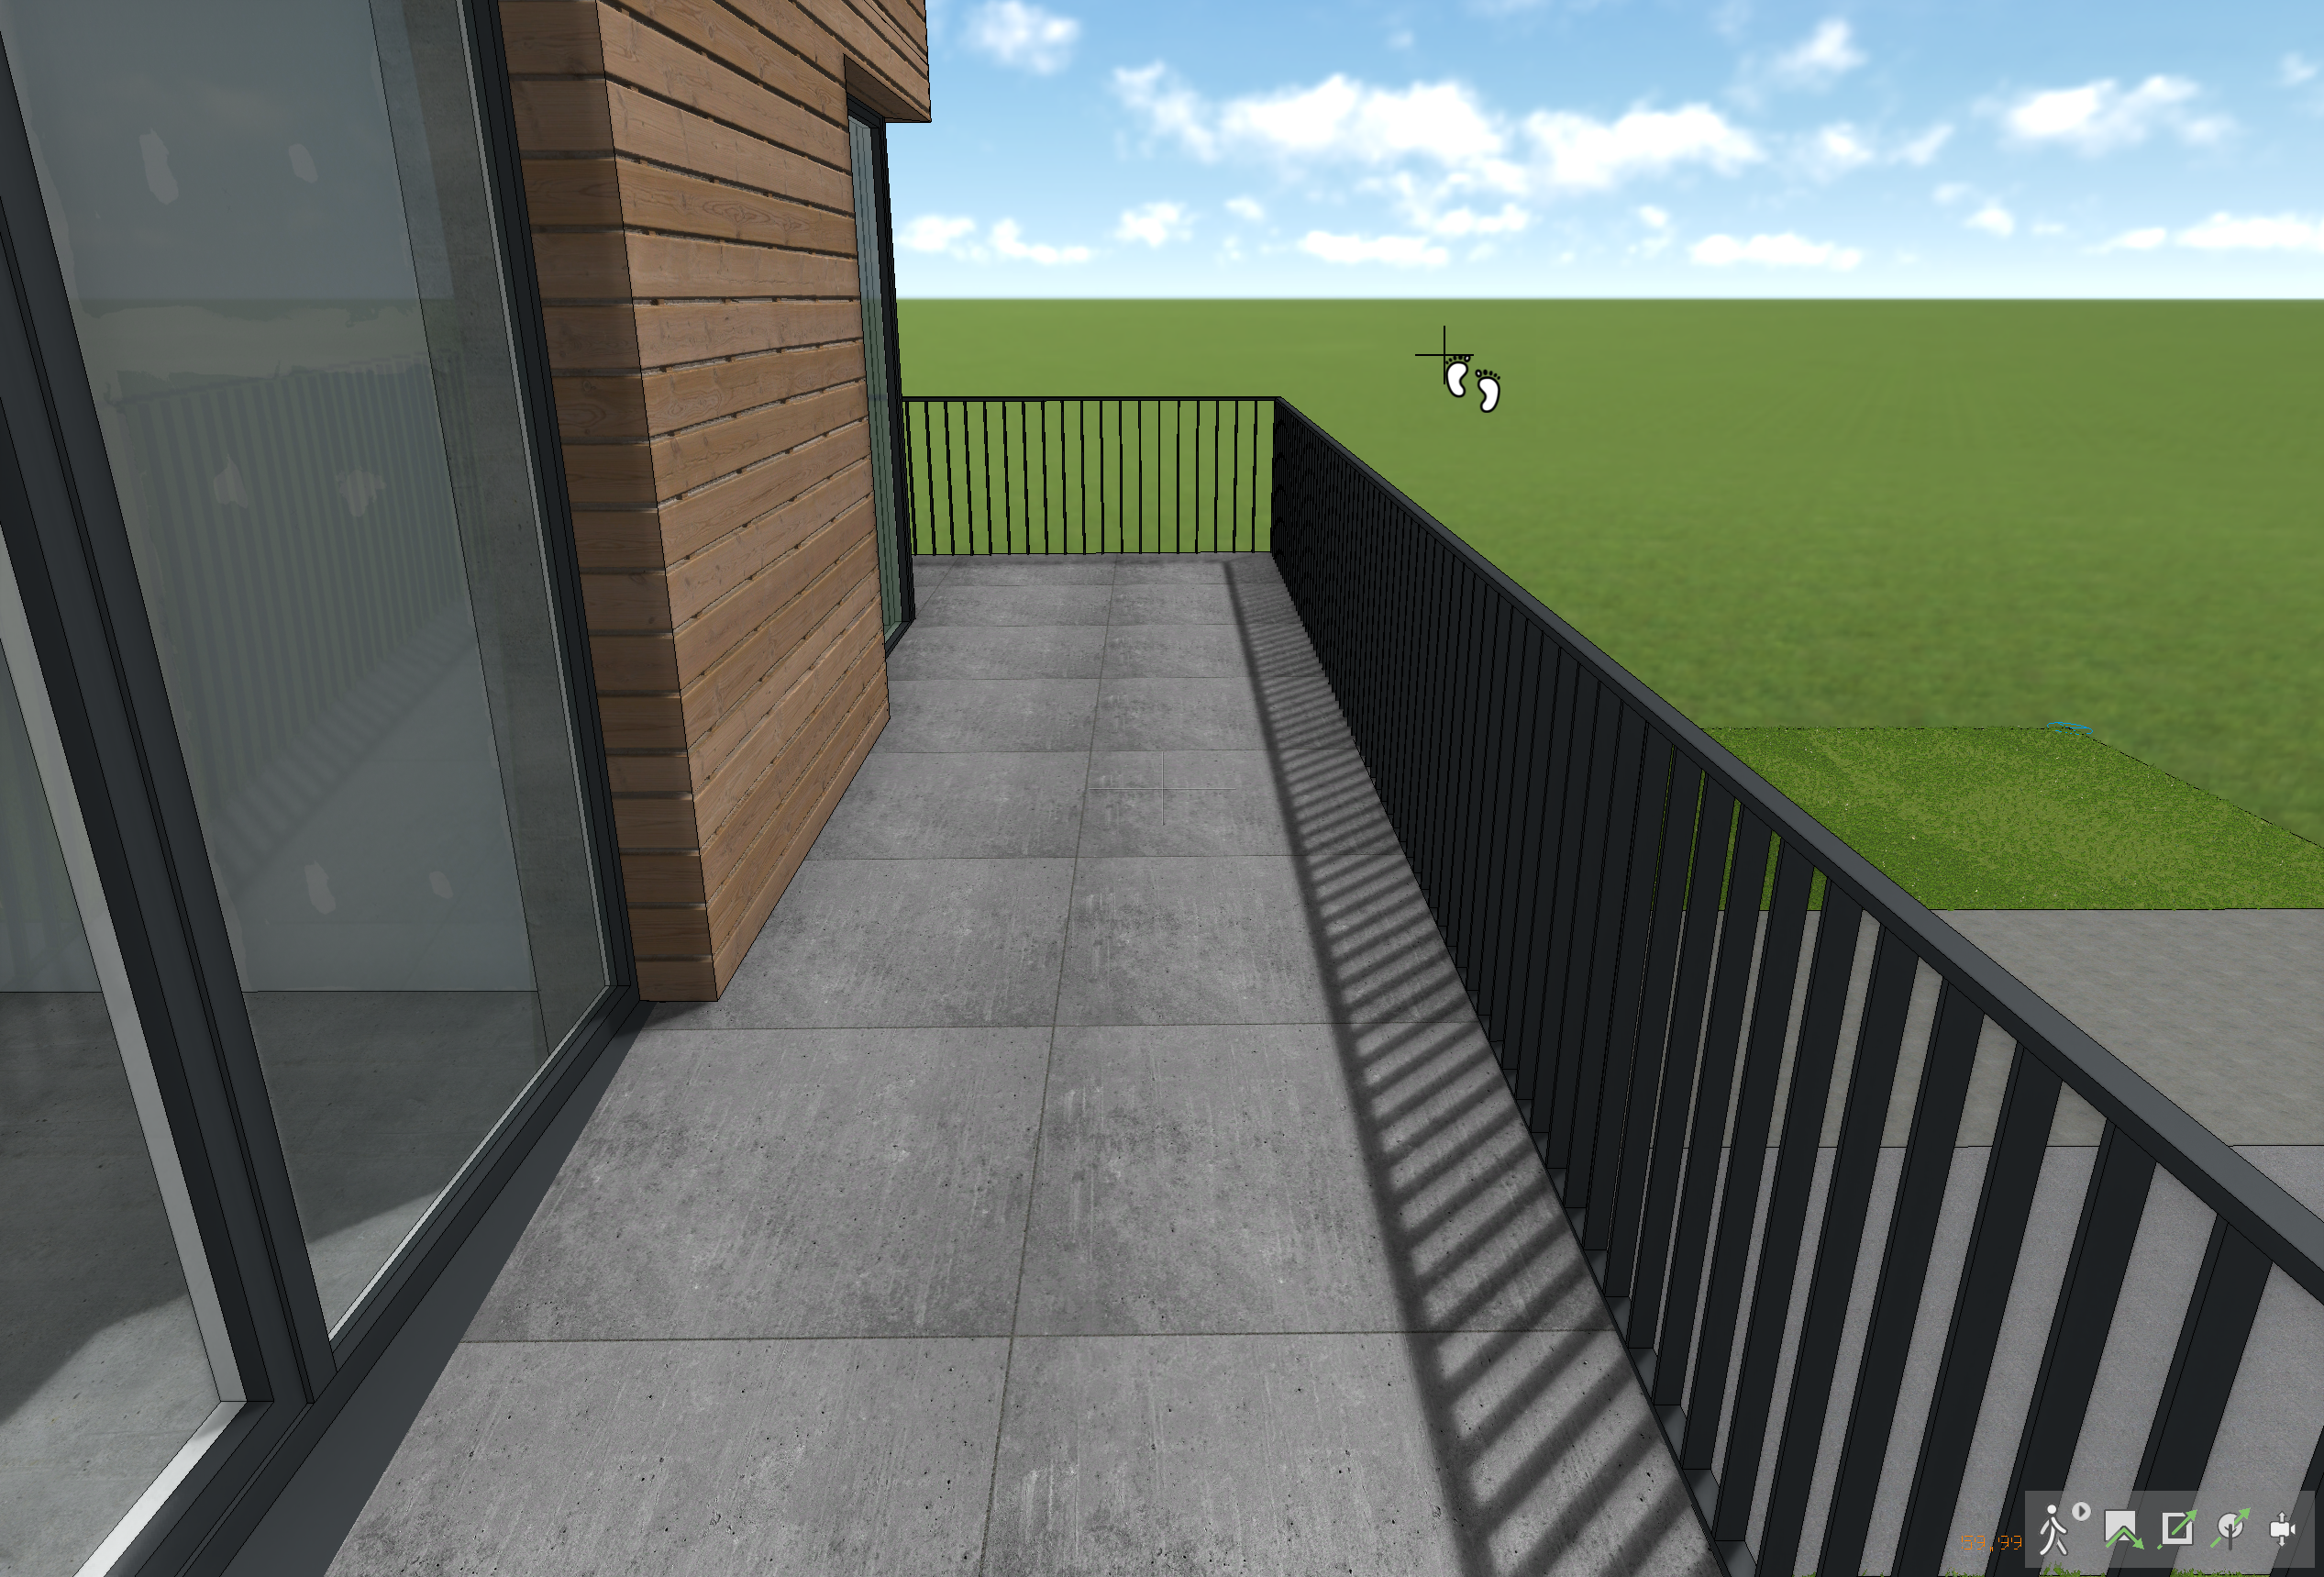
Move through the model now and head to the upper terrace:
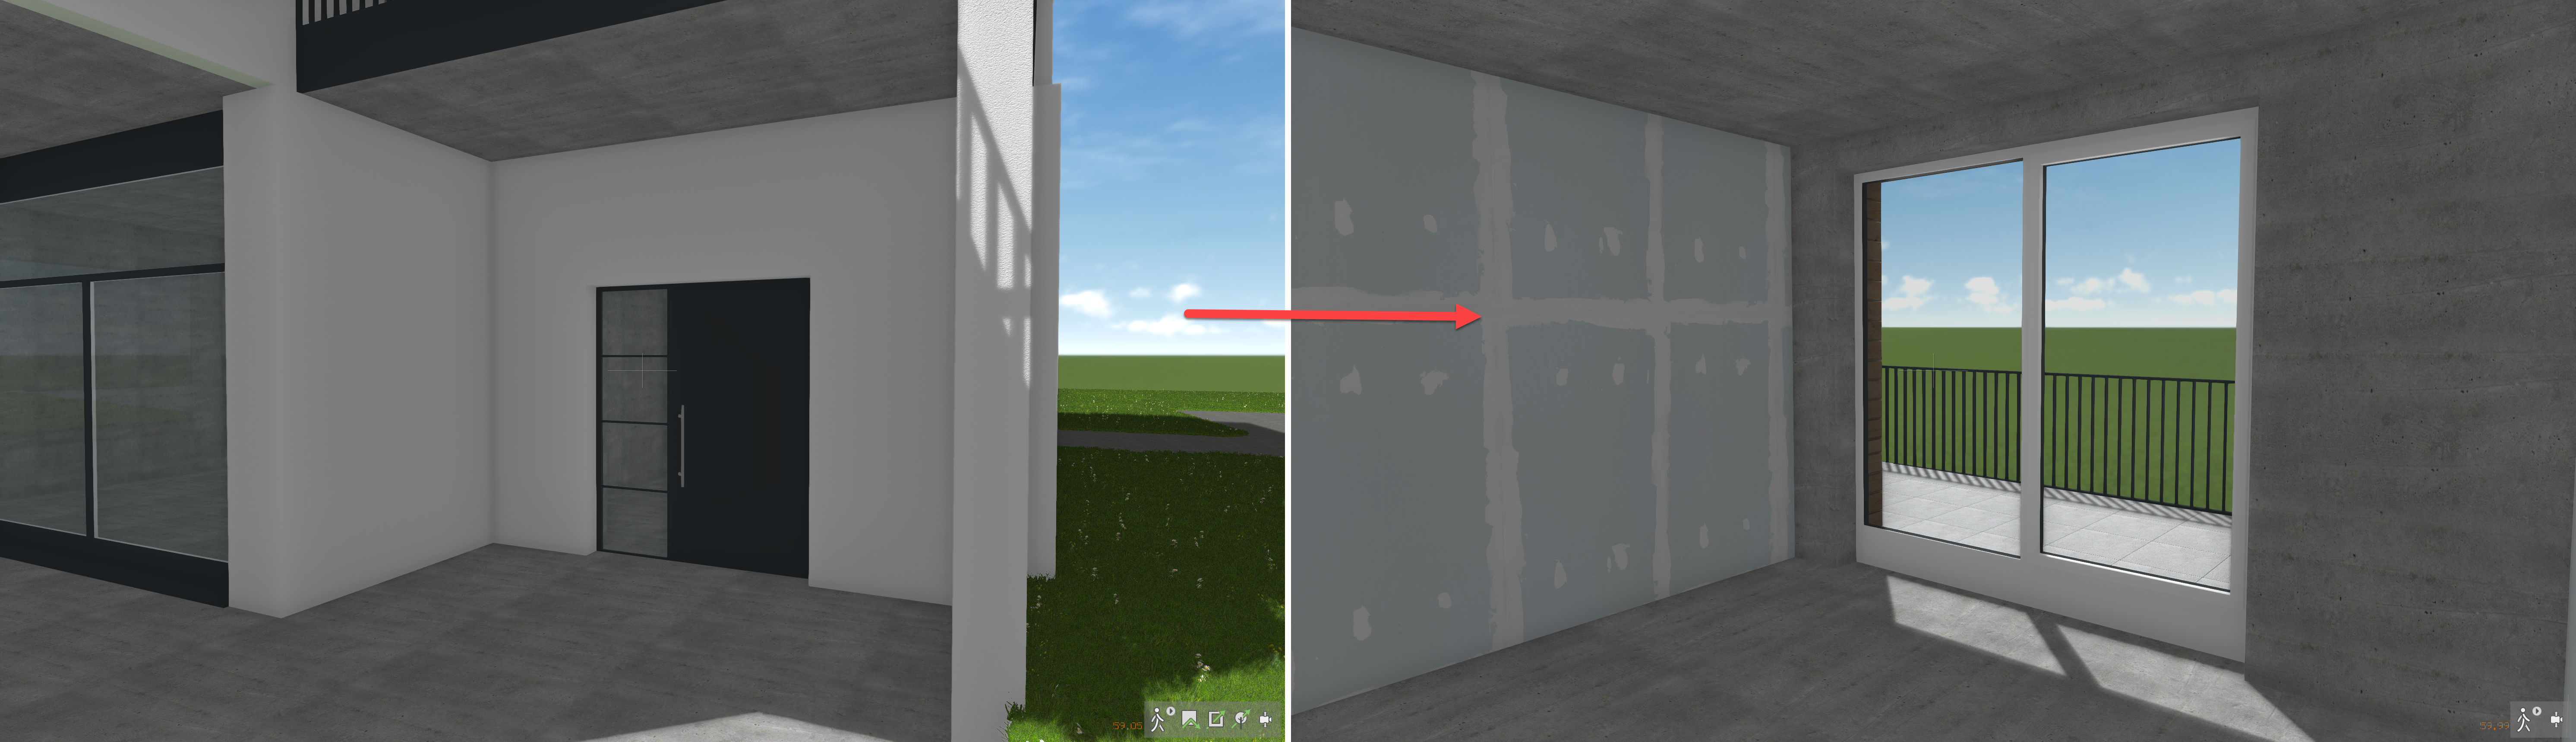
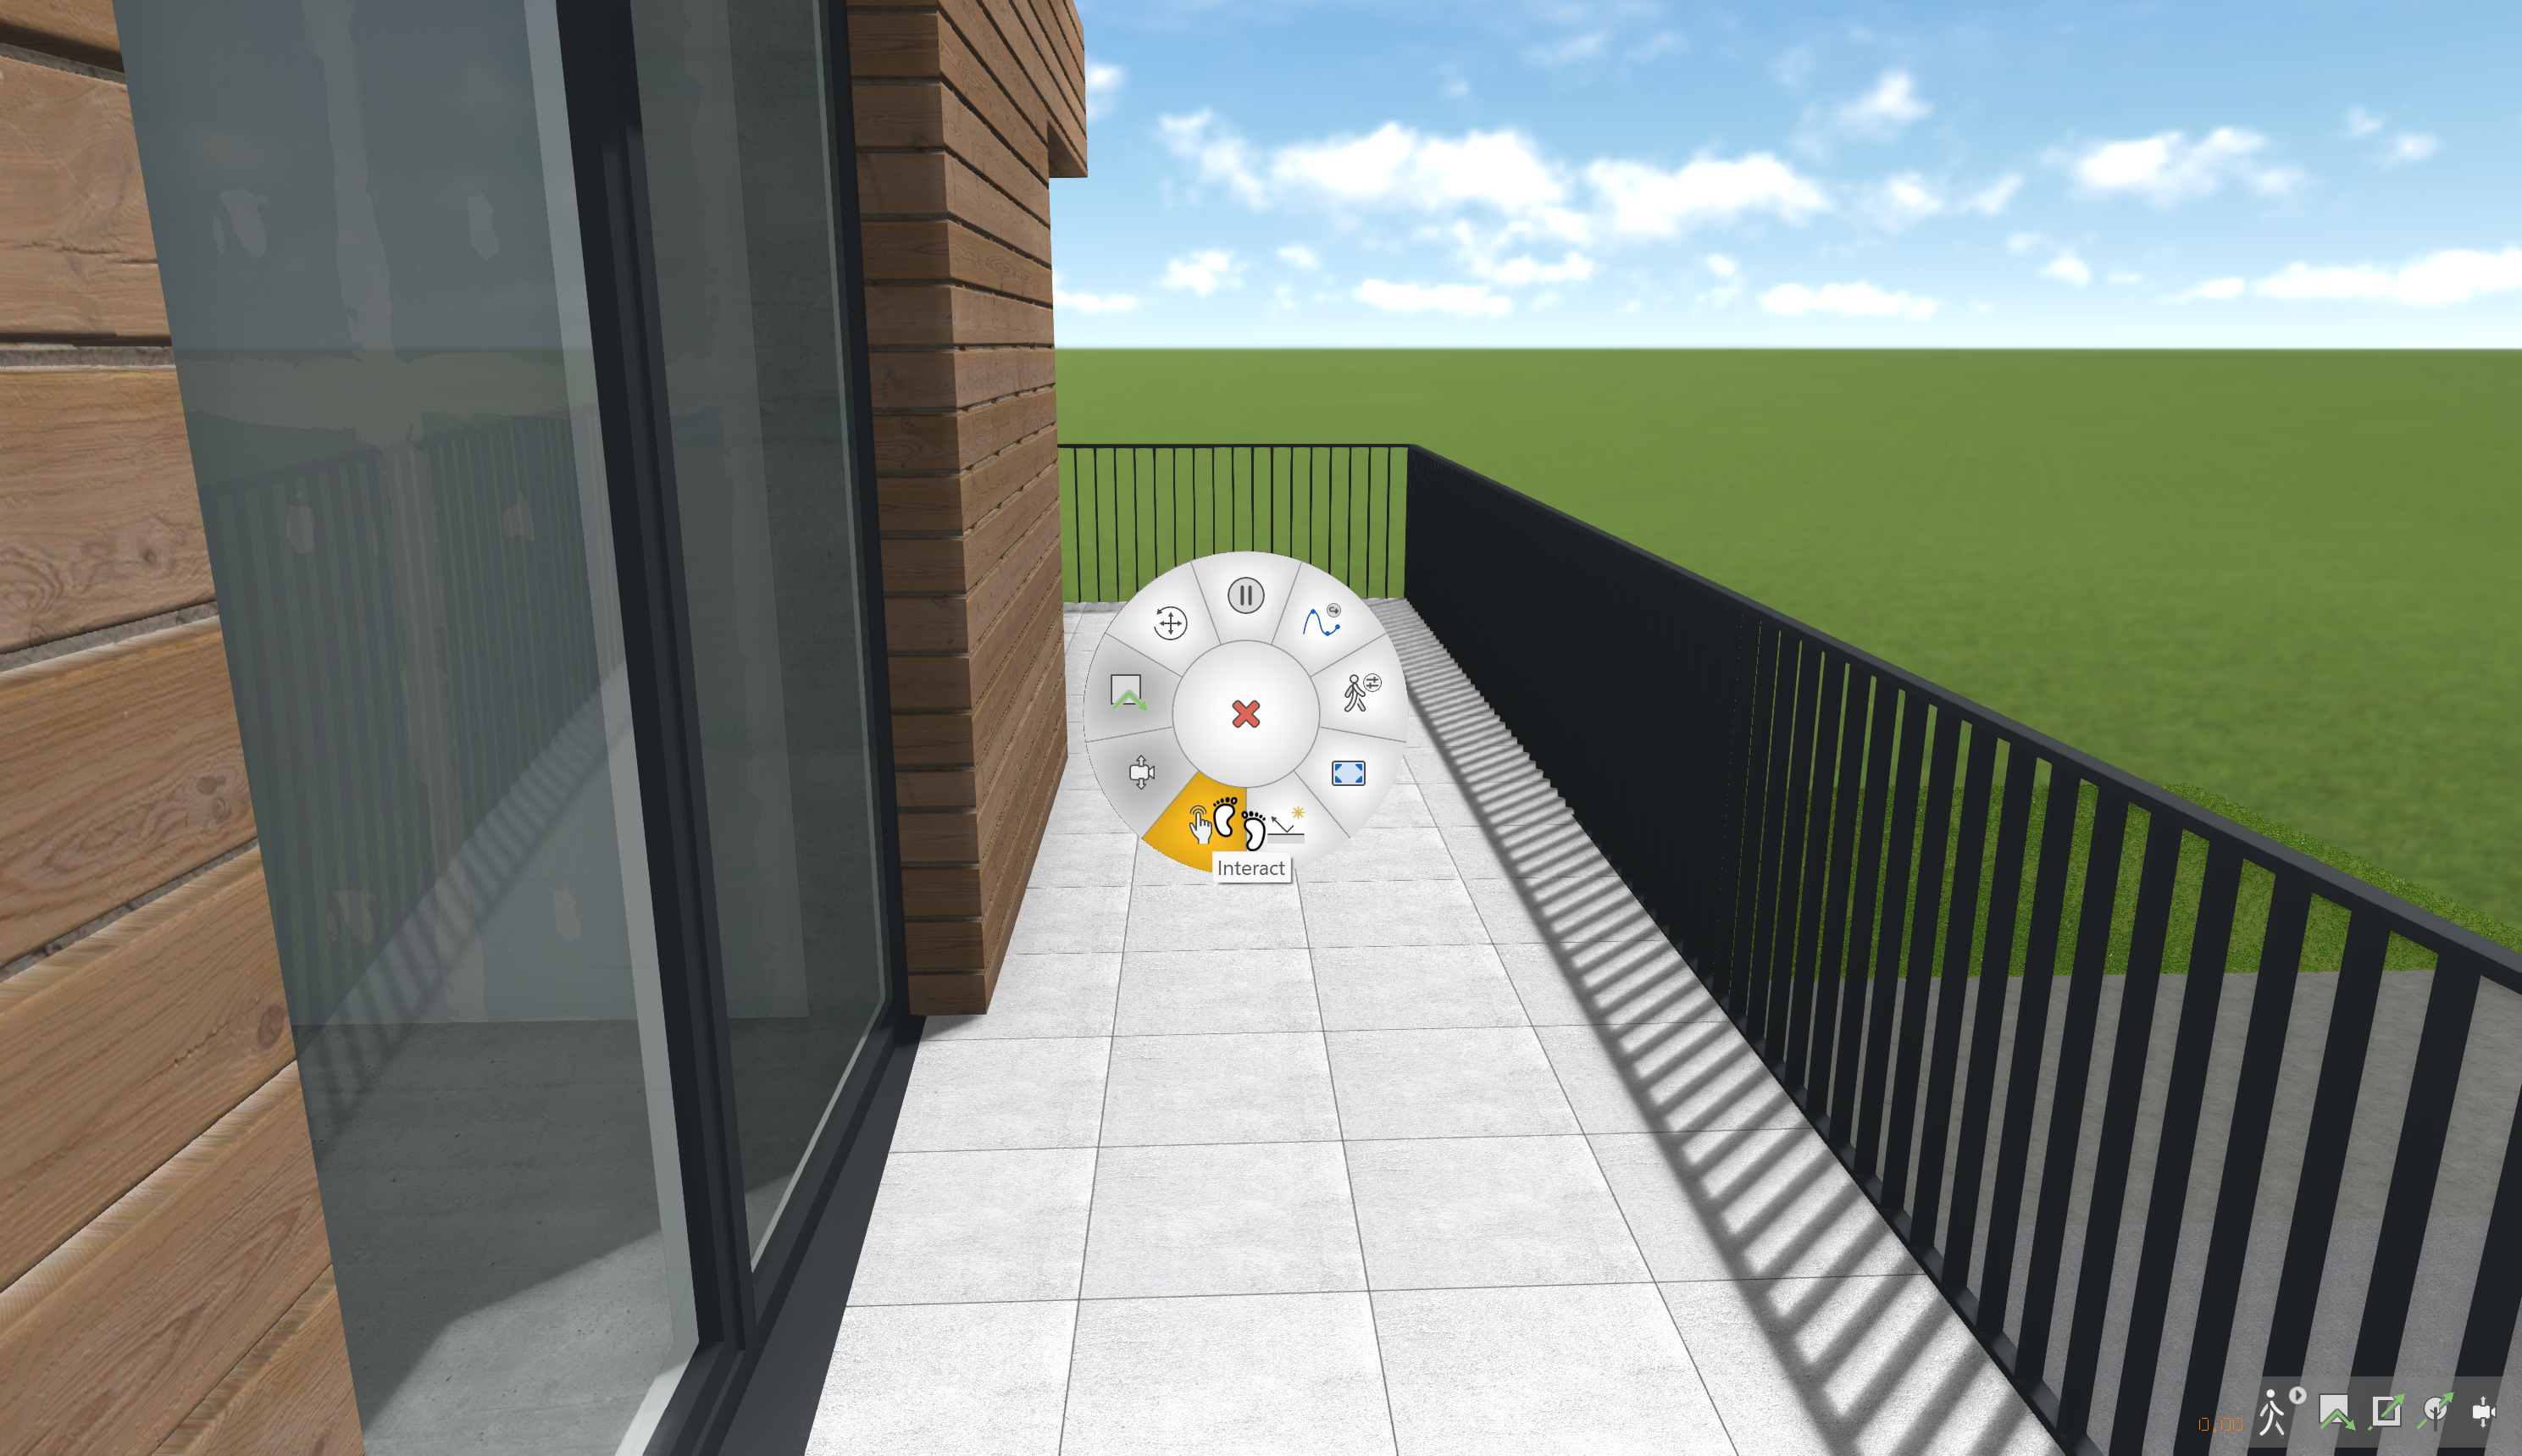
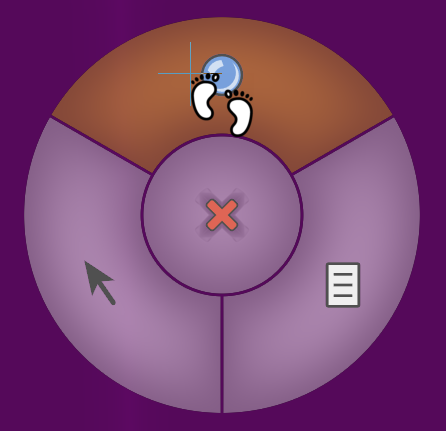
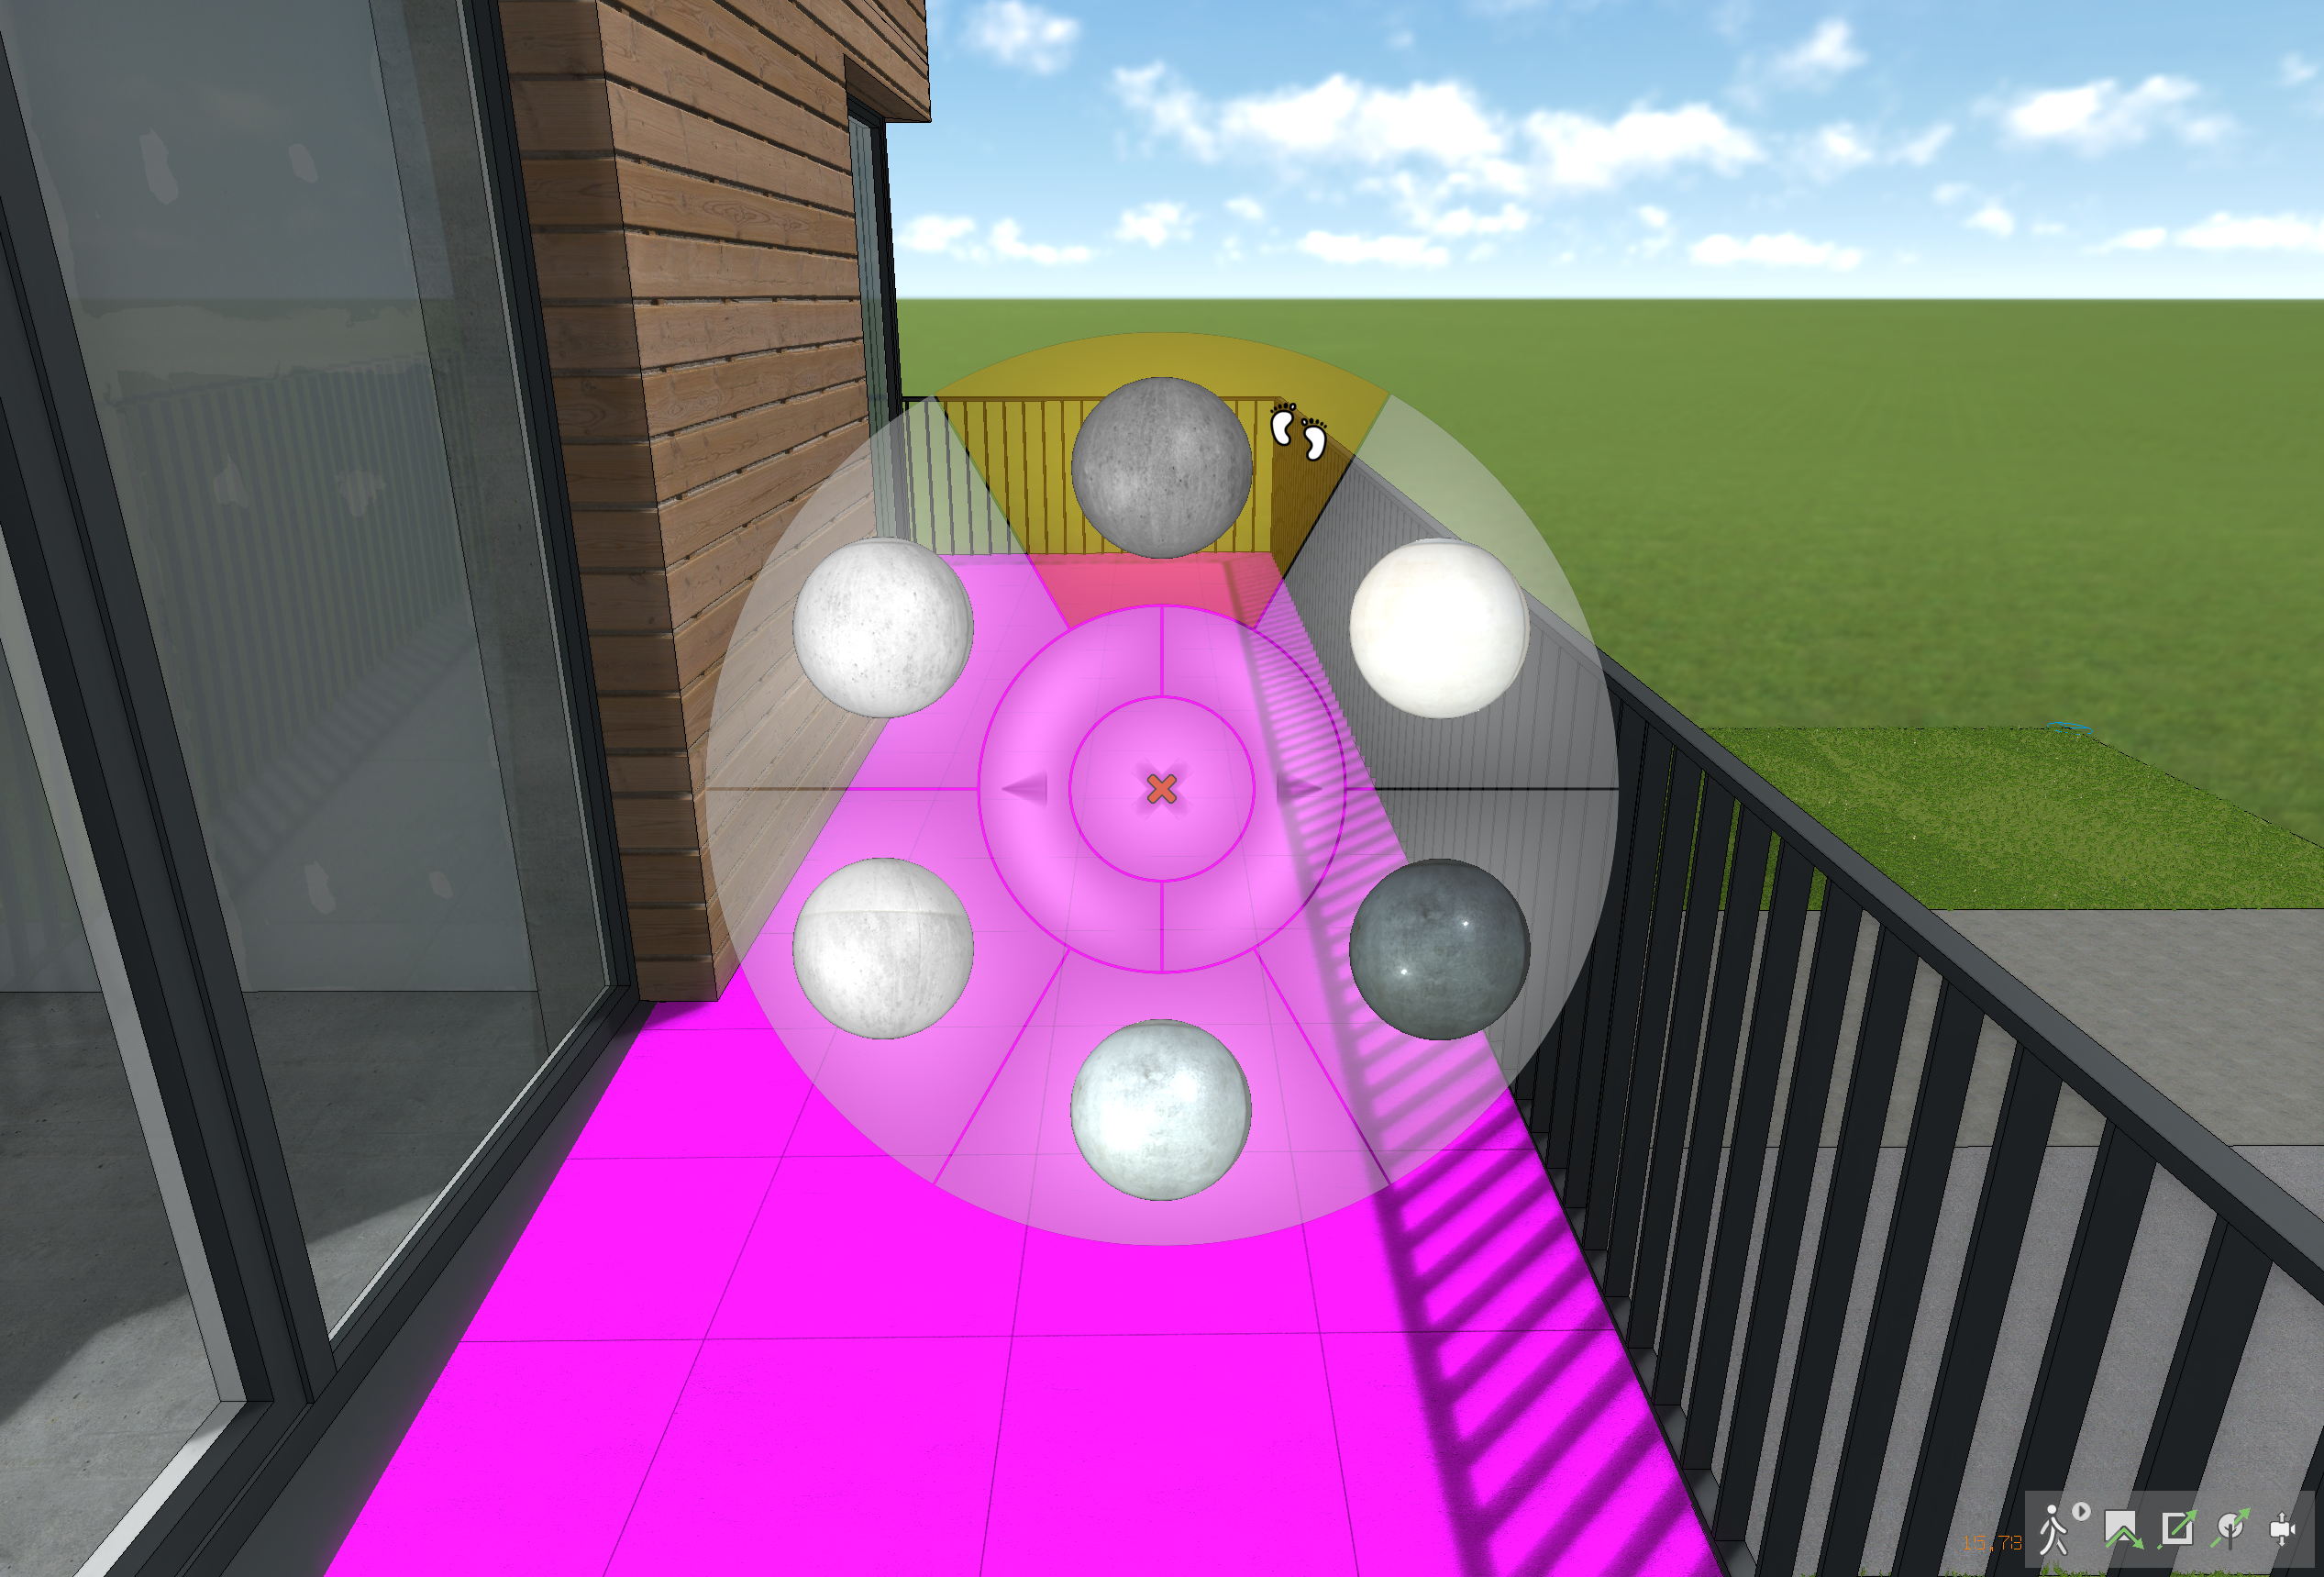
In walkthrough mode, you can also interact with the model, meaning; exchange library parts or change materials. Now go out onto the terrace and switch the flooring. The crosshair in the middle of the screen can be used to interact. Right click -> Interact
Select the blue sphere now to exchange the material.
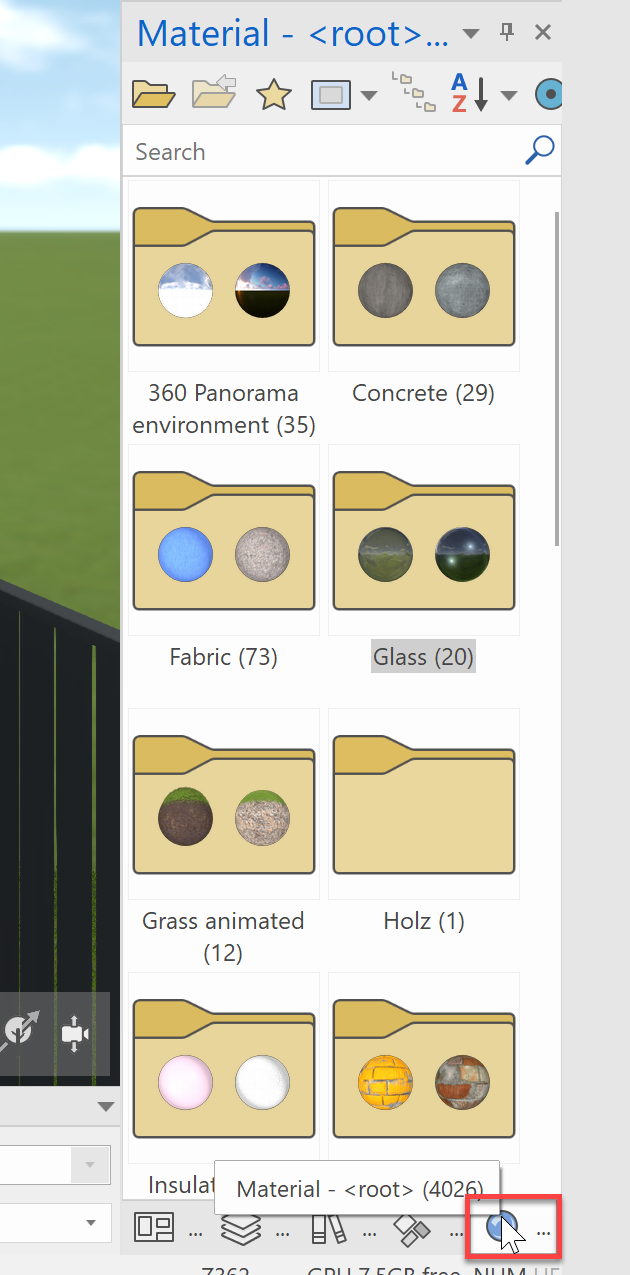
Pick out a material and click on it
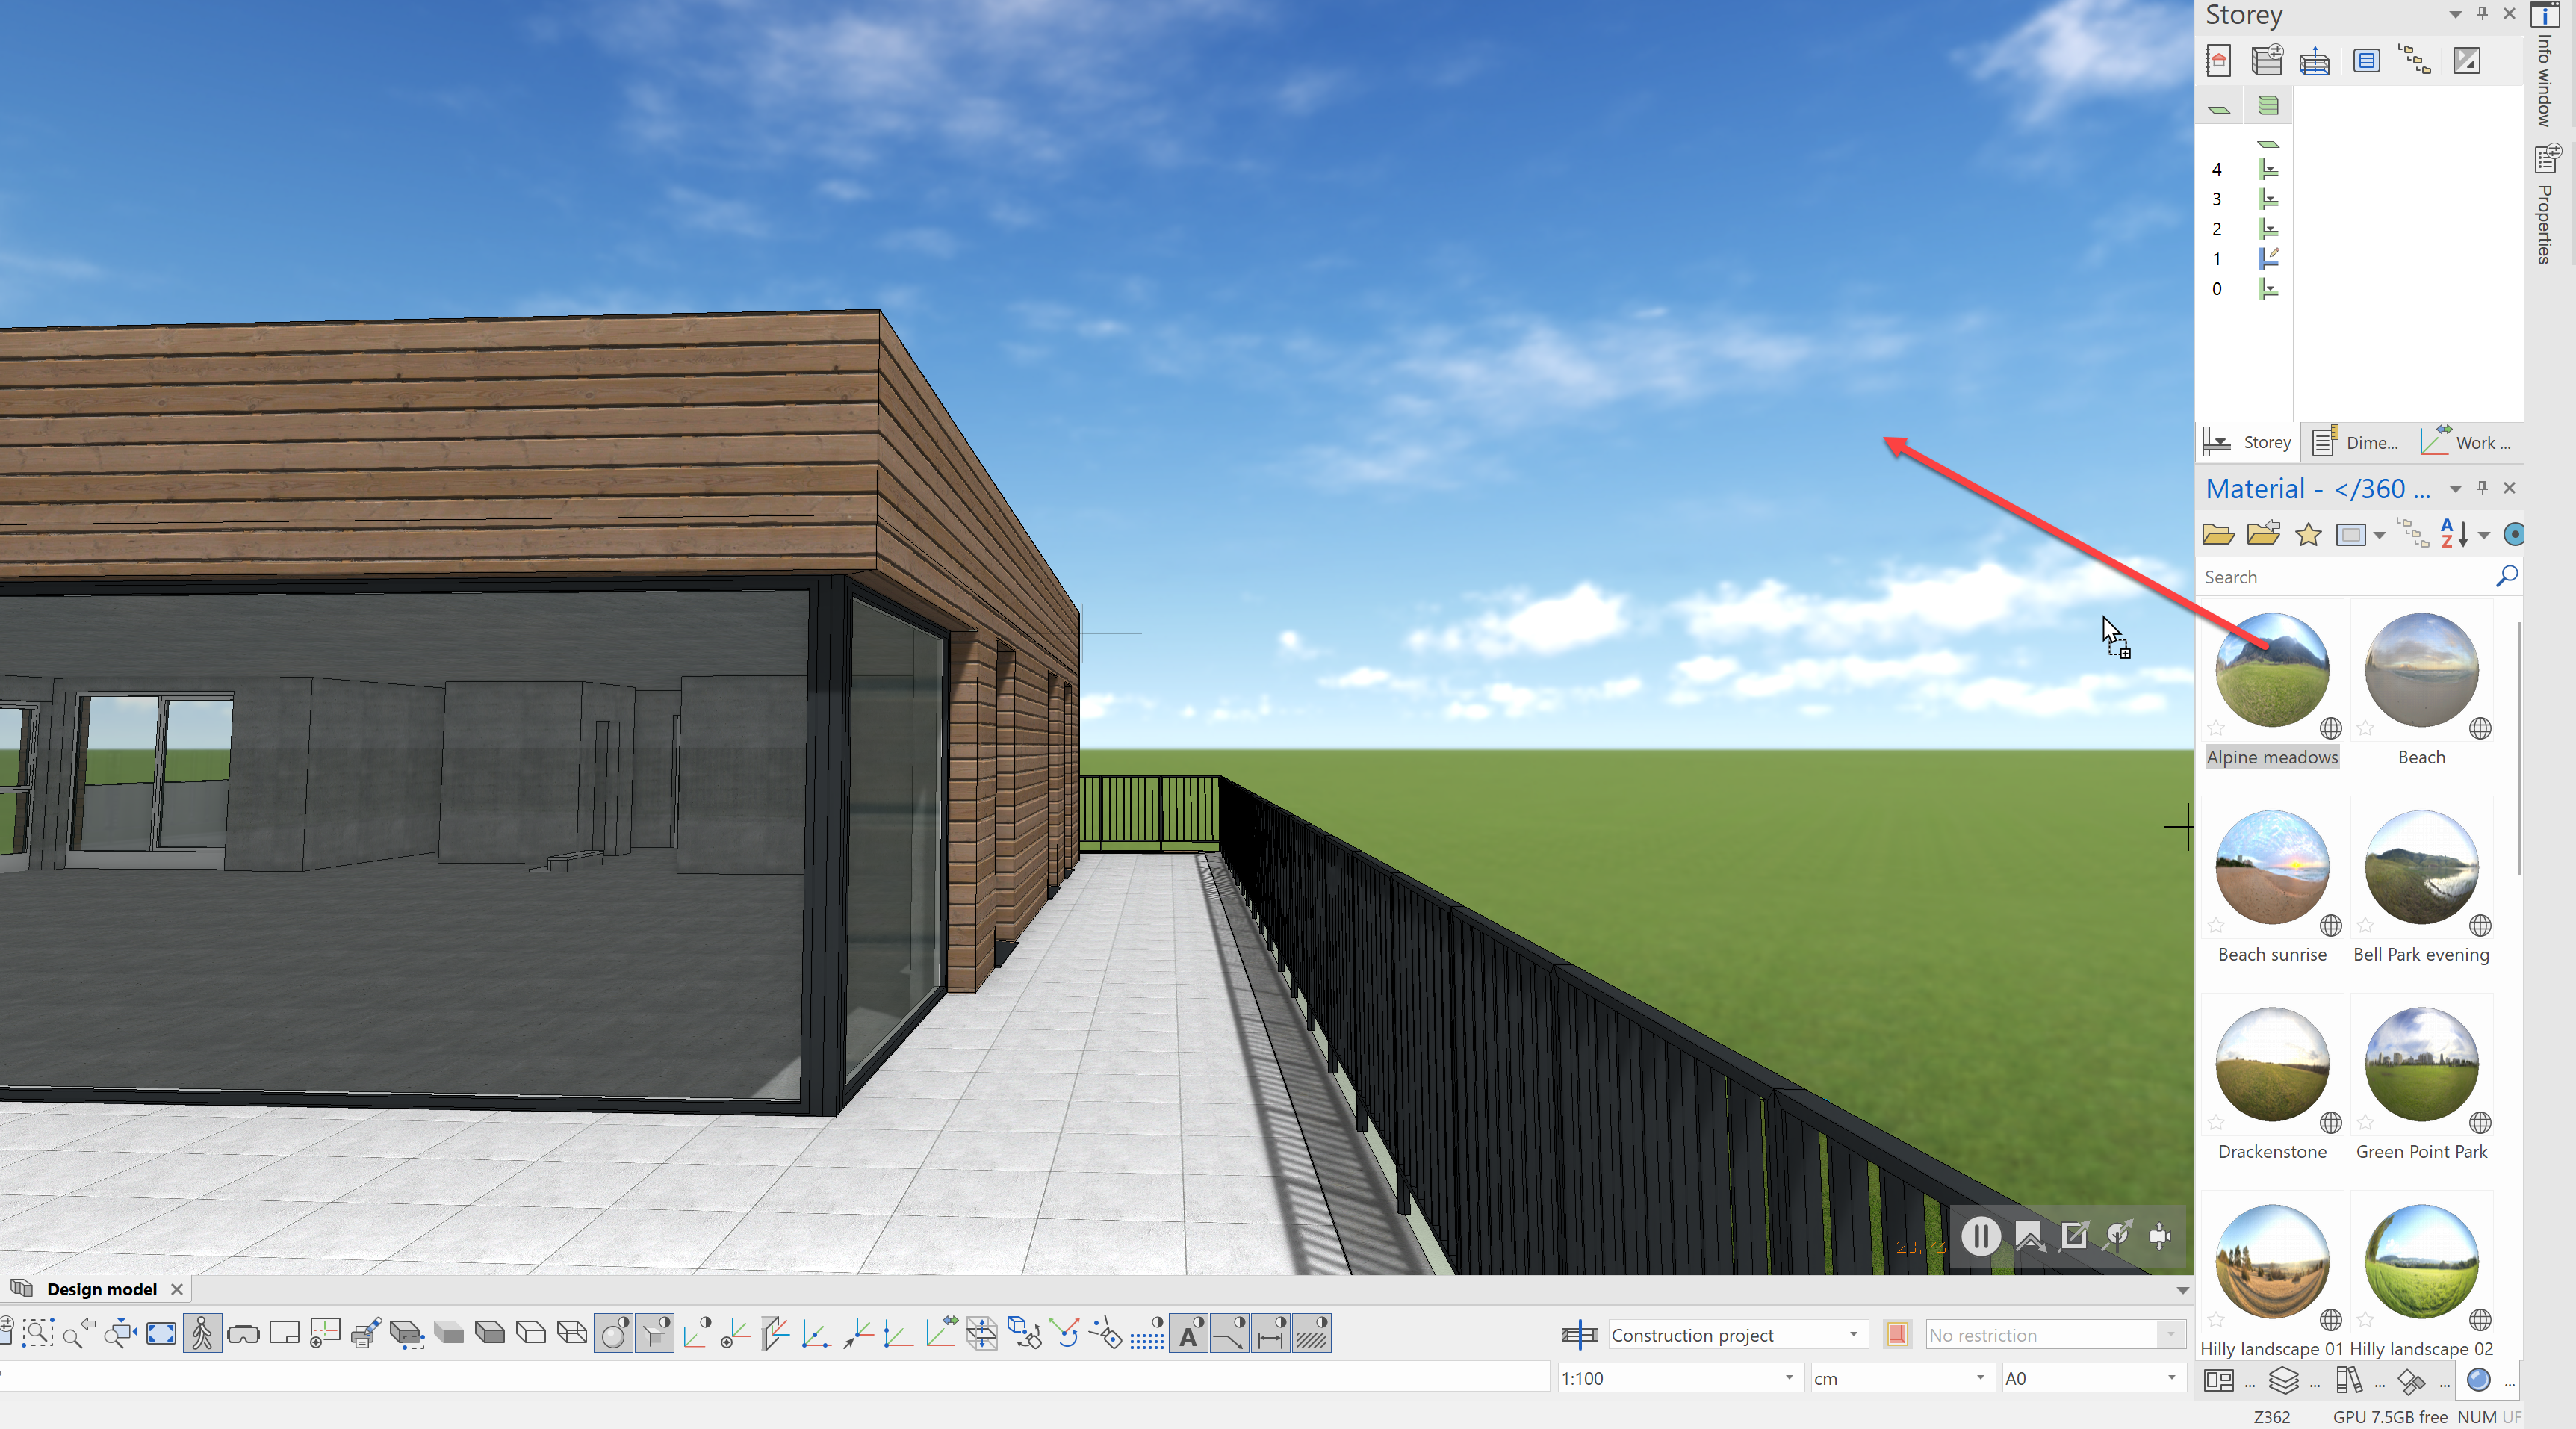
The material of the terrace will now be exchanged:
Materials can also be exchanged directly from the materials manager. Should we want to change the background, for example, to a realistic depiction, we need only load a new 360° panorama image. Pause the walking mode with a right click->Pause and open the materials manager in the bottom right.
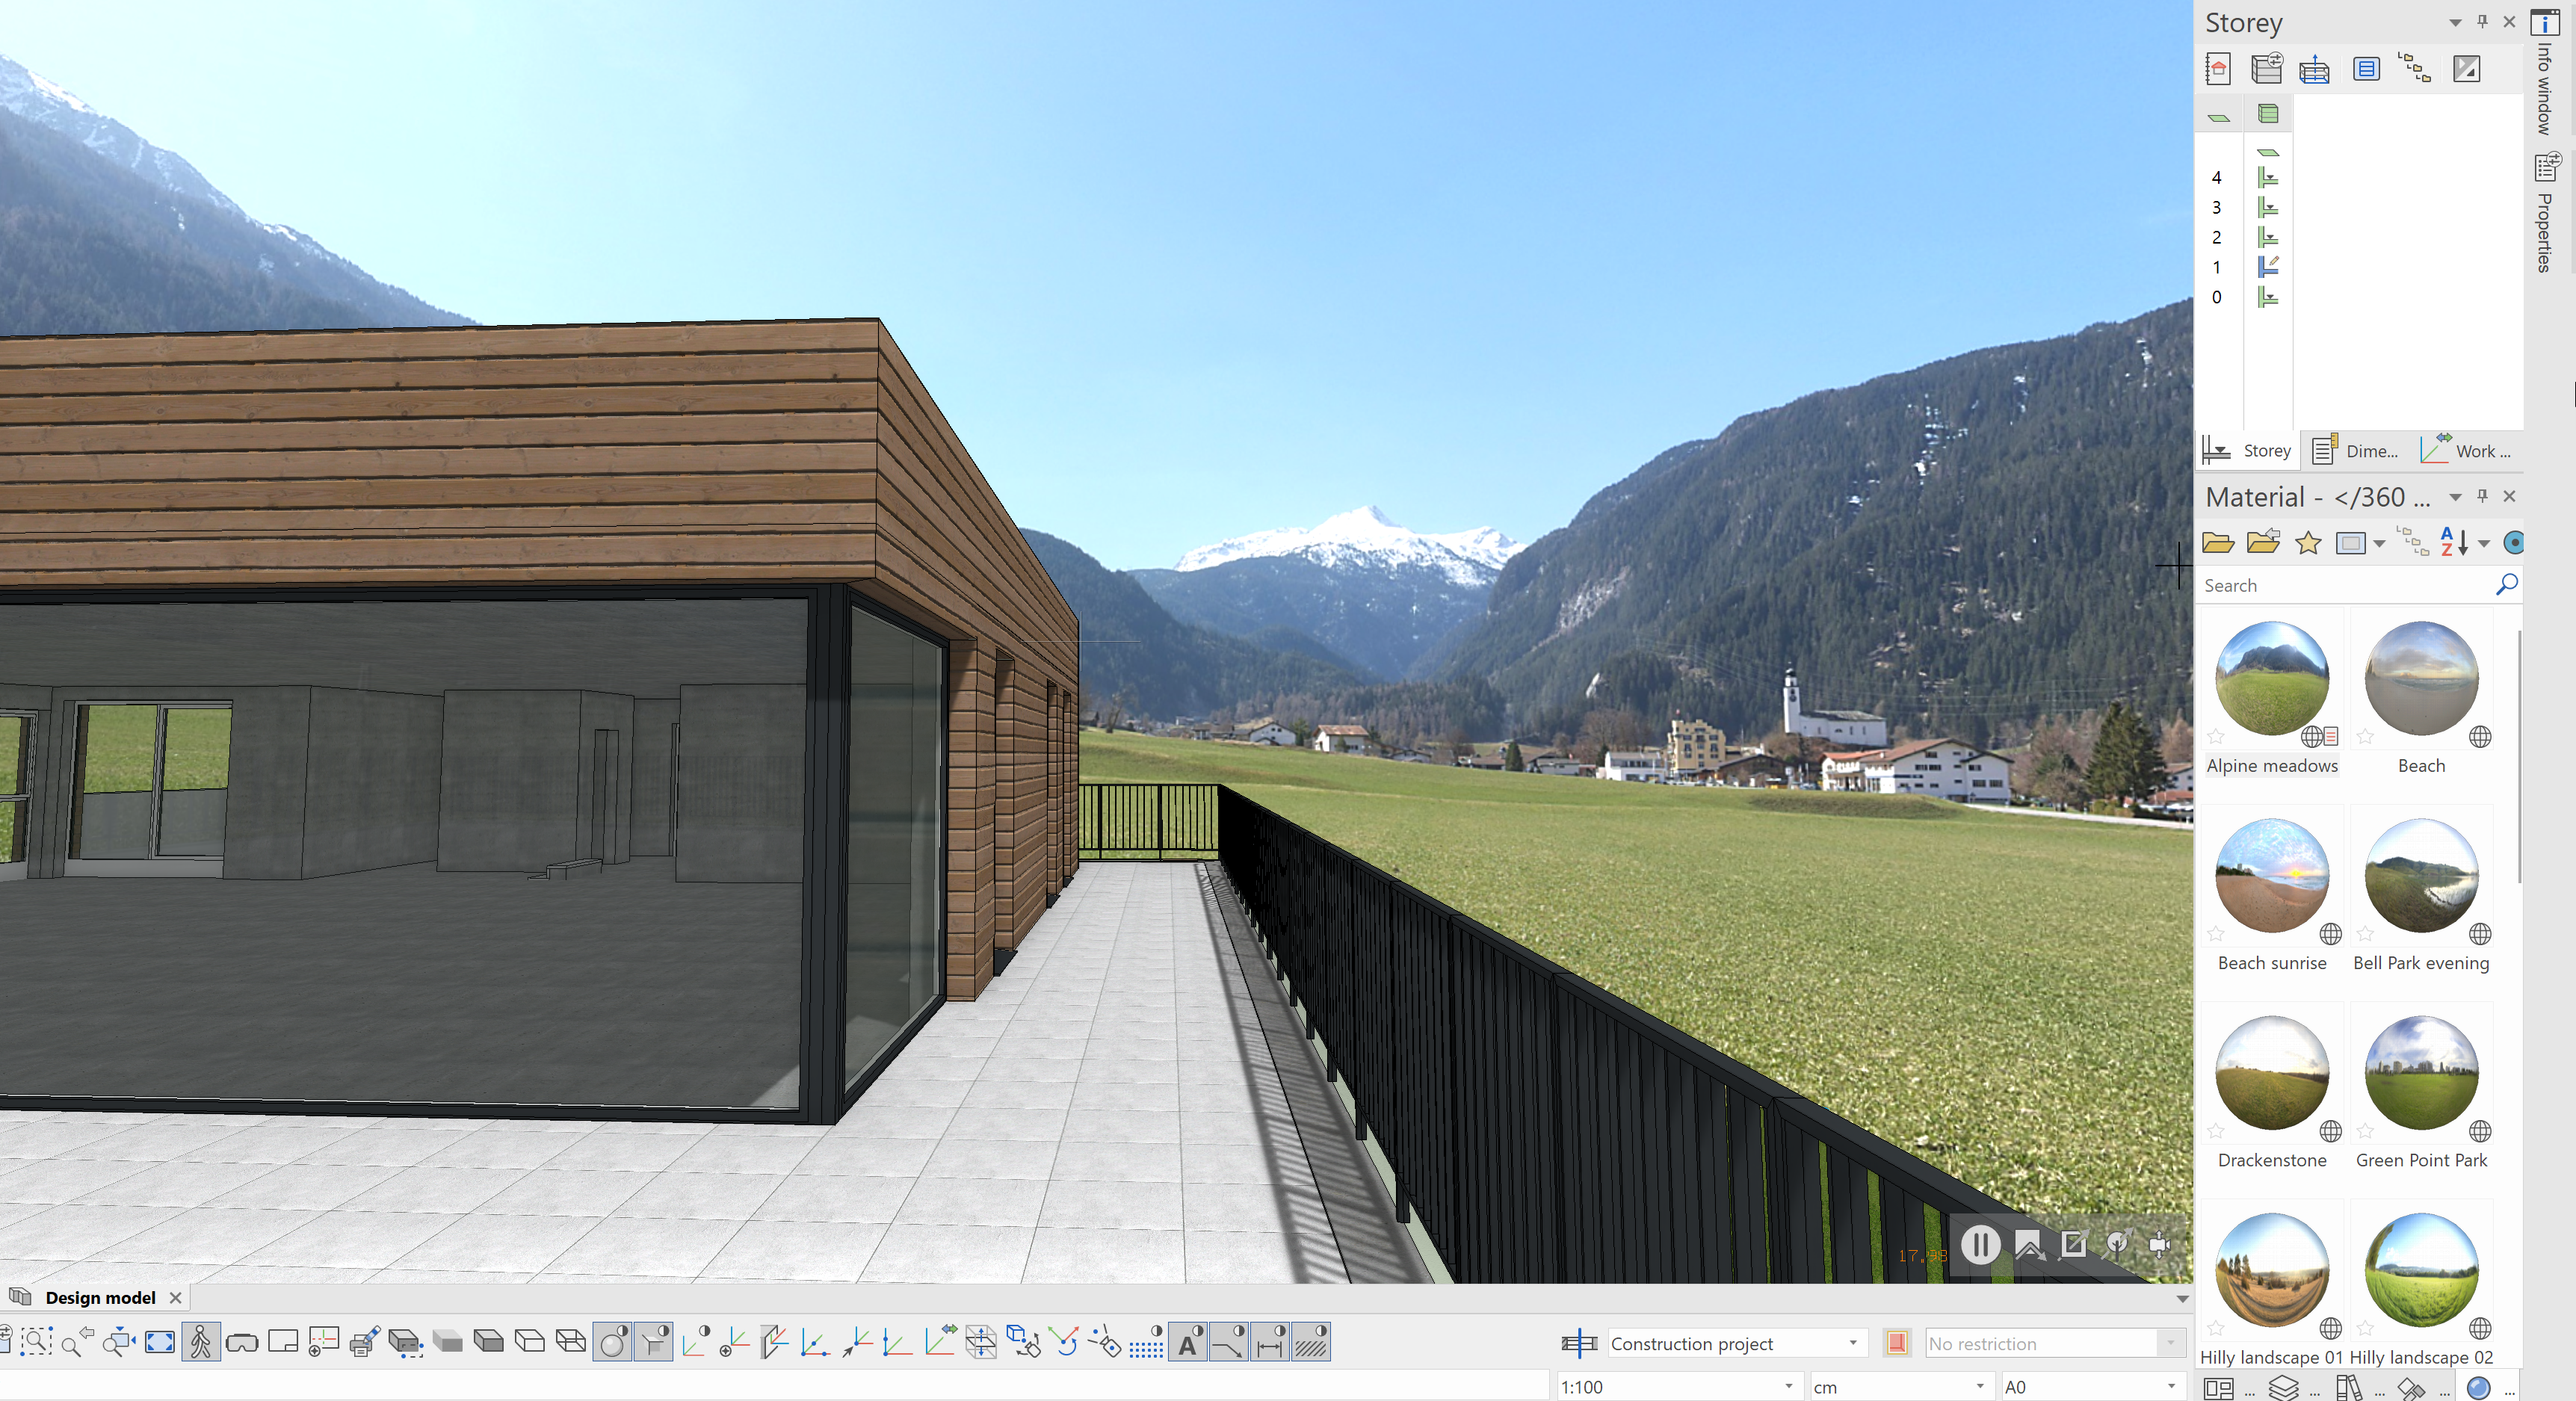
In the folder 360 Panorama environment/Photos/, you will find a realistic photo, which you can simply drag-n-drop into the model. Select the texture Alpine meadows and pull it onto the blue sky.
The results should look significantly more realistic. You can even import 360° photos of the actual property in this manner.
Create a video
To finish this chapter, we want to create a short video clip. One thing we can record is a walkthrough in walking mode and export it as a video. Even better is that we can create a video using the parametric camera path.
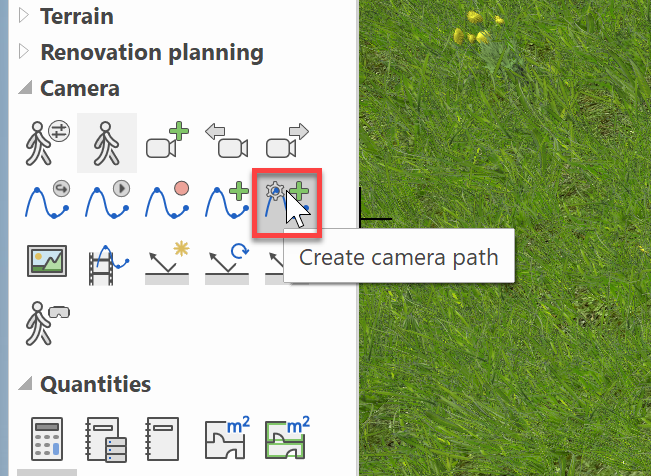
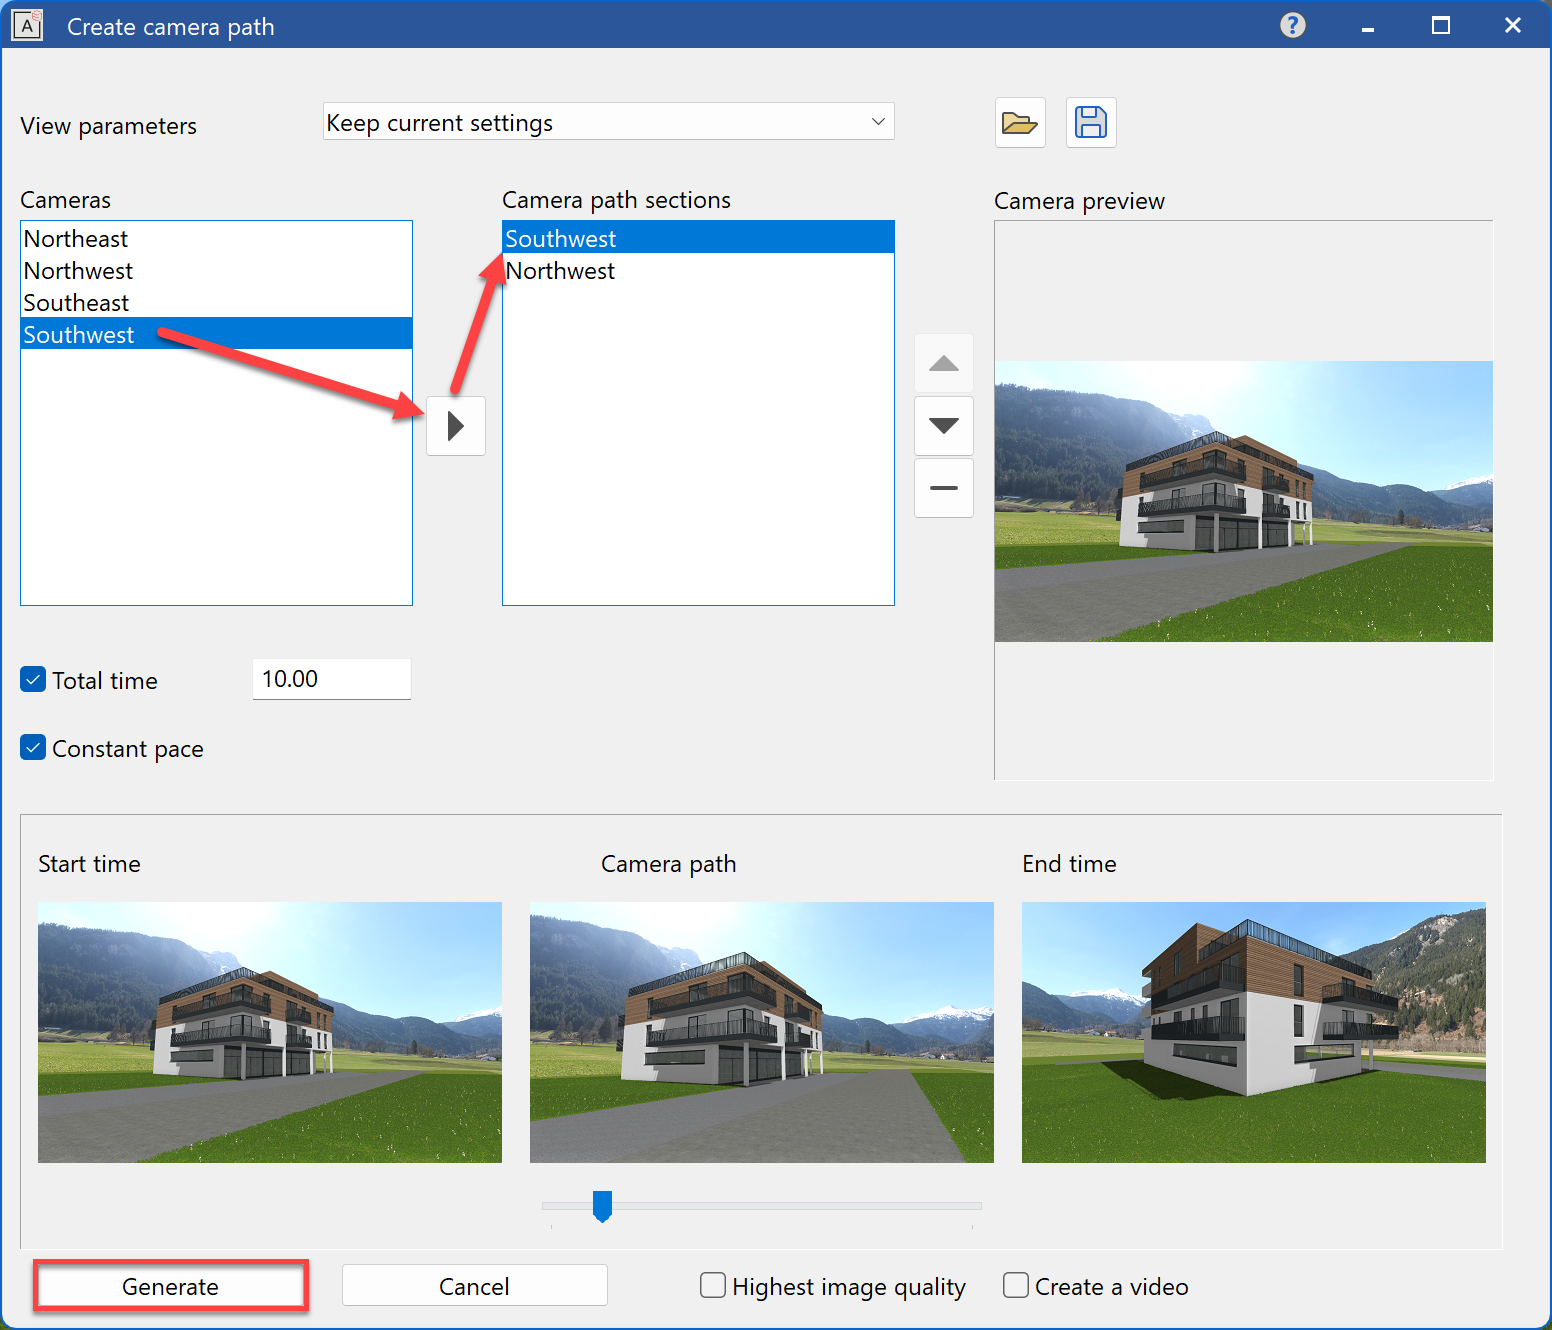
For the latter, open the function Create camera path from the tool manager Camera:
Here you can add any camera position and insert a camera path in between. To keep this course simple, we only recommend adding two positions, e.g. Southwest and Northwest using the arrow, and creating the path using Generate.
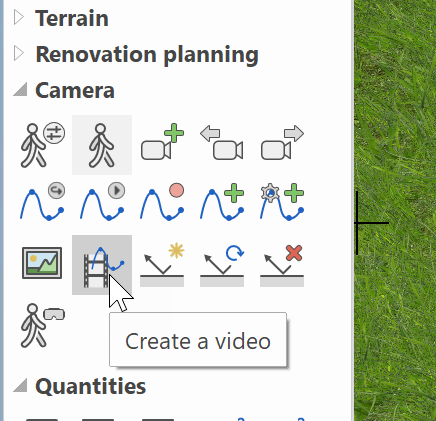
We could now play this path live in ELITECAD, or we could export it directly as a video to give the customer a good insight into the planned project. Launch the Create a video function from the tools manager Camera.
Configure the quality of your video. We recommend 4K and click on save to finish. Now you need to select the file path and your video will be created.

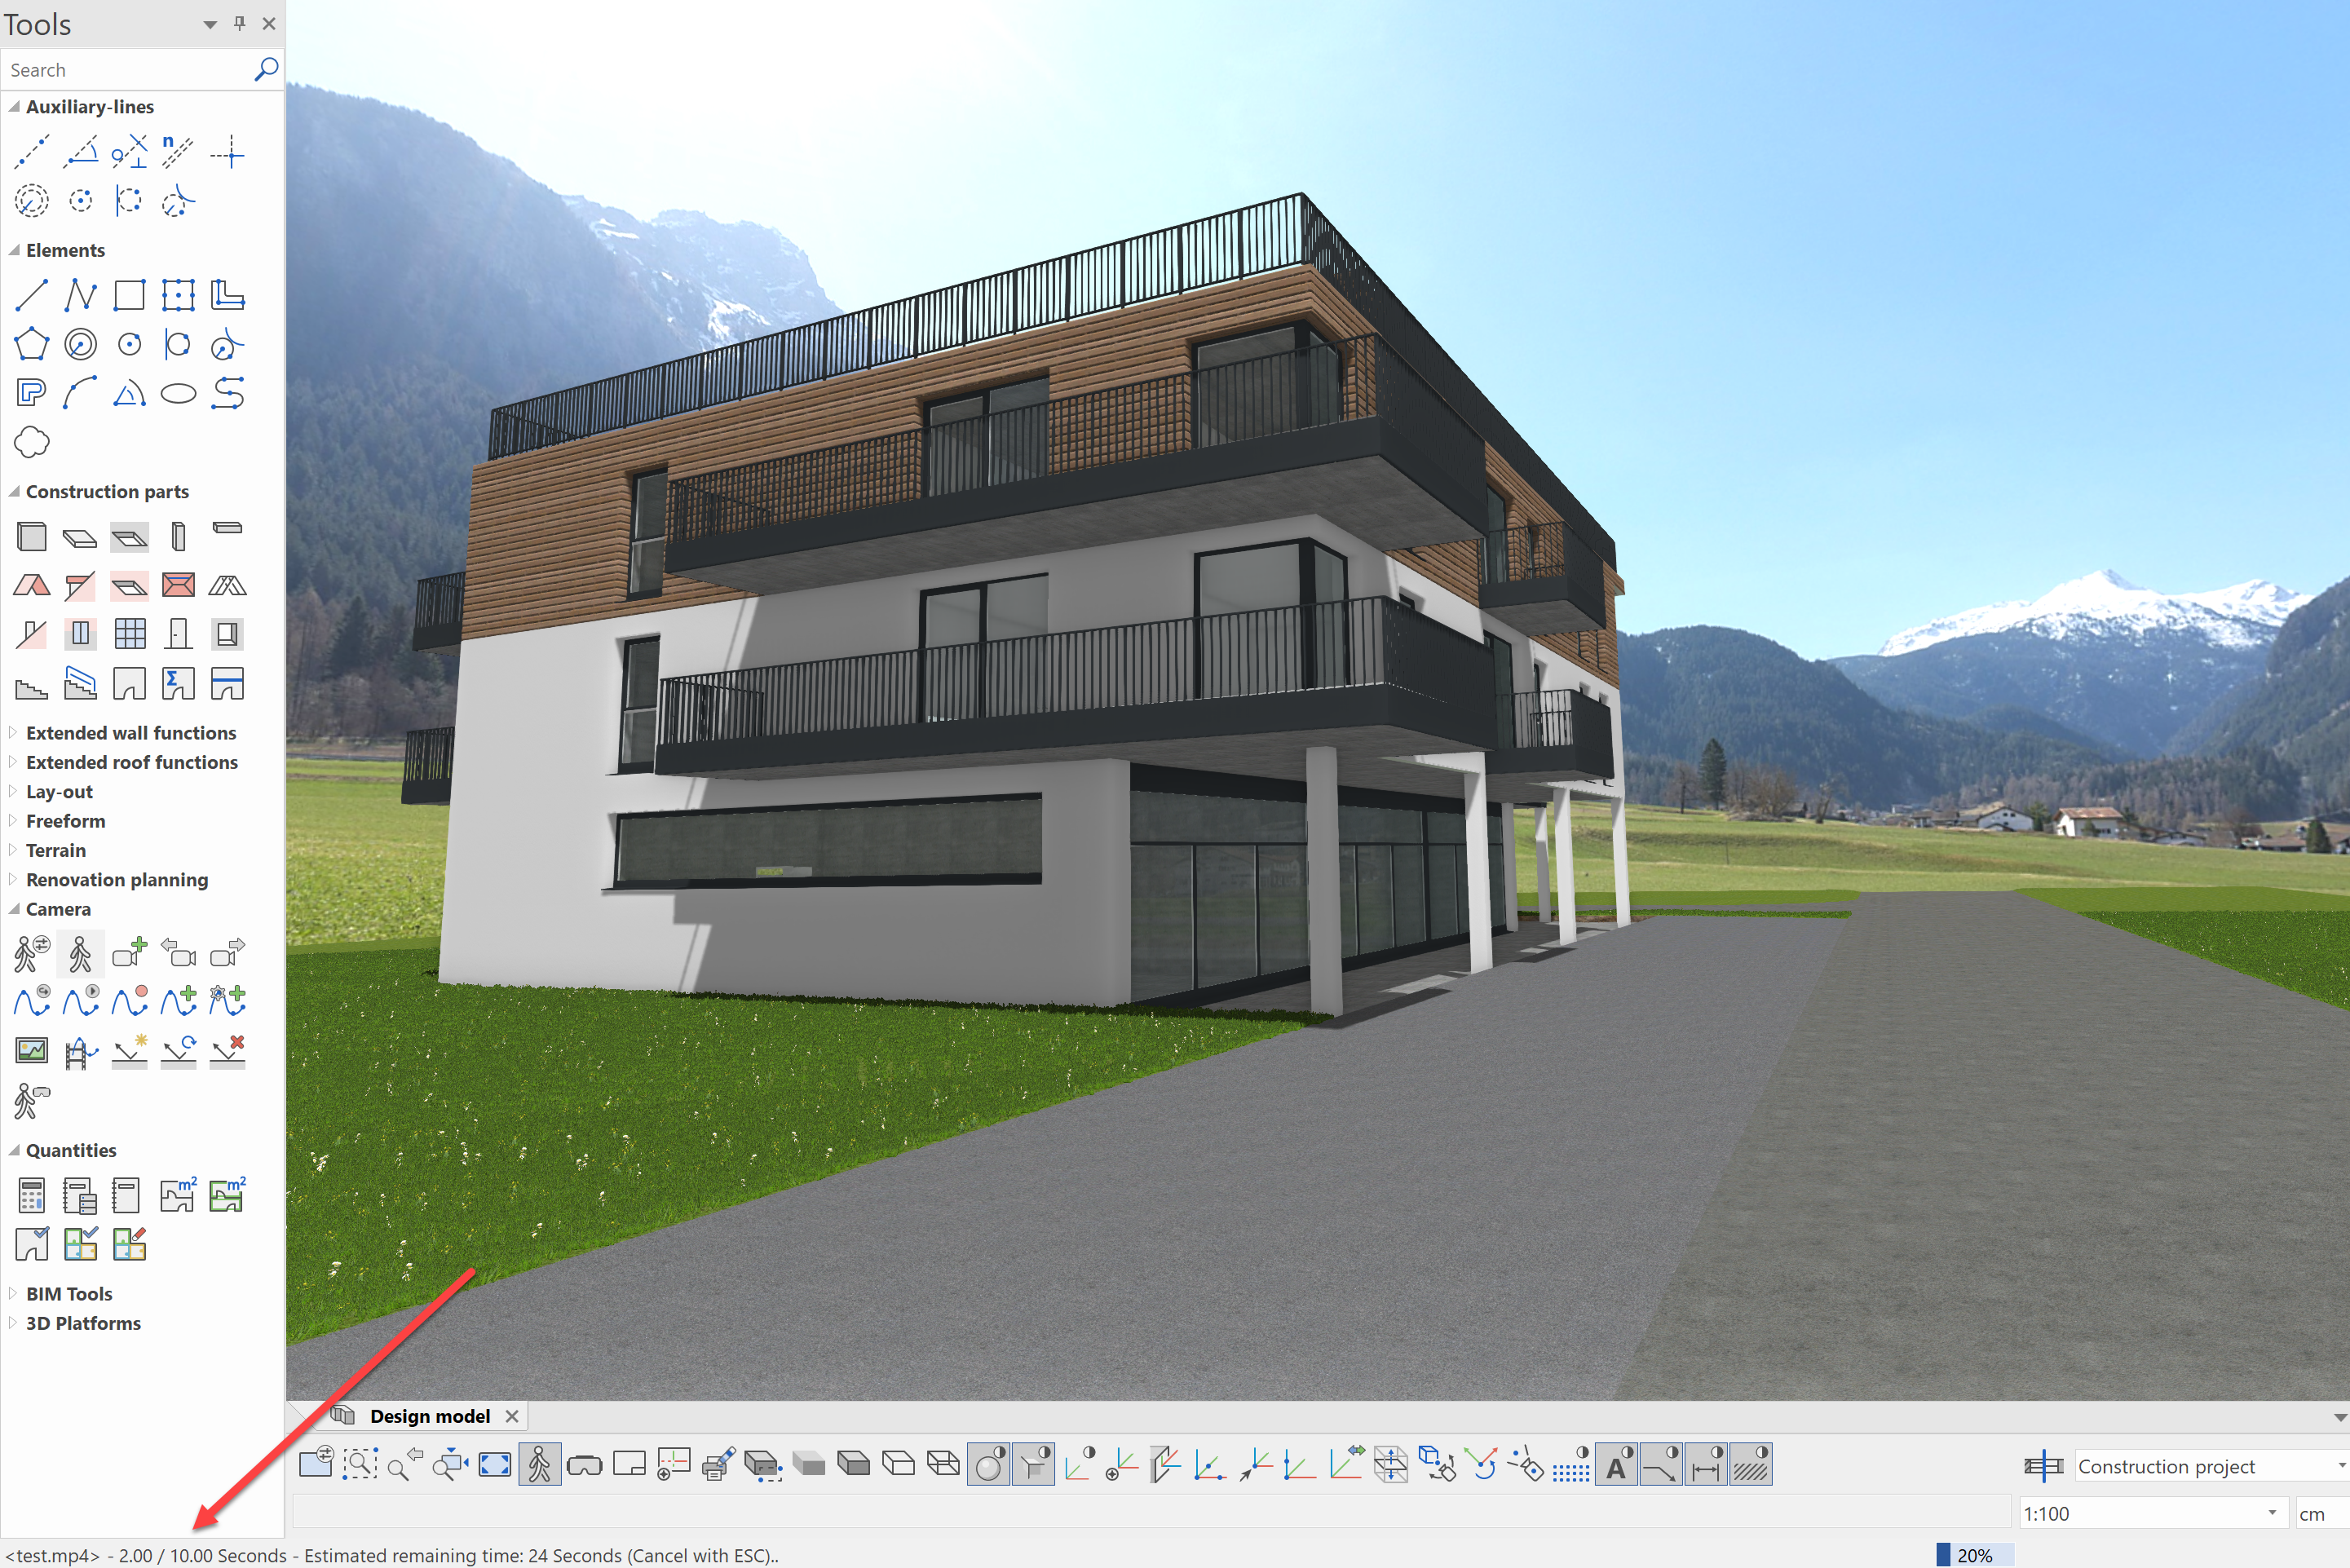
The video will only need a few seconds to be created. You can track progress at the bottom in the status bar:
ELITECAD offers many other functions in the field of visualization. For example, you can create 360° images and videos from your model, experience it interactively with the customer using Safari mode or use the integrated virtual reality interface and dive directly into the model using VR glasses. There are really almost no boundaries here.